-experimenting with plaster-
Plaster Slab Construction
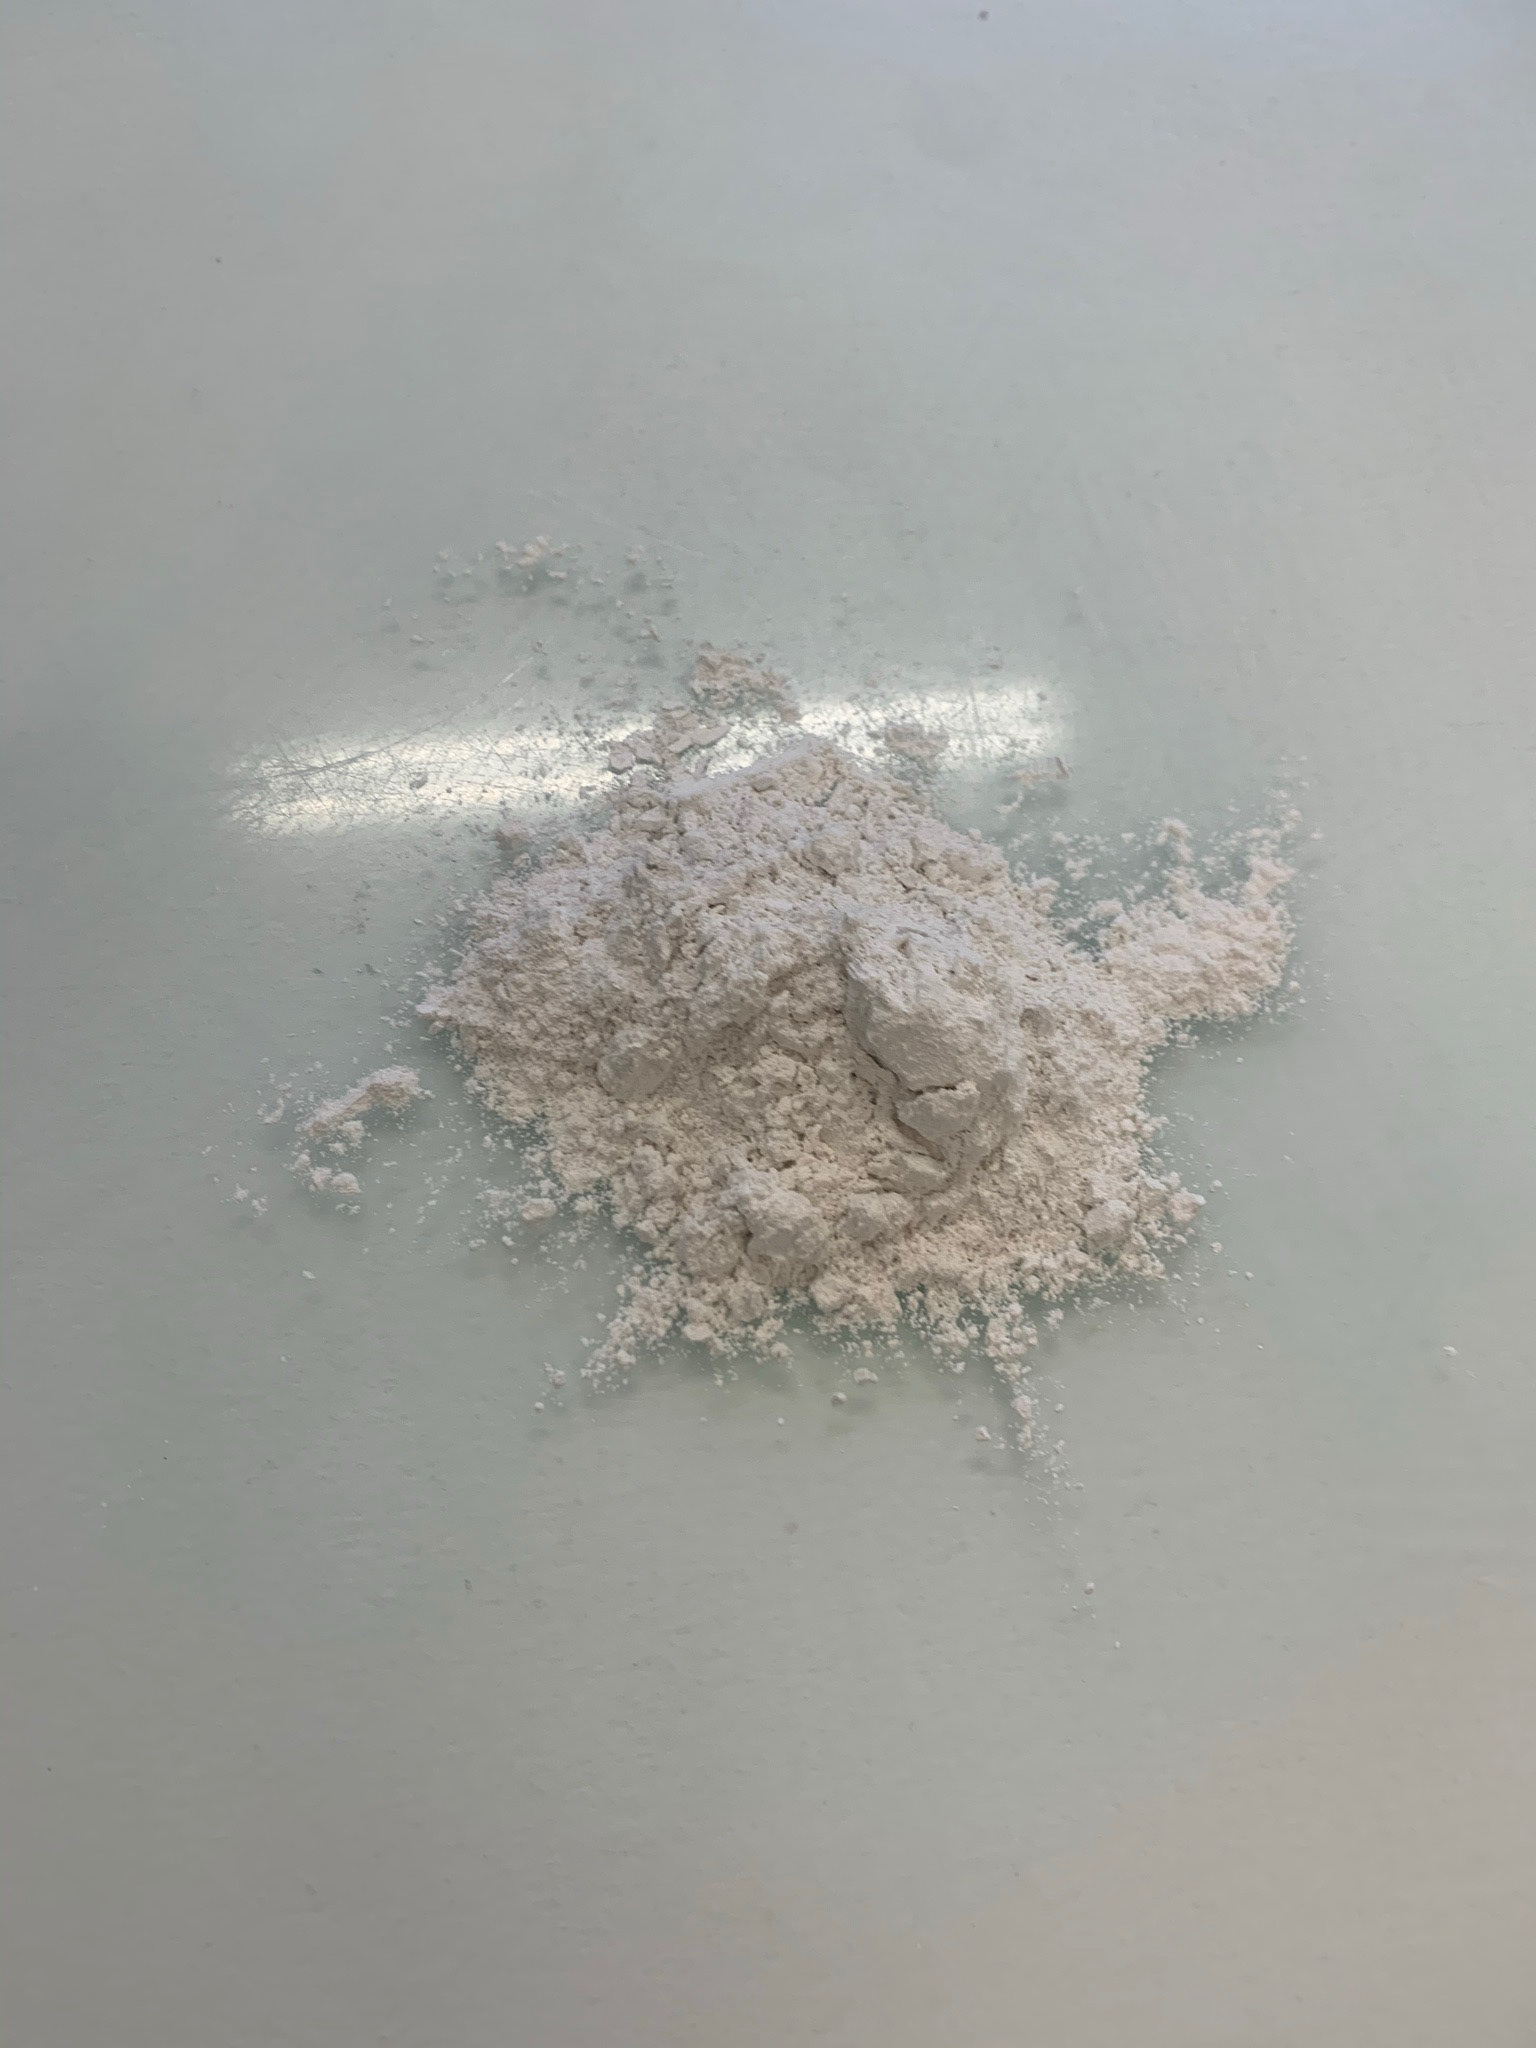

experimenting with plaster and exploring the basic skills that are needed, plaster is a powder material that when mixed with water has a liquid consistency, and thickens the more its mixed. The resulting paste can be applied to walls, cast, or once dried, carved. plaster is commonly used as it is very manuable and you are able to manipulate it into many different for. once dry it is also very durable and long lasting even though it gives a very fragile look.


here we explored different methods of joining a butt joint and a dado join, a butt join technique includes scratching into the plaster surfaces to create more surface area for a better join, then with mixing a new bit of plaster and using this as a 'glue' once this has dried and harden it would have joined the two pieces together. the next technique is used for a more secure and strong join, a dado join a square-grooved slot on one board where another board will fit. as it has 3 sides in contact it has more surface area making it more secure.


i created a big block of plaster, then cut it into smaller blocks this was challenging cutting hard plaster and getting accurate cuts. using a saw and water allowed for smooth cutting. to then make our blocks smooth and polished we rubbed them on the glass table as the small cuts on the table added as fine grating, smoothing out the plaster. using the joining techniques learned we then constructed a stacked object. using the 24 pieces i cut before i used the butt joining method to build a hexagon colosseum that was 4 stories high, having the scratch every piece and layer them on top of each other. i faced many challenges including getting the plaster glue to stick, as you have to work fast as it hardens quickly and your then unable to work with it, i also learned that its better to wet your plaster bricks as it allows the plaster to stick to it better.

Plaster ‘Blobmorphic’ Forms
for this activity we filled condoms with plaster to manipulate and create very organic forms that could be two separate pieces or balance each other out together.
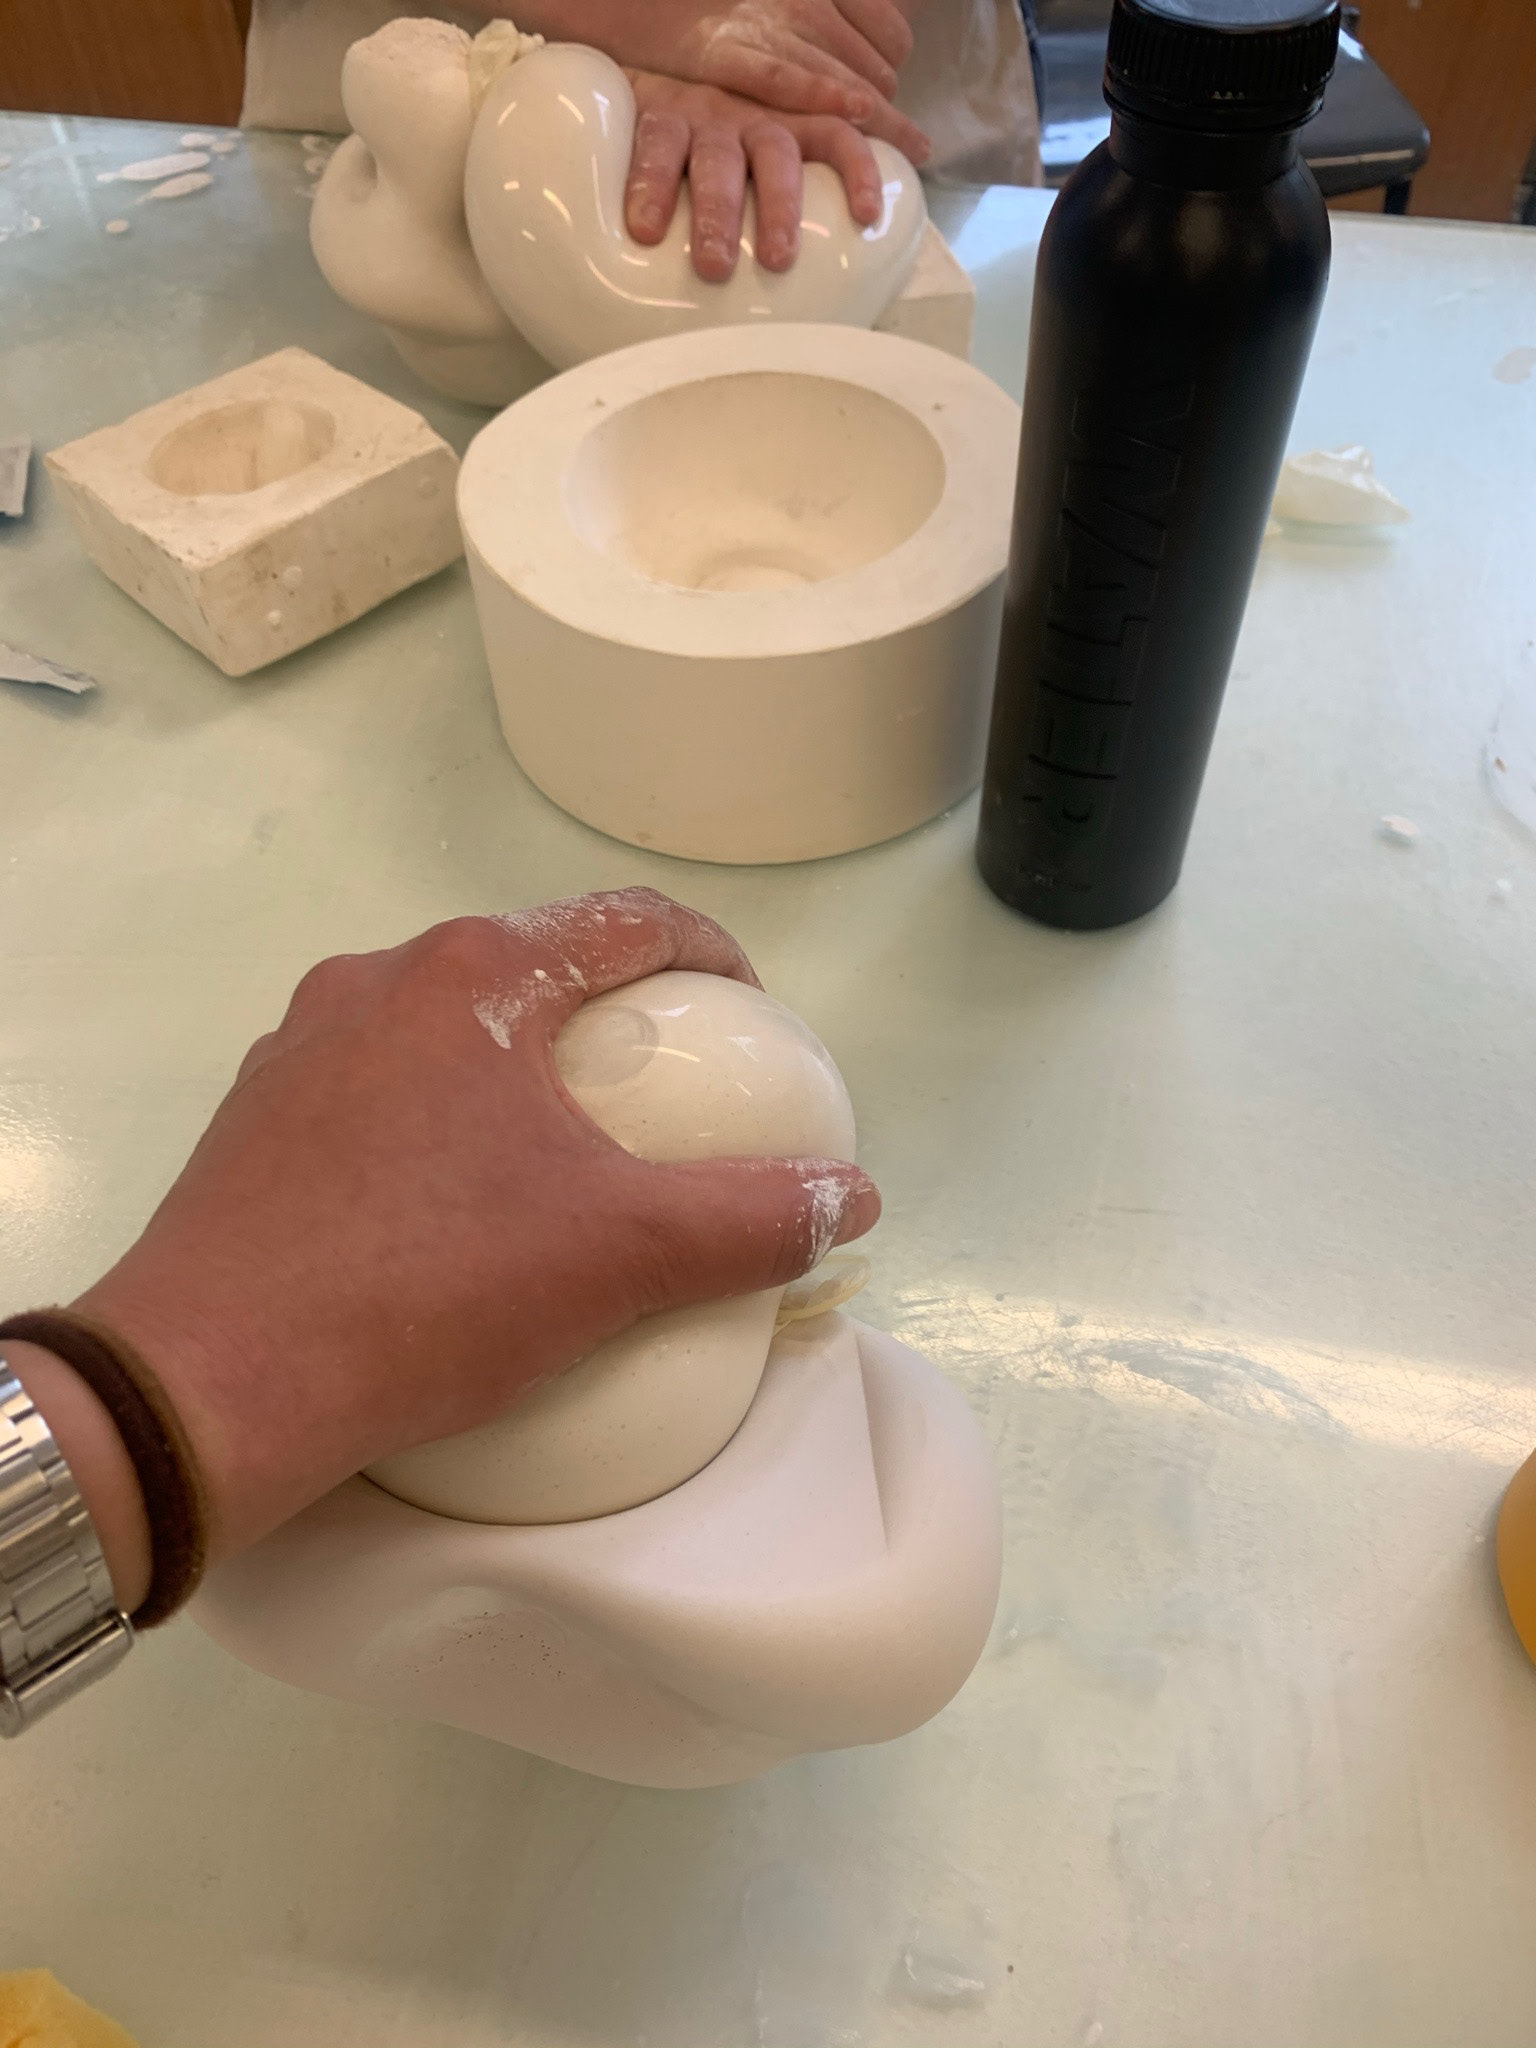


to complete my experiments i sanded and smoothed them down, i love the forms they mask being very natural and organic, hugging each other in place. they balance each other, but also work strong as individual pieces. i will be using these experiments to develop into drawing looking at the textures they have, bubbles trapped in the plaster, hand prints that formed the shapes. ill also look into the shadows they create and looking closely into there connecting points.

3 minutes basic sketch

1 minute looking into where they touch

2 minutes 1 line no overlapping

4 minutes 1 line

3 minutes only textures

2 minutes just the shadows
plaster sledging

layering the thick plaster

a lazer cut former

plastering the top form on top

the two sledged forms
plaster sledging, is the process of mixing a thick plaster consistency and piling it on a work surface. then with a lazed former in a frame is glided smoothy across the plaster this begins to form the plaster in to the lazed form shape.

2 minutes birds eye view
-experimenting with clay-
Clay Pinch and Coil Pots


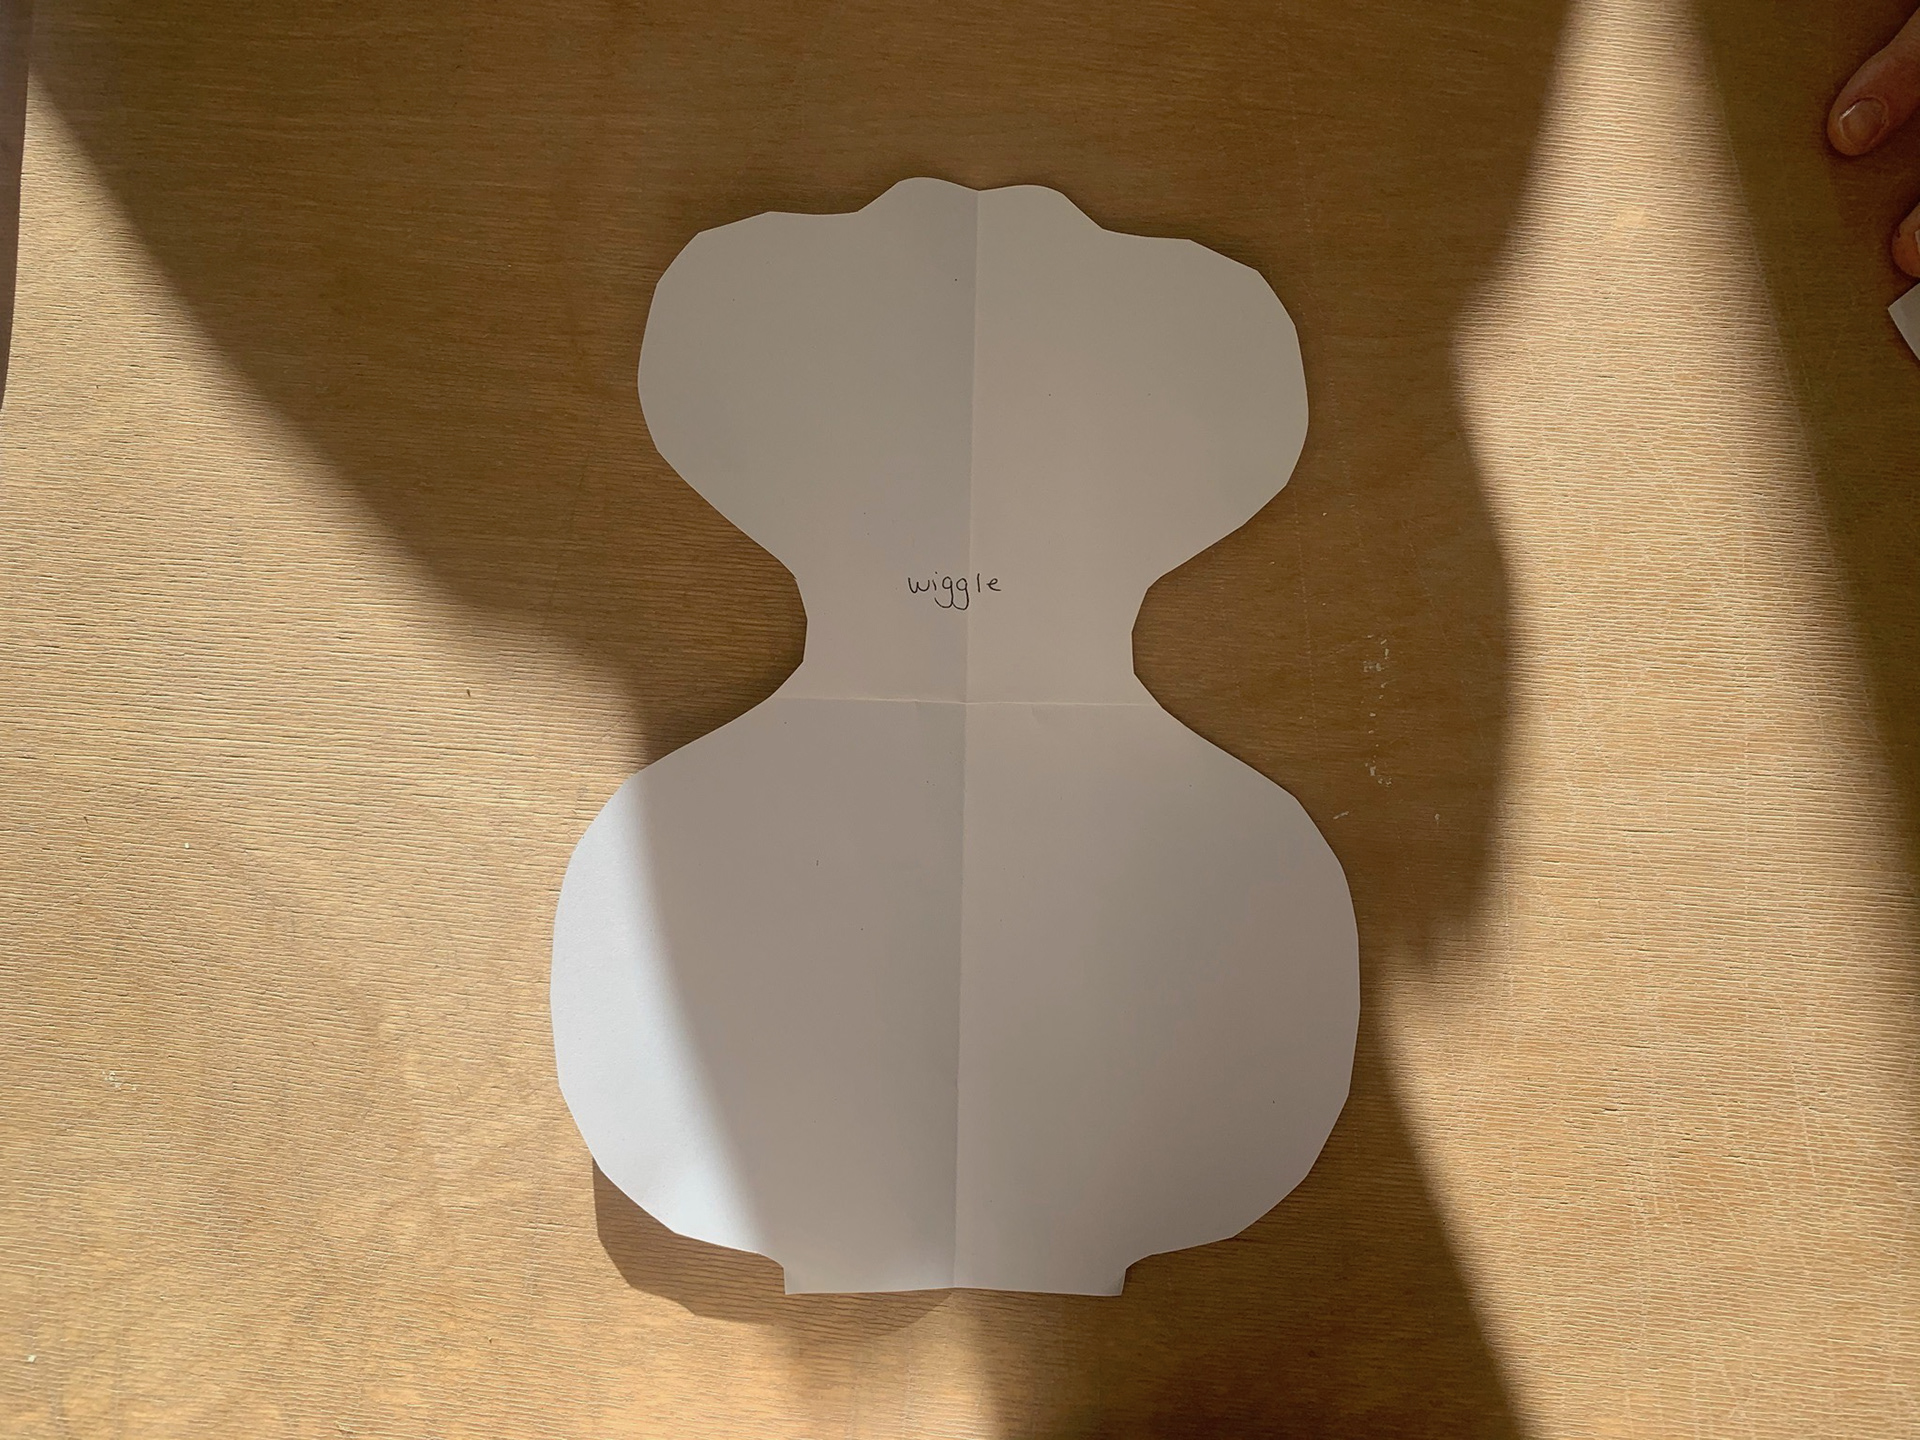

THIS THIS EXPERIMENT WE HAD A4 PAPER AND CUT A DESIGN INTO IT WE THEN ADDED ADJECTIVES AND HAD TO USE THESE WORDS AND incorporate IT INTO OUR WORK. THE WORD I WAS GIVEN WAS ROLL, TOO ADD THIS ACTION INTO MY WORK I USED THE COIL technique IN MY WORK, ROLLING COILS AND LAYERING THEM ONTOP OF EACH OTHER TO GIVE STRUCTURE TO THE POT. I FIND THIS TECHiQUE VERY INTREsTING TO USE, I THIS IN THIS PROCESS AS WE ONLKY HAD A COUPLE OF HOURS IT DIDN'T ALLOW THE CLAY TO SET PROPERLY SO THE CLAY COULNT HOLD AND SUPPORT THE CLAY ON TOP VERY WELL. HOWEVER THIS IS A VERY EFFECTIVE METHOD AND IT EASY TO MANIPULATE THE CLAY INTO YOUR DESIRED SHAPE.


AS A GROUP ACTIVITY WE THEN ALL DIVIDED OUR POTS AND USING OUR ACTION ADDED THEM INTO A BIGGER SCULPTURE ROLLING OR TUMBLING CLAY TOGETHER. THIS CREATED A VERY STRANGE AND DETAILED SCULPTURE THAT incorporate ALL OUR INDIVIDuAL PEICES


USIGN OUR LEFT OVER SECTION OF OUR POTS WE WERE THEN CHALLENGED TO MAKE OR ADD A PEICE OF RED CLAY TO OUR WORK THAT COMPLIMENTS AND HARmOMISE EACH OTHEr.


THE TWO DIFFeRENT COLOURS OF CLaYS COMPLIMENT EACH OTHER REALLY WELL AND CAN BEEN SEEN WHERE I ADDED MY CLAY. I HAD THE BOTTOM HALF OF MY POT LEFT WHICH WAS CURVED AND ARCHED I THOUGHT CREATING THE RED CLAY IN TO BARS THAT FOLLOW ITS CURVE WOULD WORK WELL TOGETHER. I ALSO ADDED A LOT OF TEXTURE TO MY CRANK CLAY AS THIS OPPOSED THE SMOOTH AND DELICATE bars that ran the length of the piece.


EXPLORING TEXTURES AND COLOURED SLIP
slip clay is similar to paint for clay, it consists of clay which is submerged in water and mixed to give a thick paint consistency. slip is usually used for decorating pottery adding colour or texture slip is very diverse in its applications and outcomes. coloured slips usually contain oxides or metals however the slips i used are naturally coloured from the different clays i used.


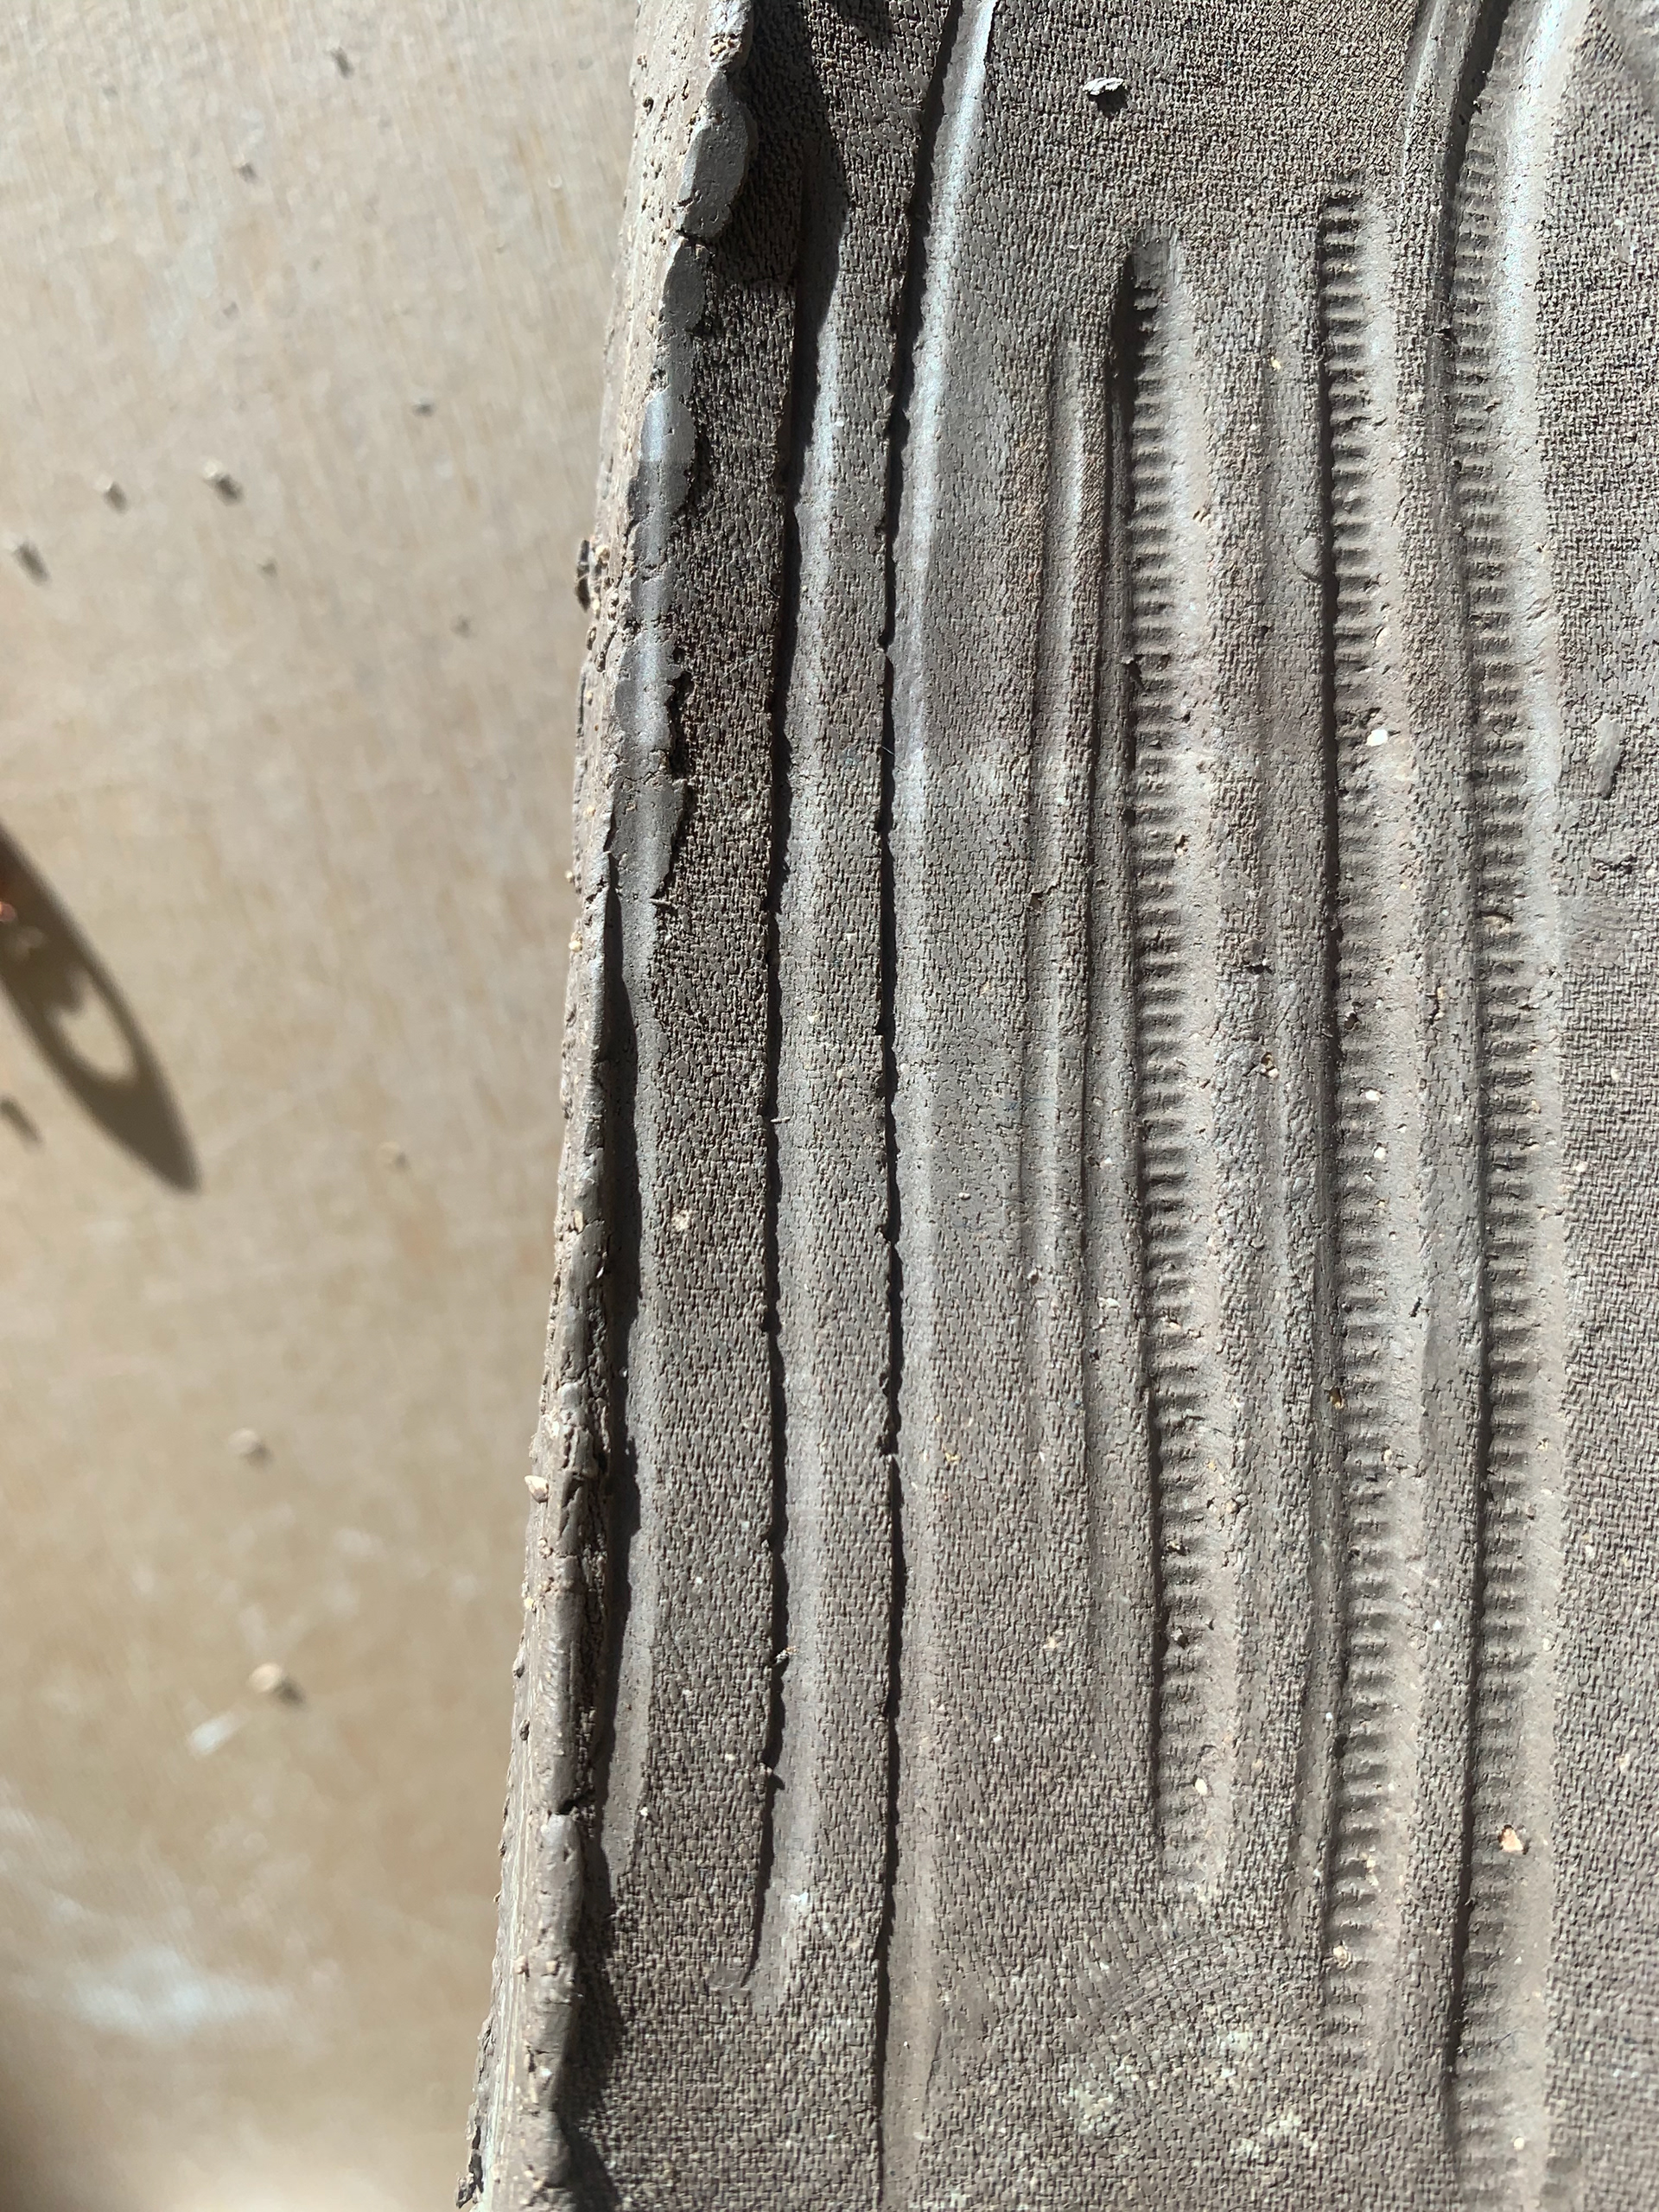

exploring with different textures and working them with the clay, i used diffrent found object including twisted wire, sponges, bottle lids, shells and then clay tools.


