

Final Coloured Clay

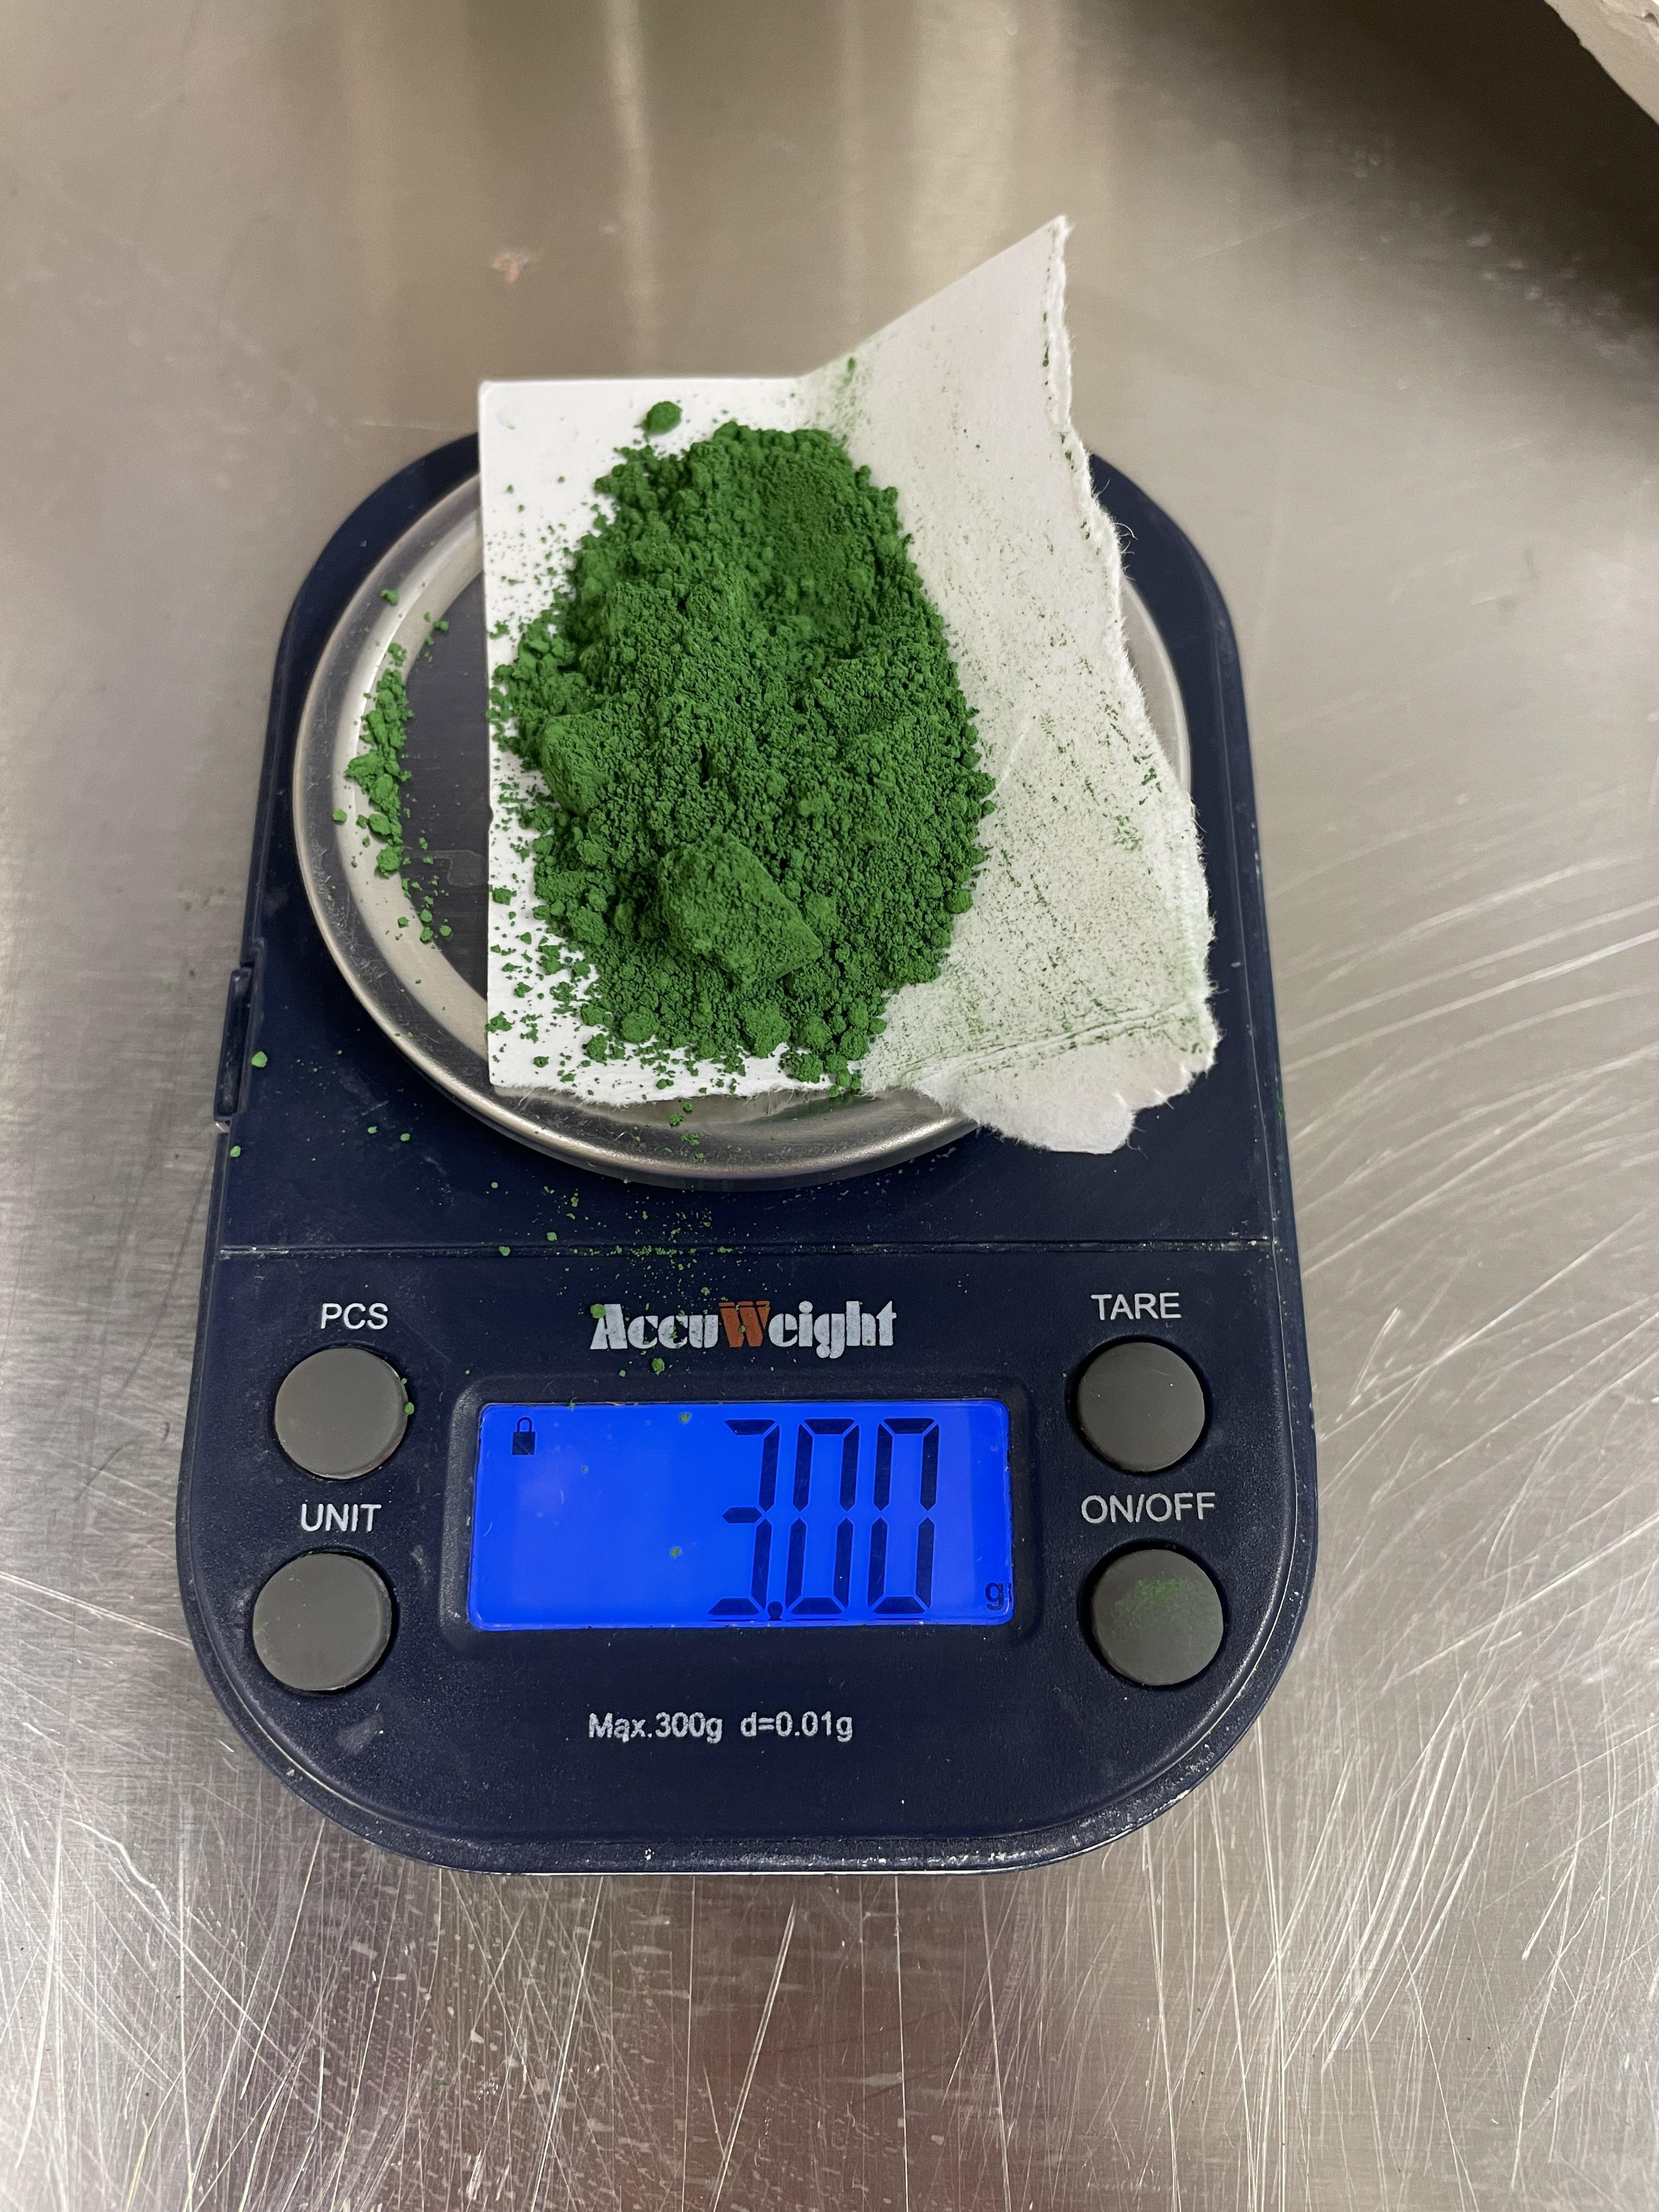
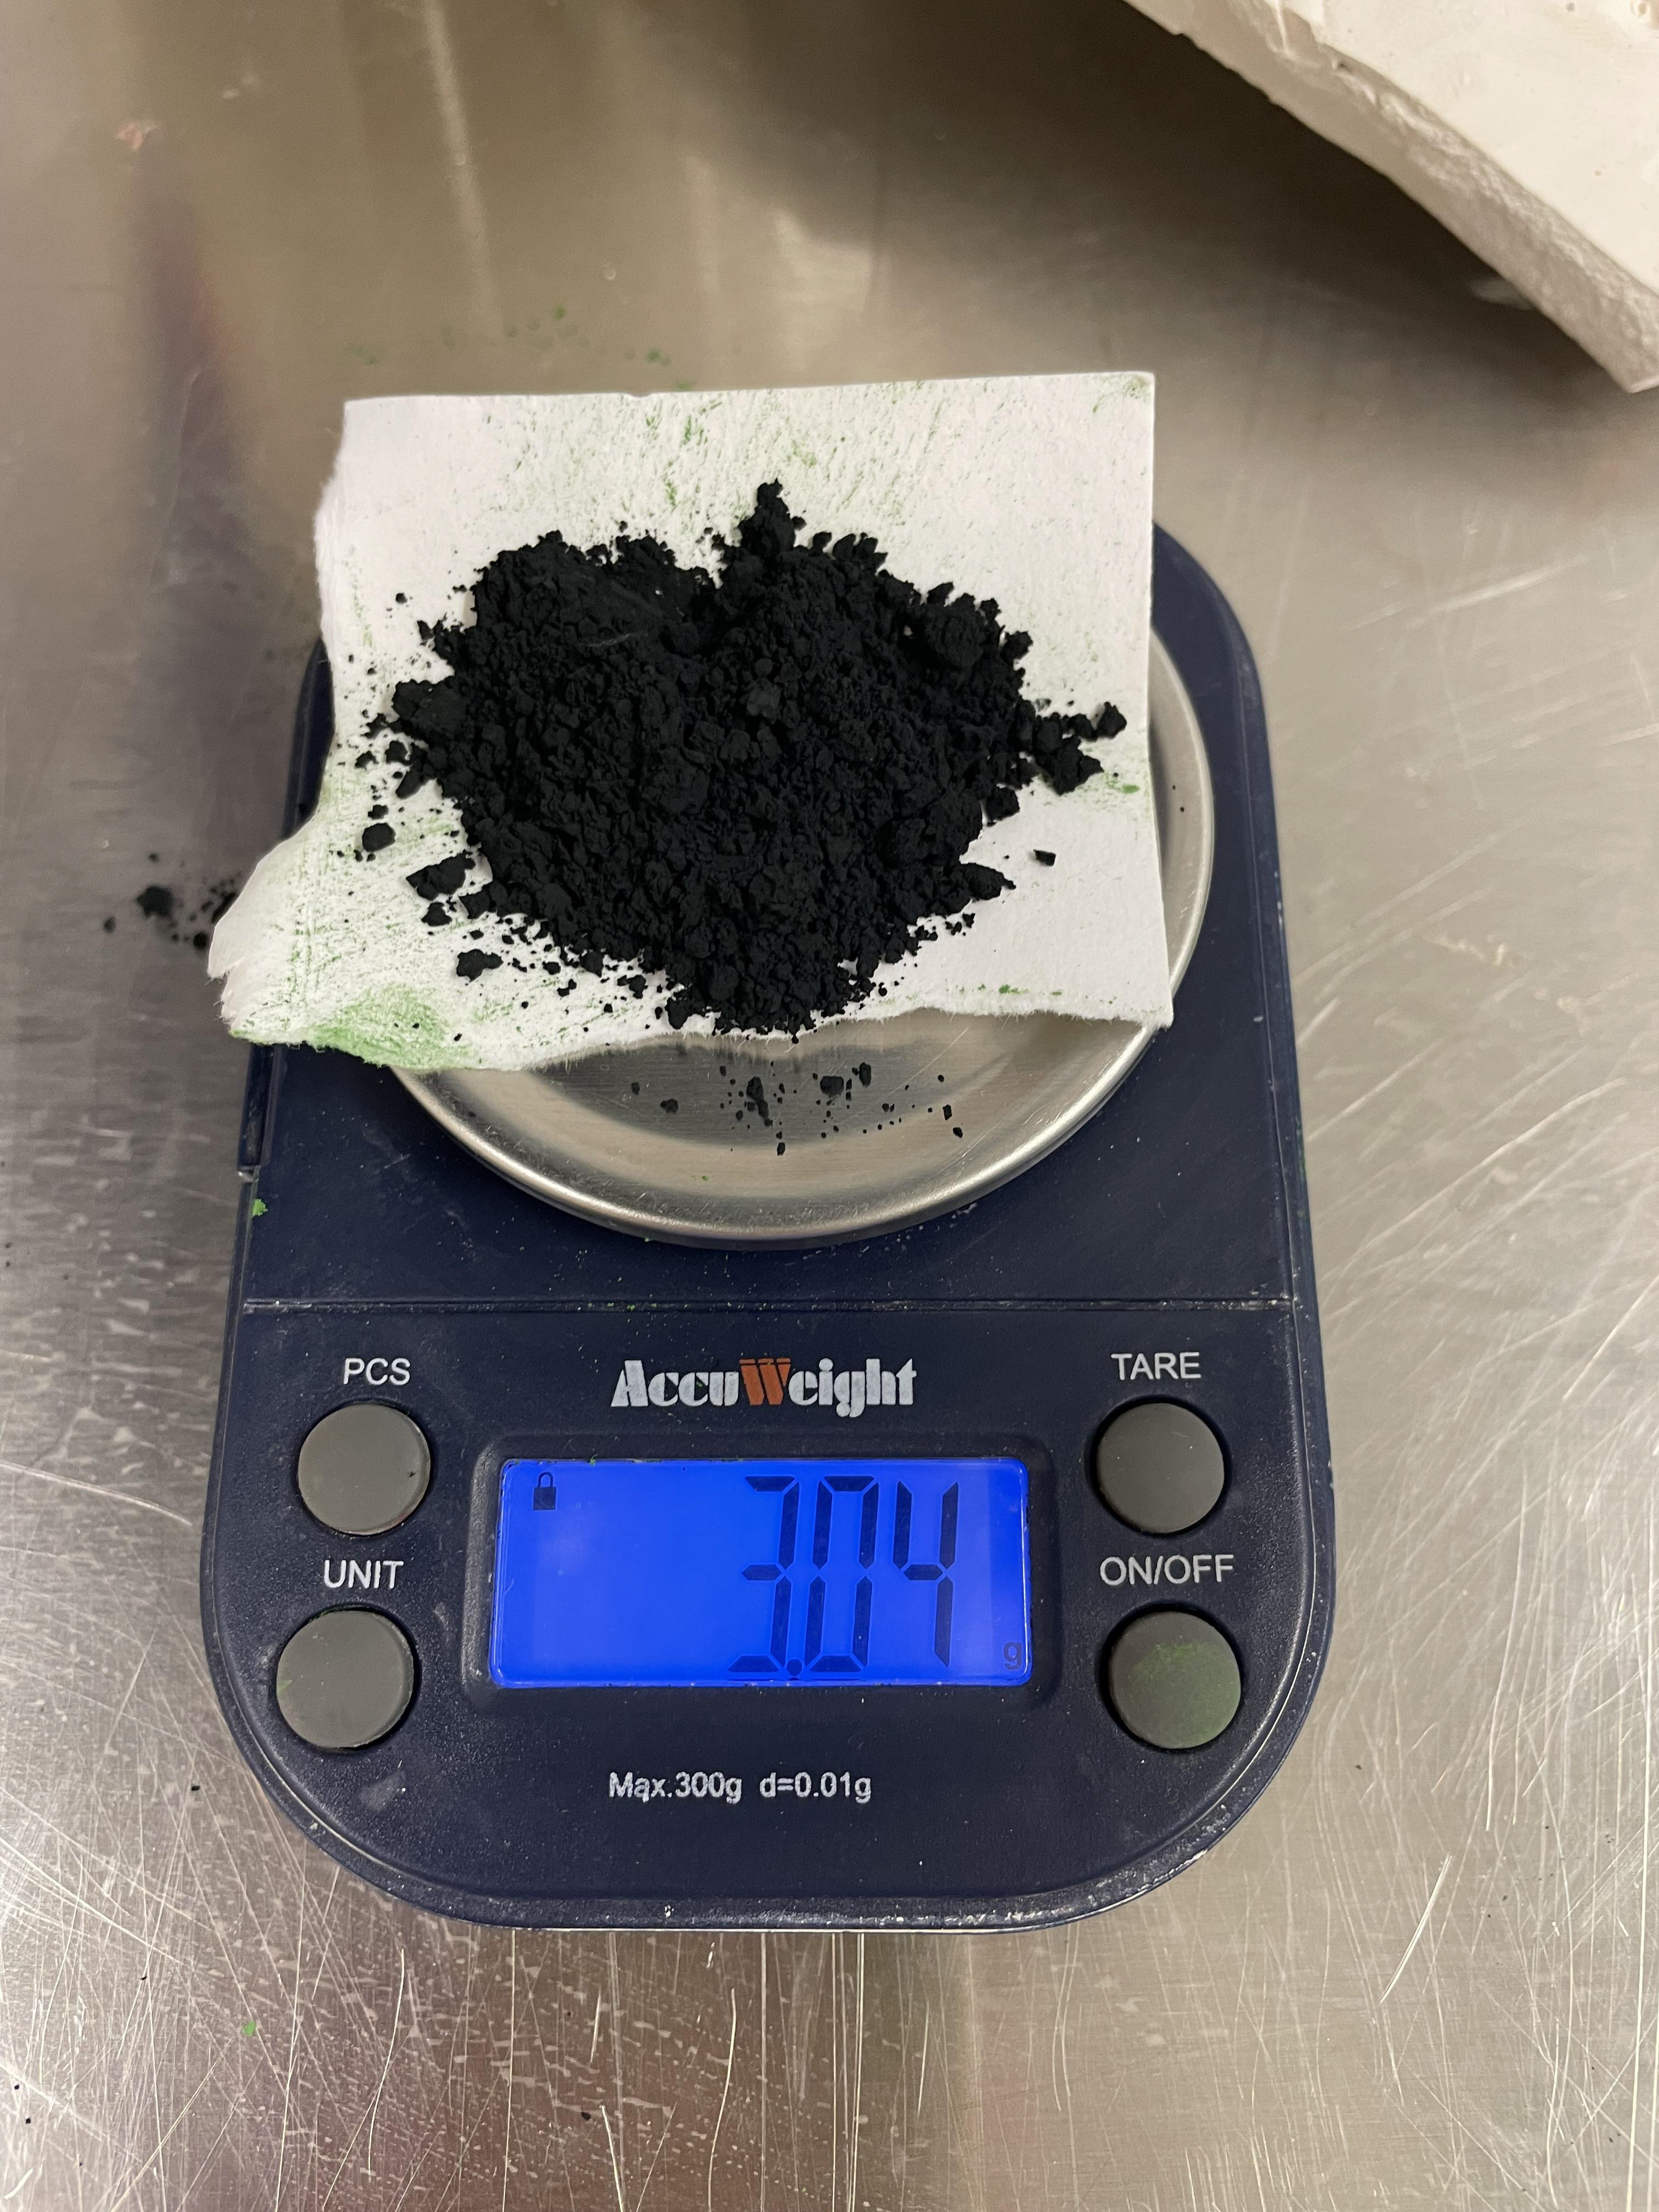
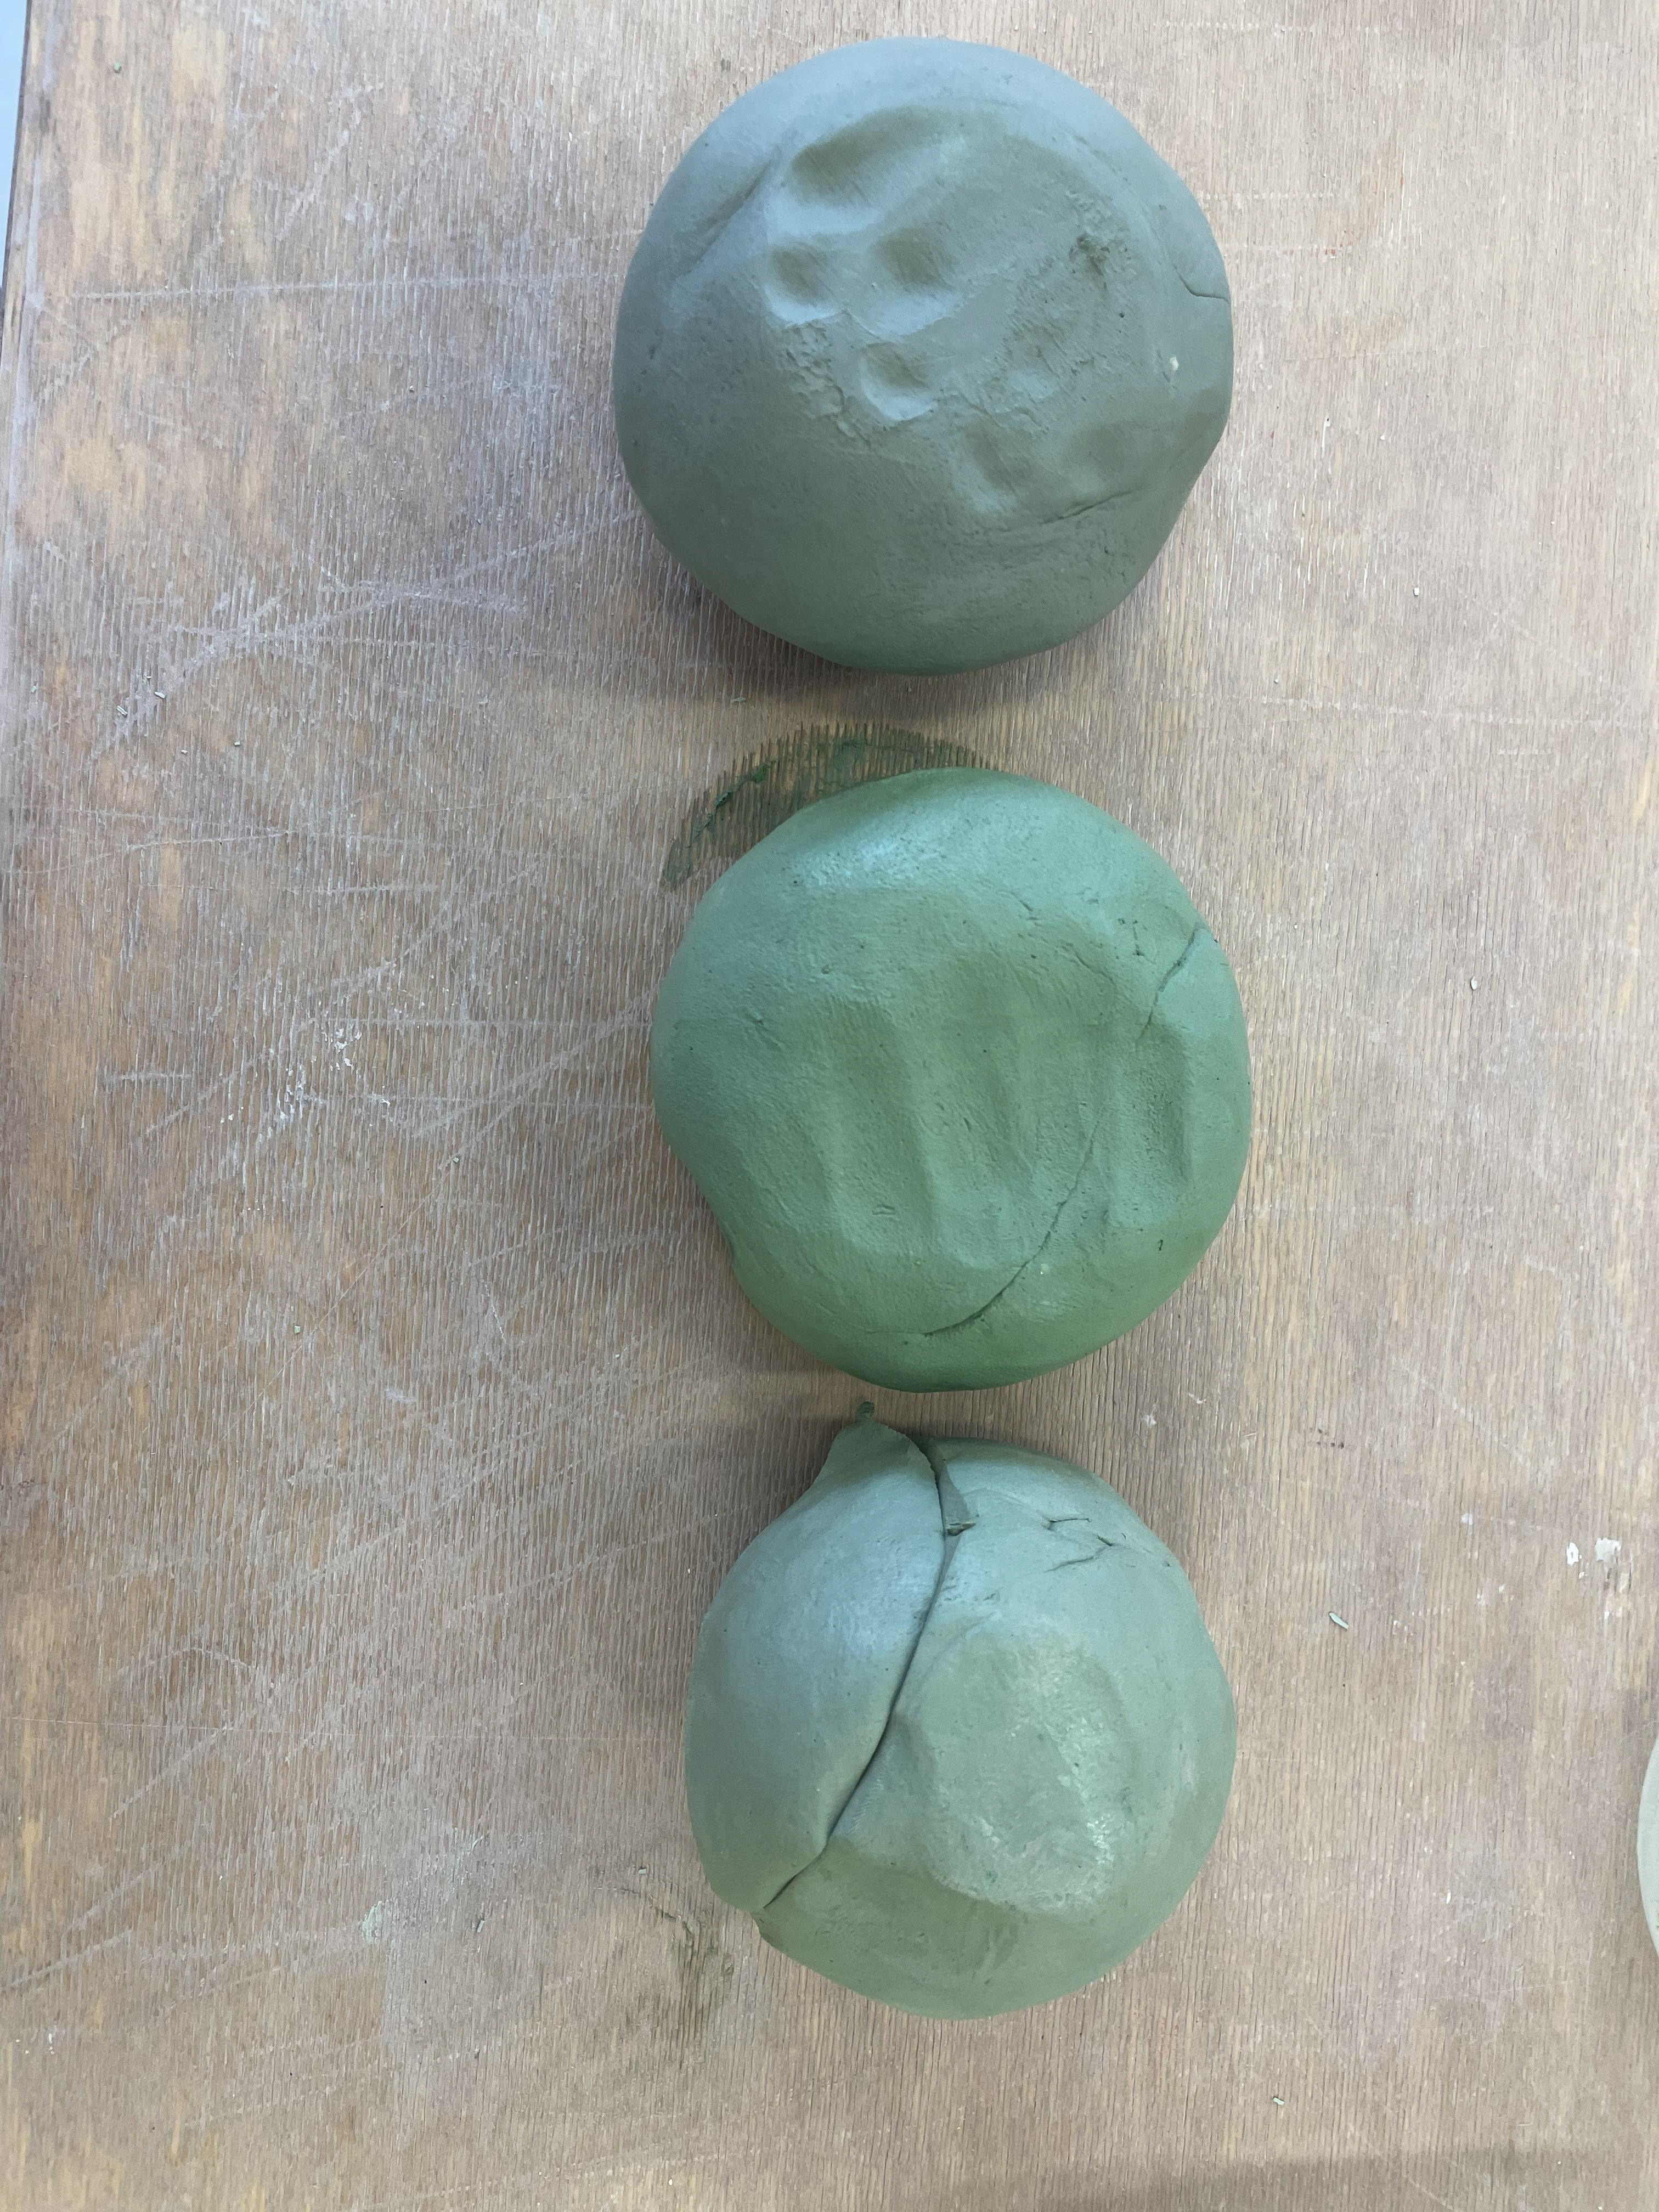
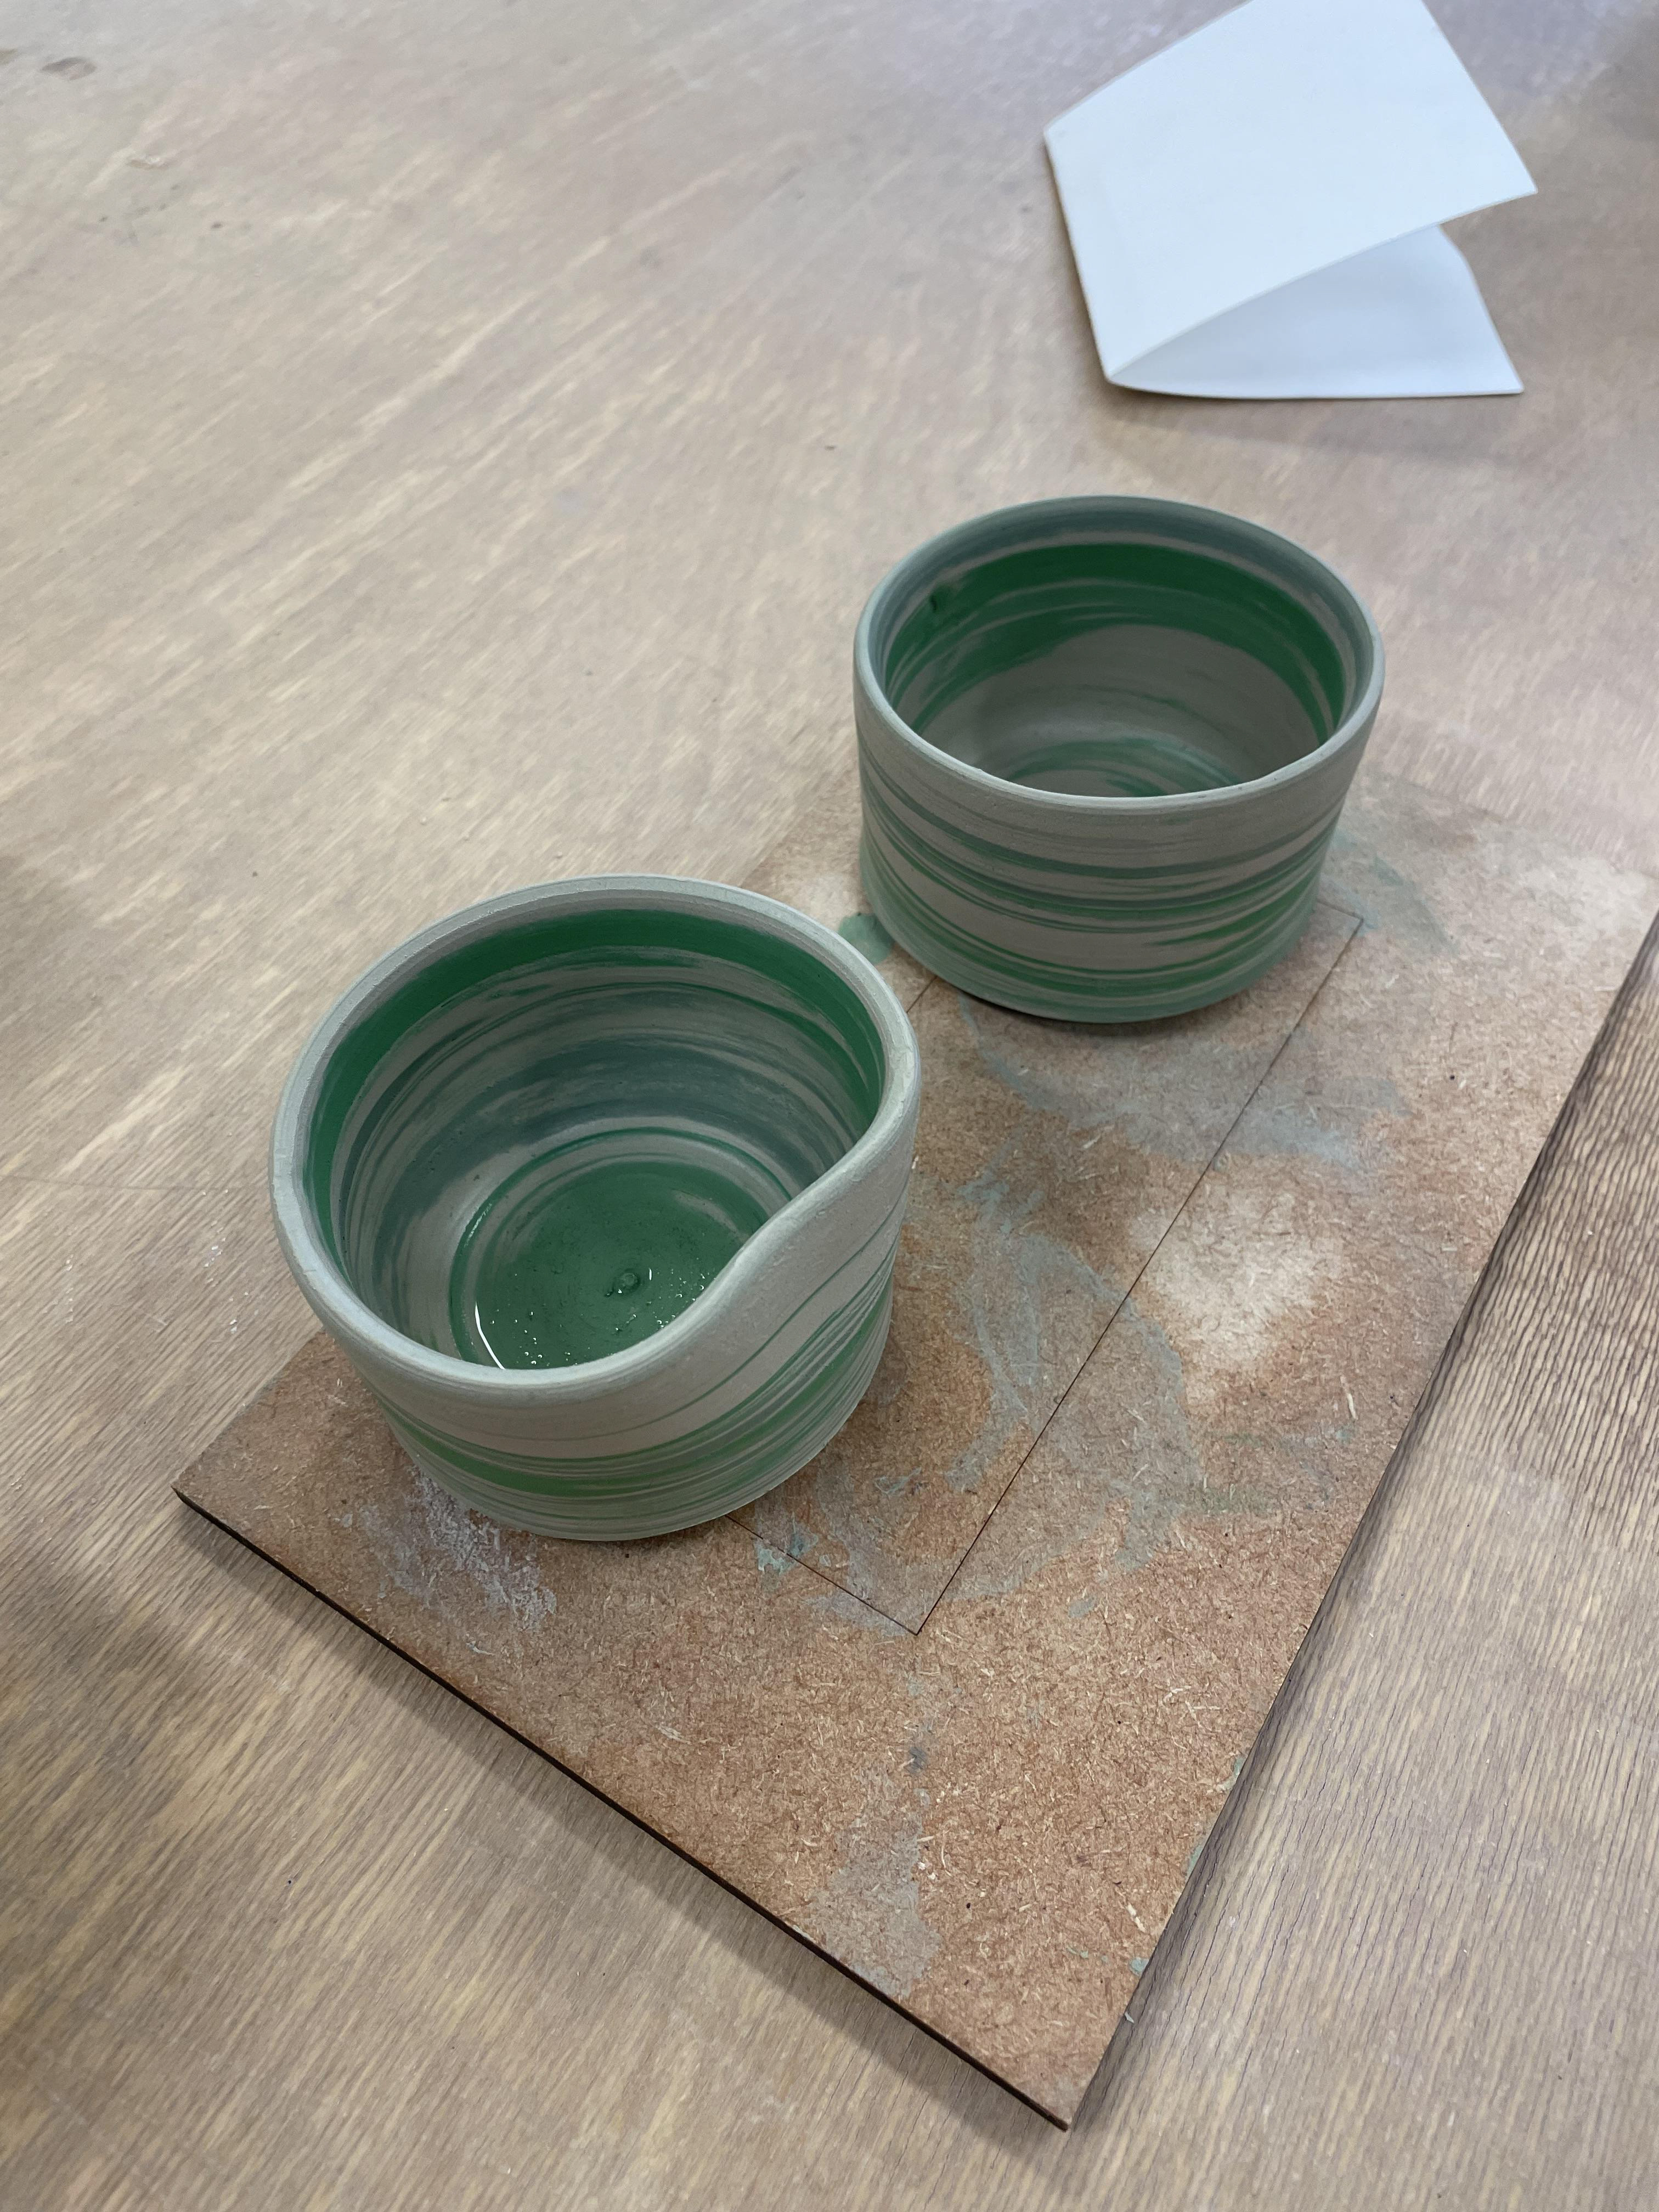
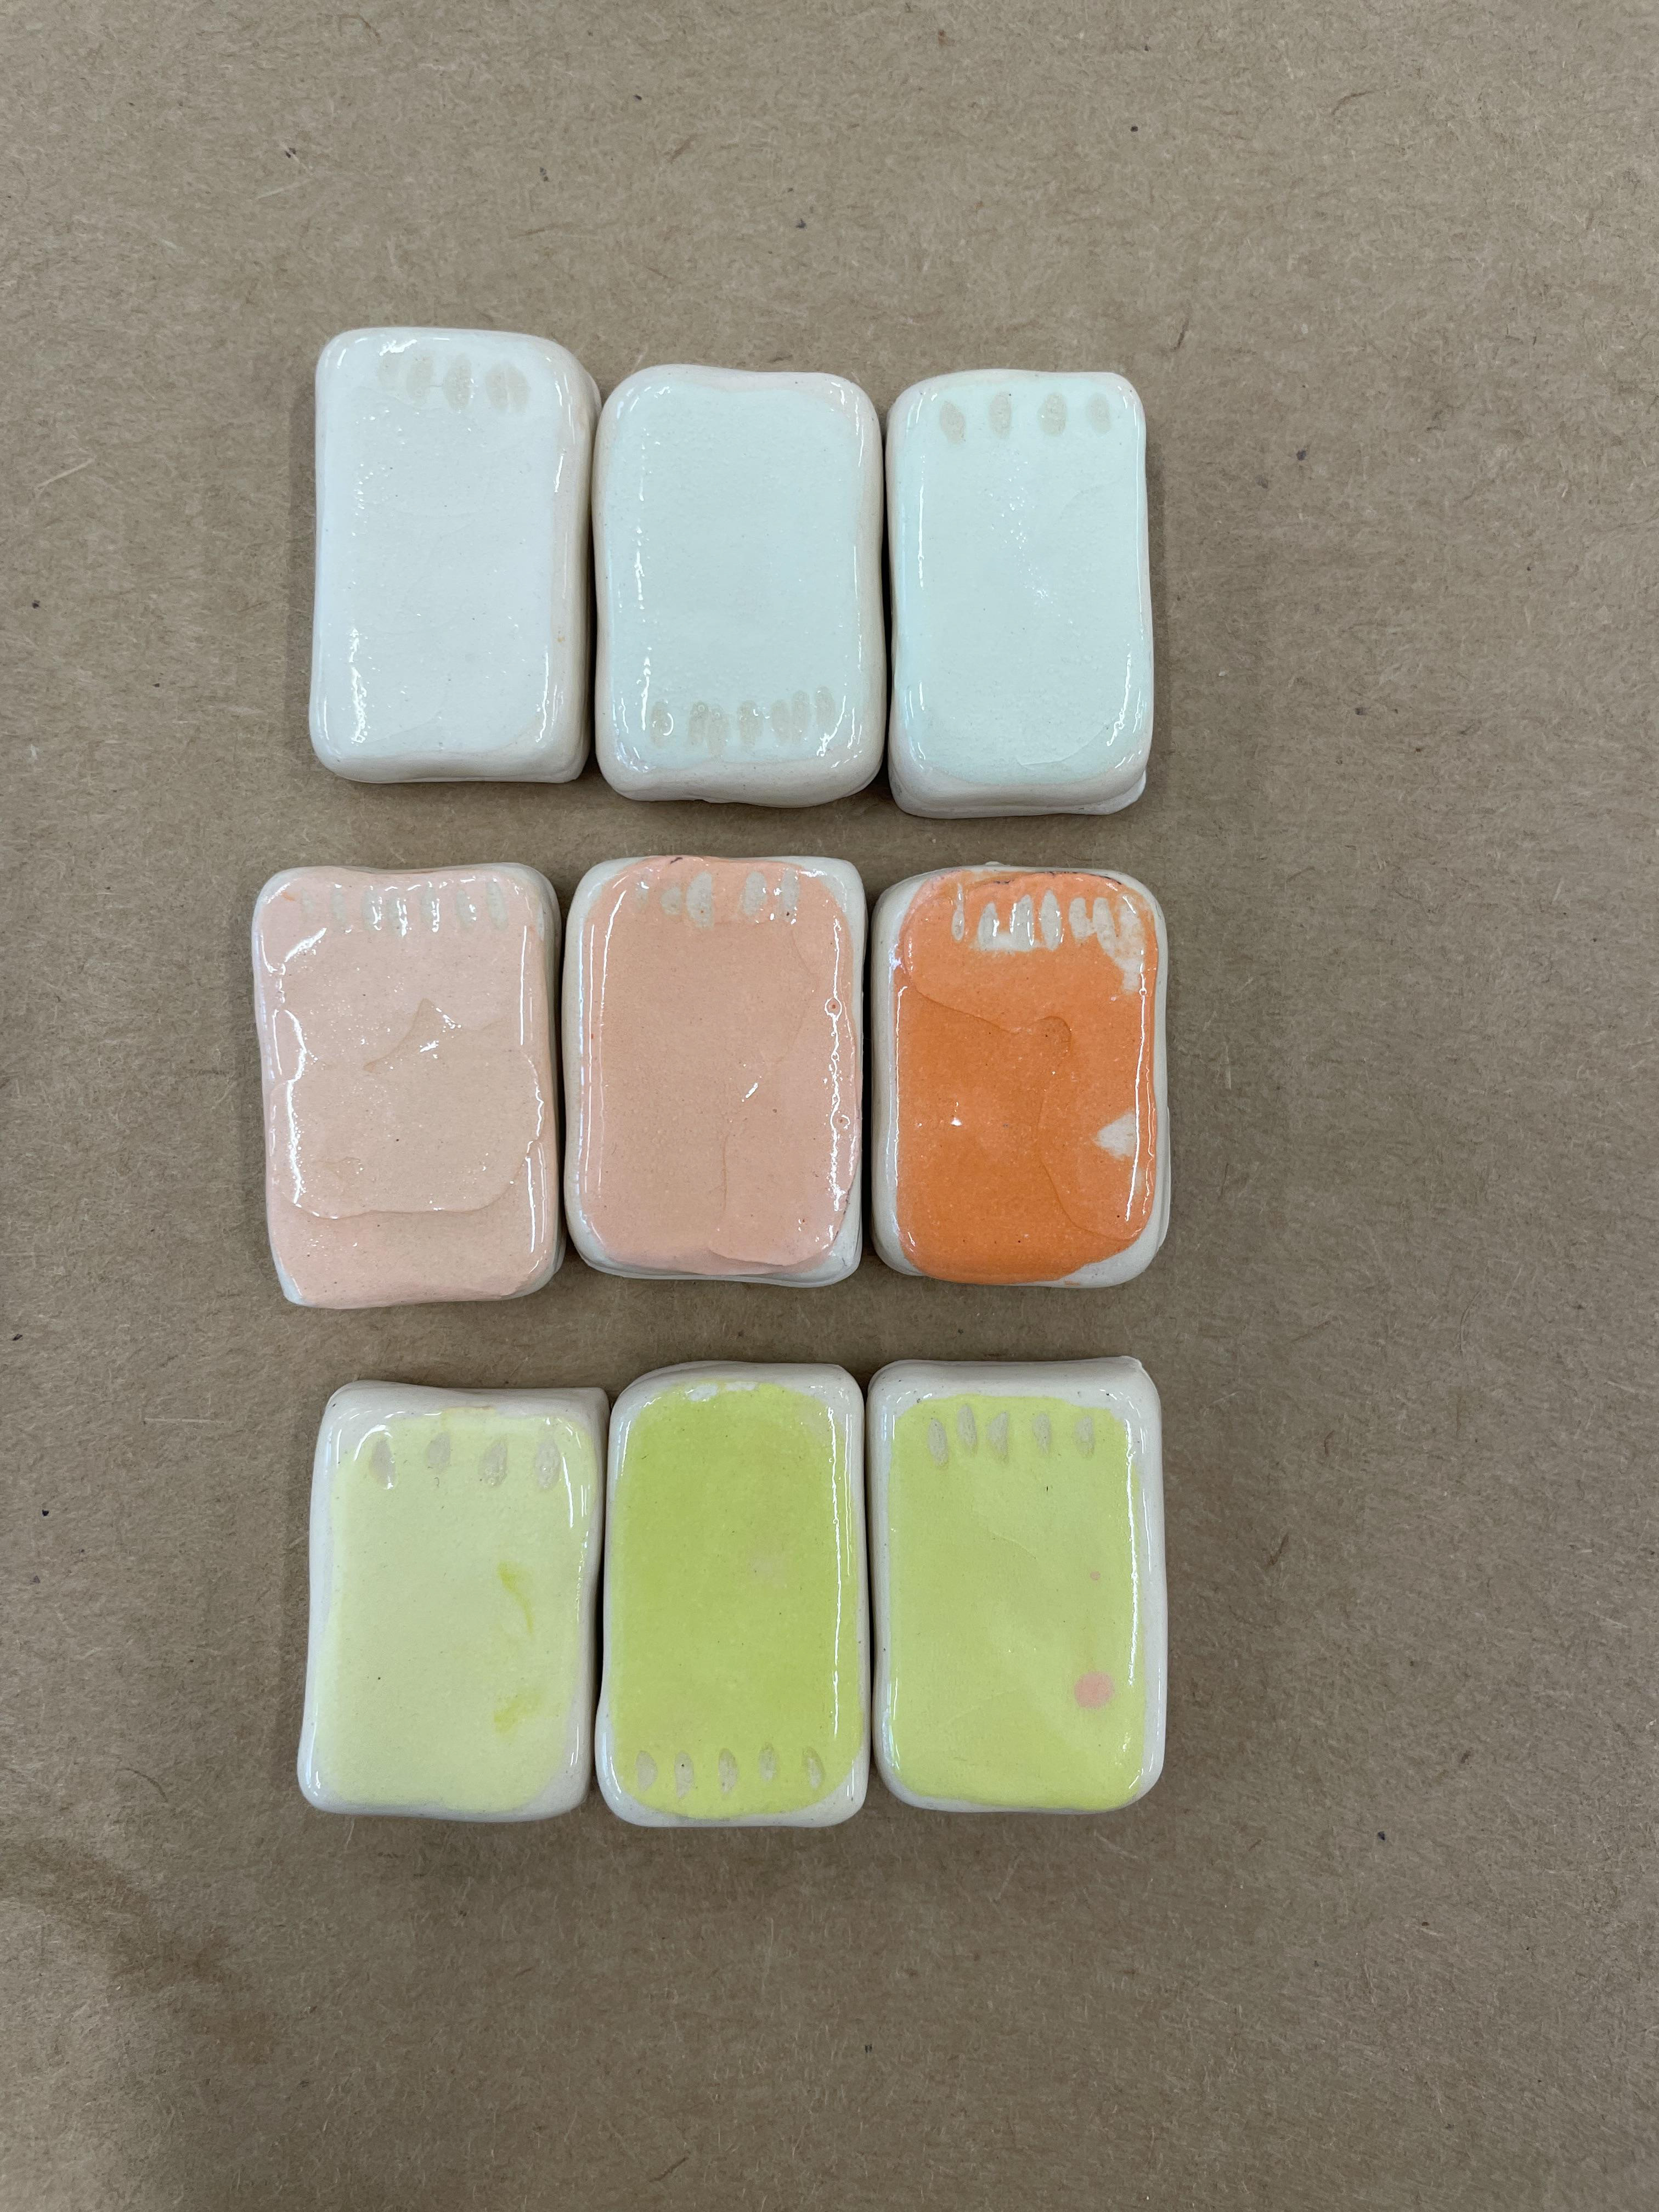
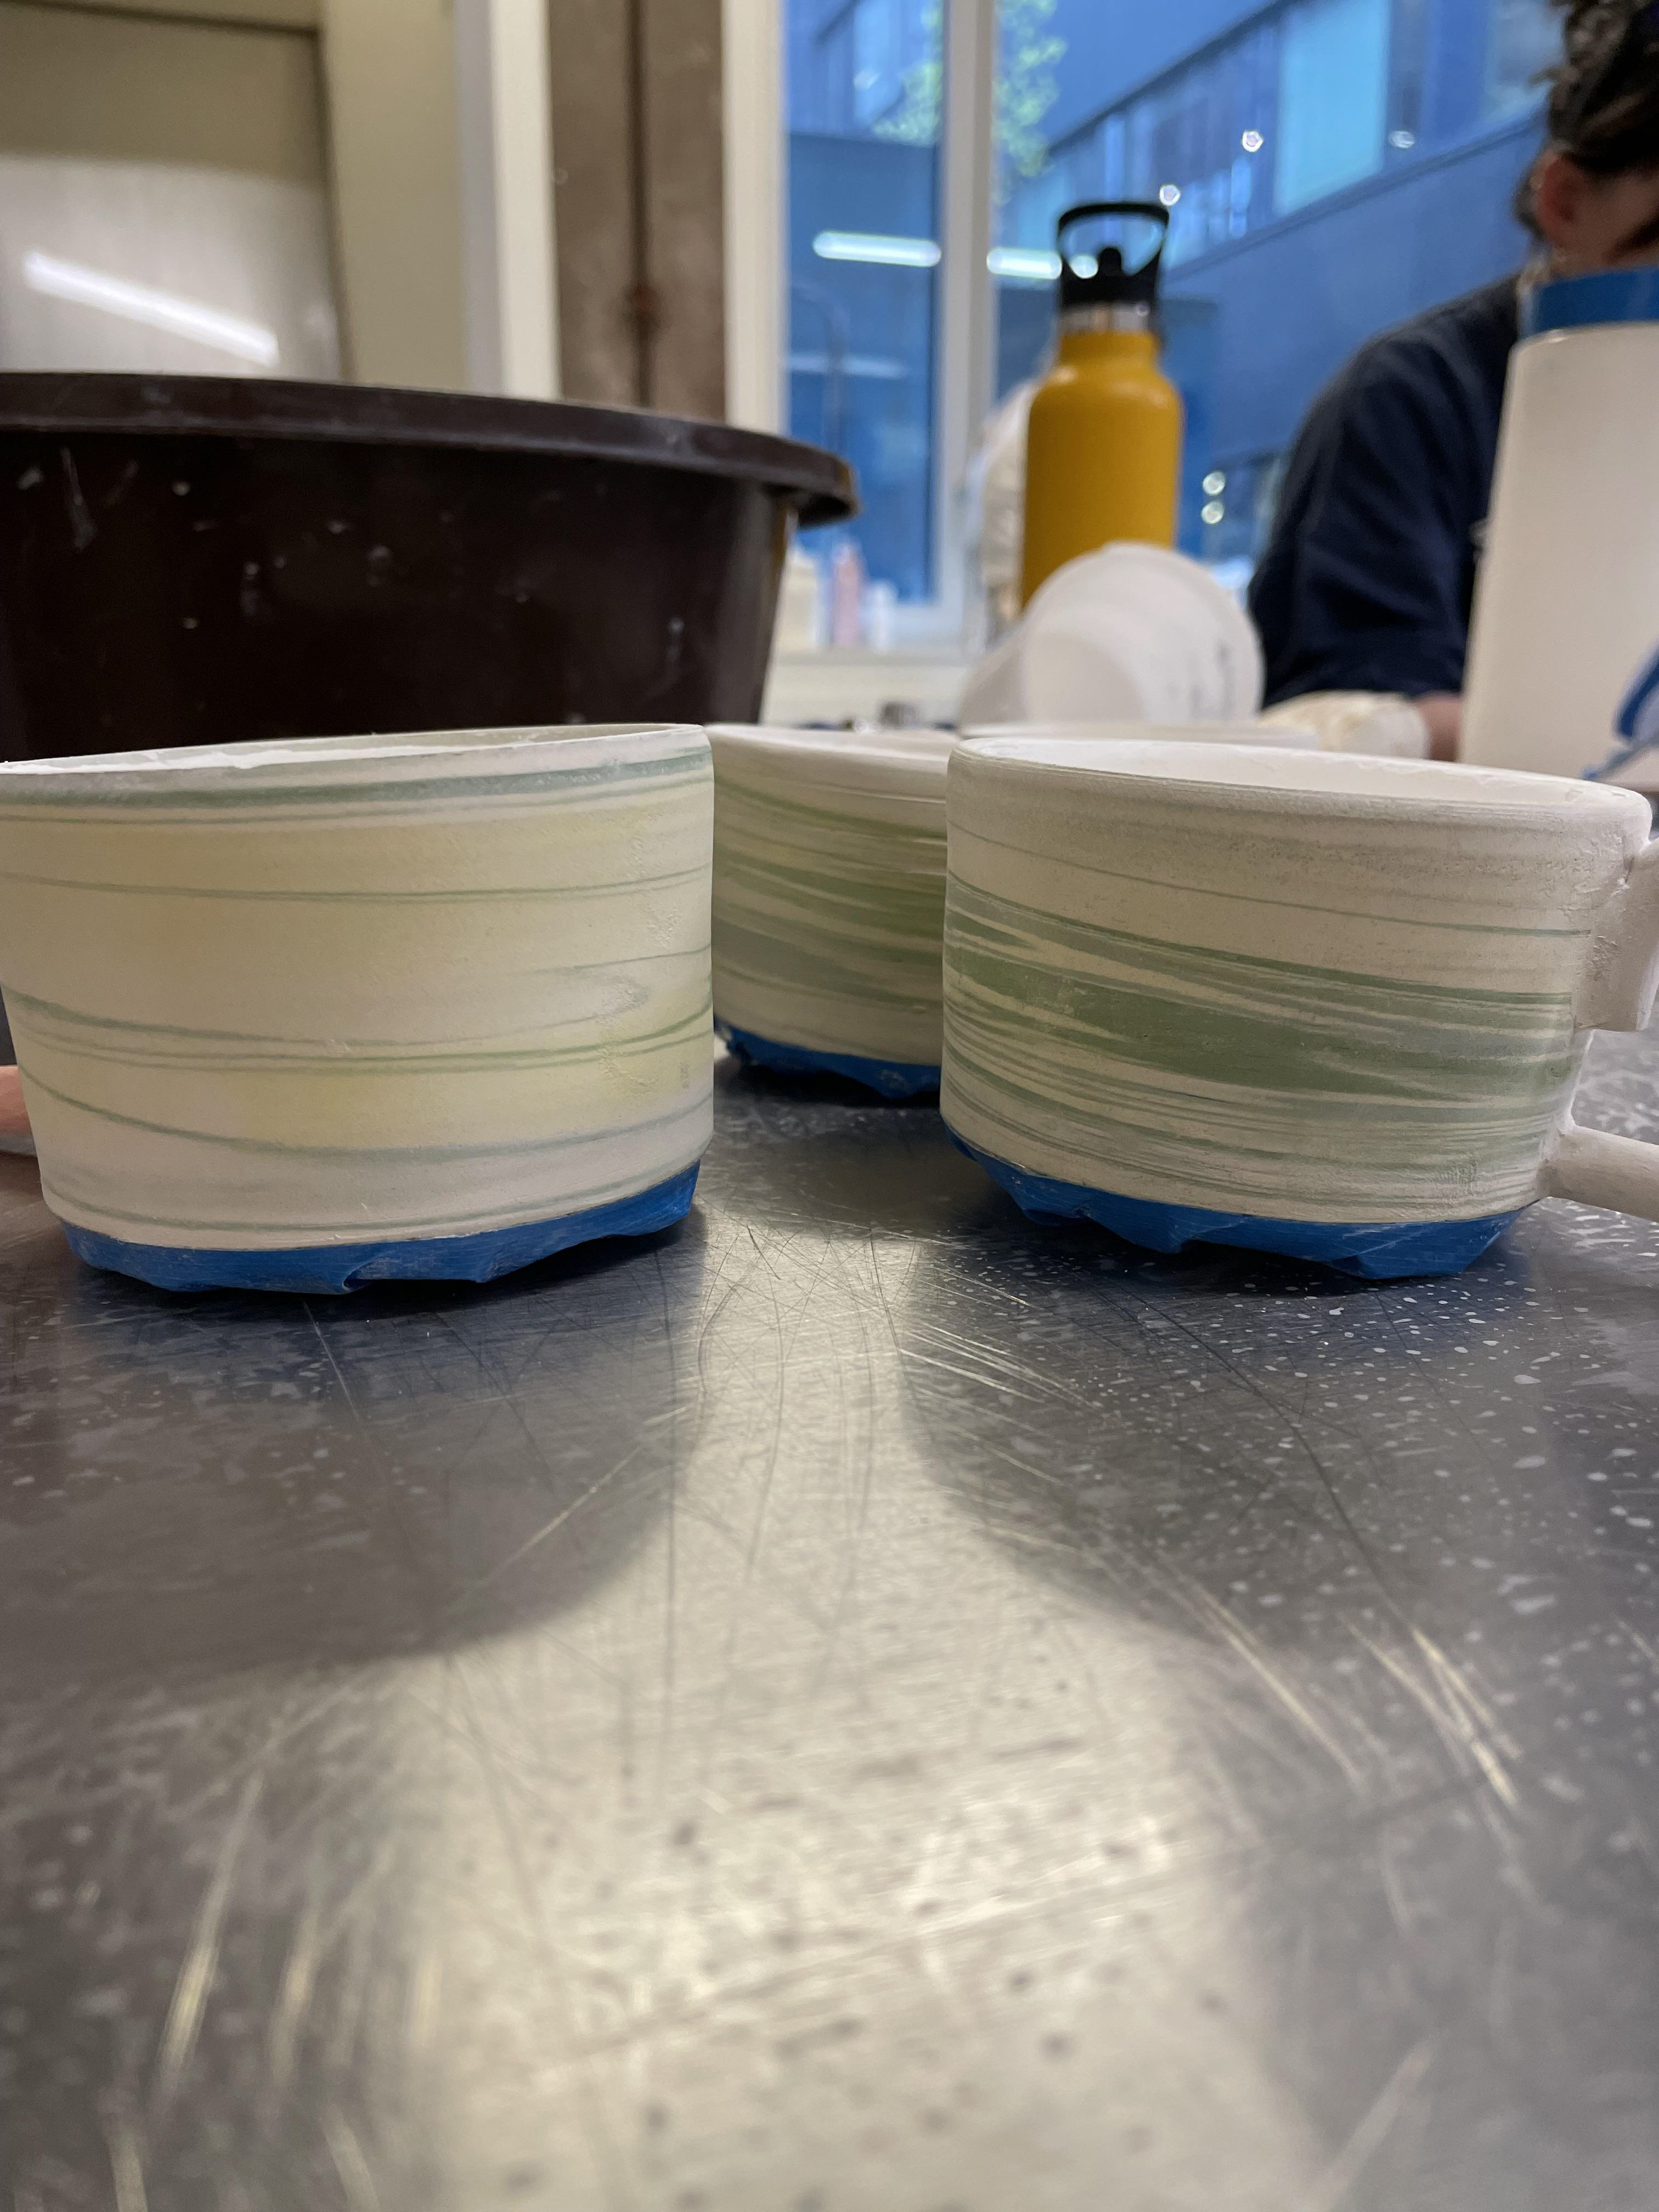
After lots of sampling with different coloured clays, saturations, firings, and amounts in the mugs, I decided to refine my coloured clay to three coloured samples, which will be thrown throughout all my pieces. Using chromium oxide 1%, chromium oxide 2%, and a 50/50 mix of cobalt and chromium oxide, these three colours blended in well and reflected the best of the natural parks, which informed my colour pallet.
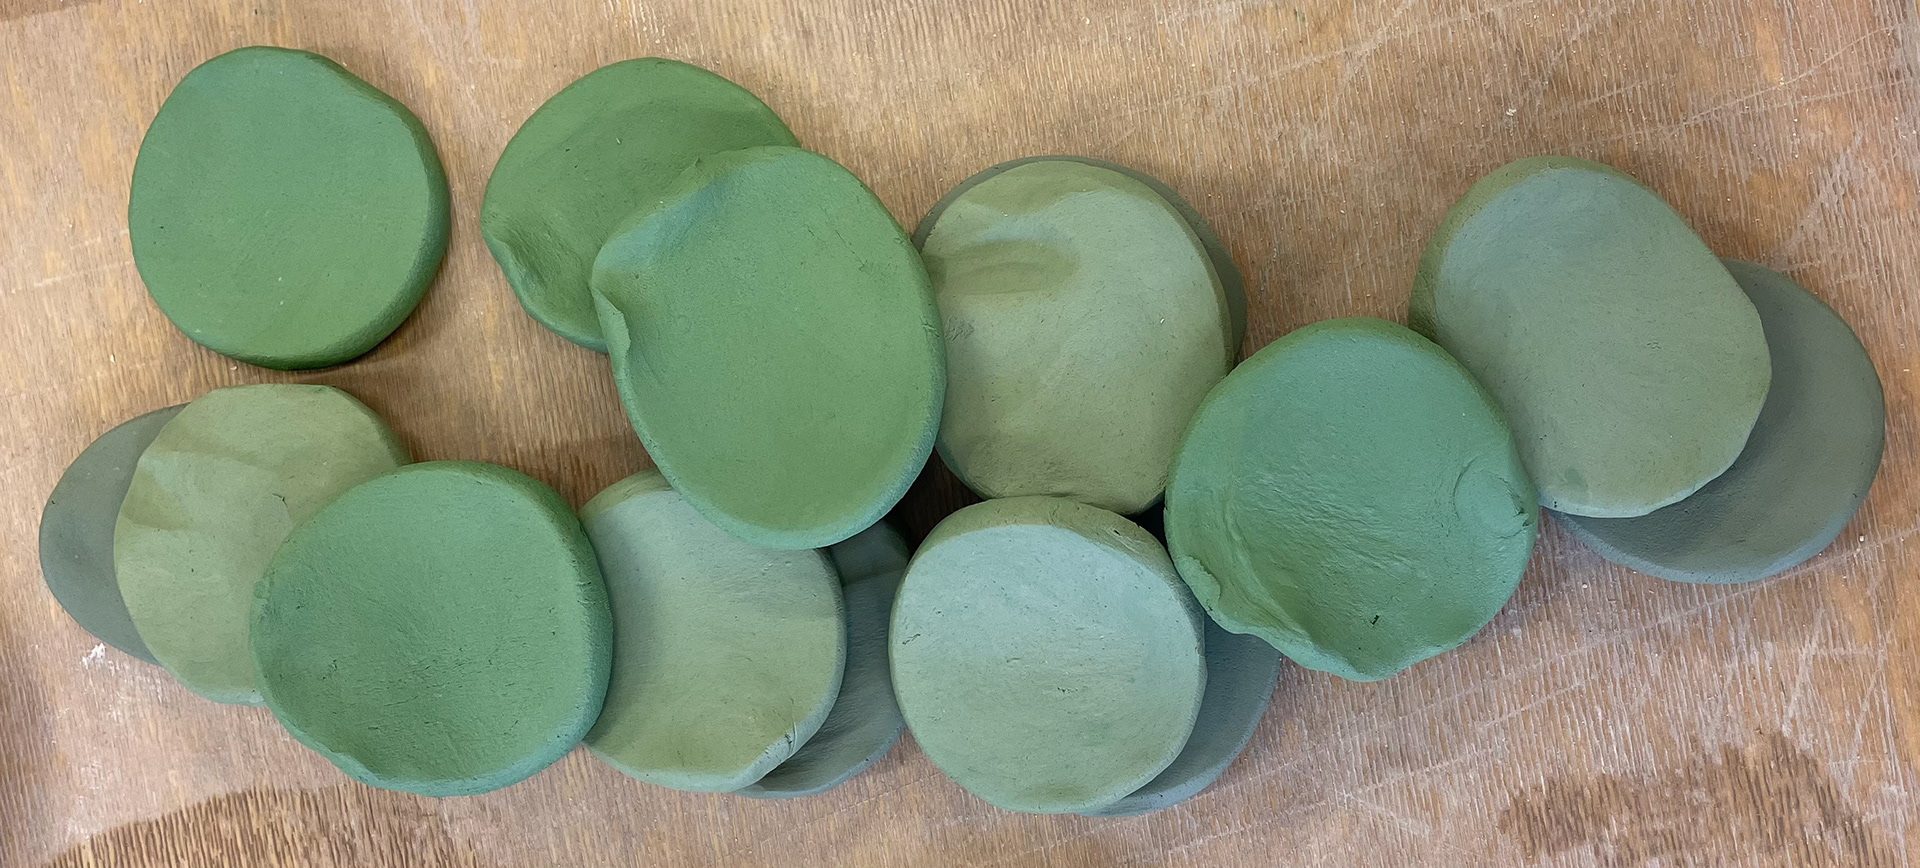
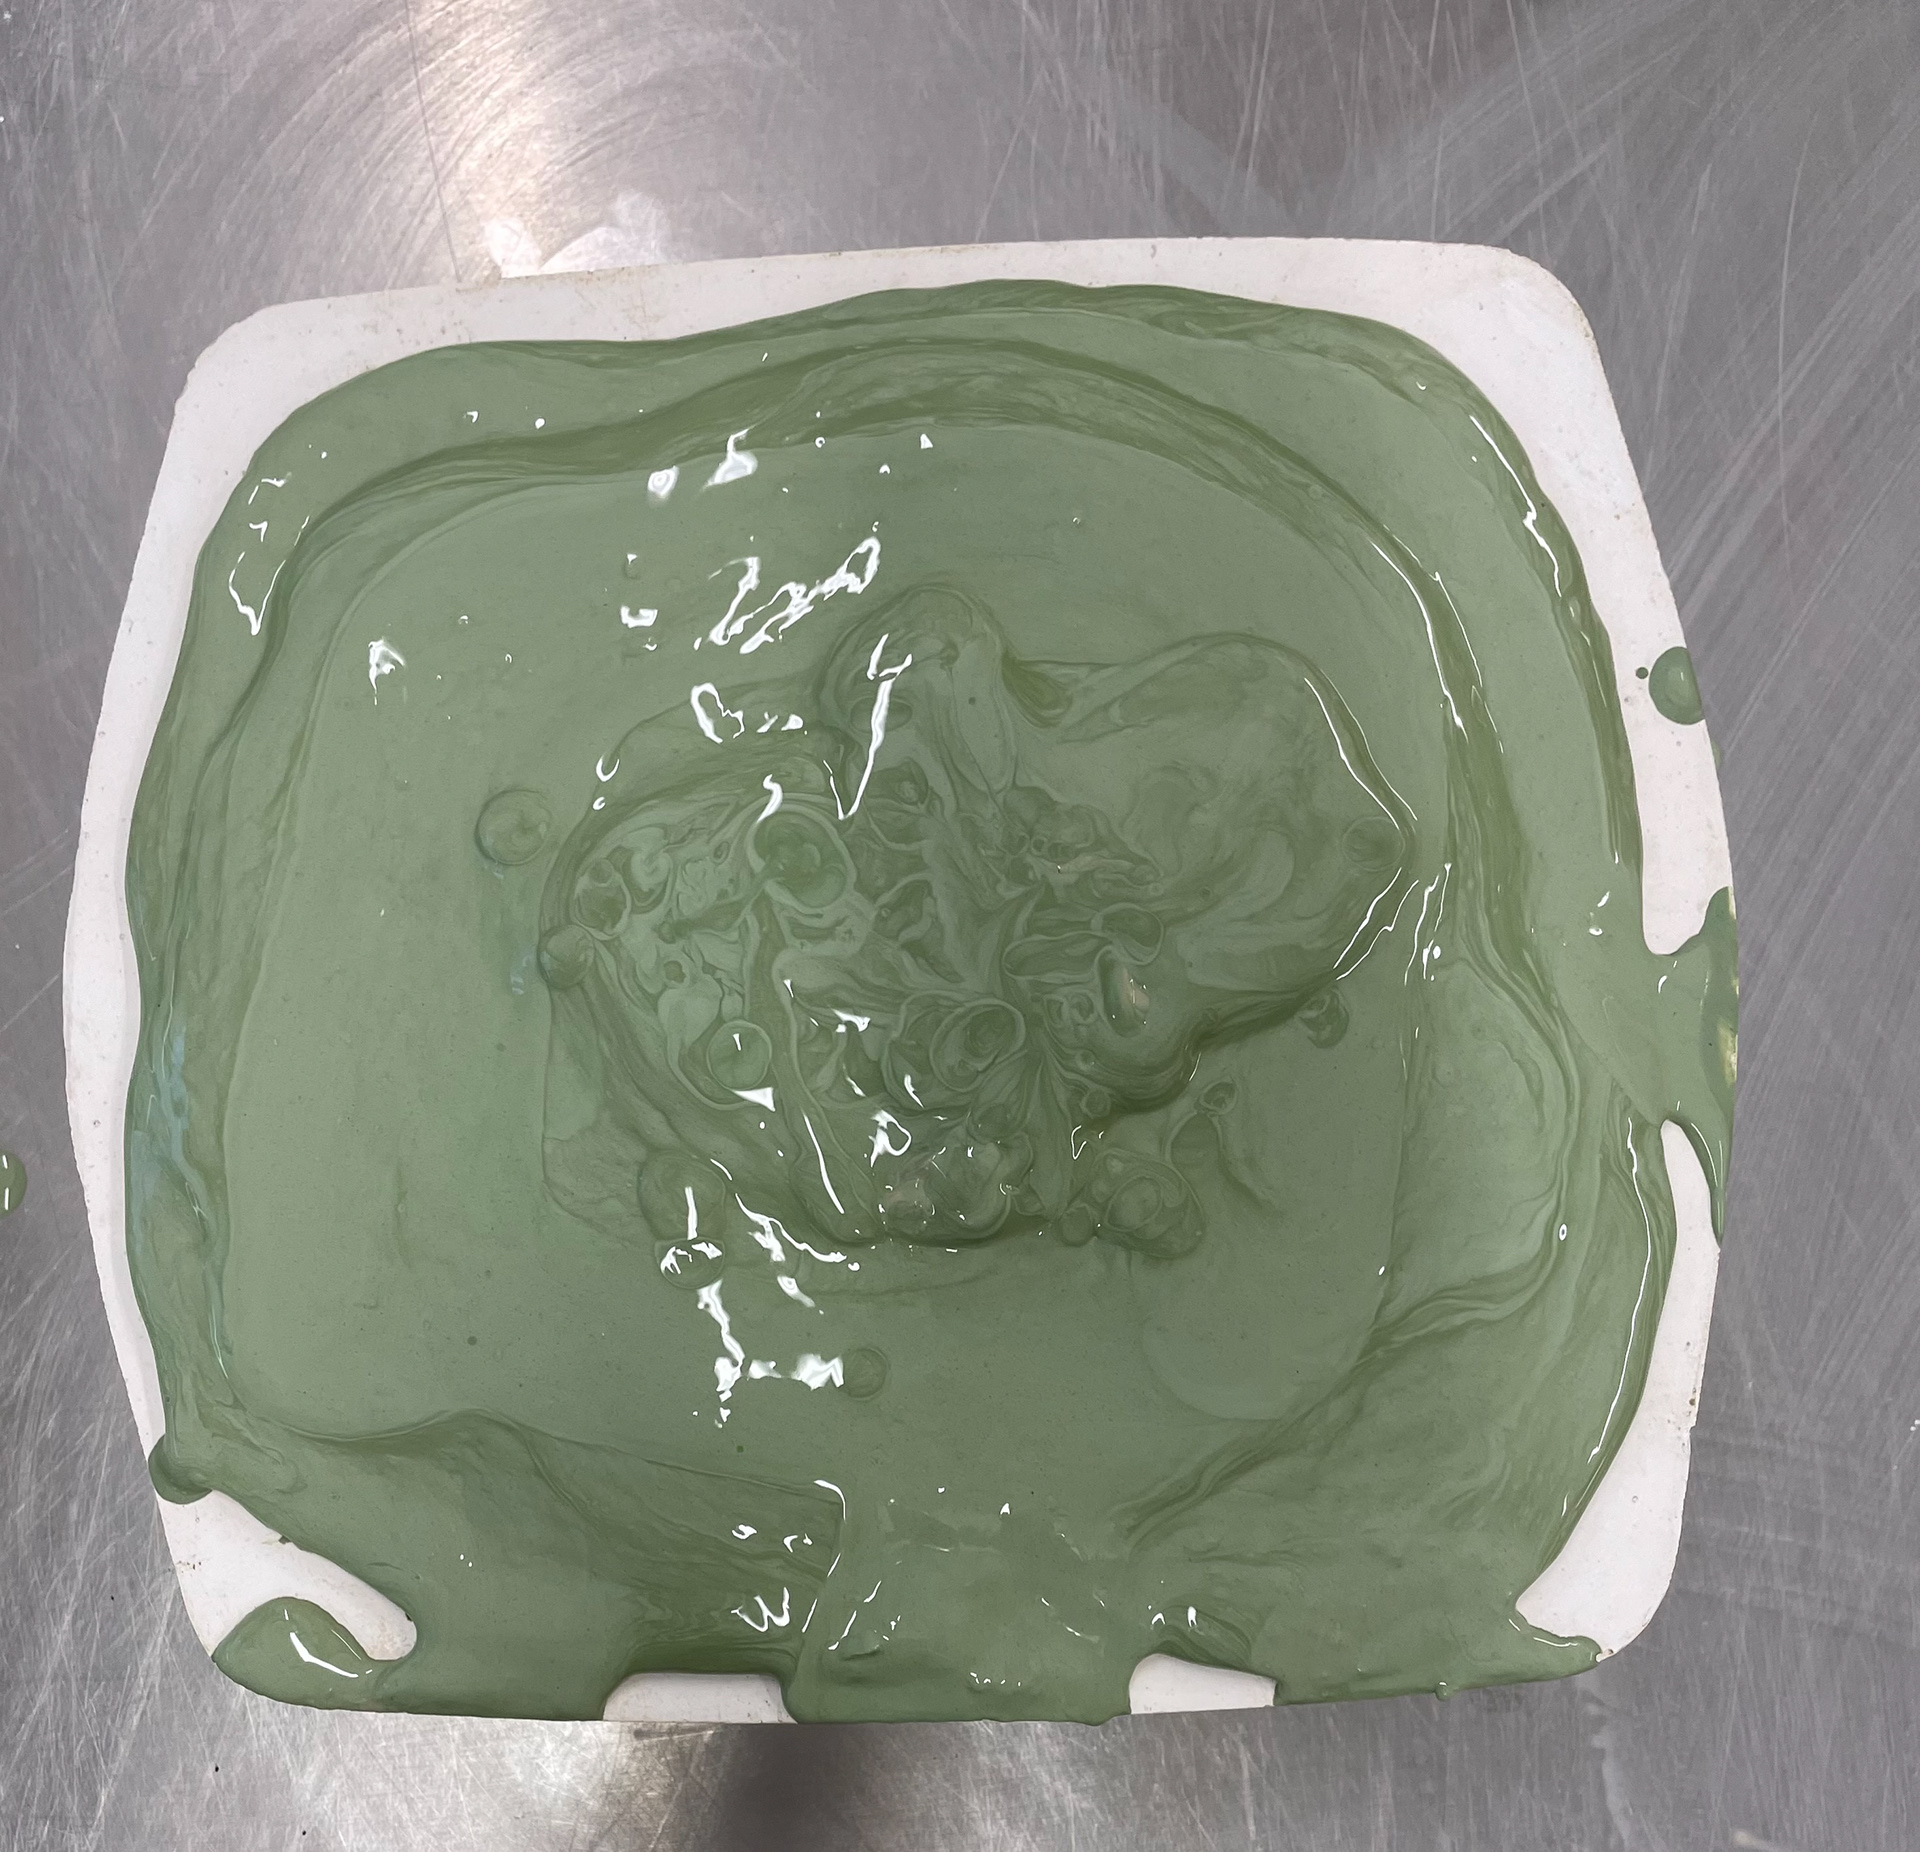
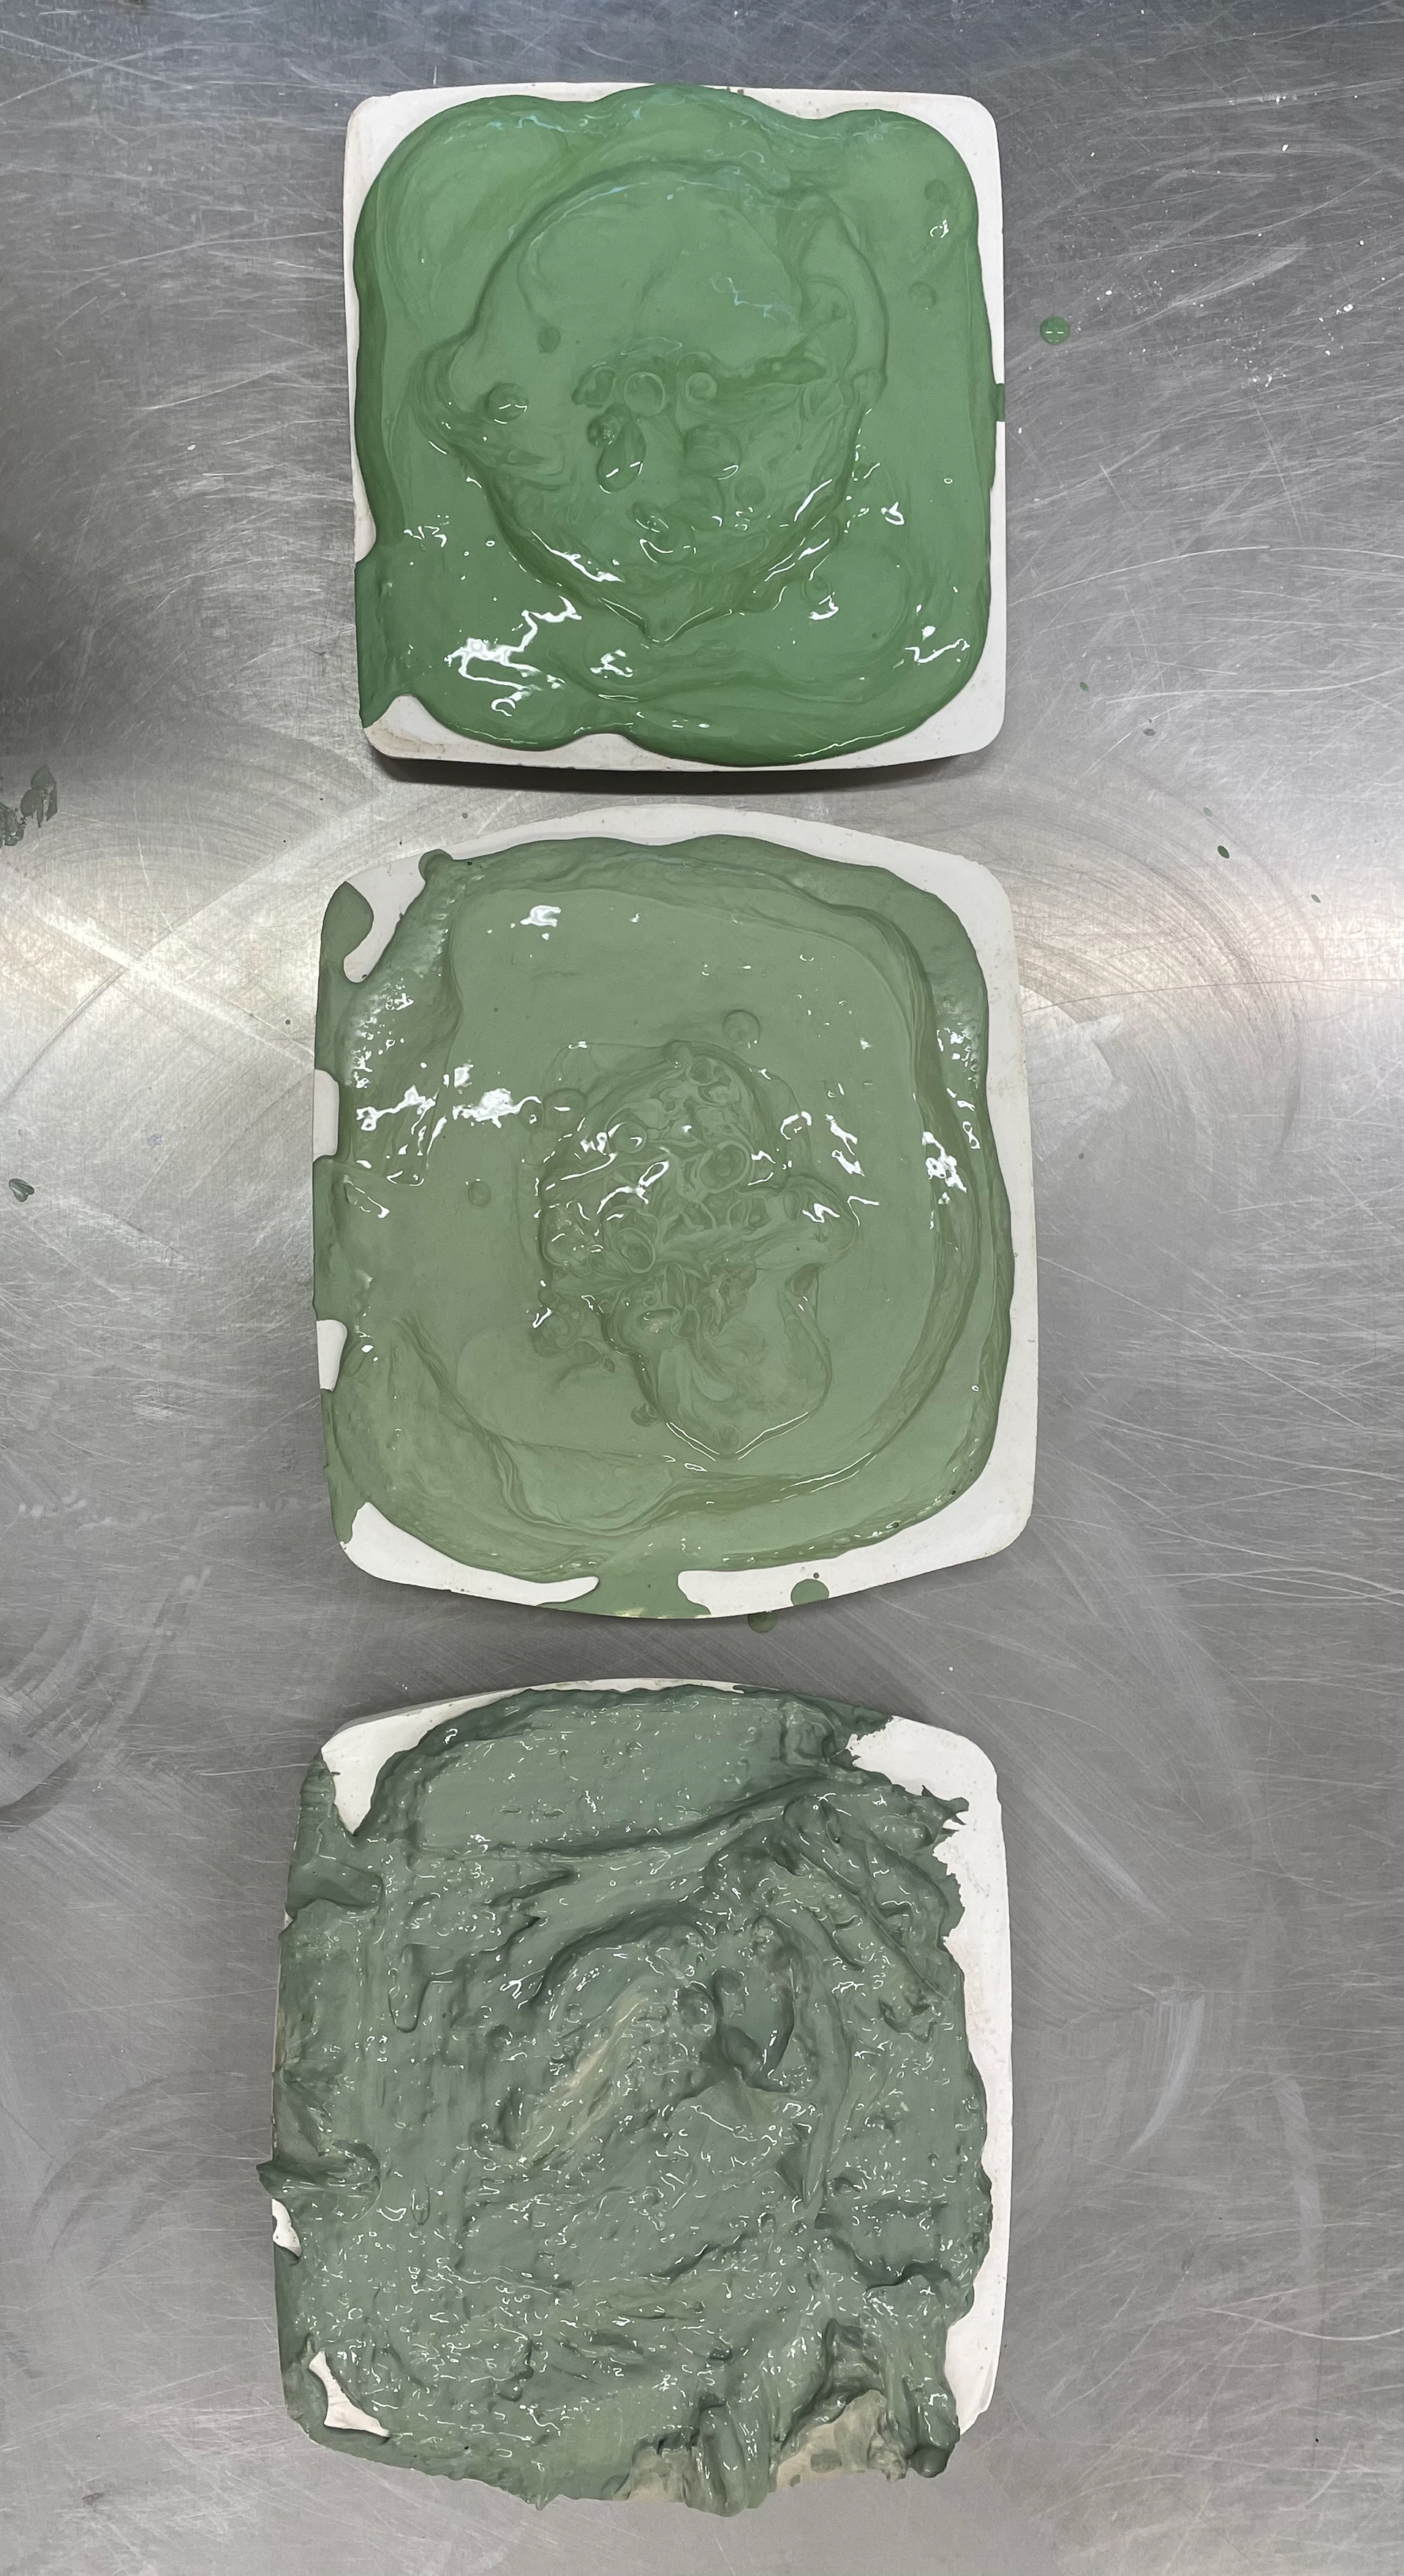
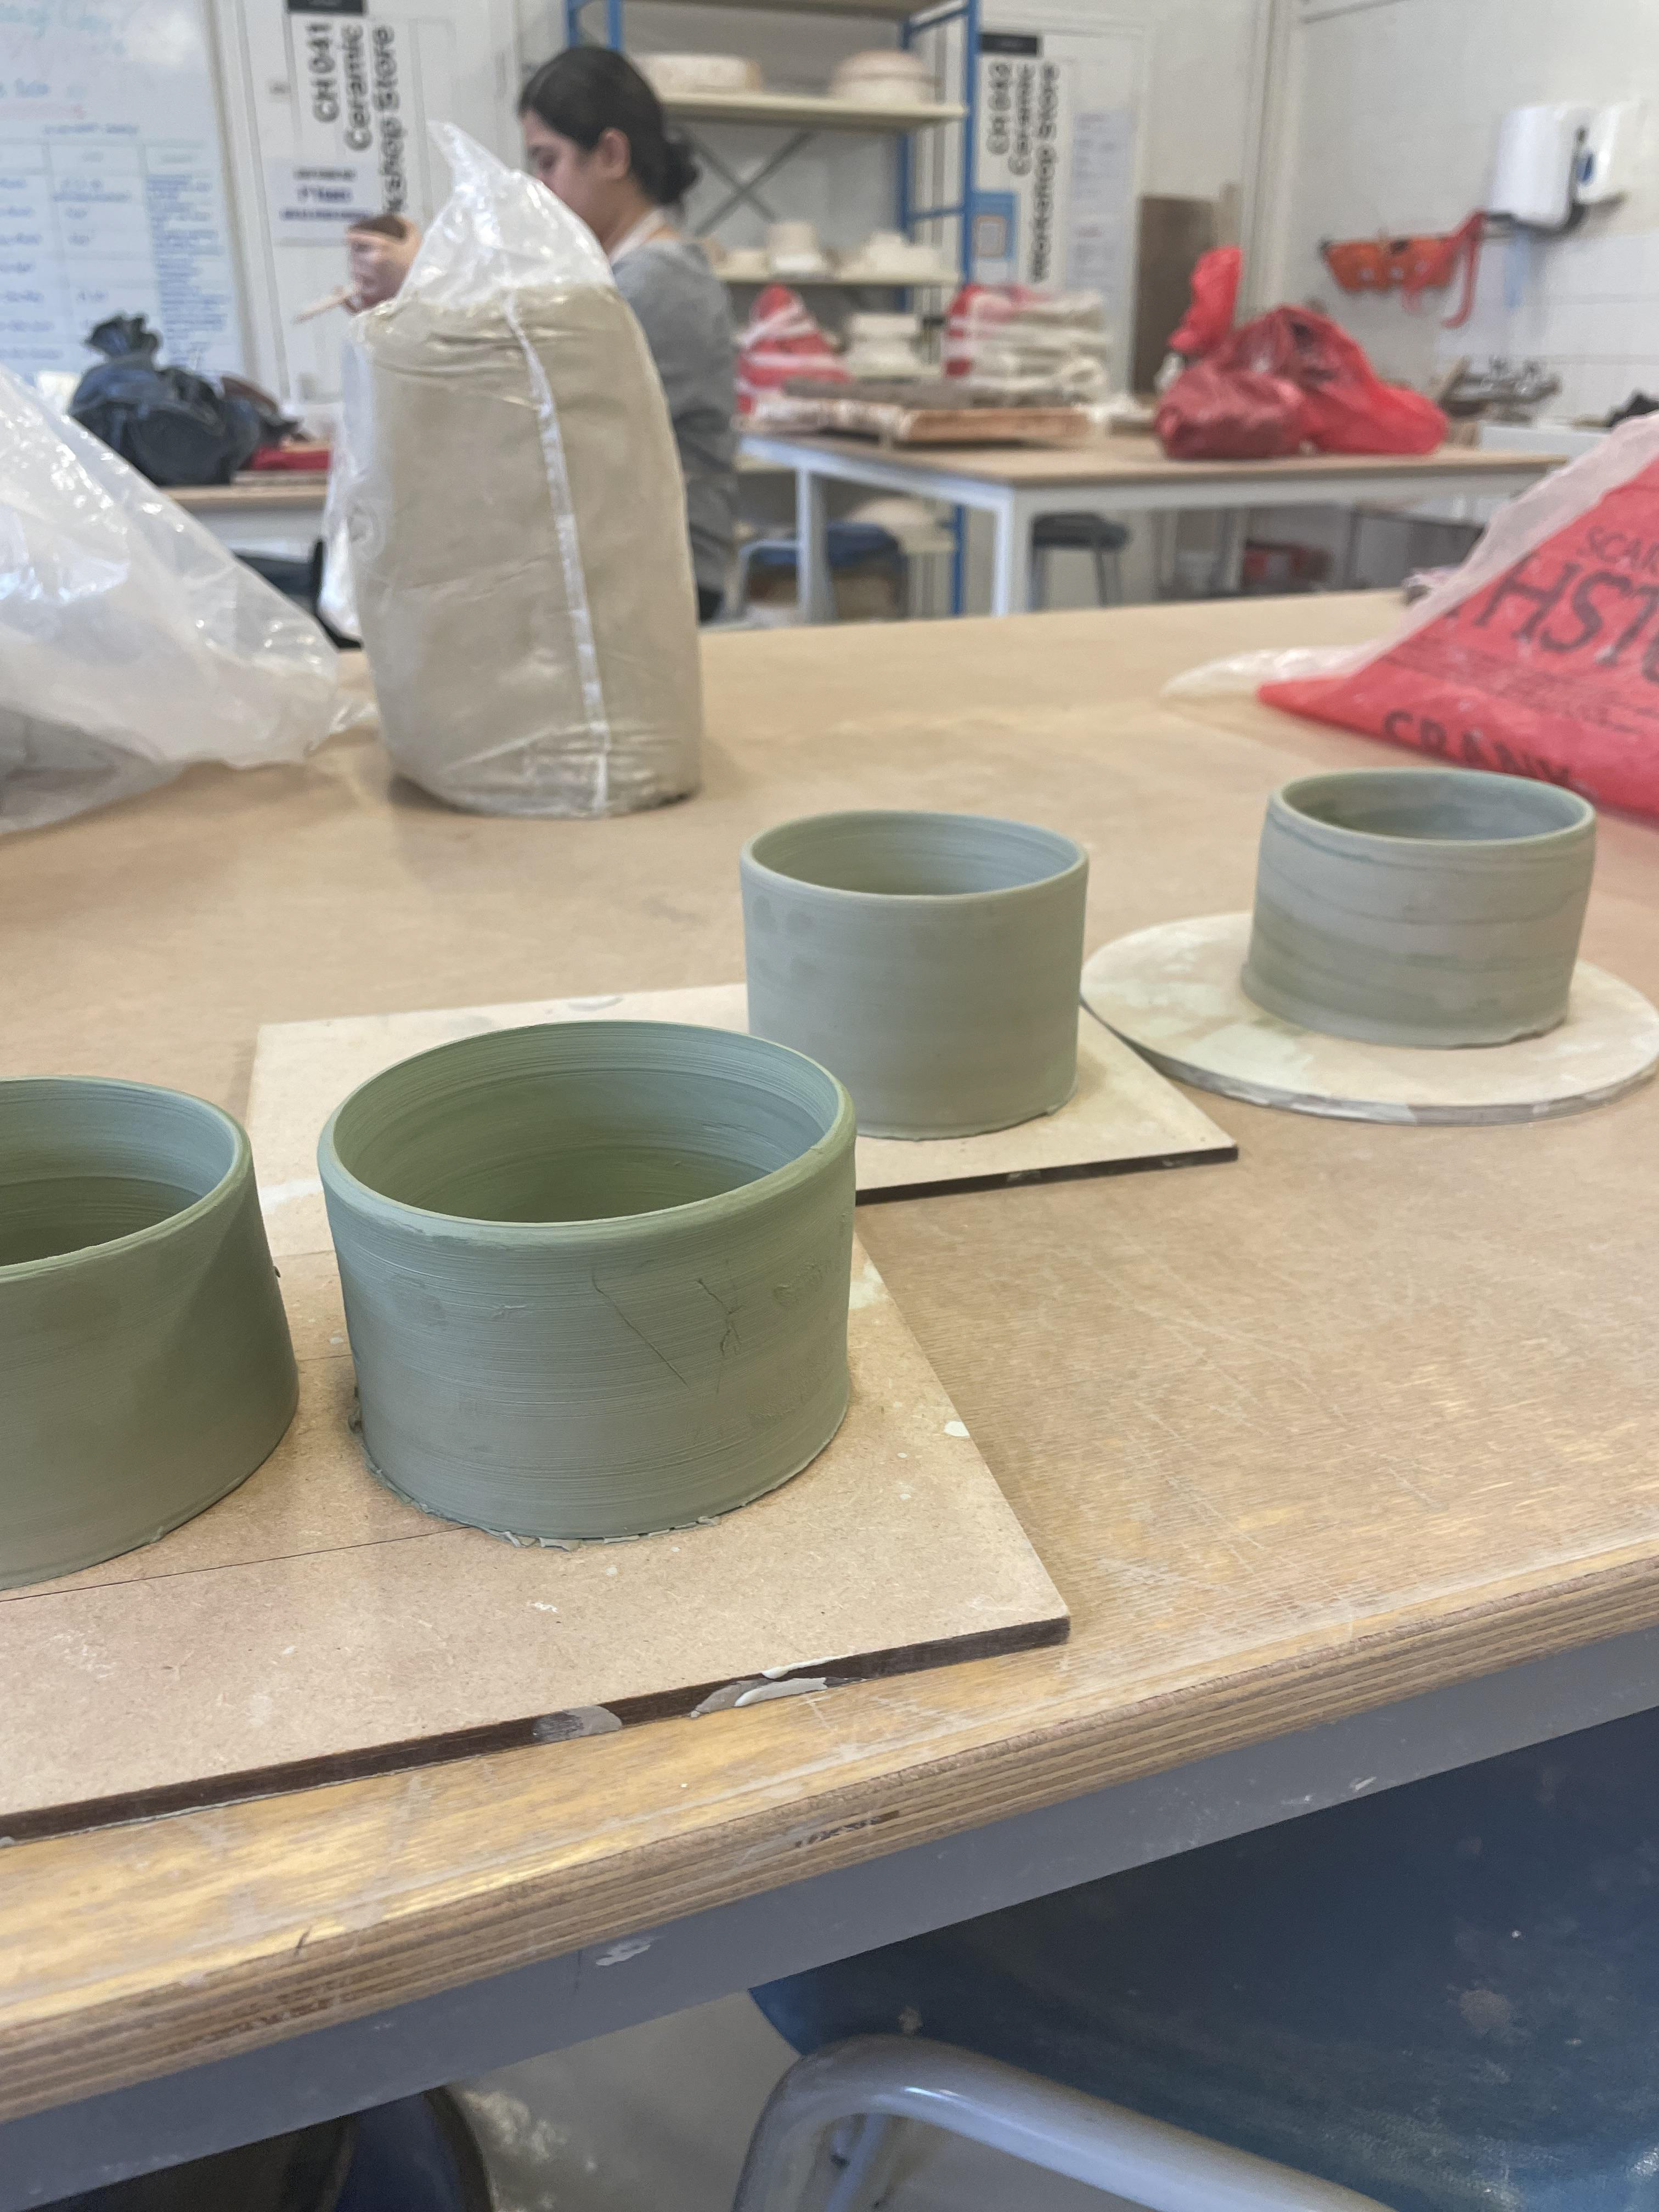
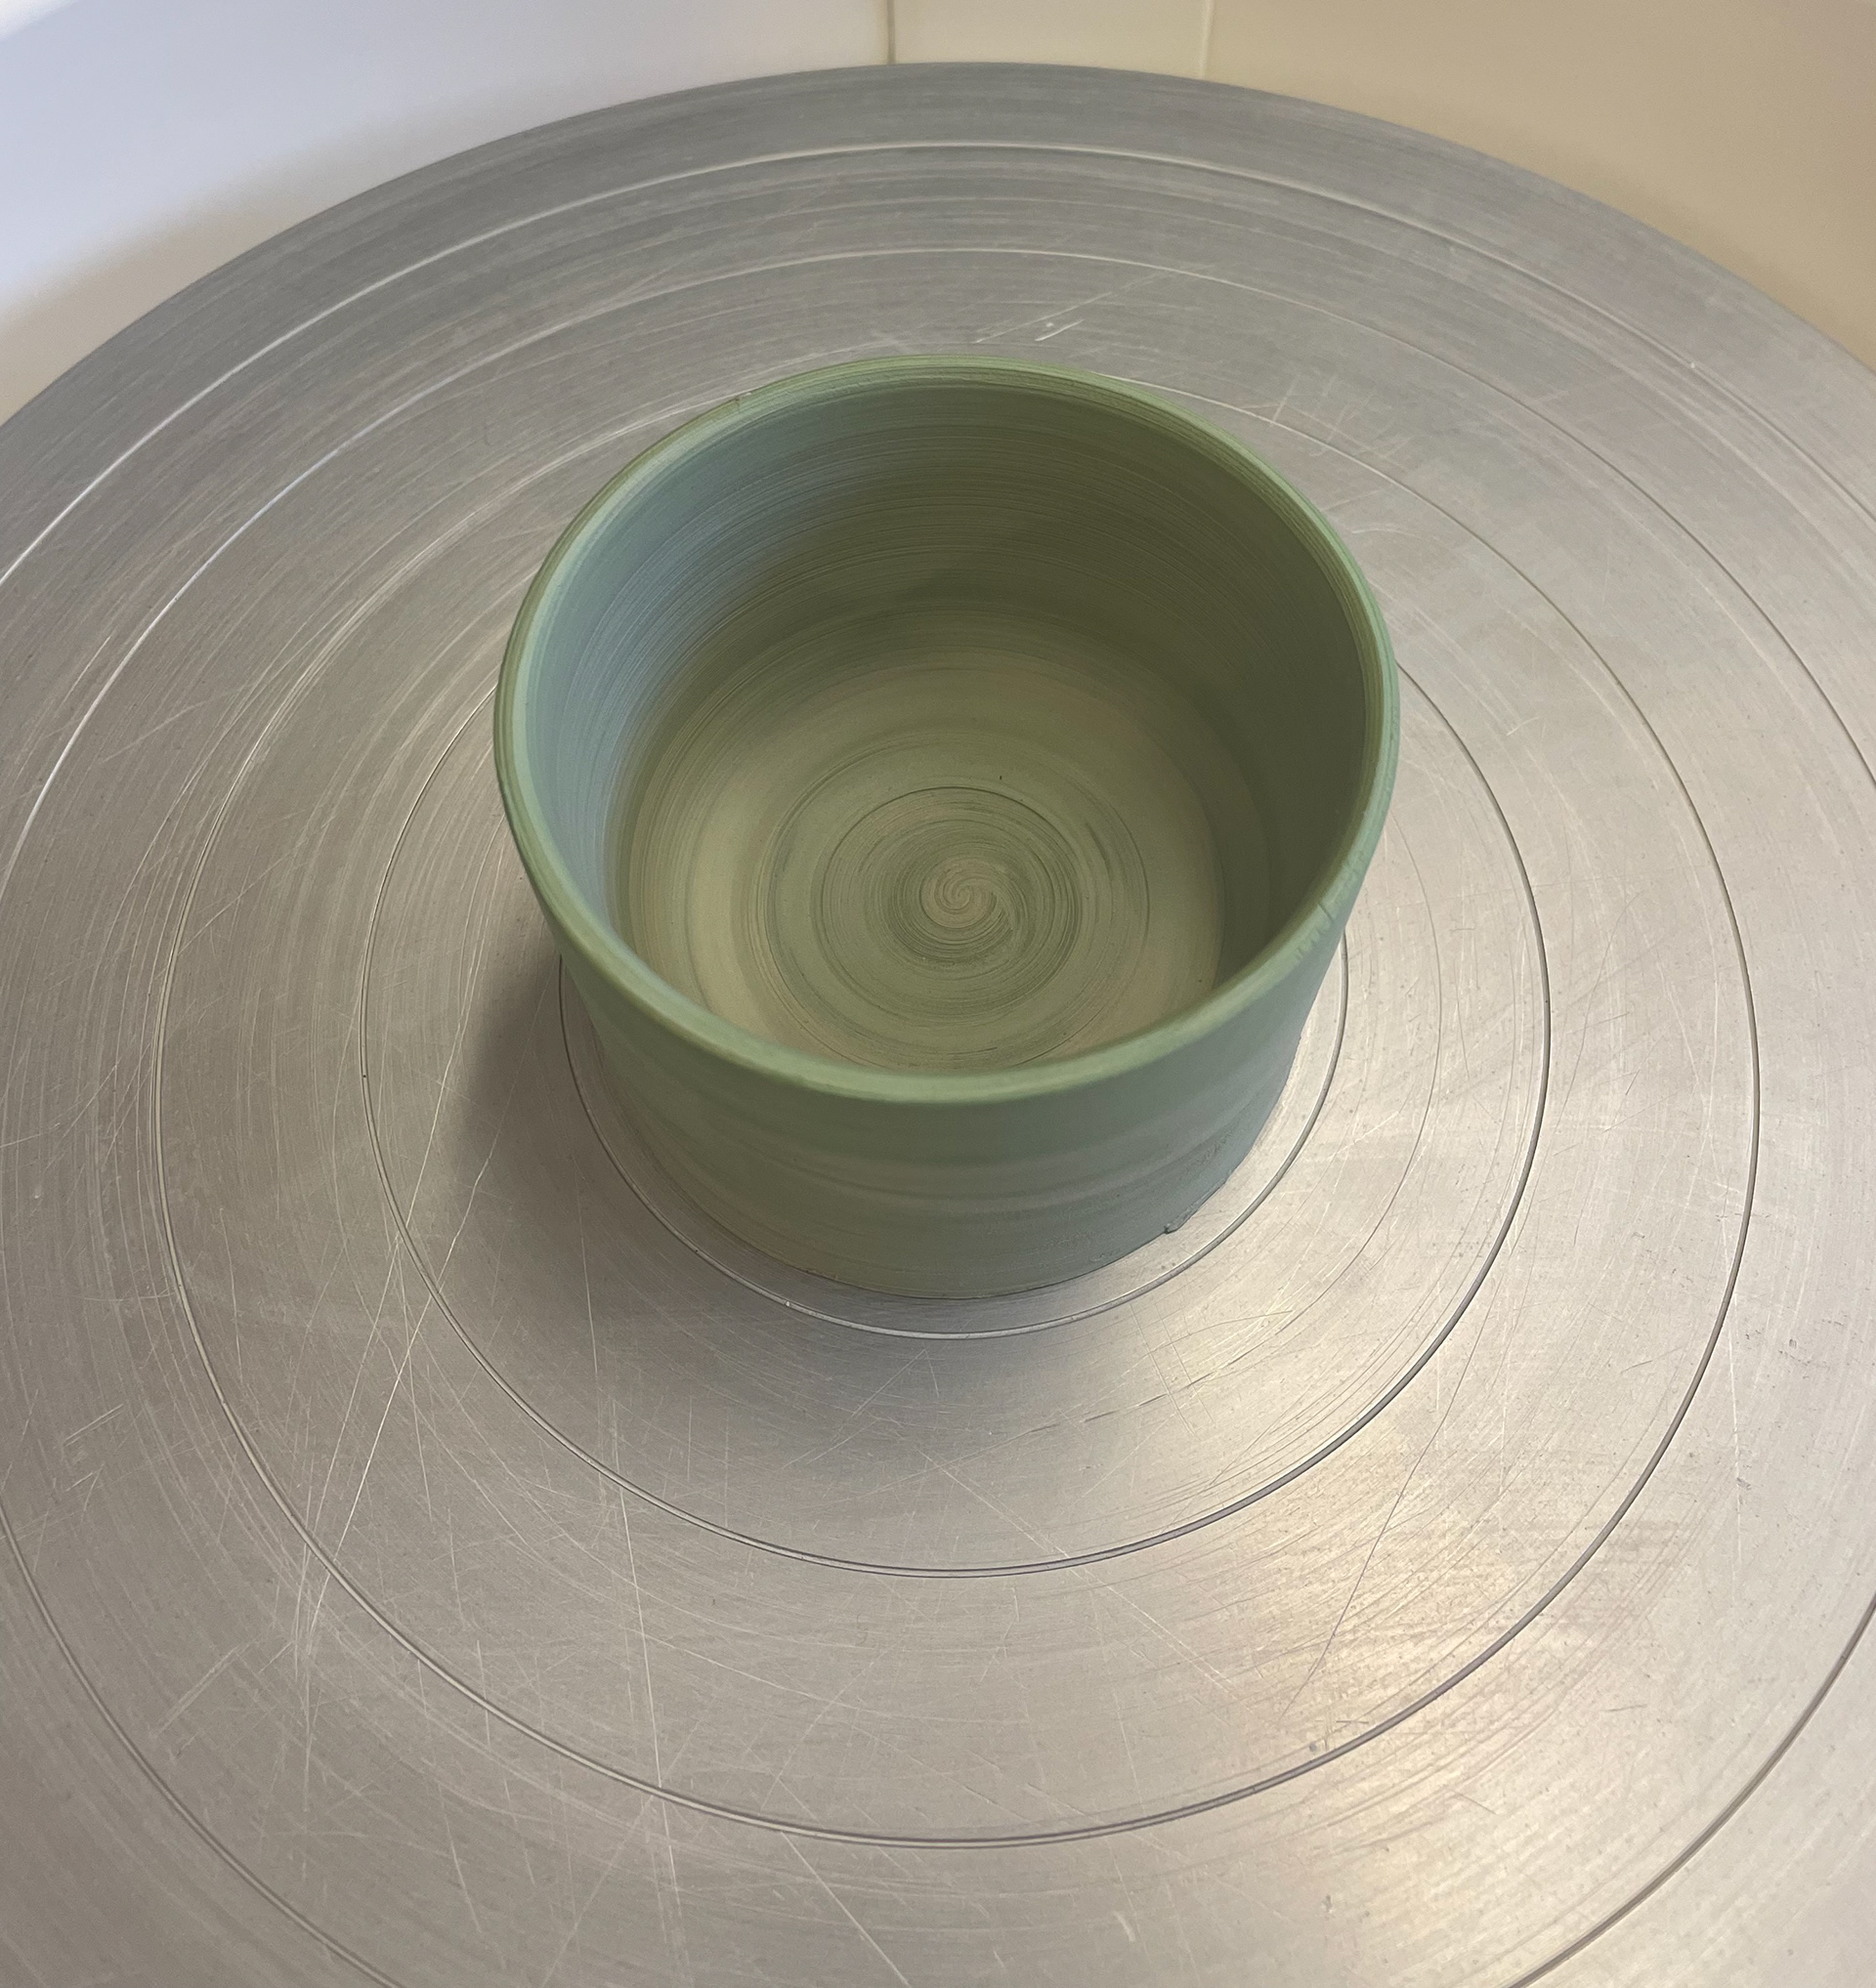
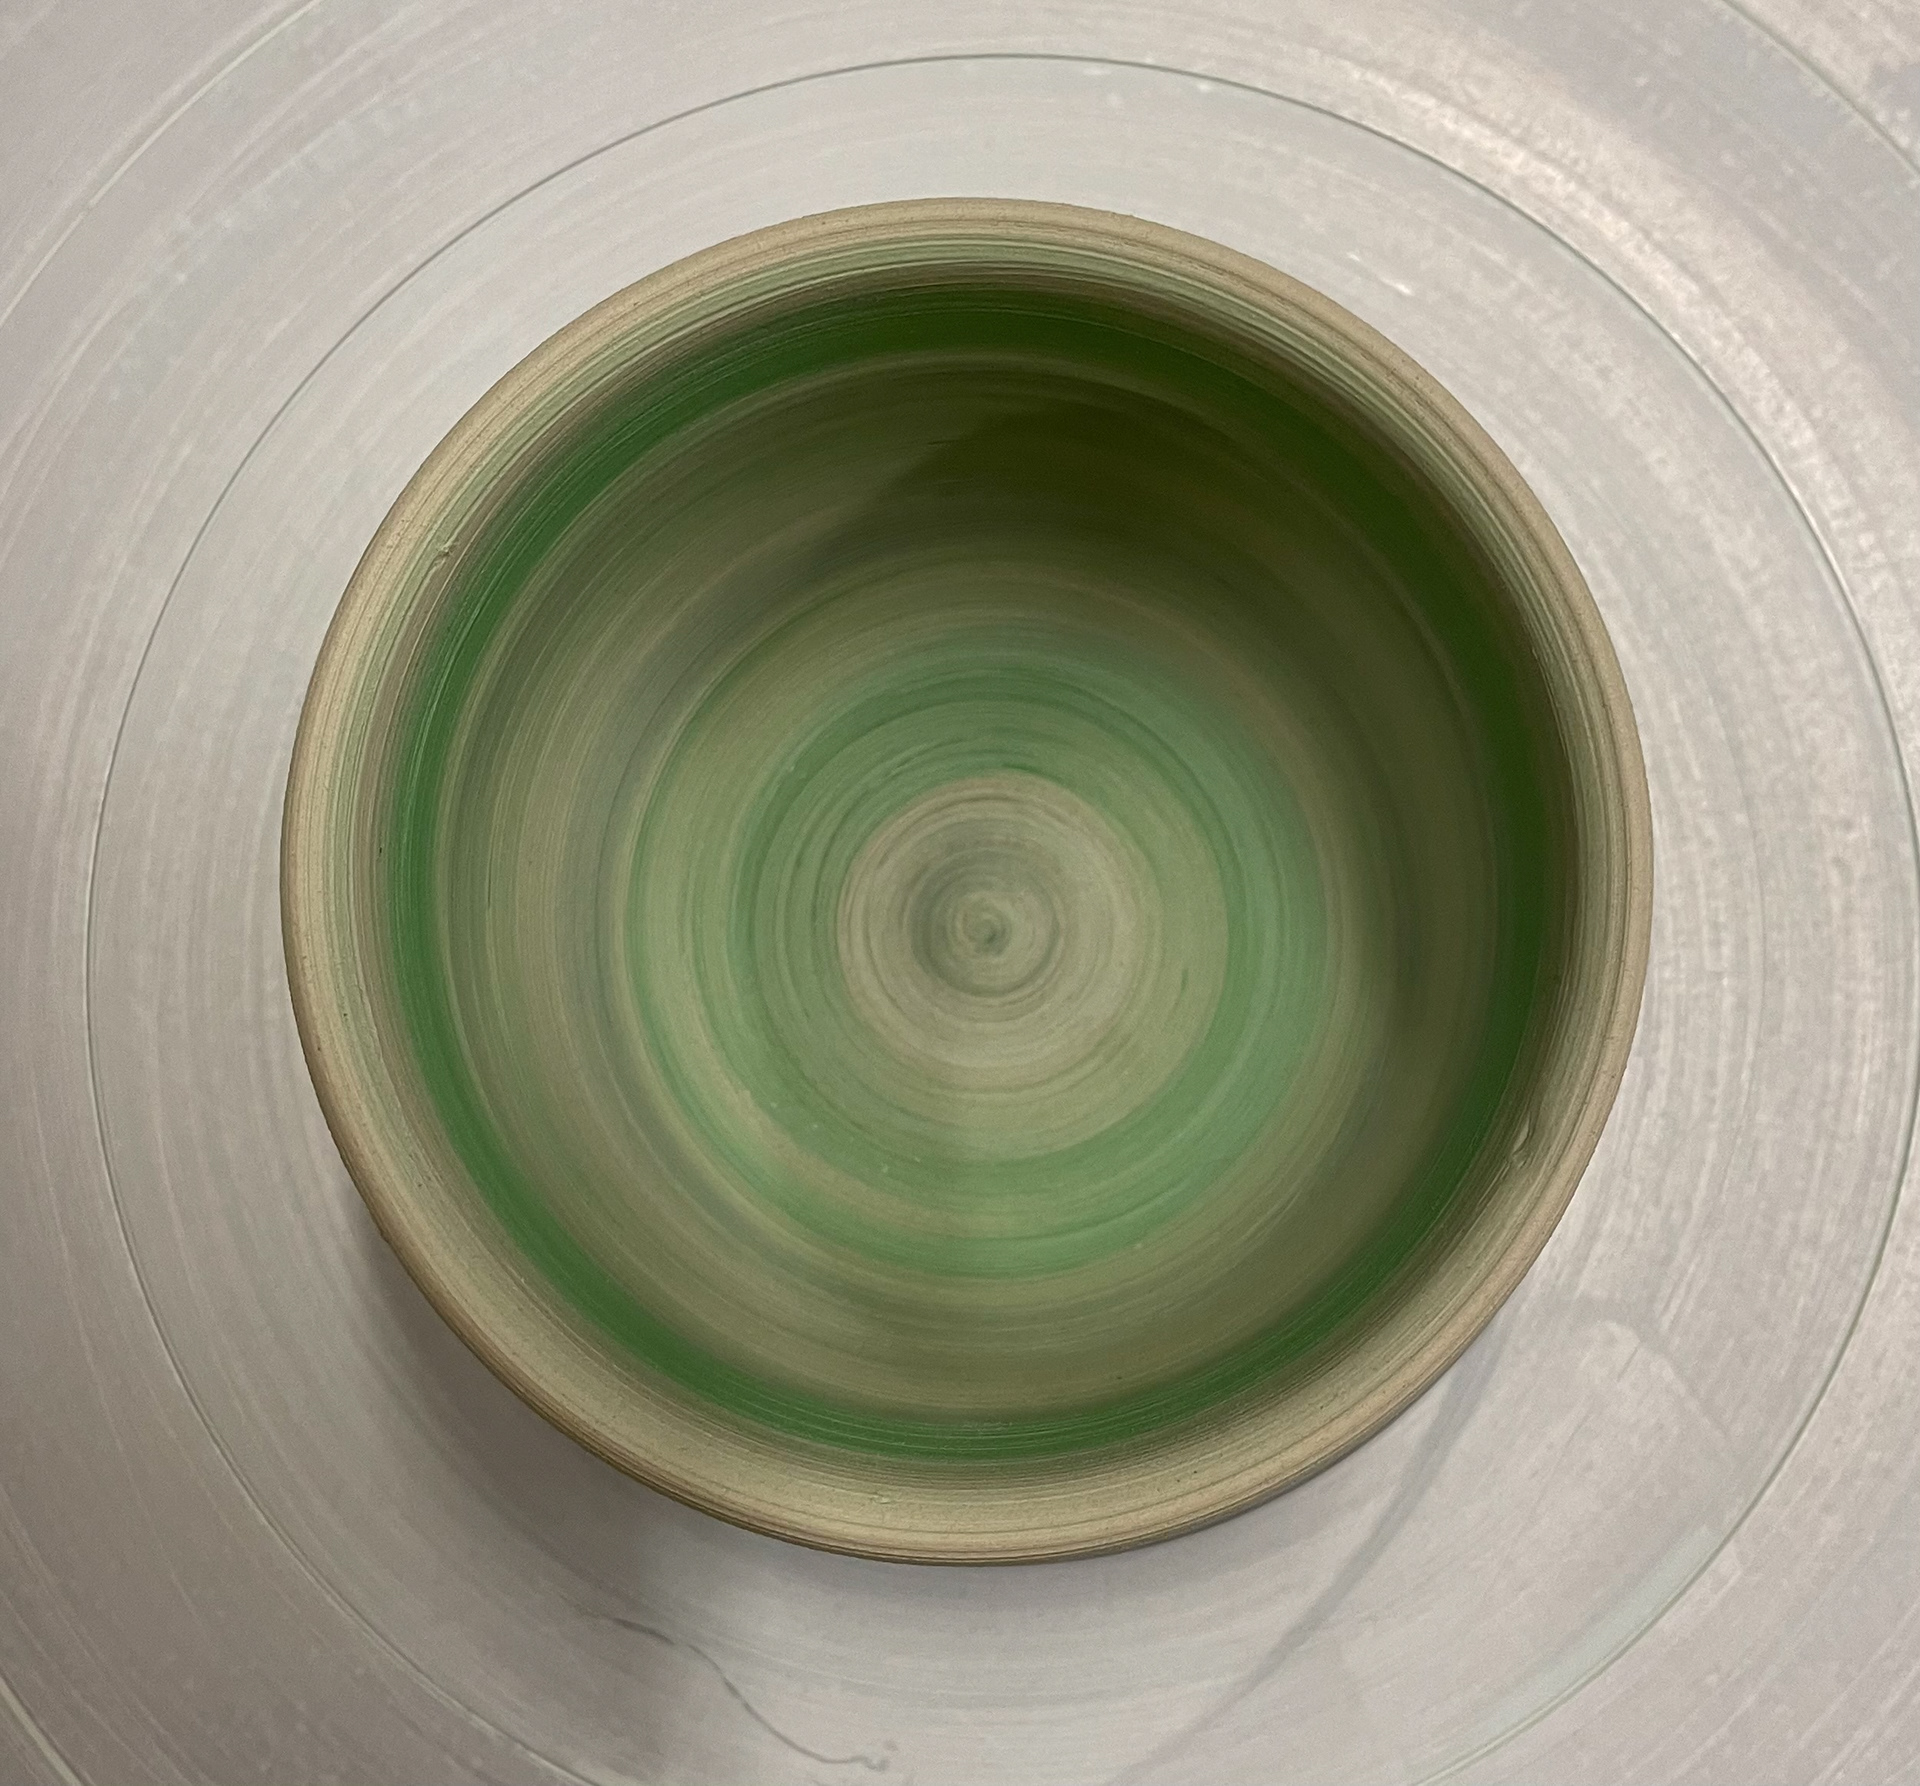
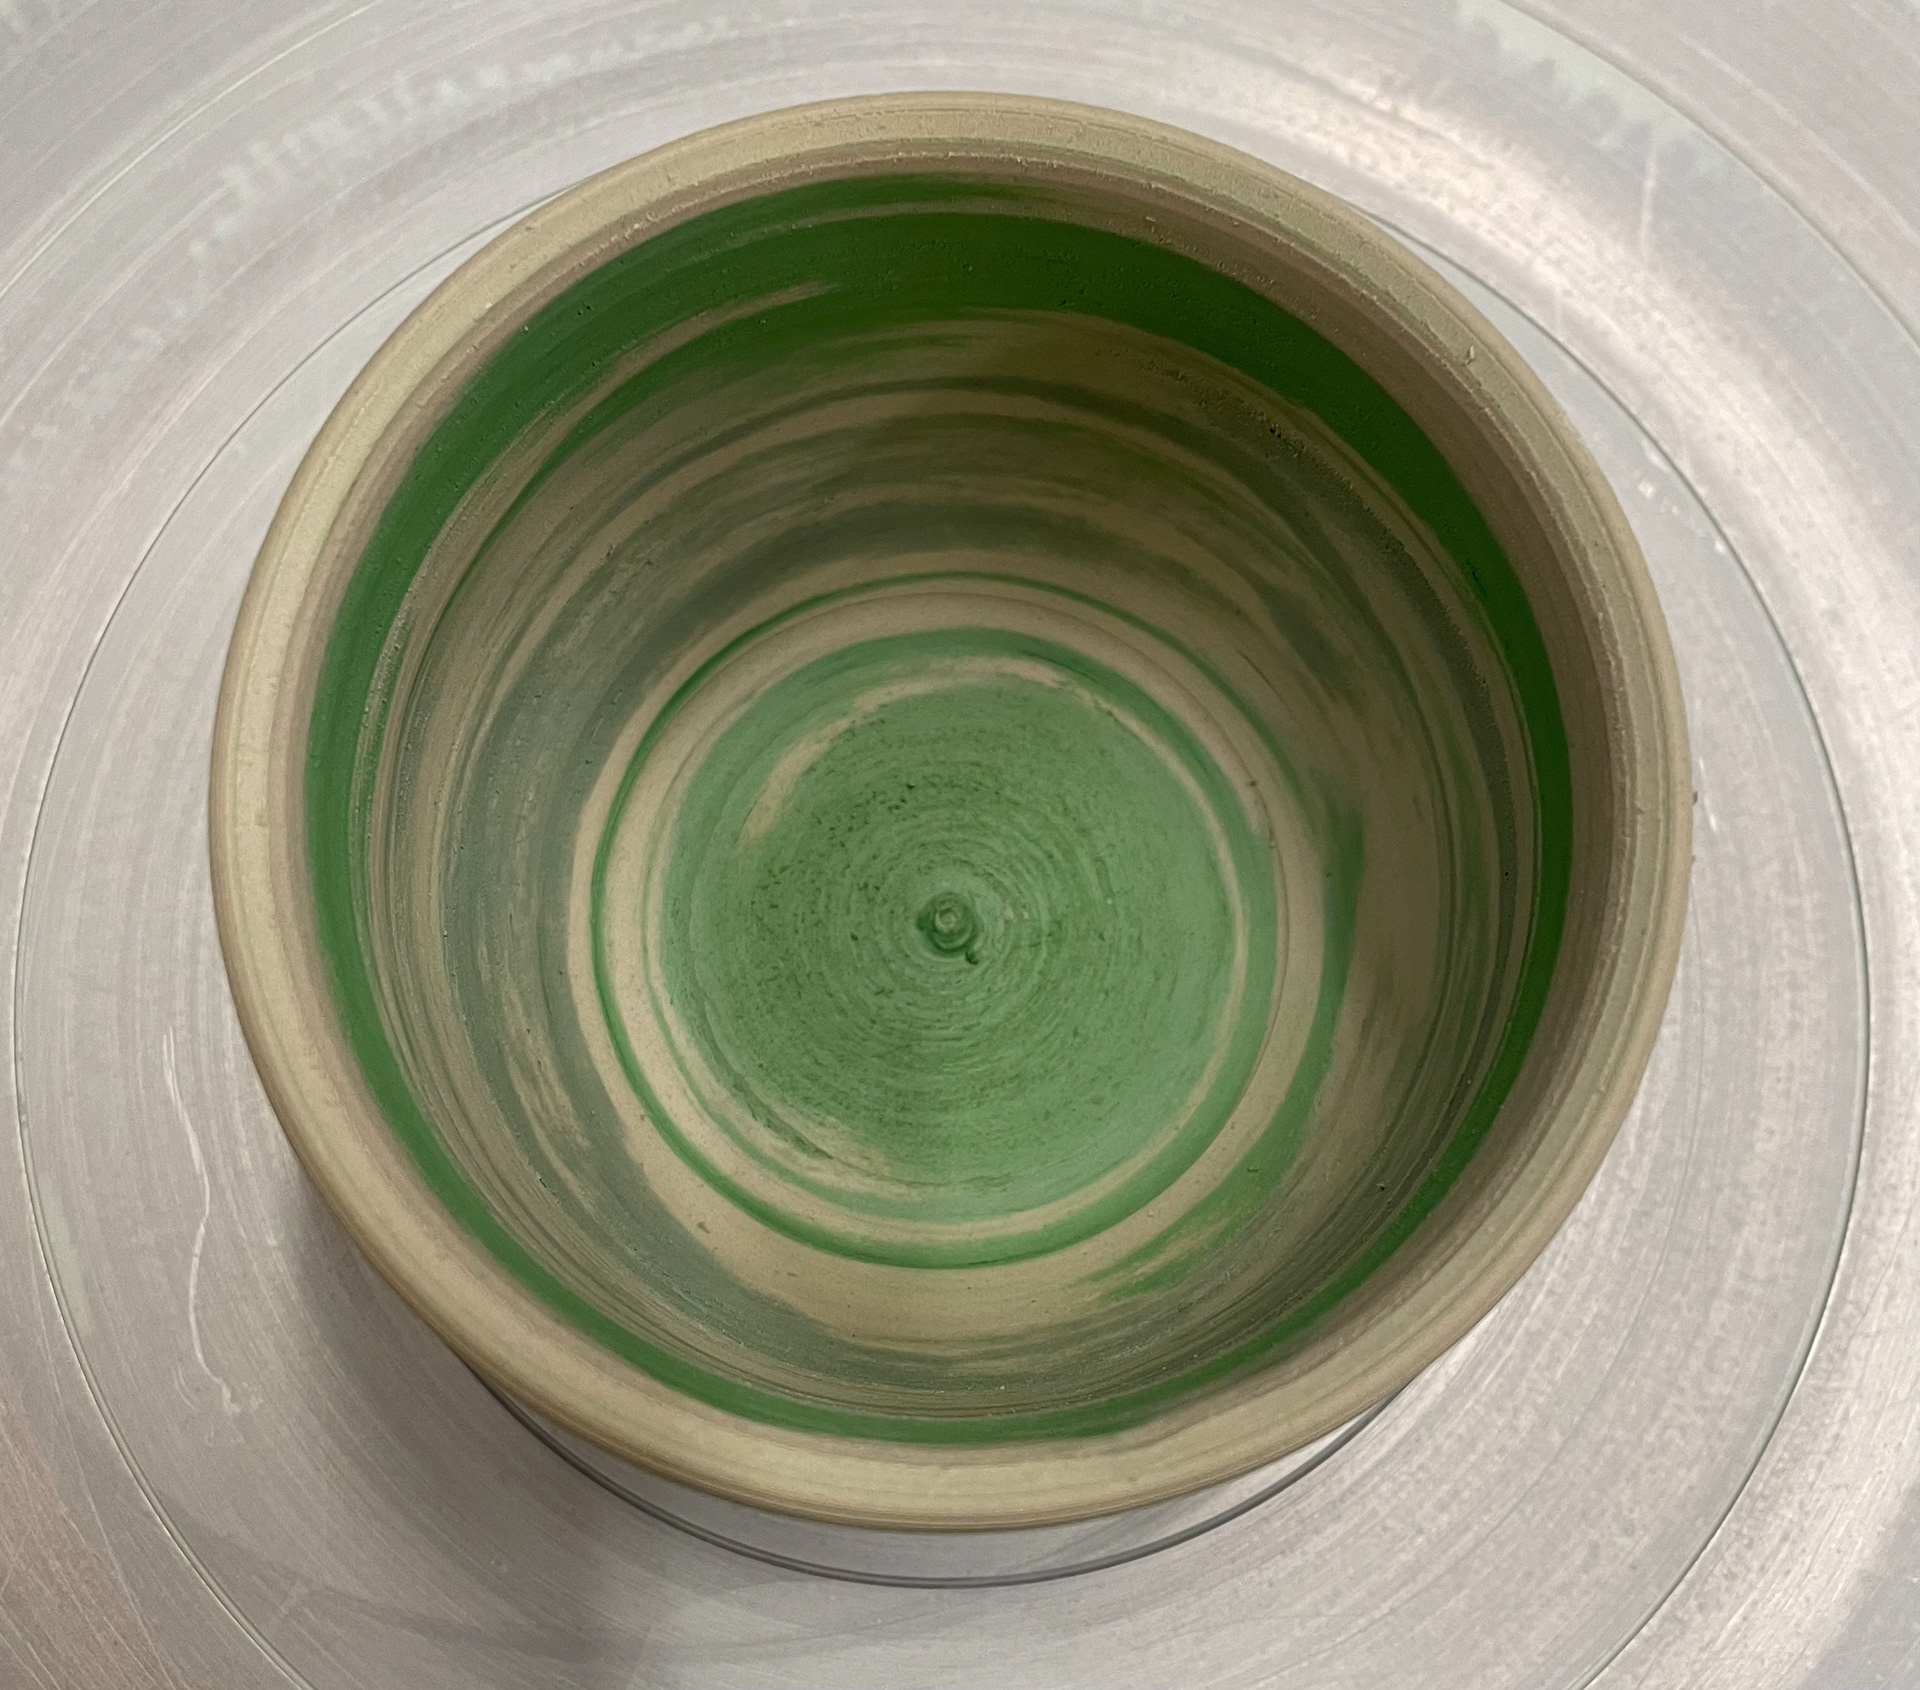
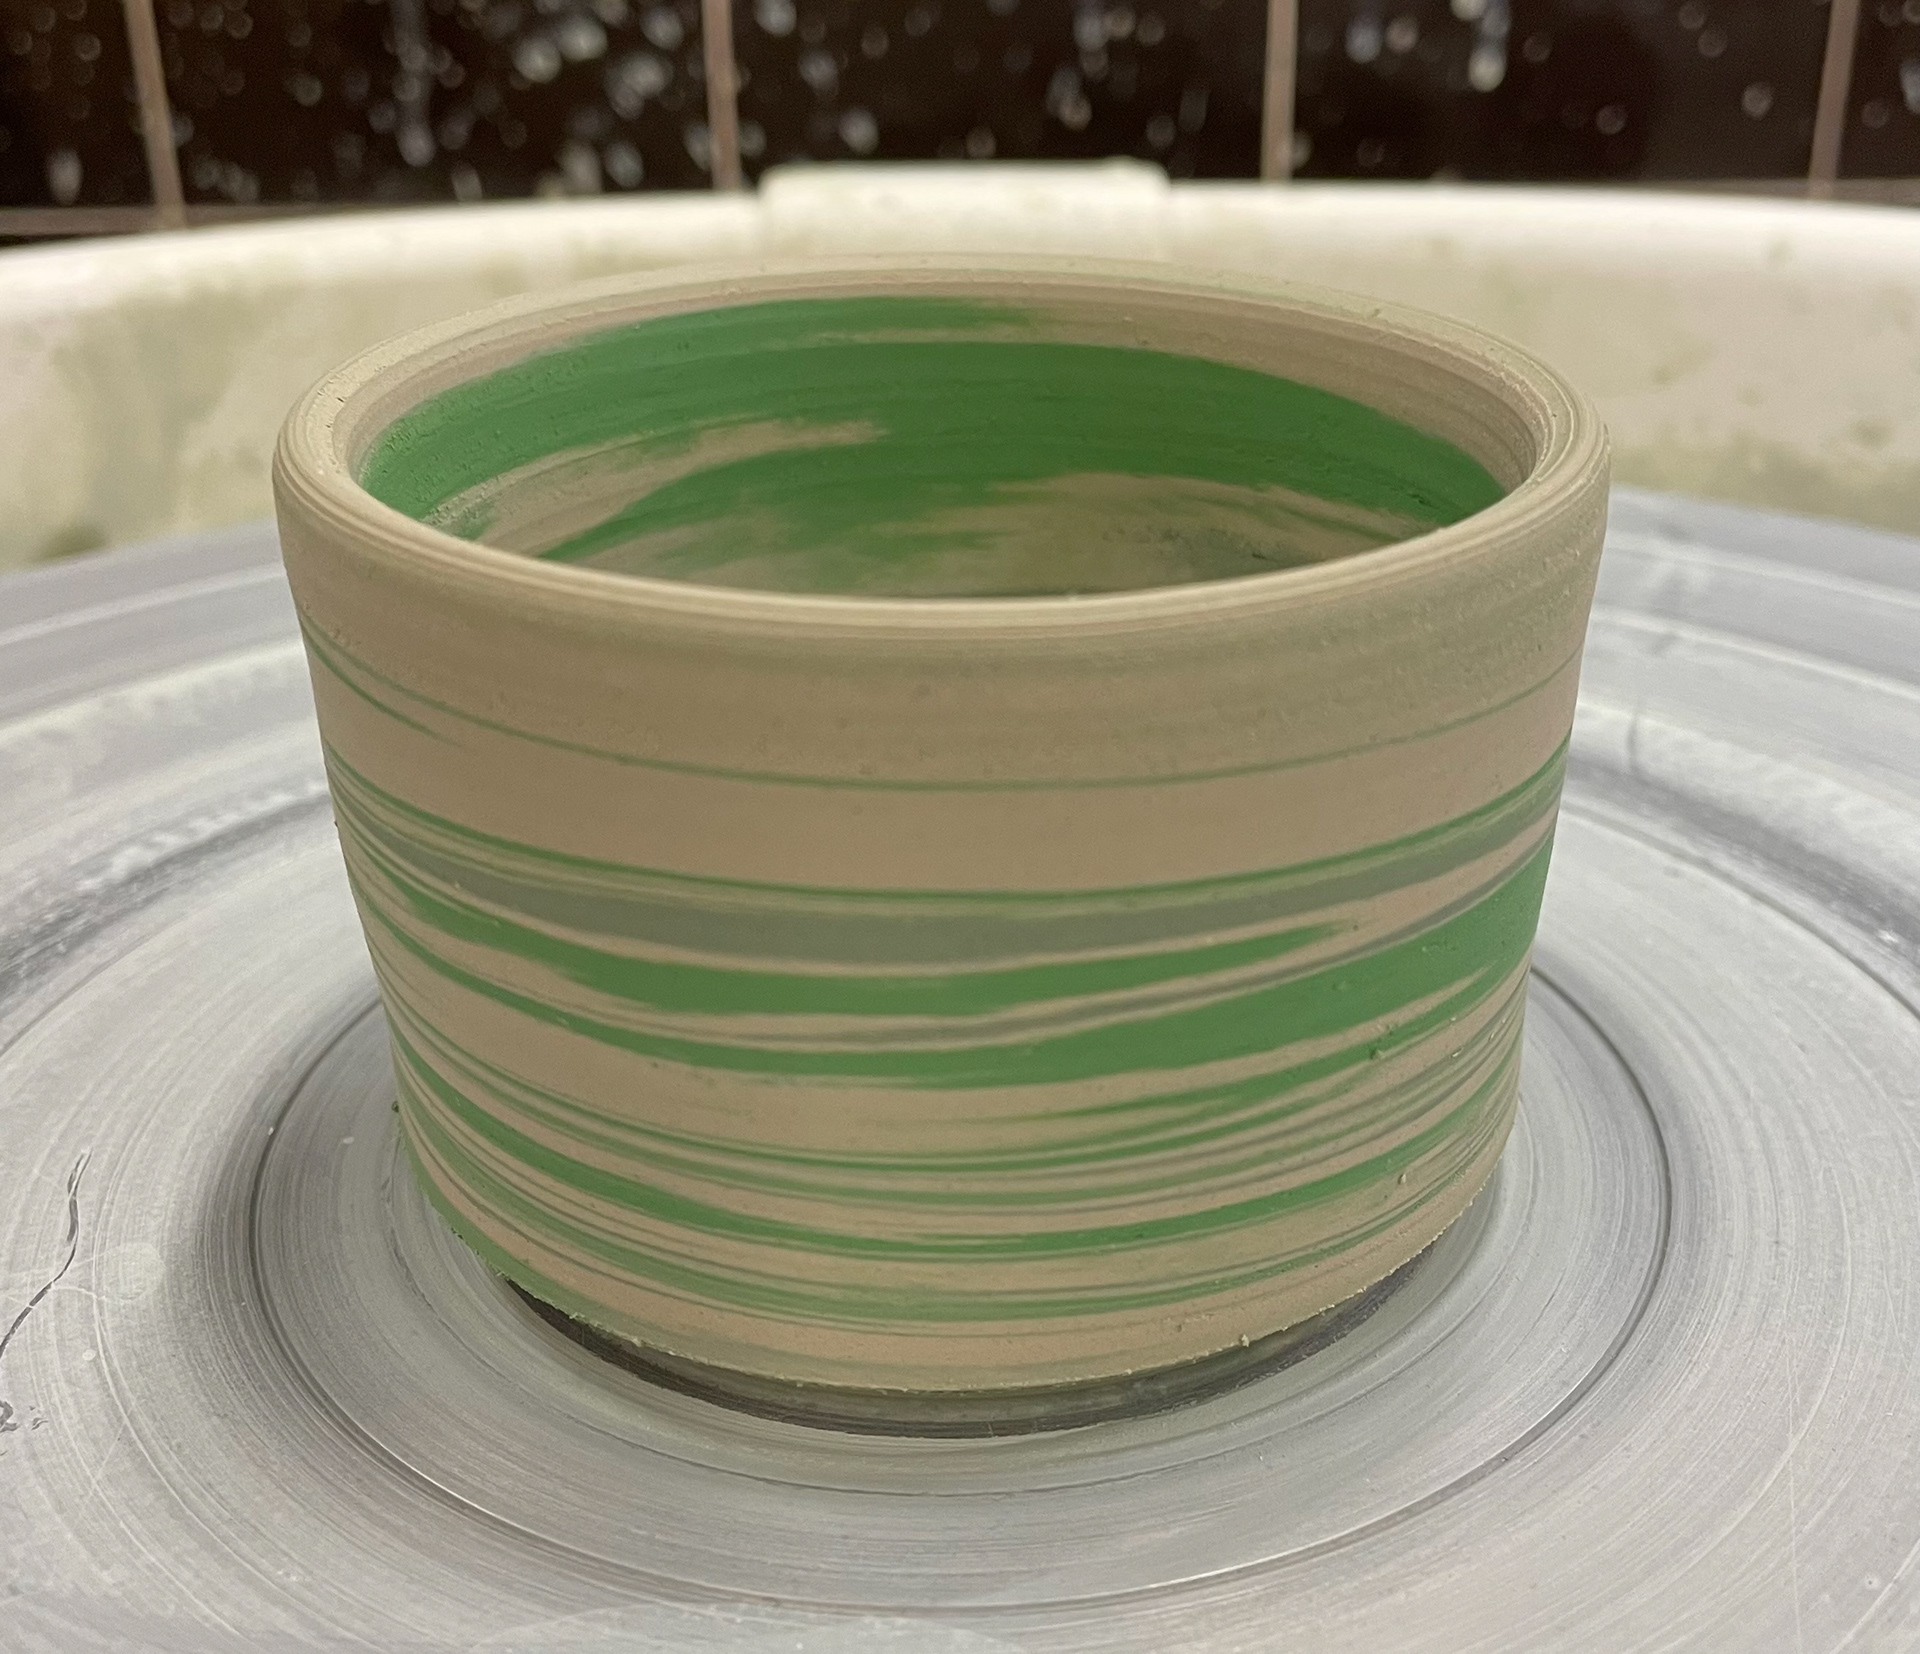
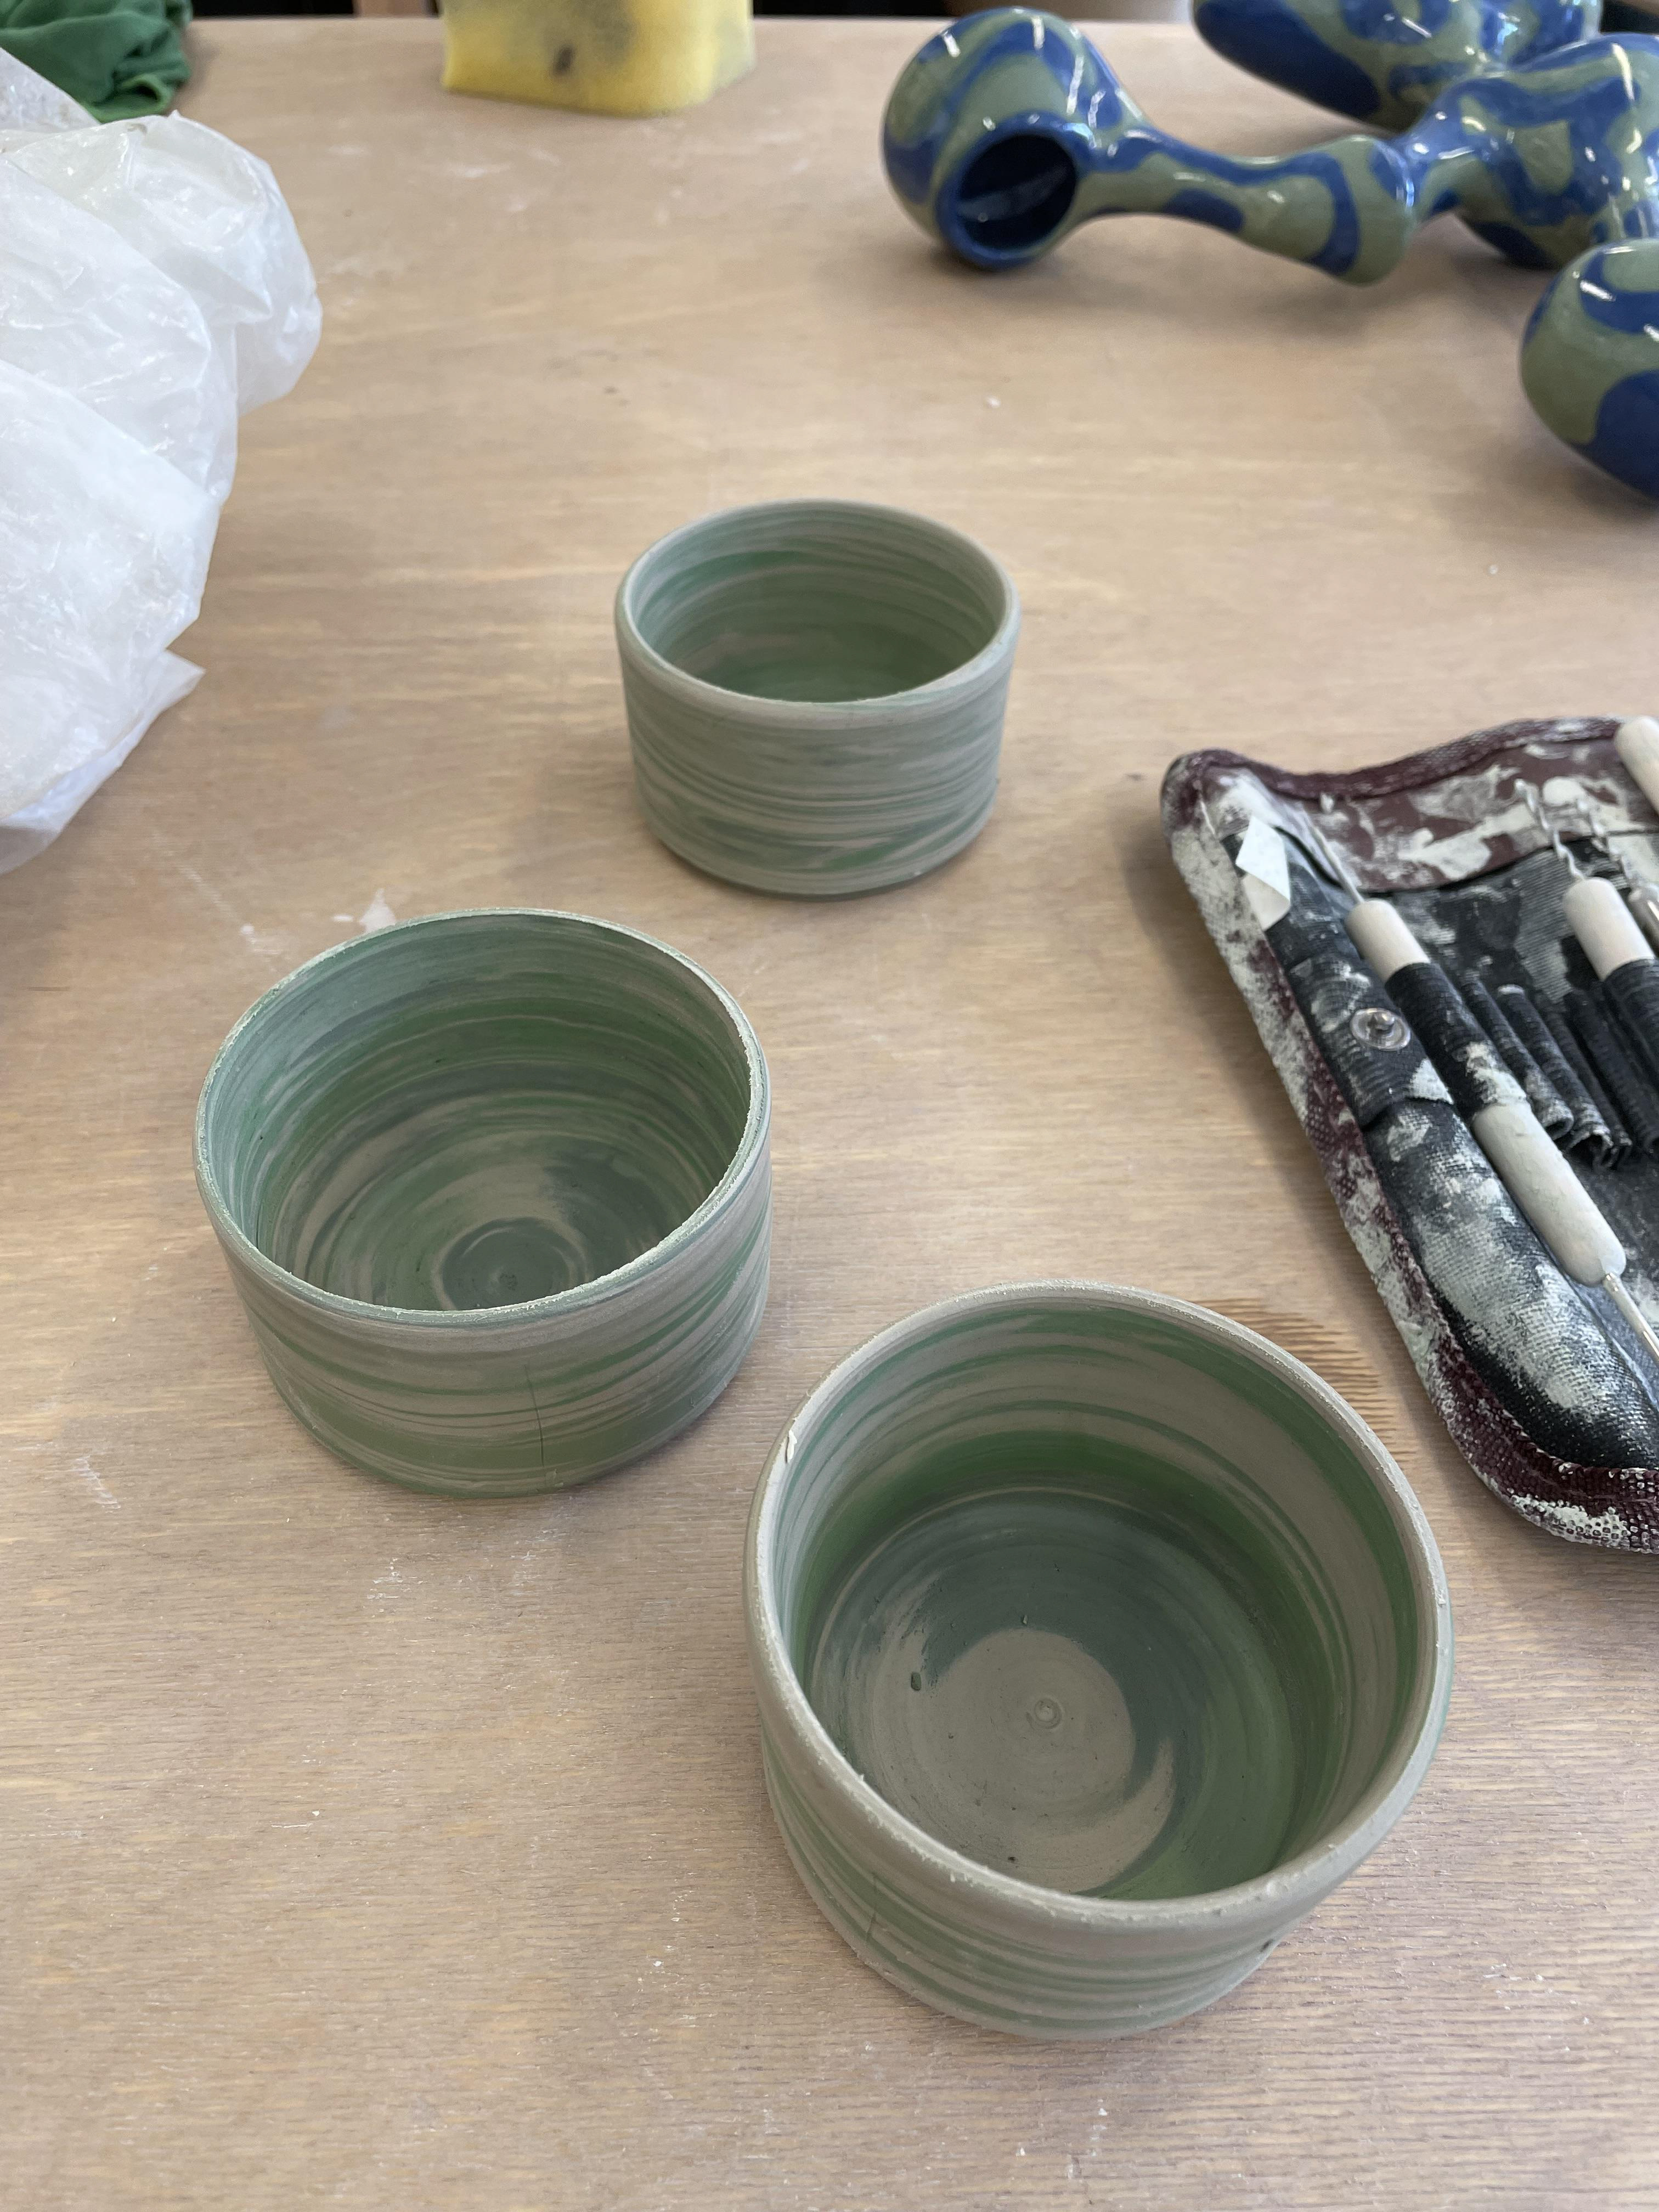
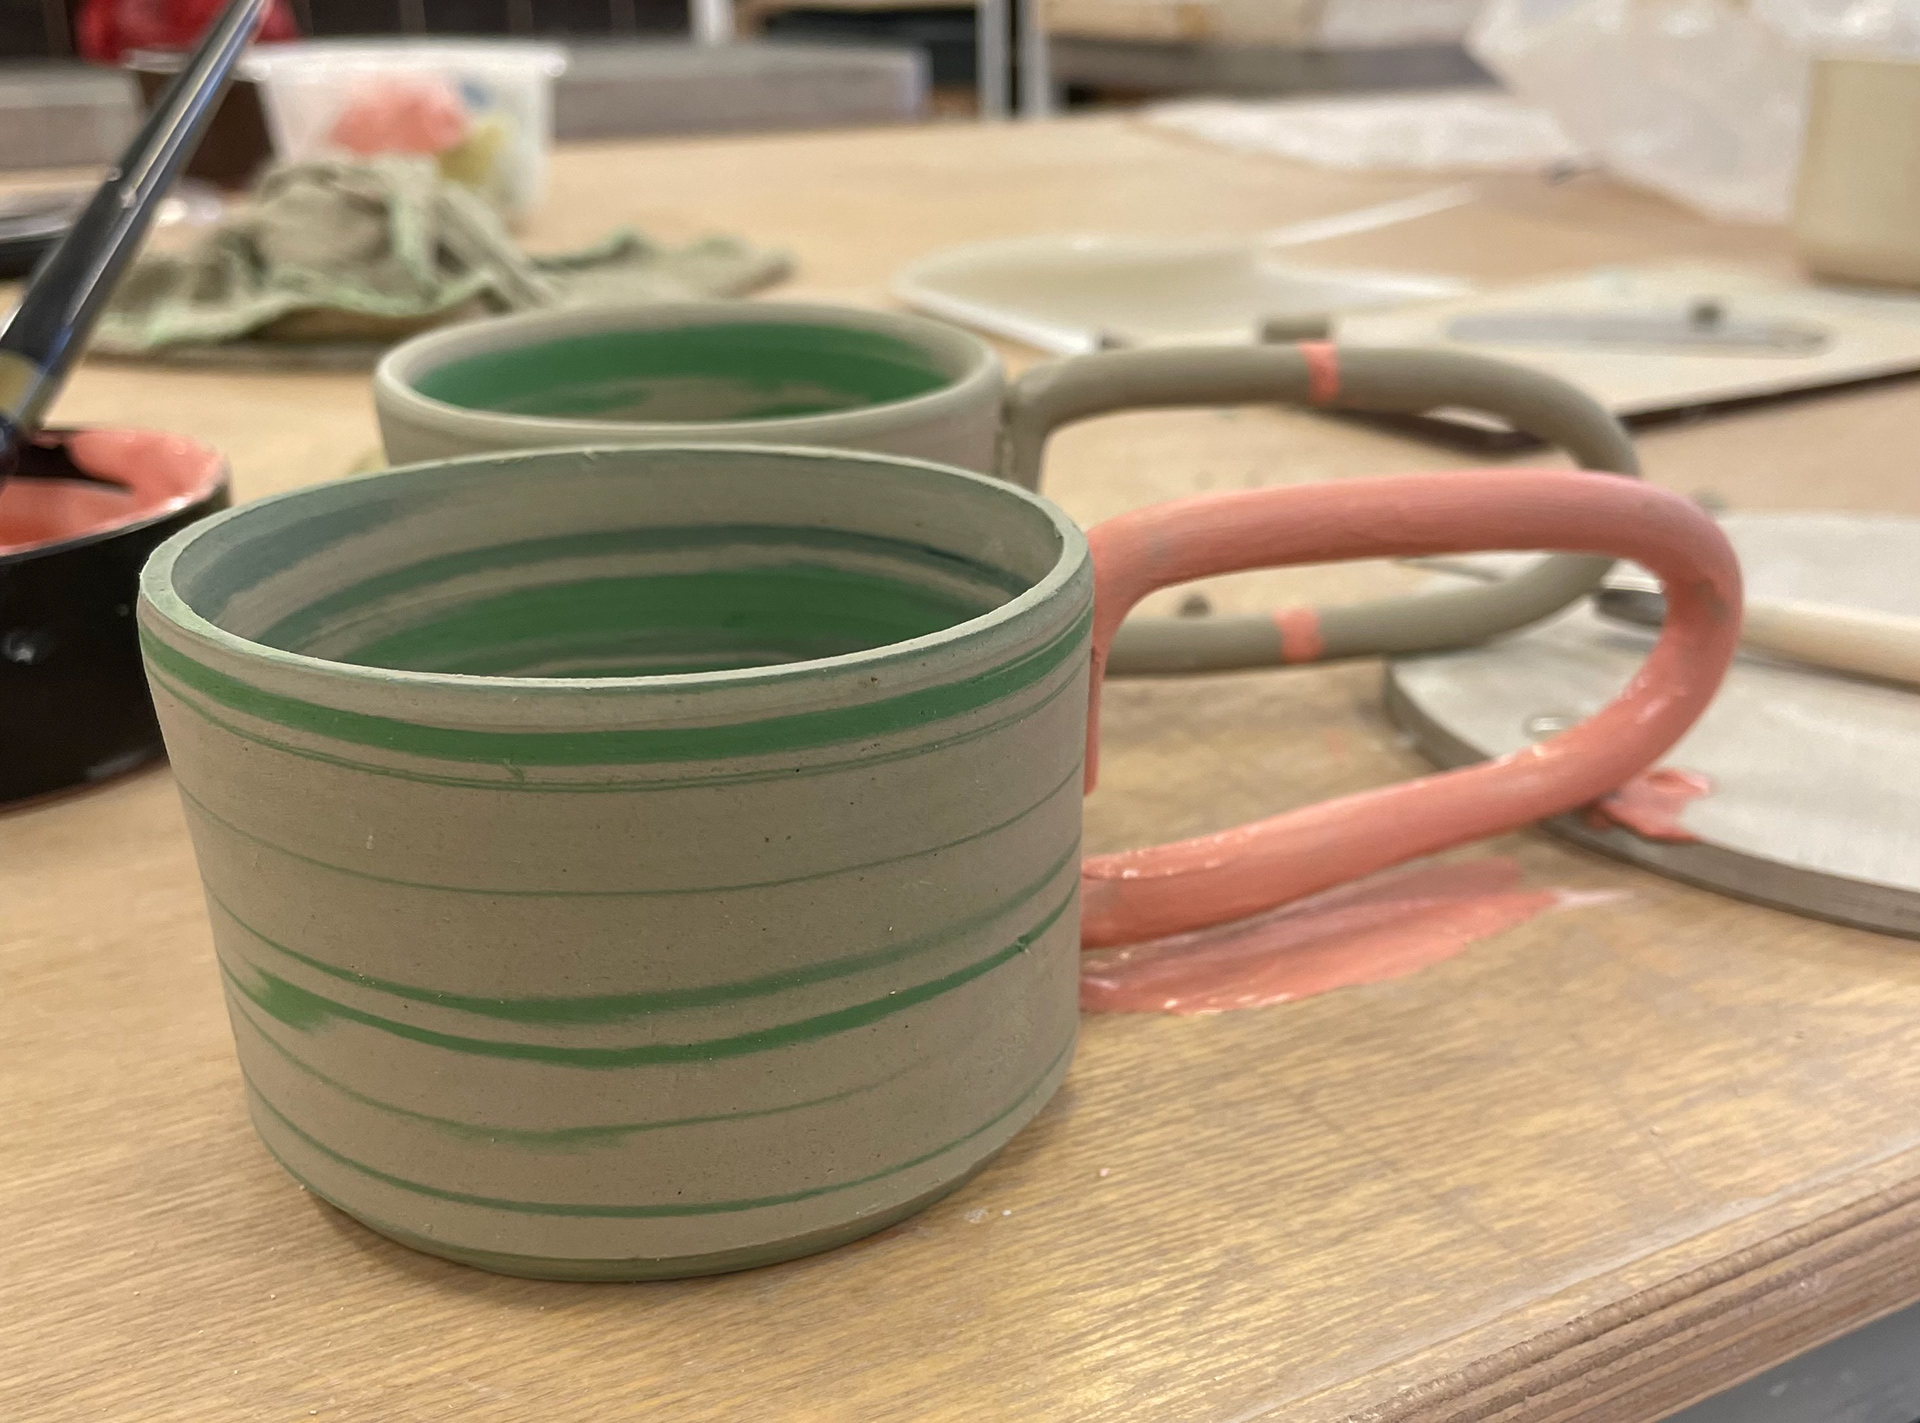
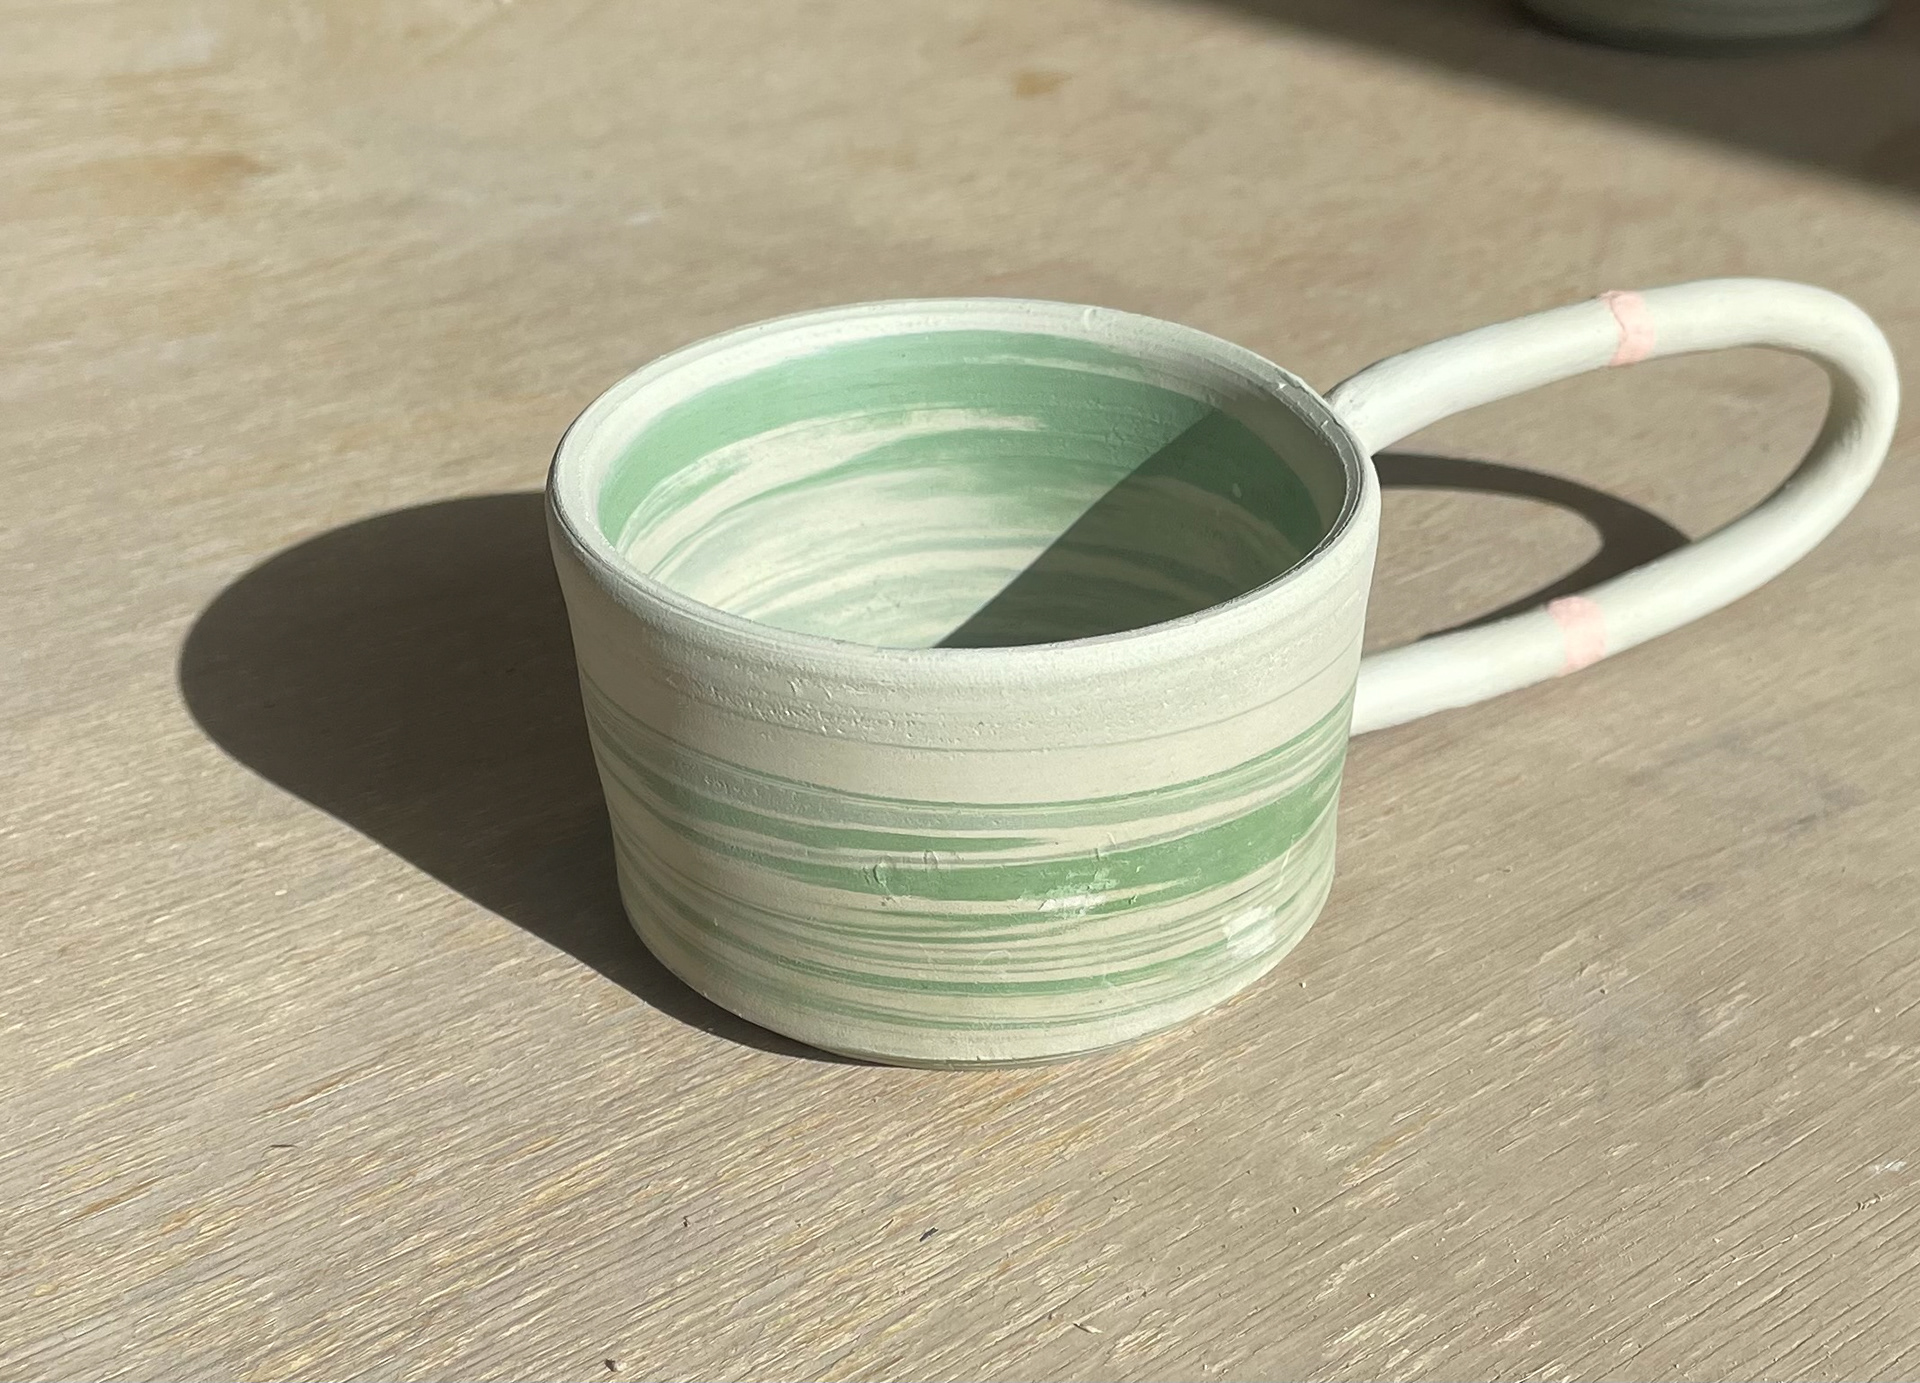
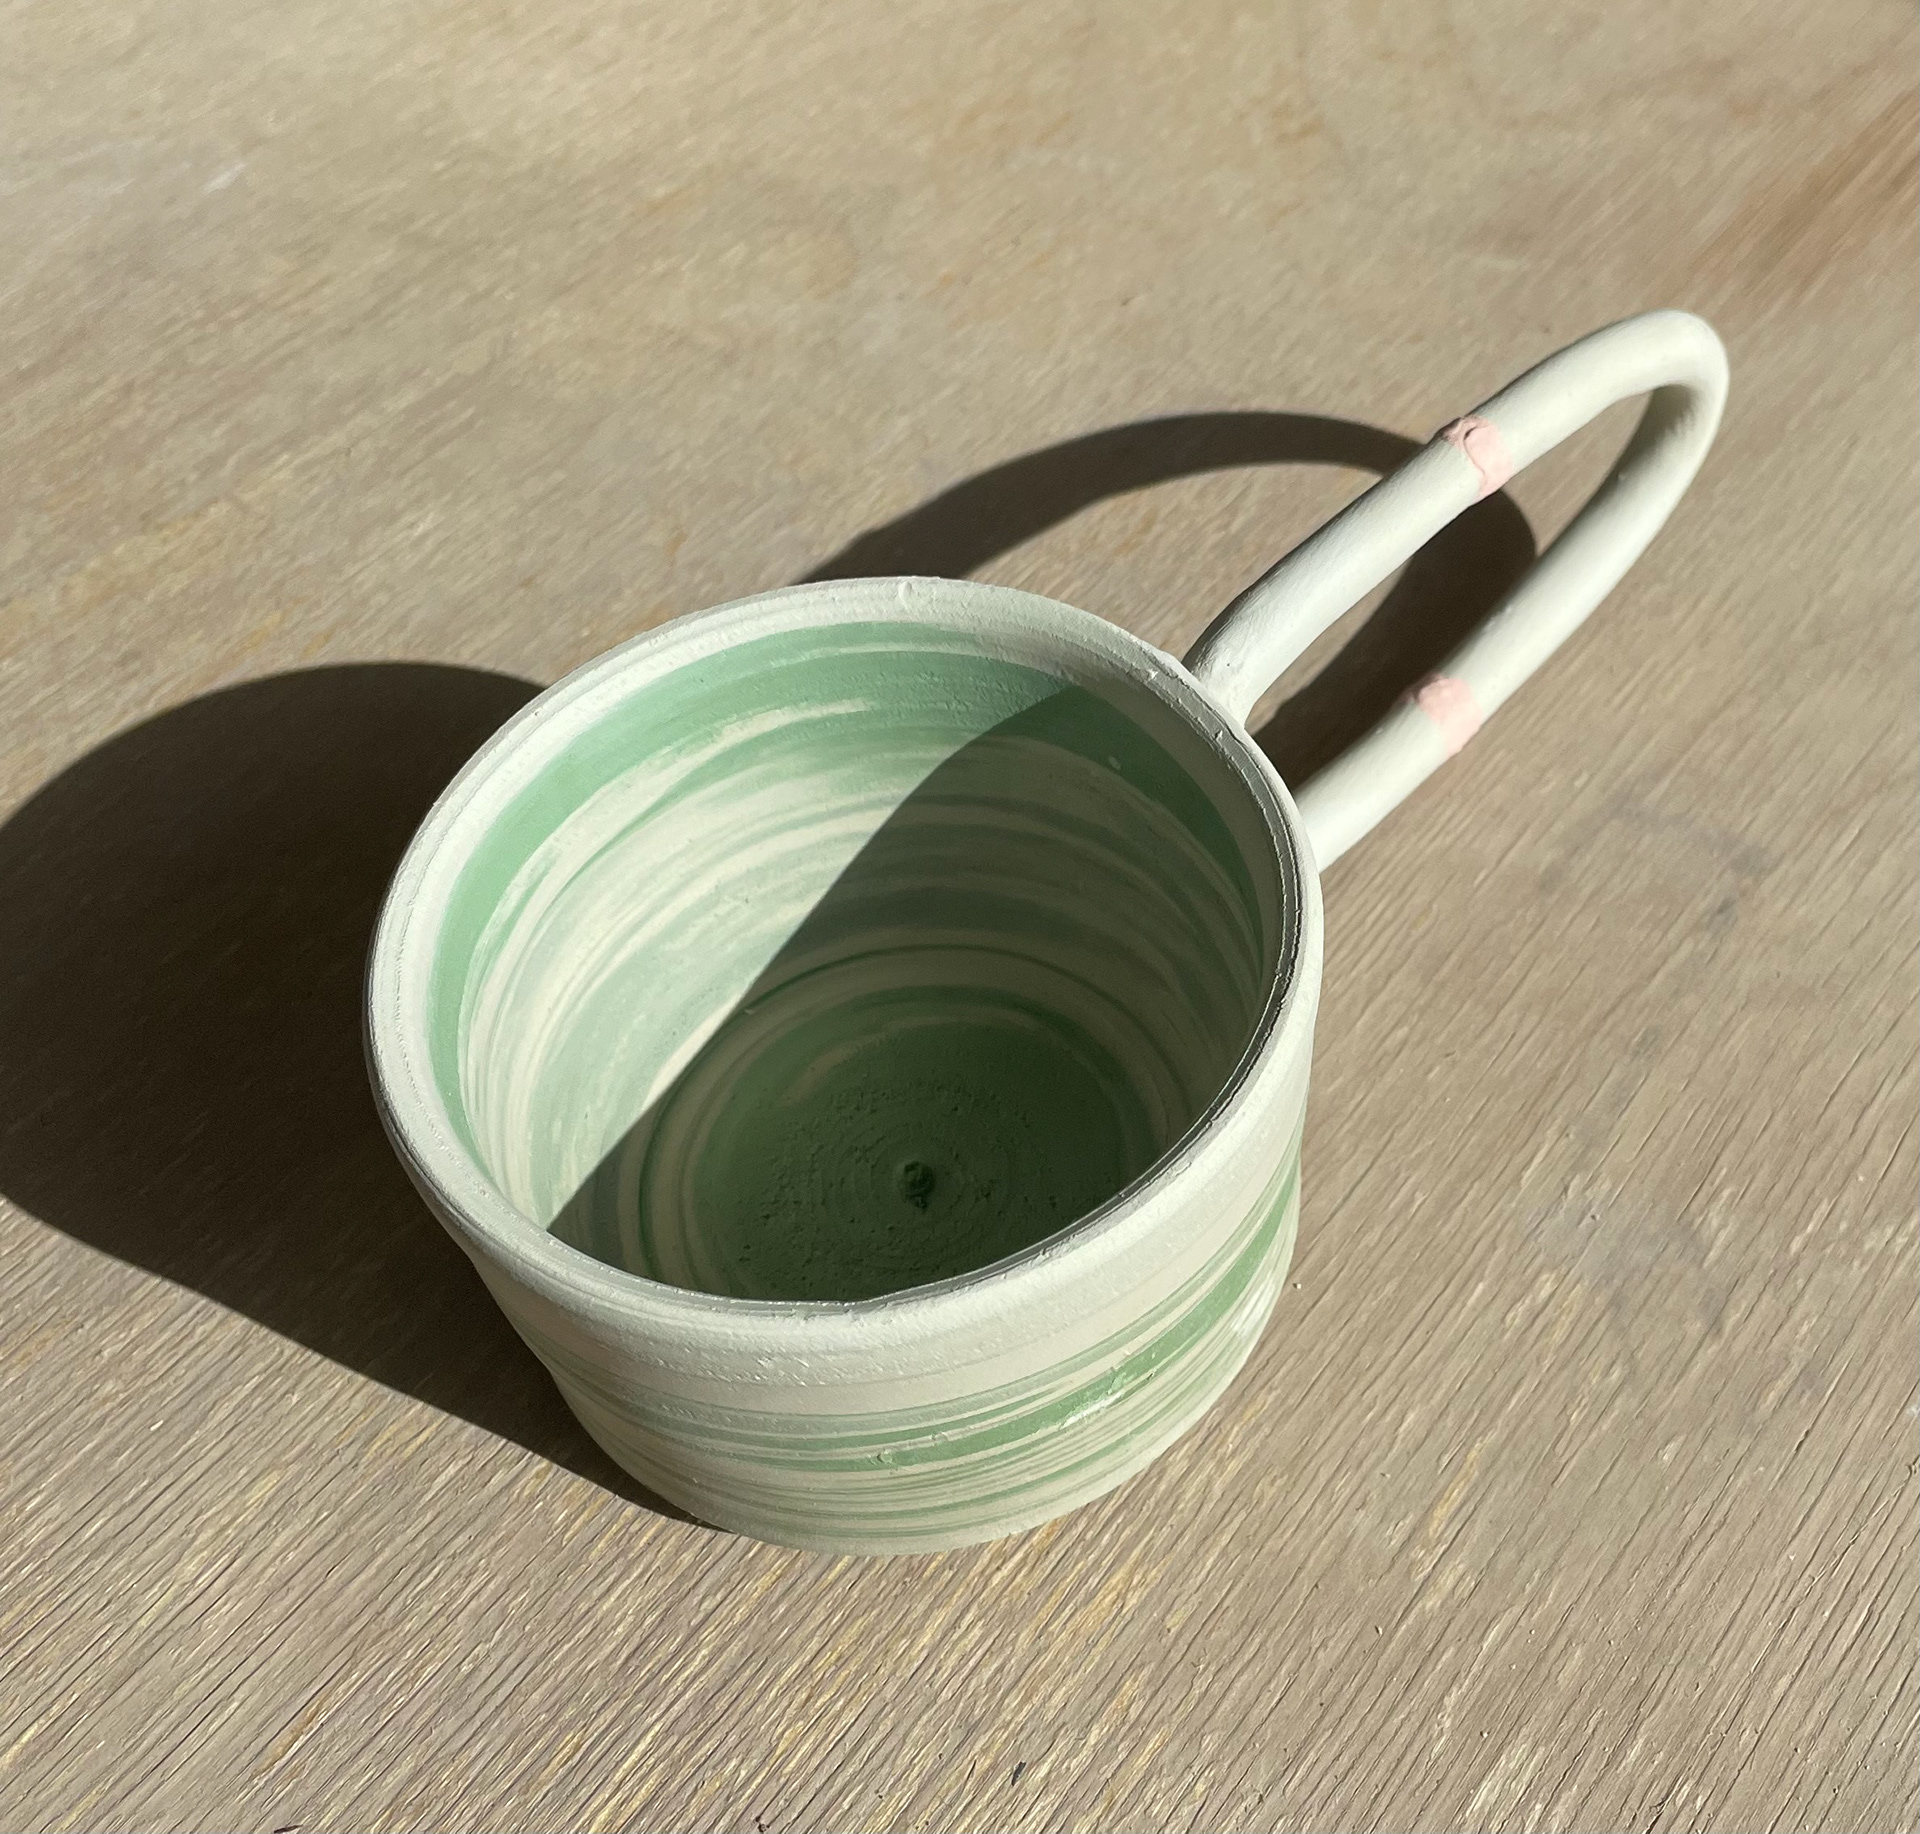
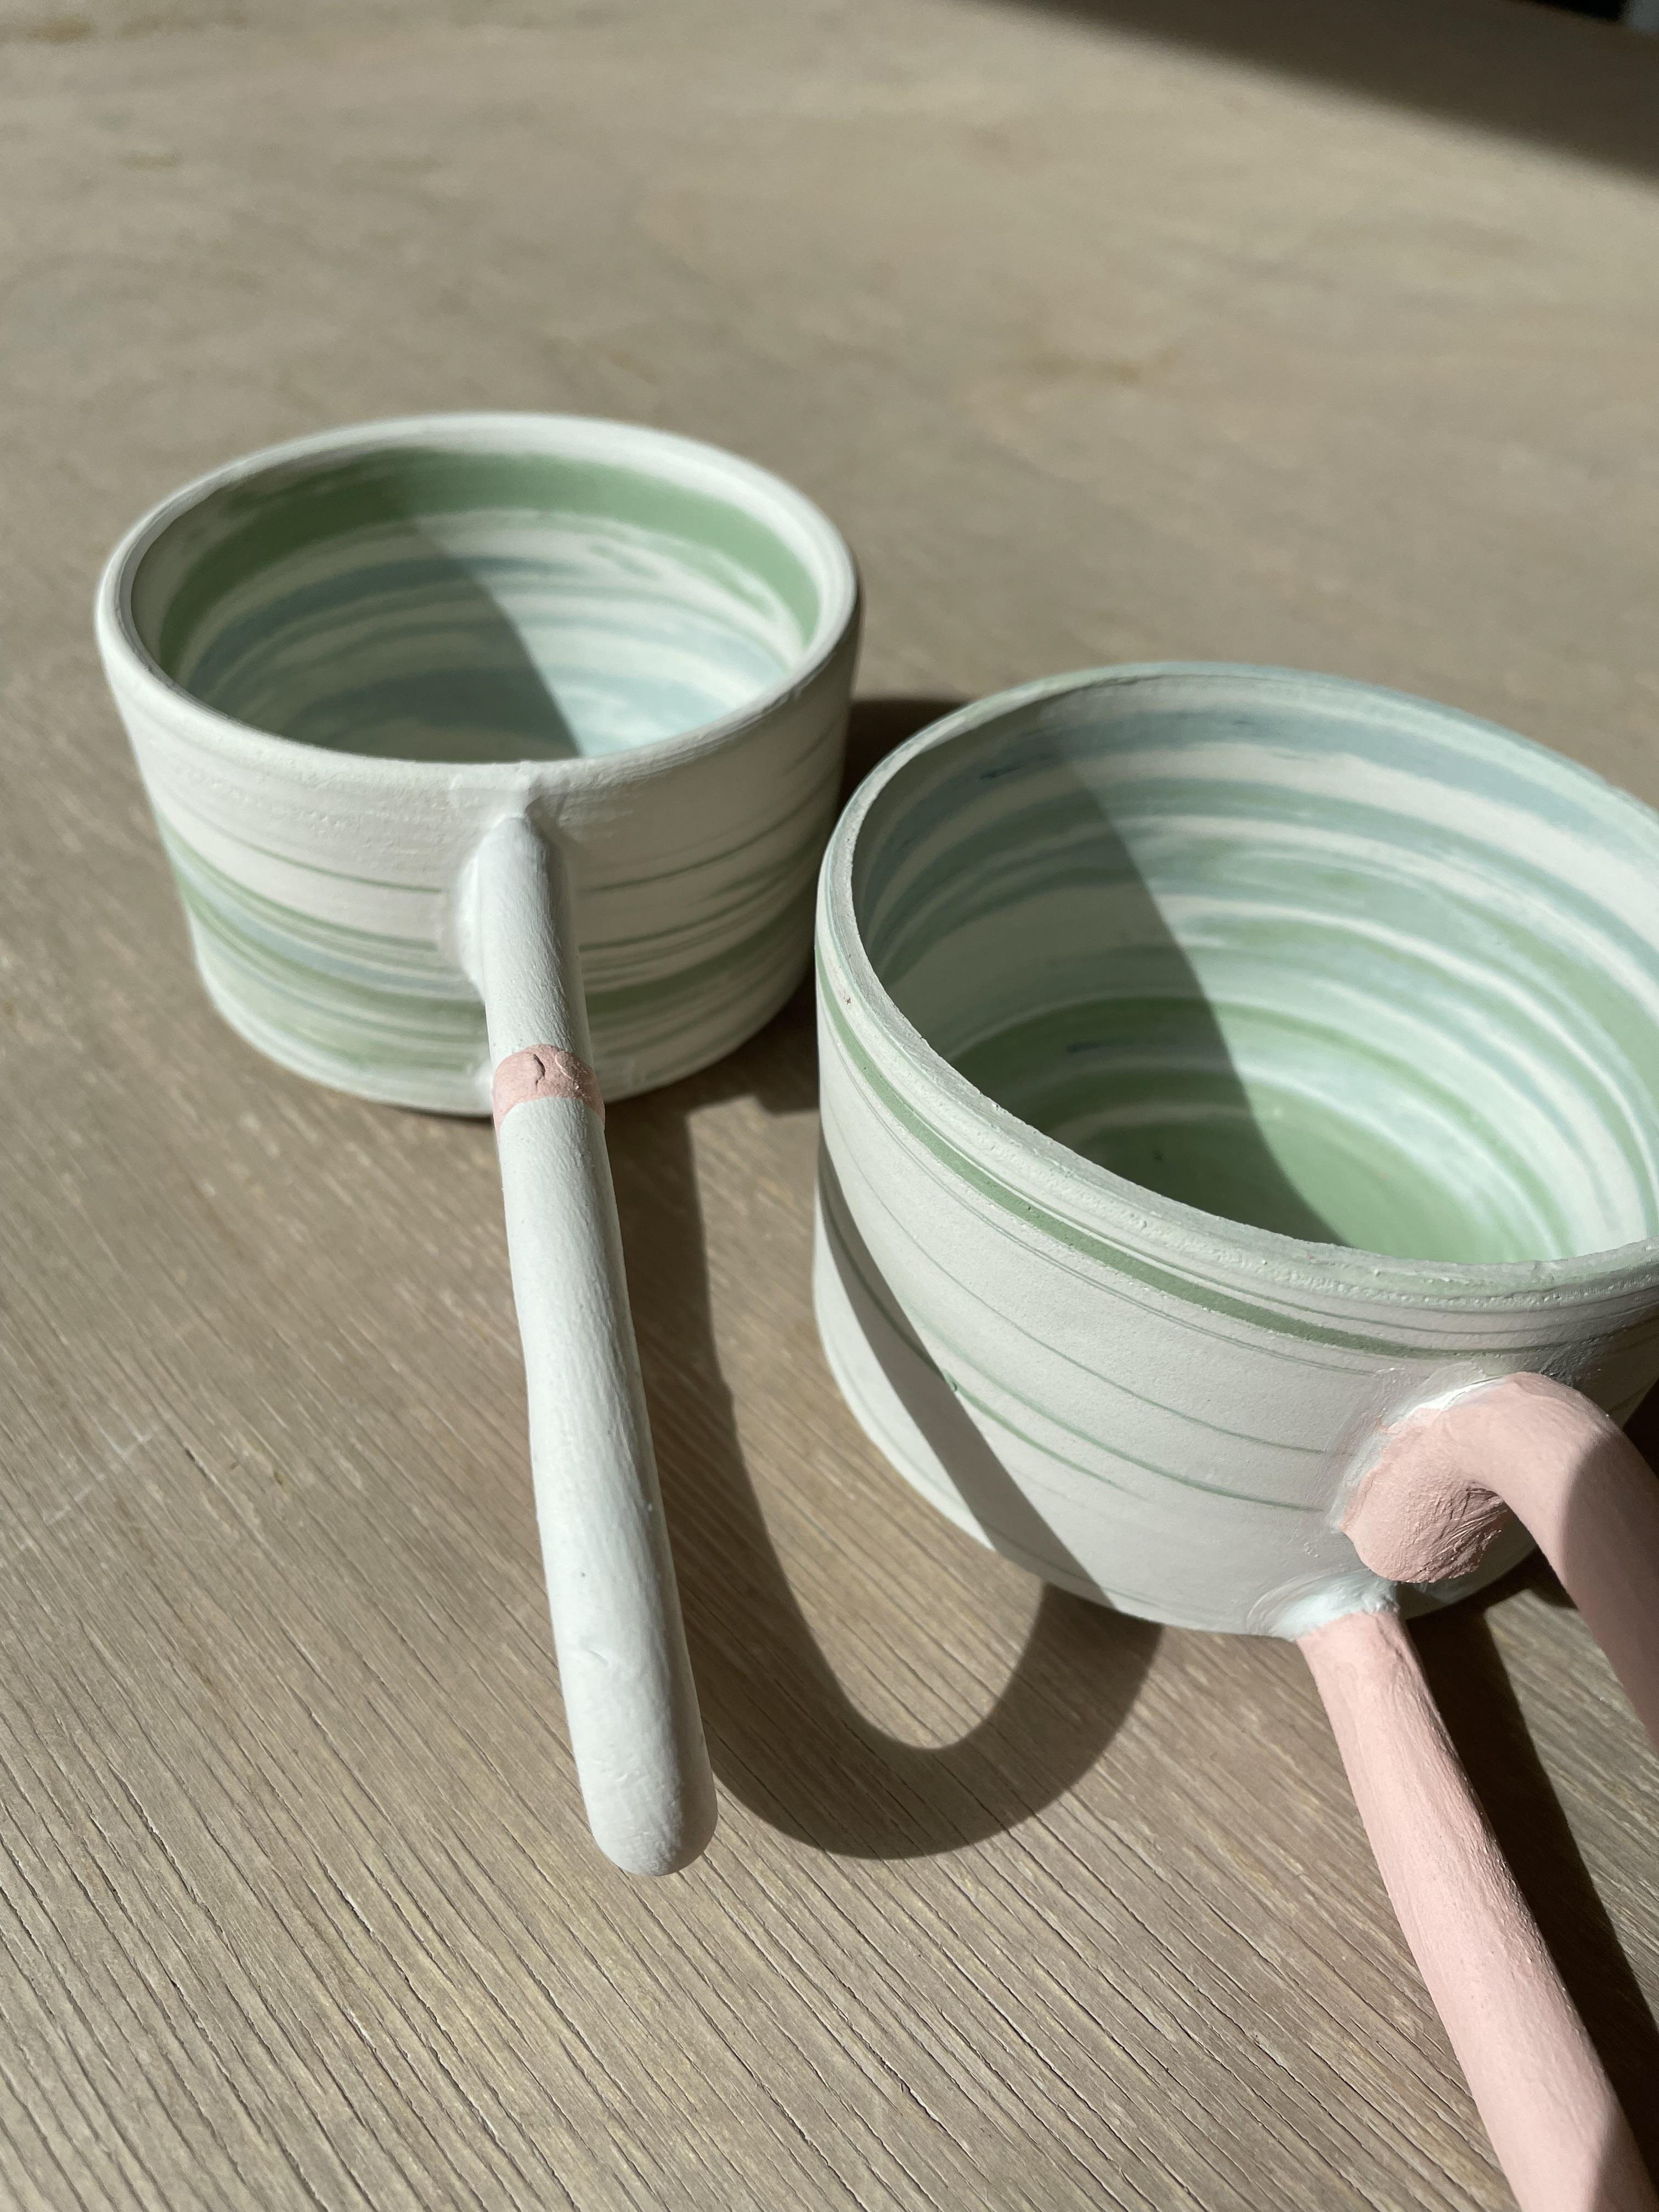
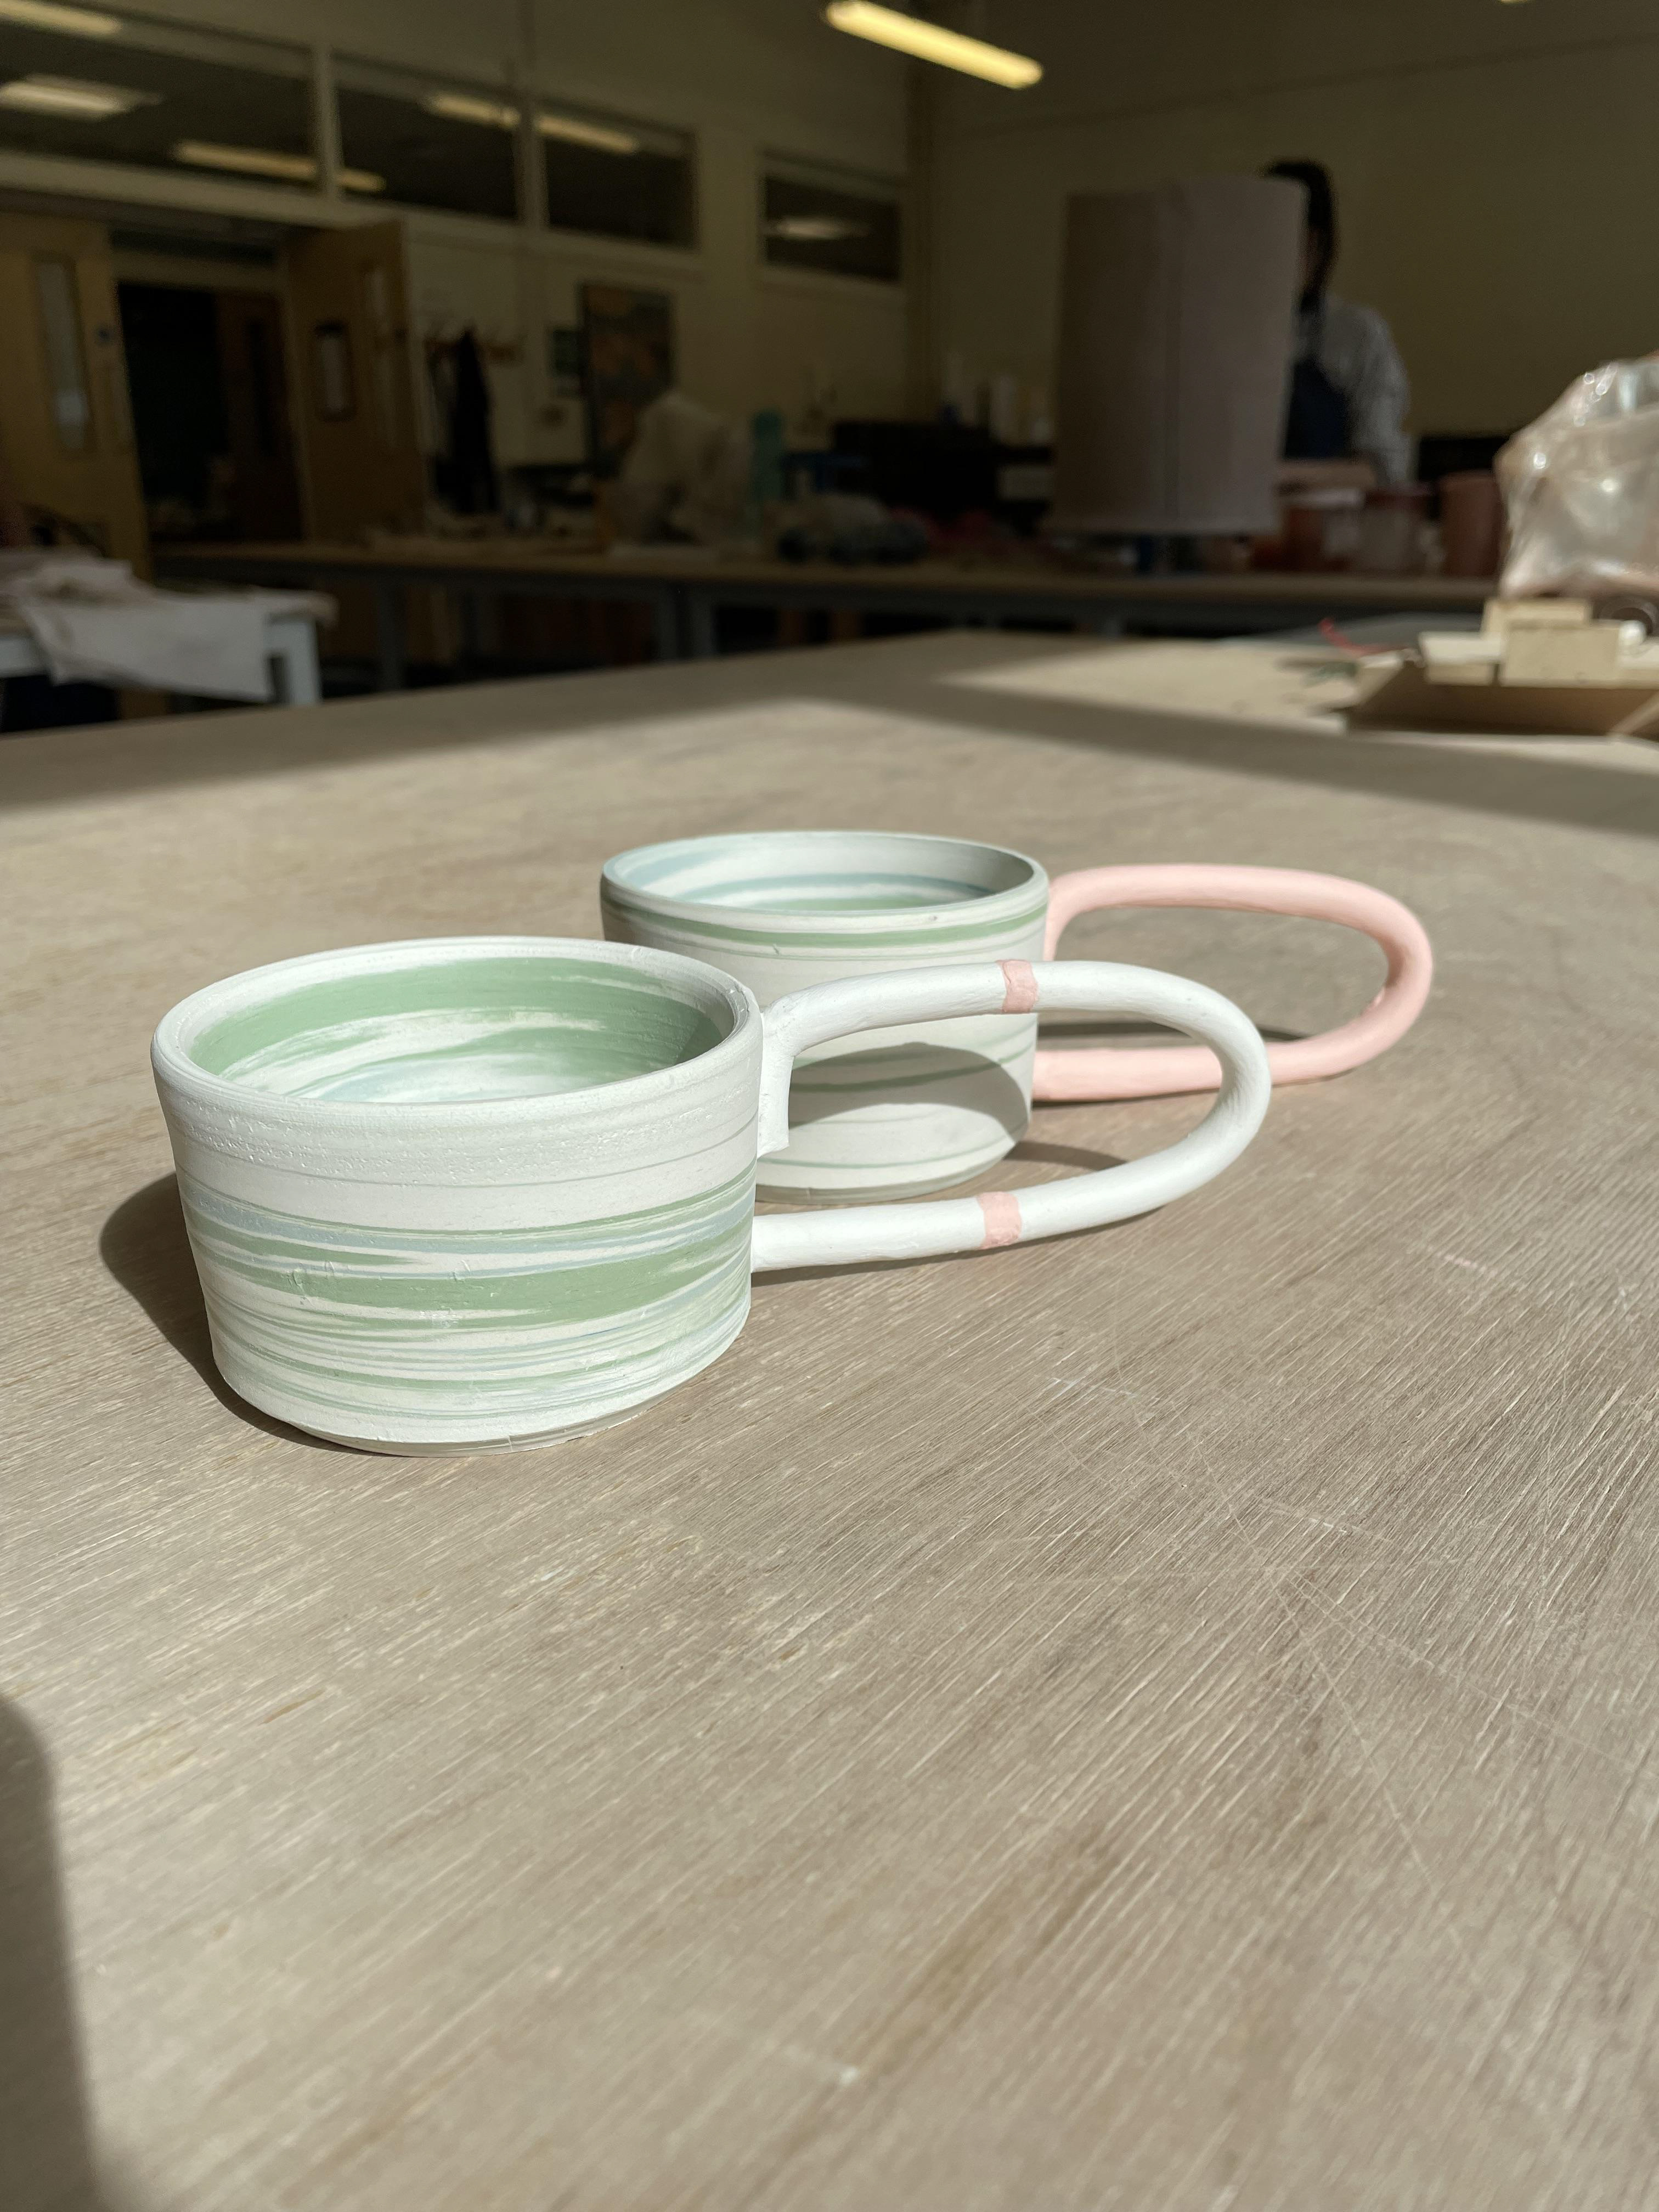
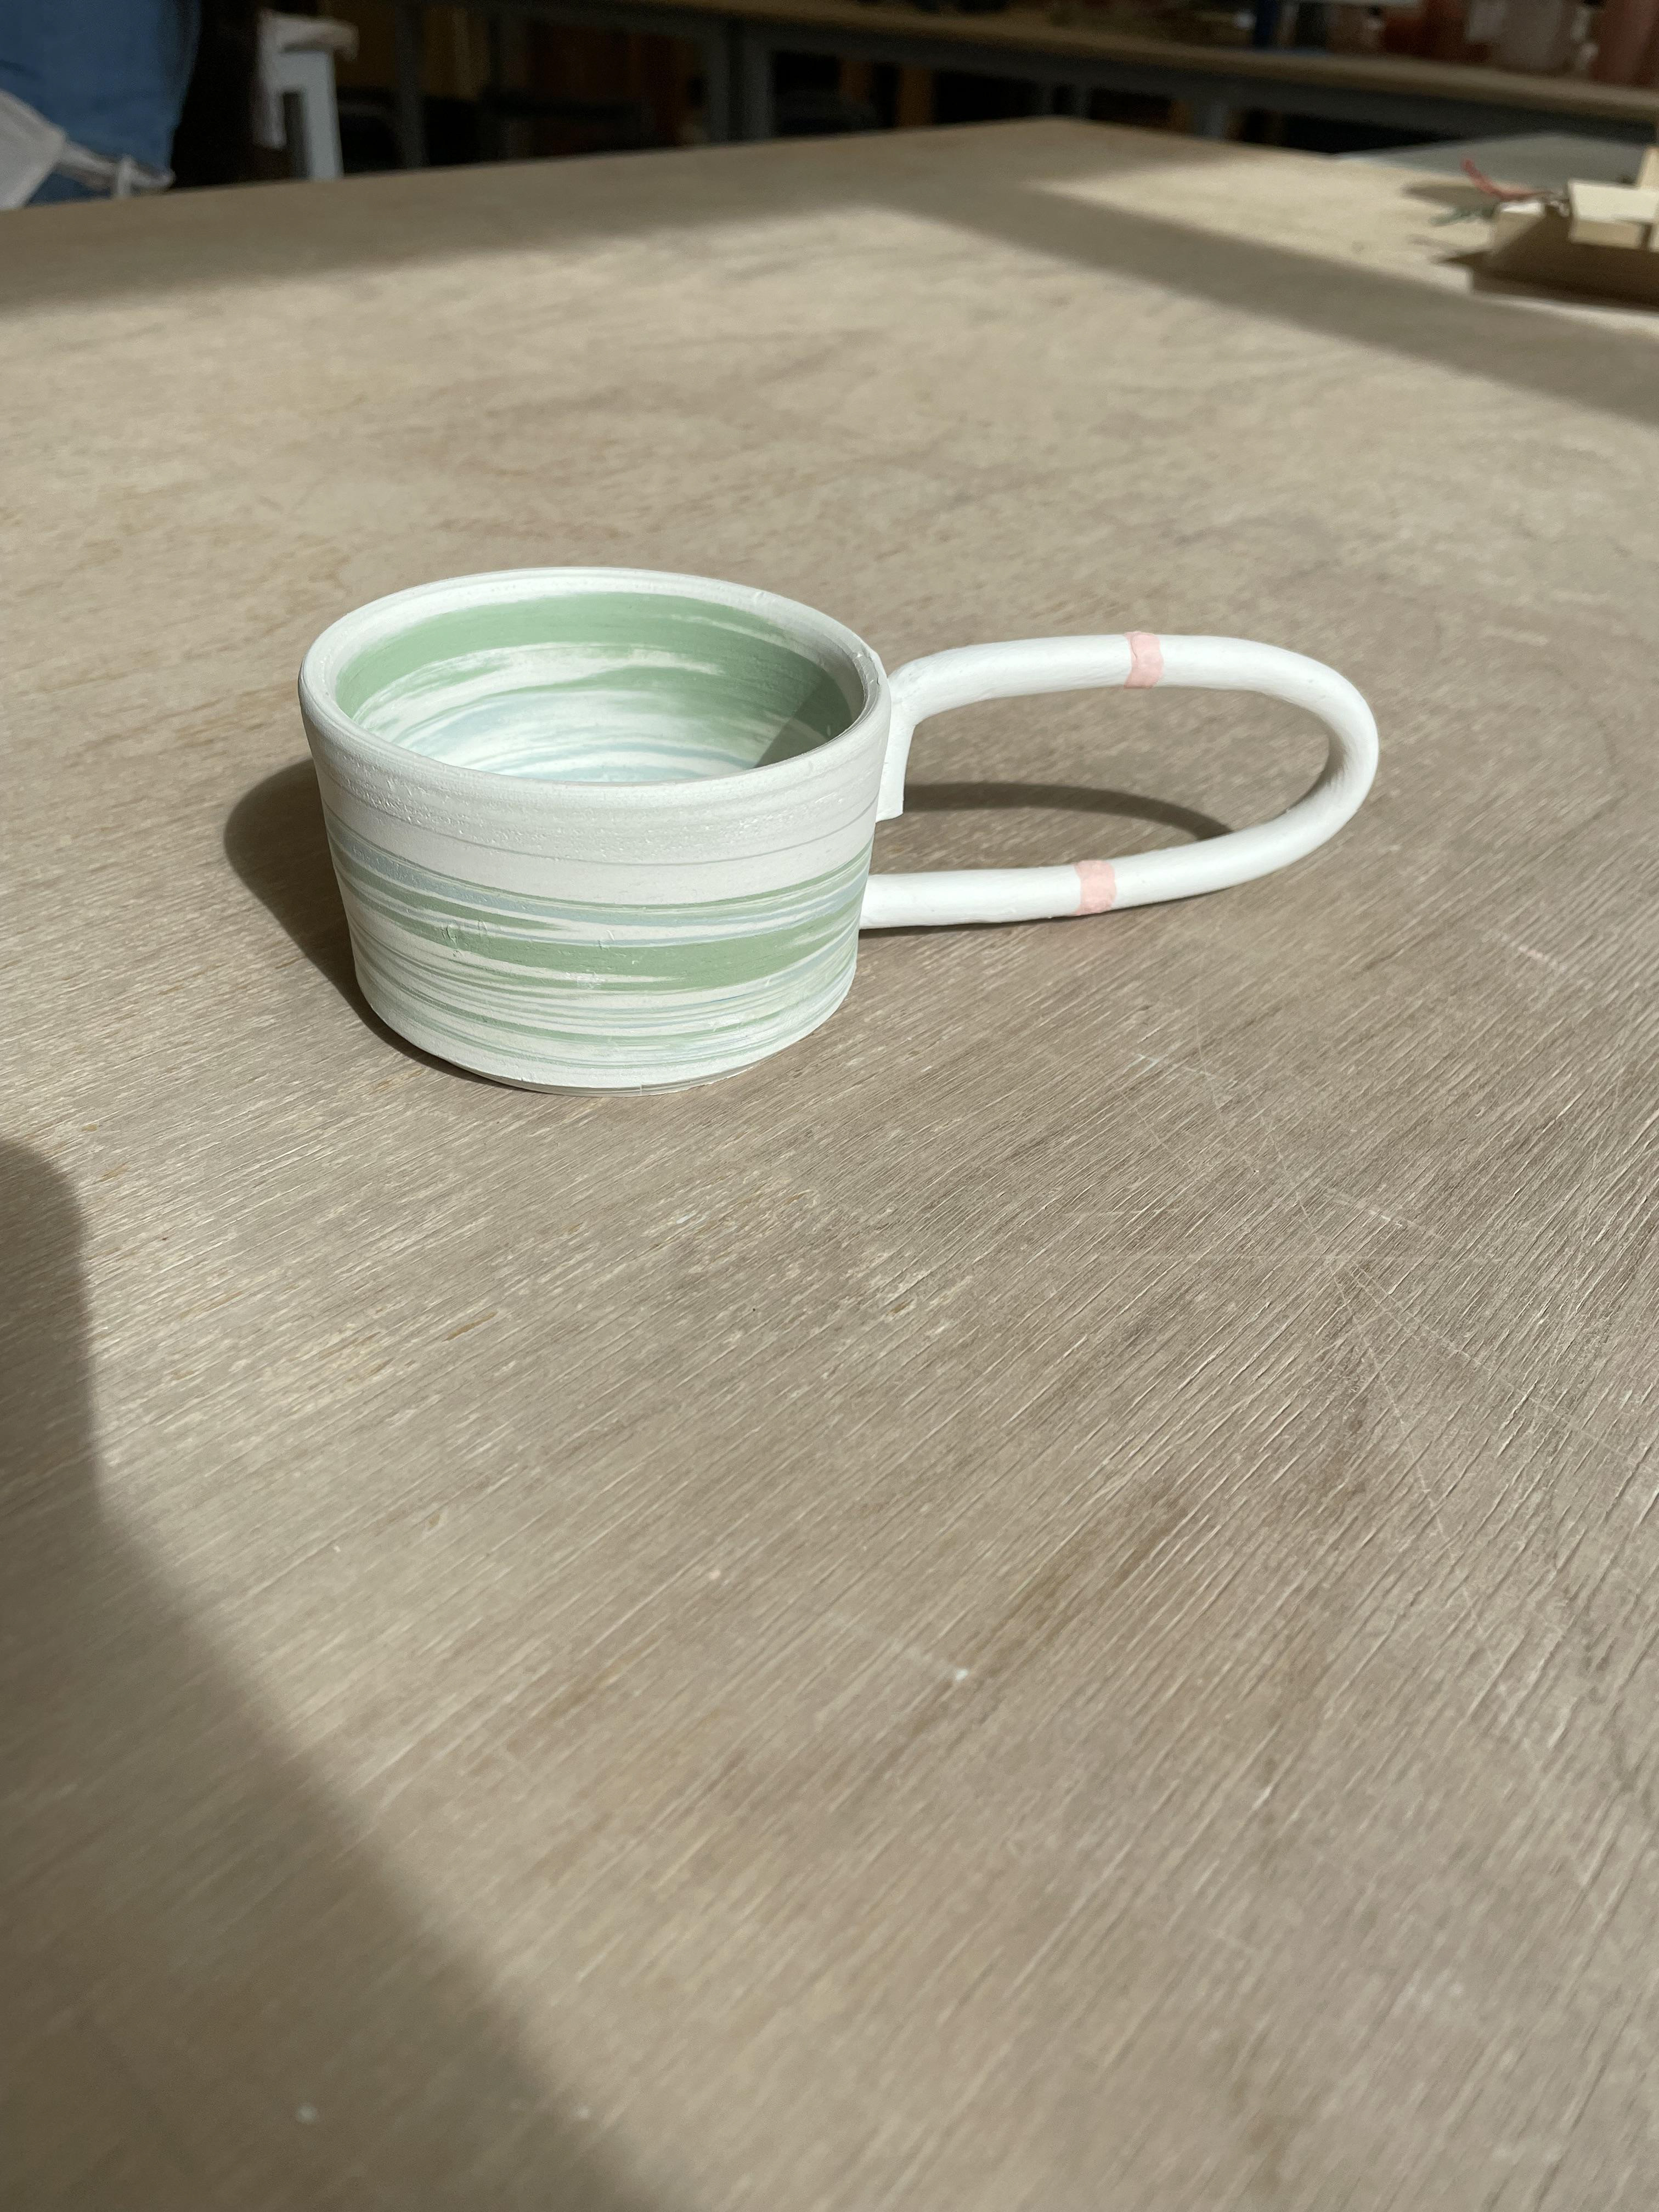
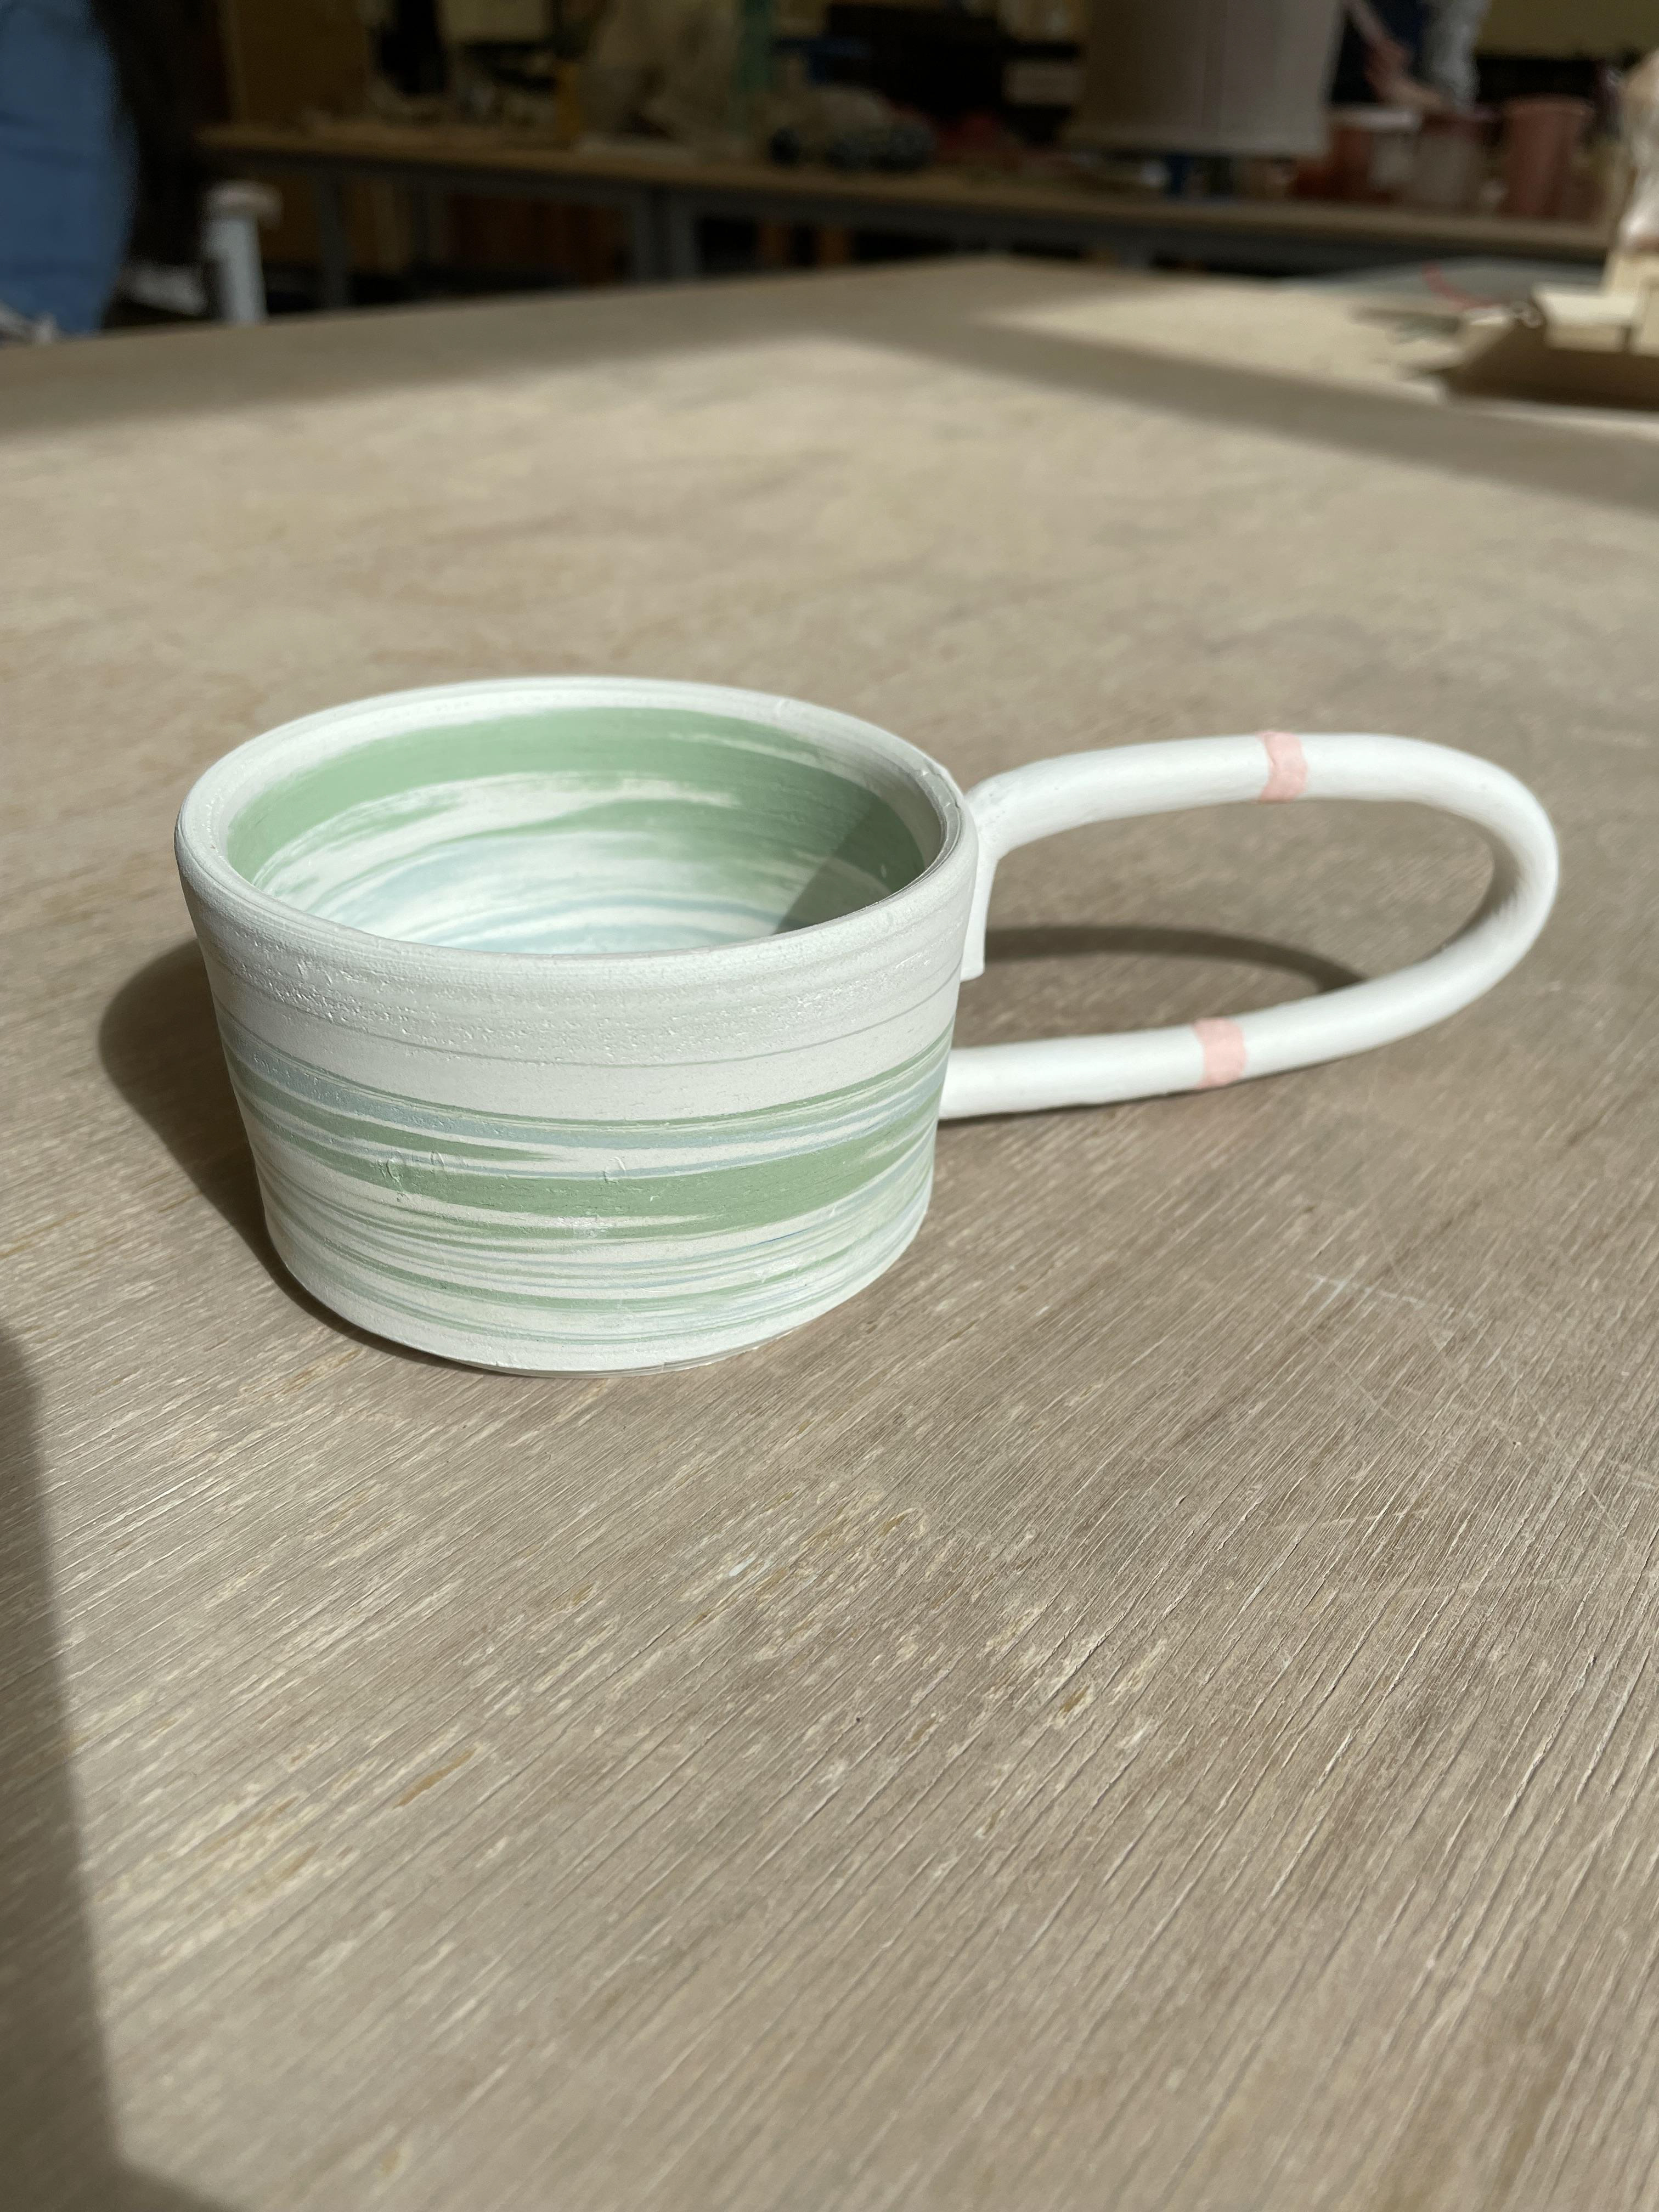
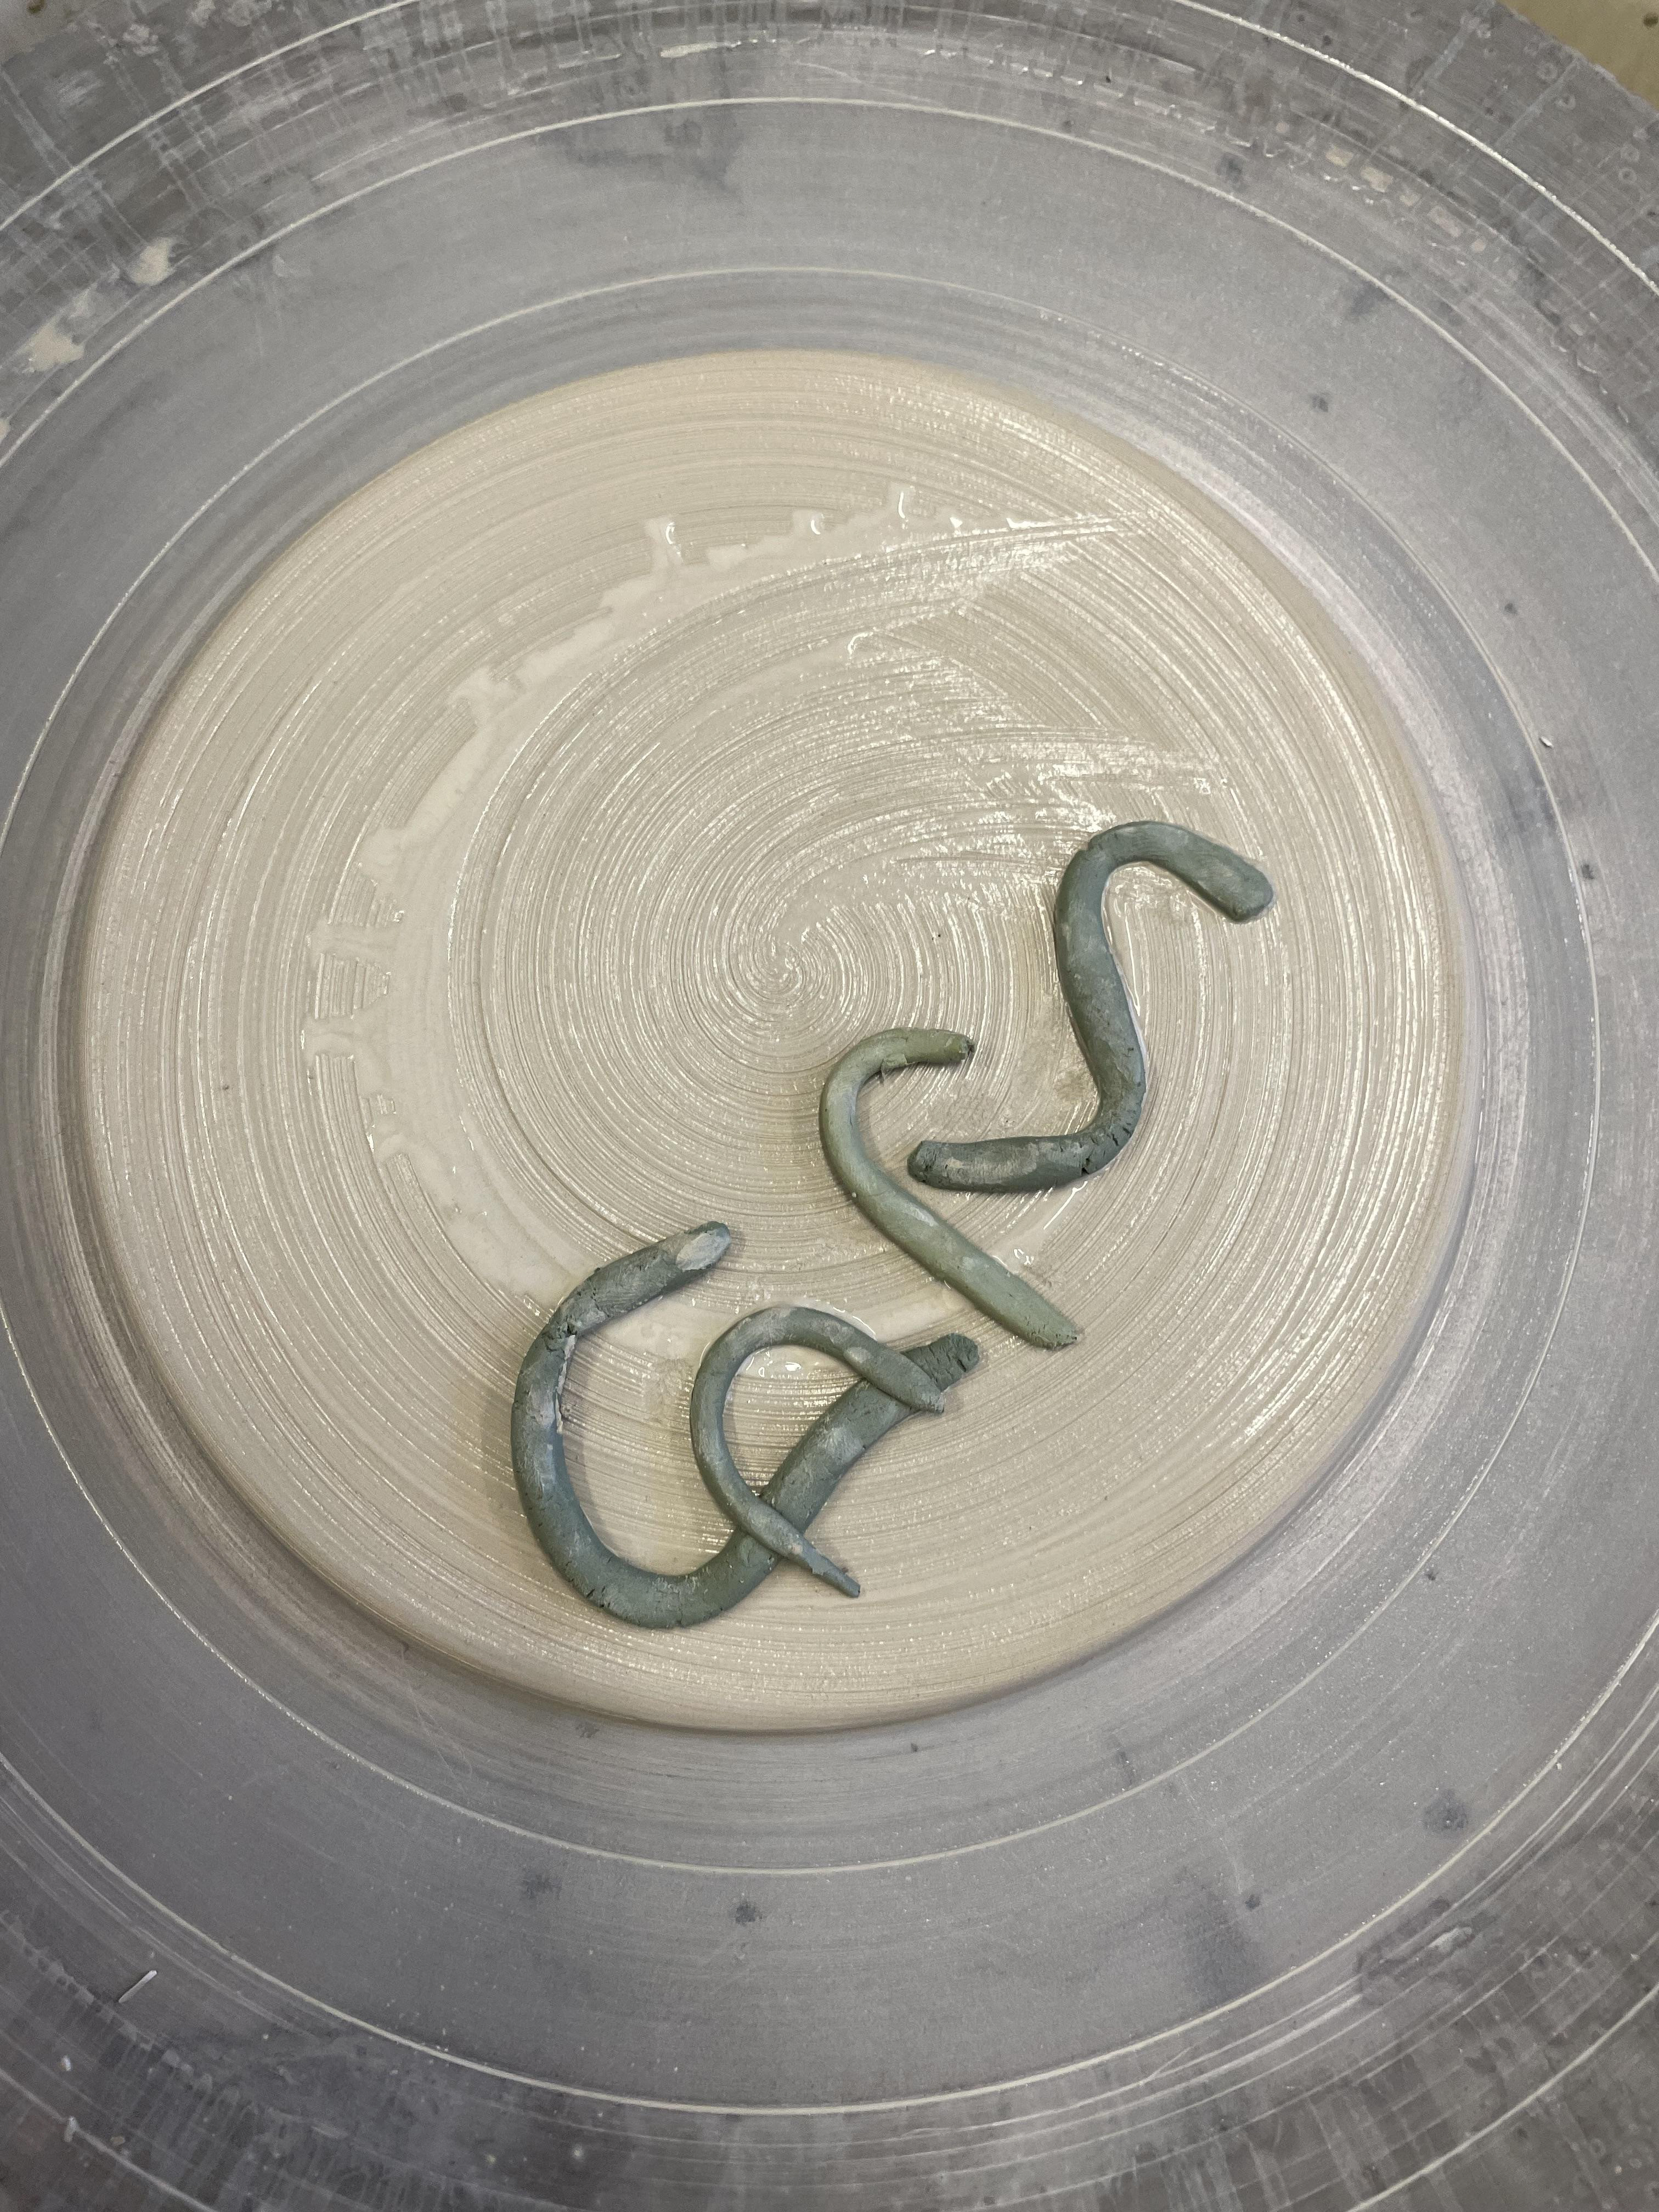
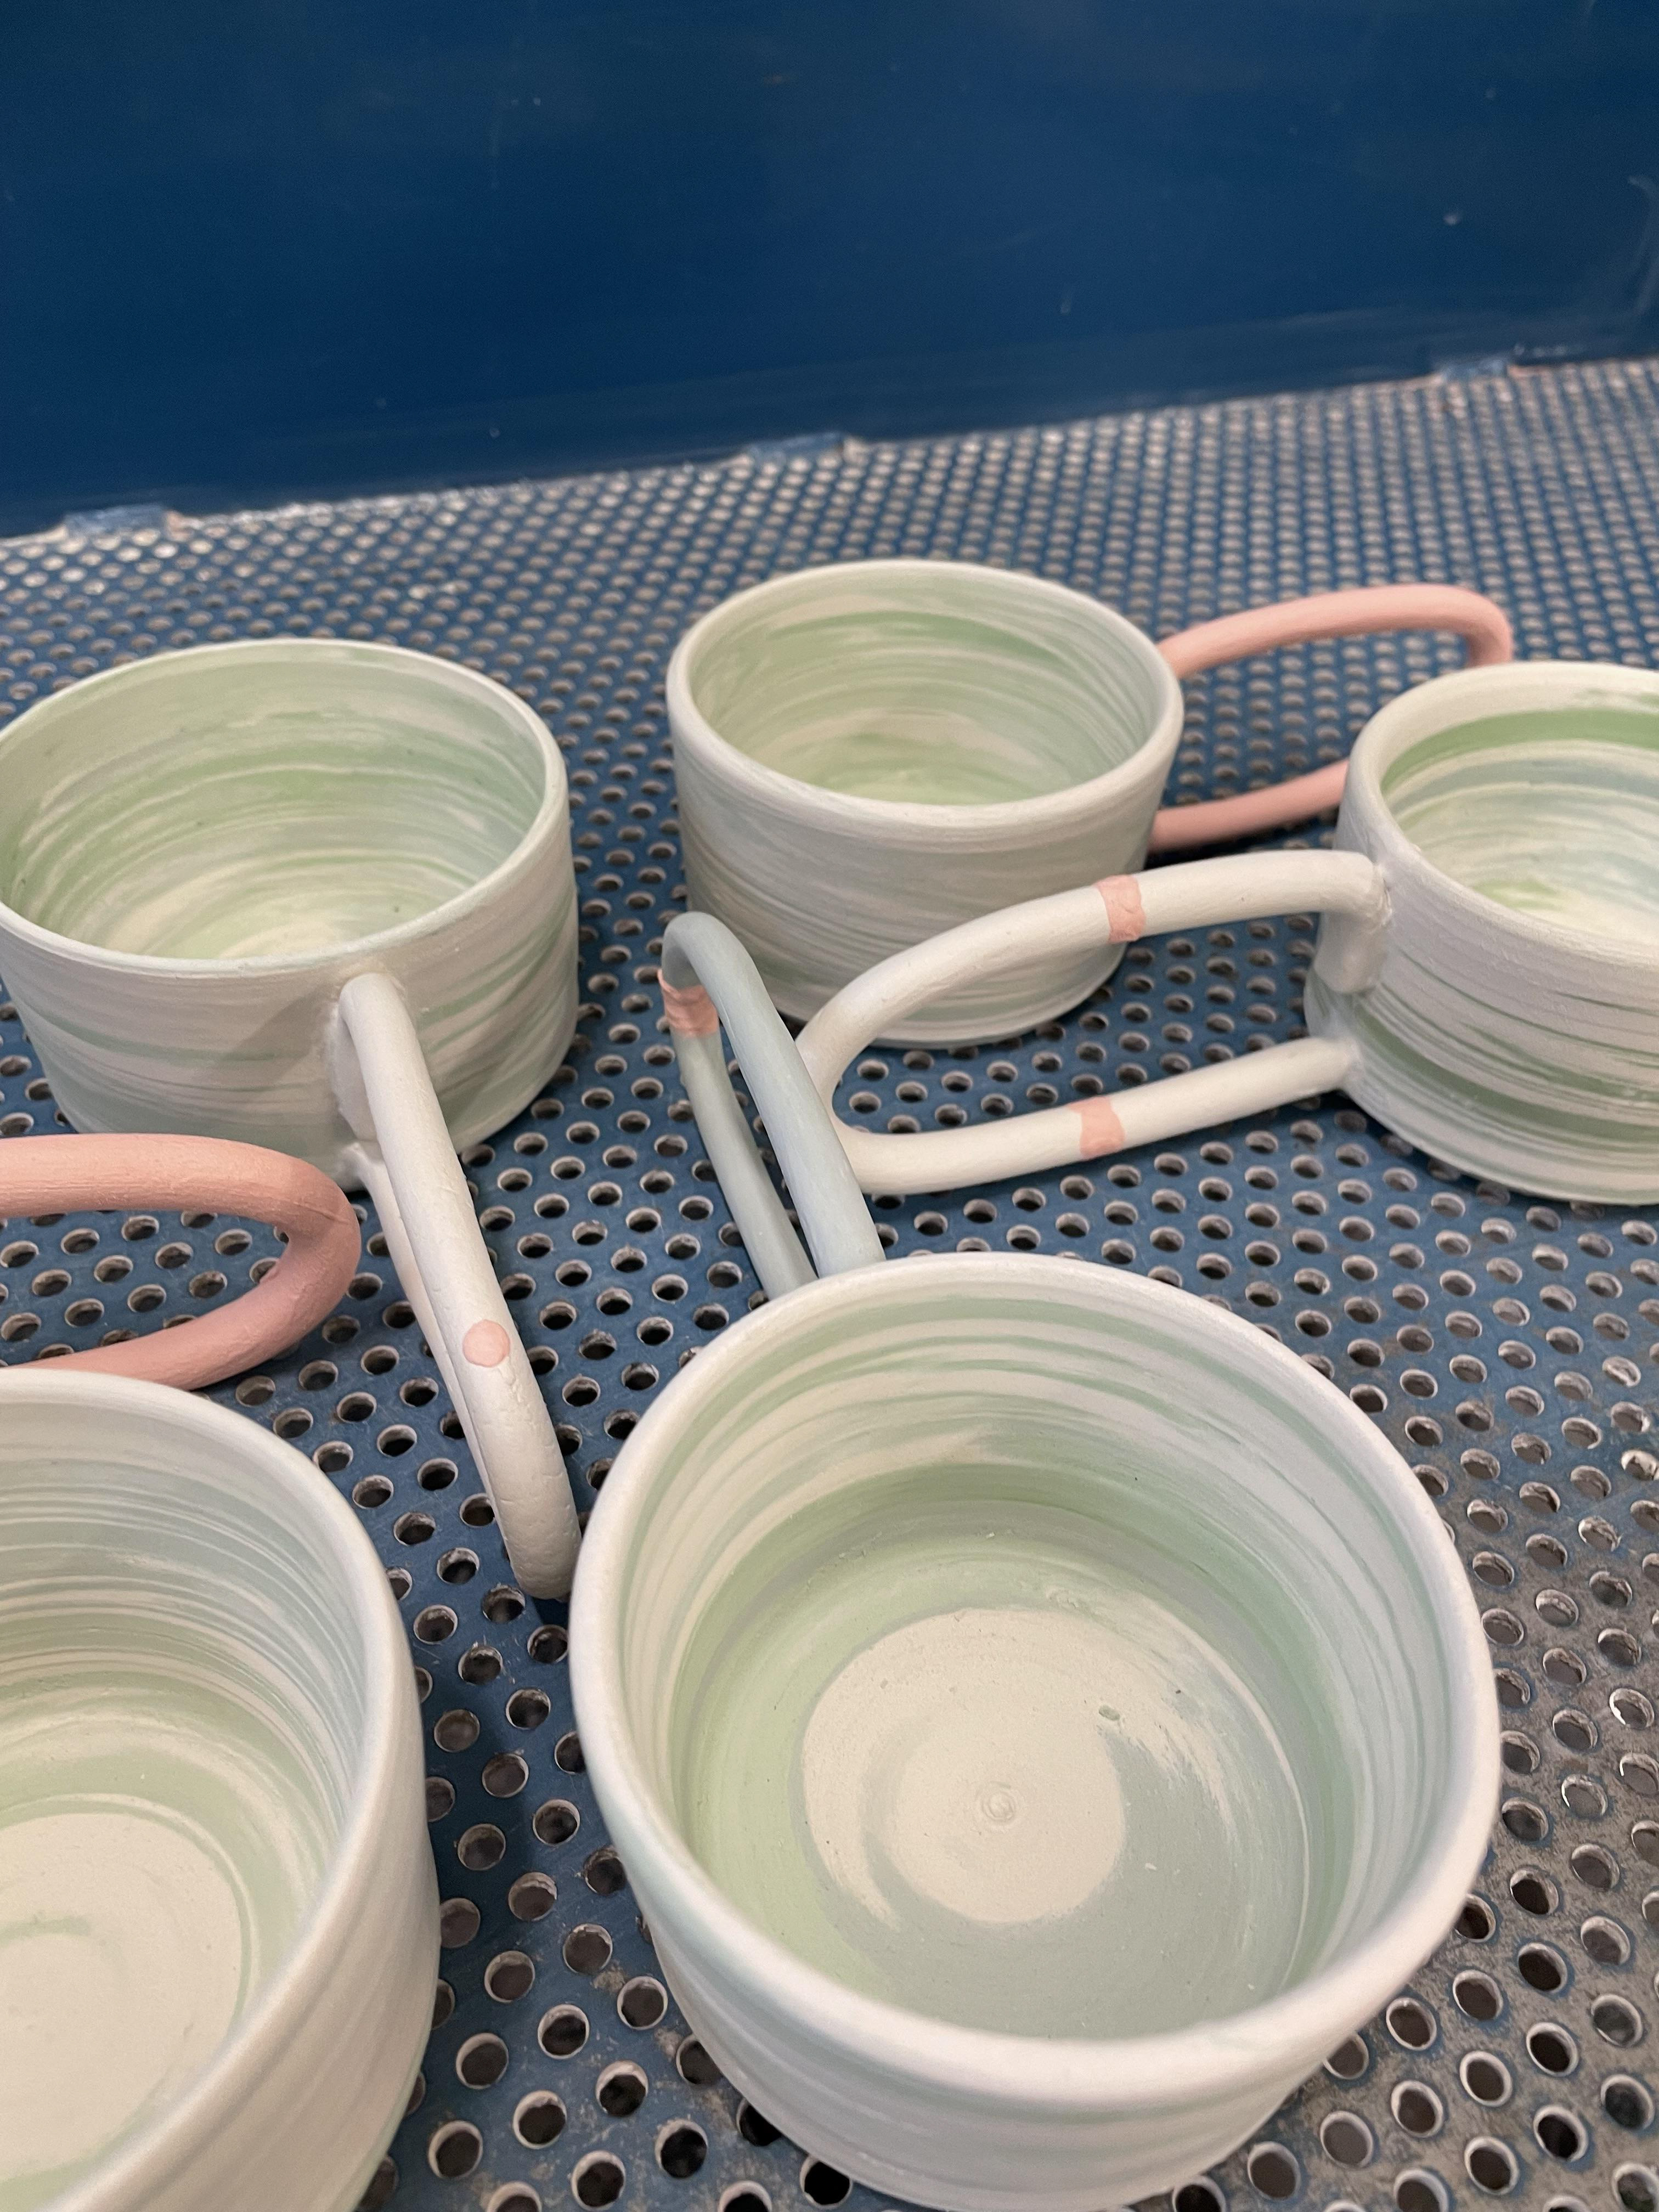
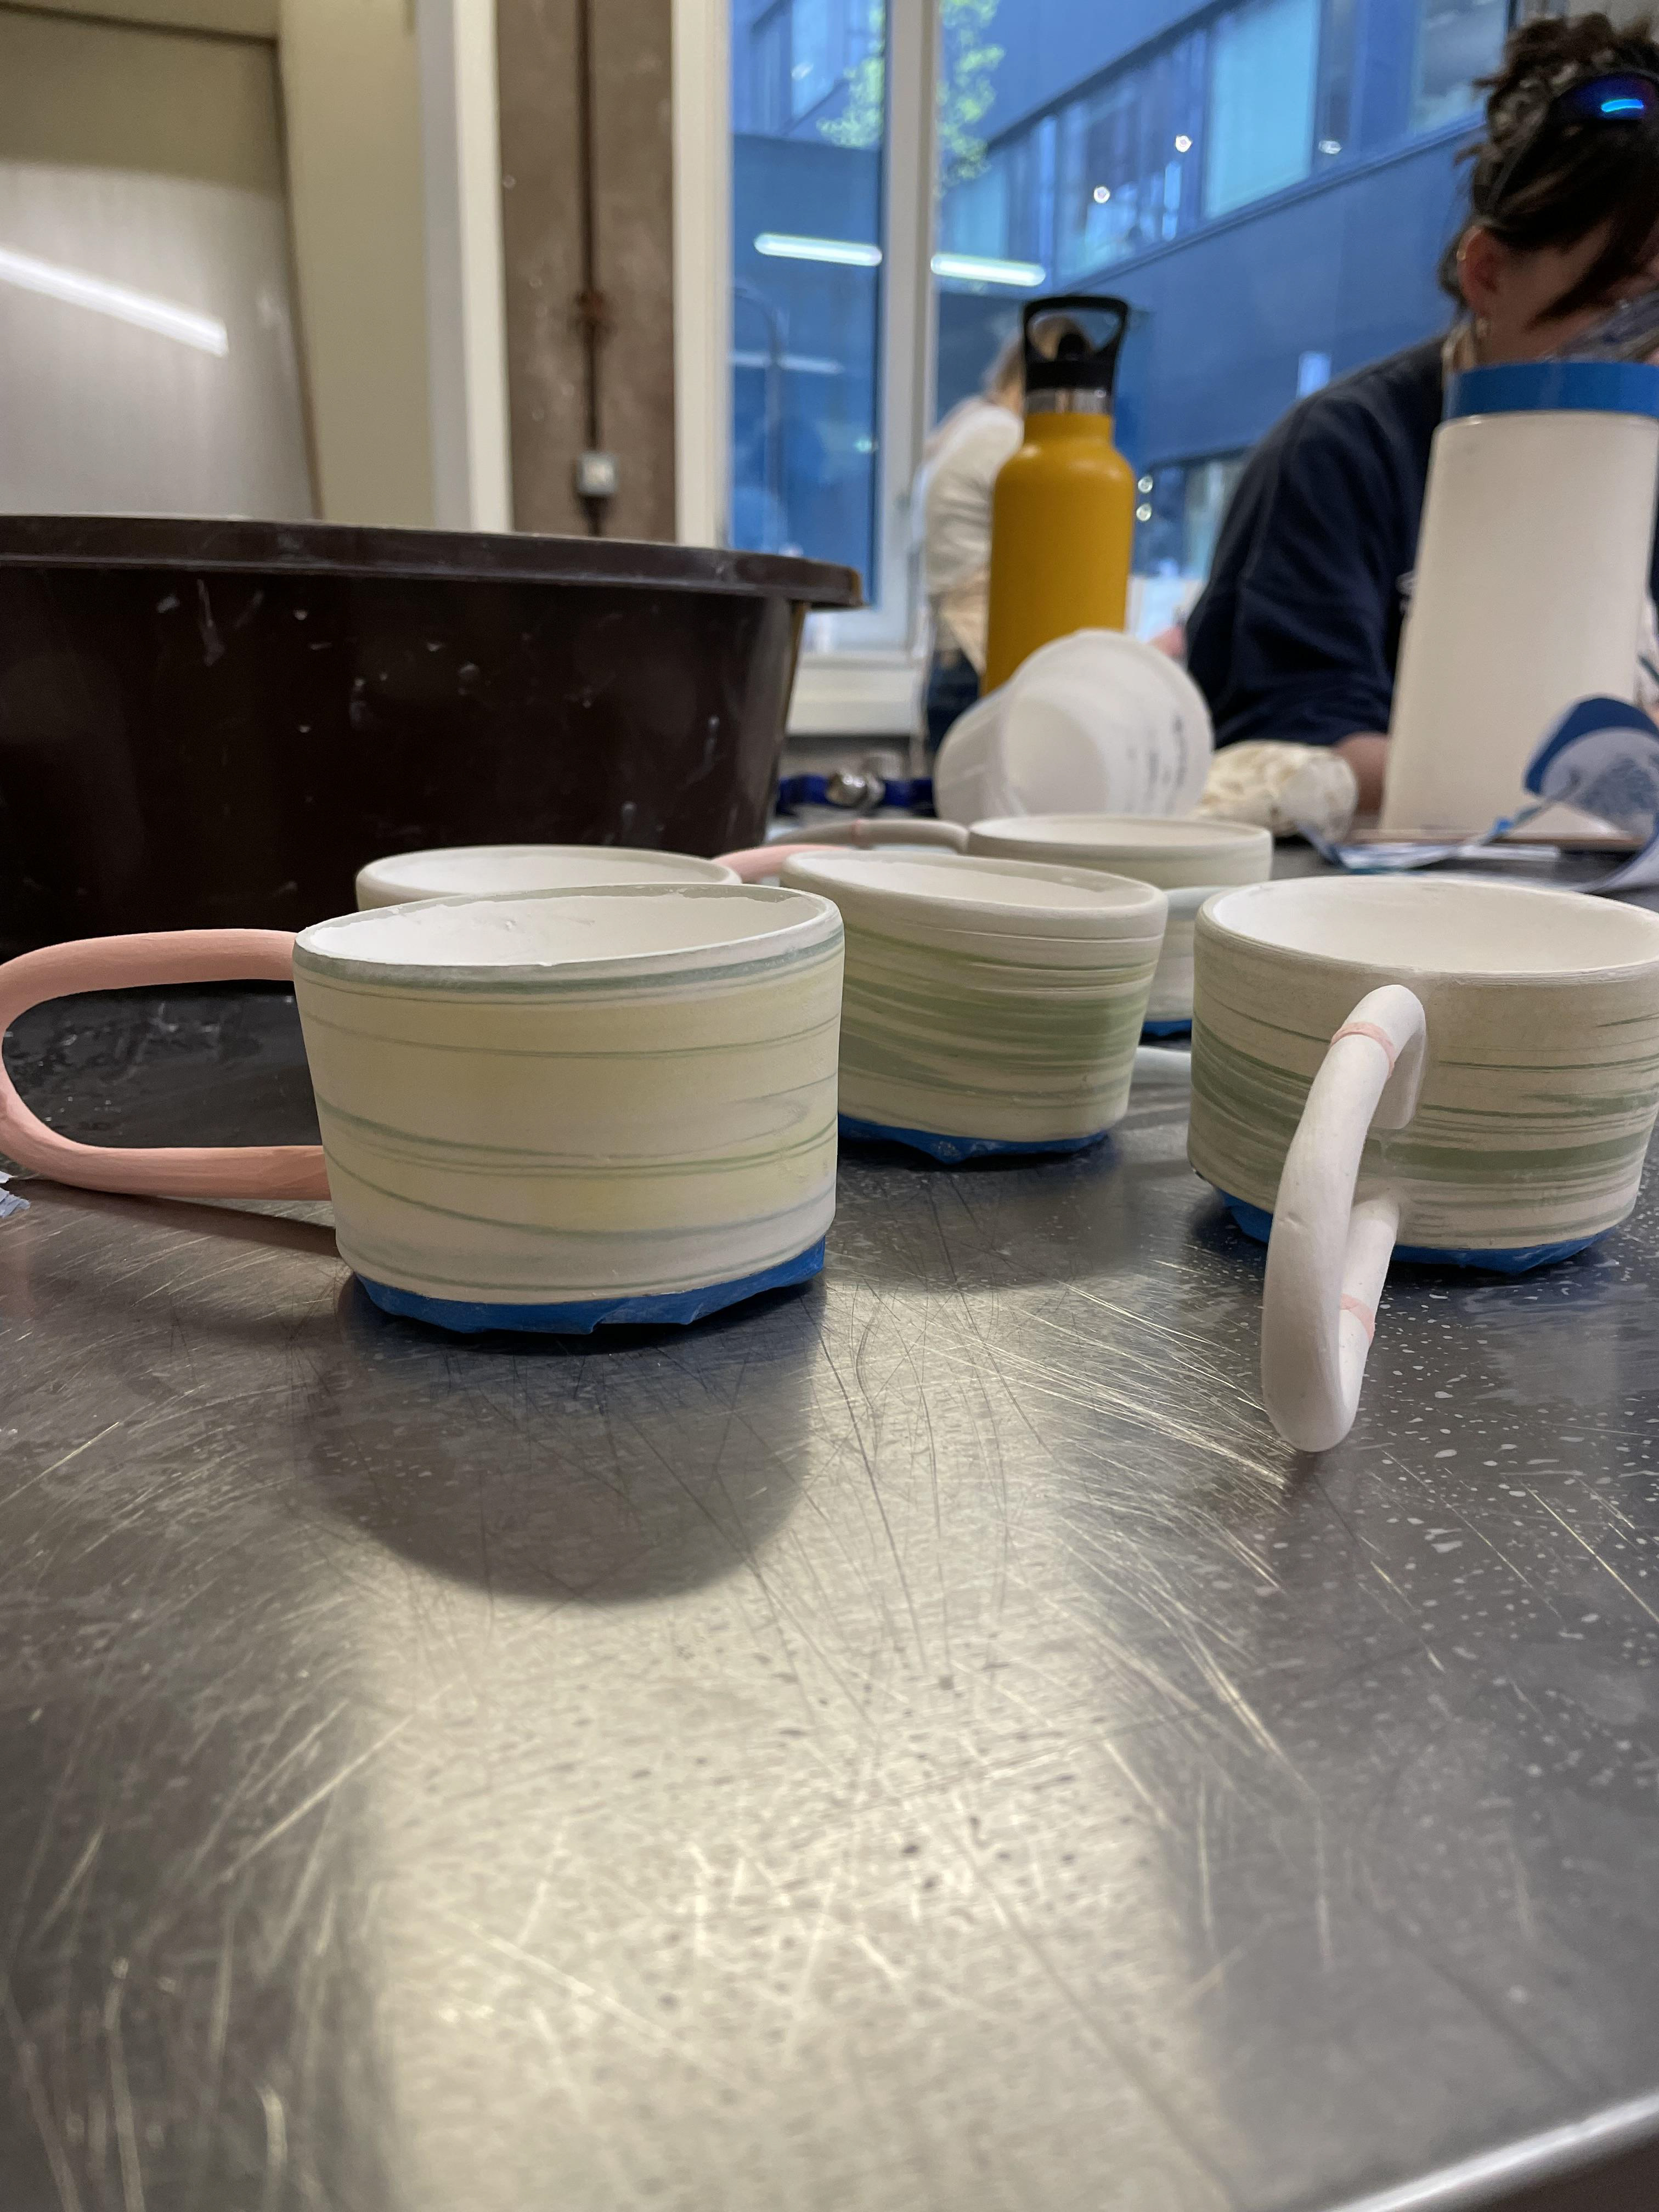
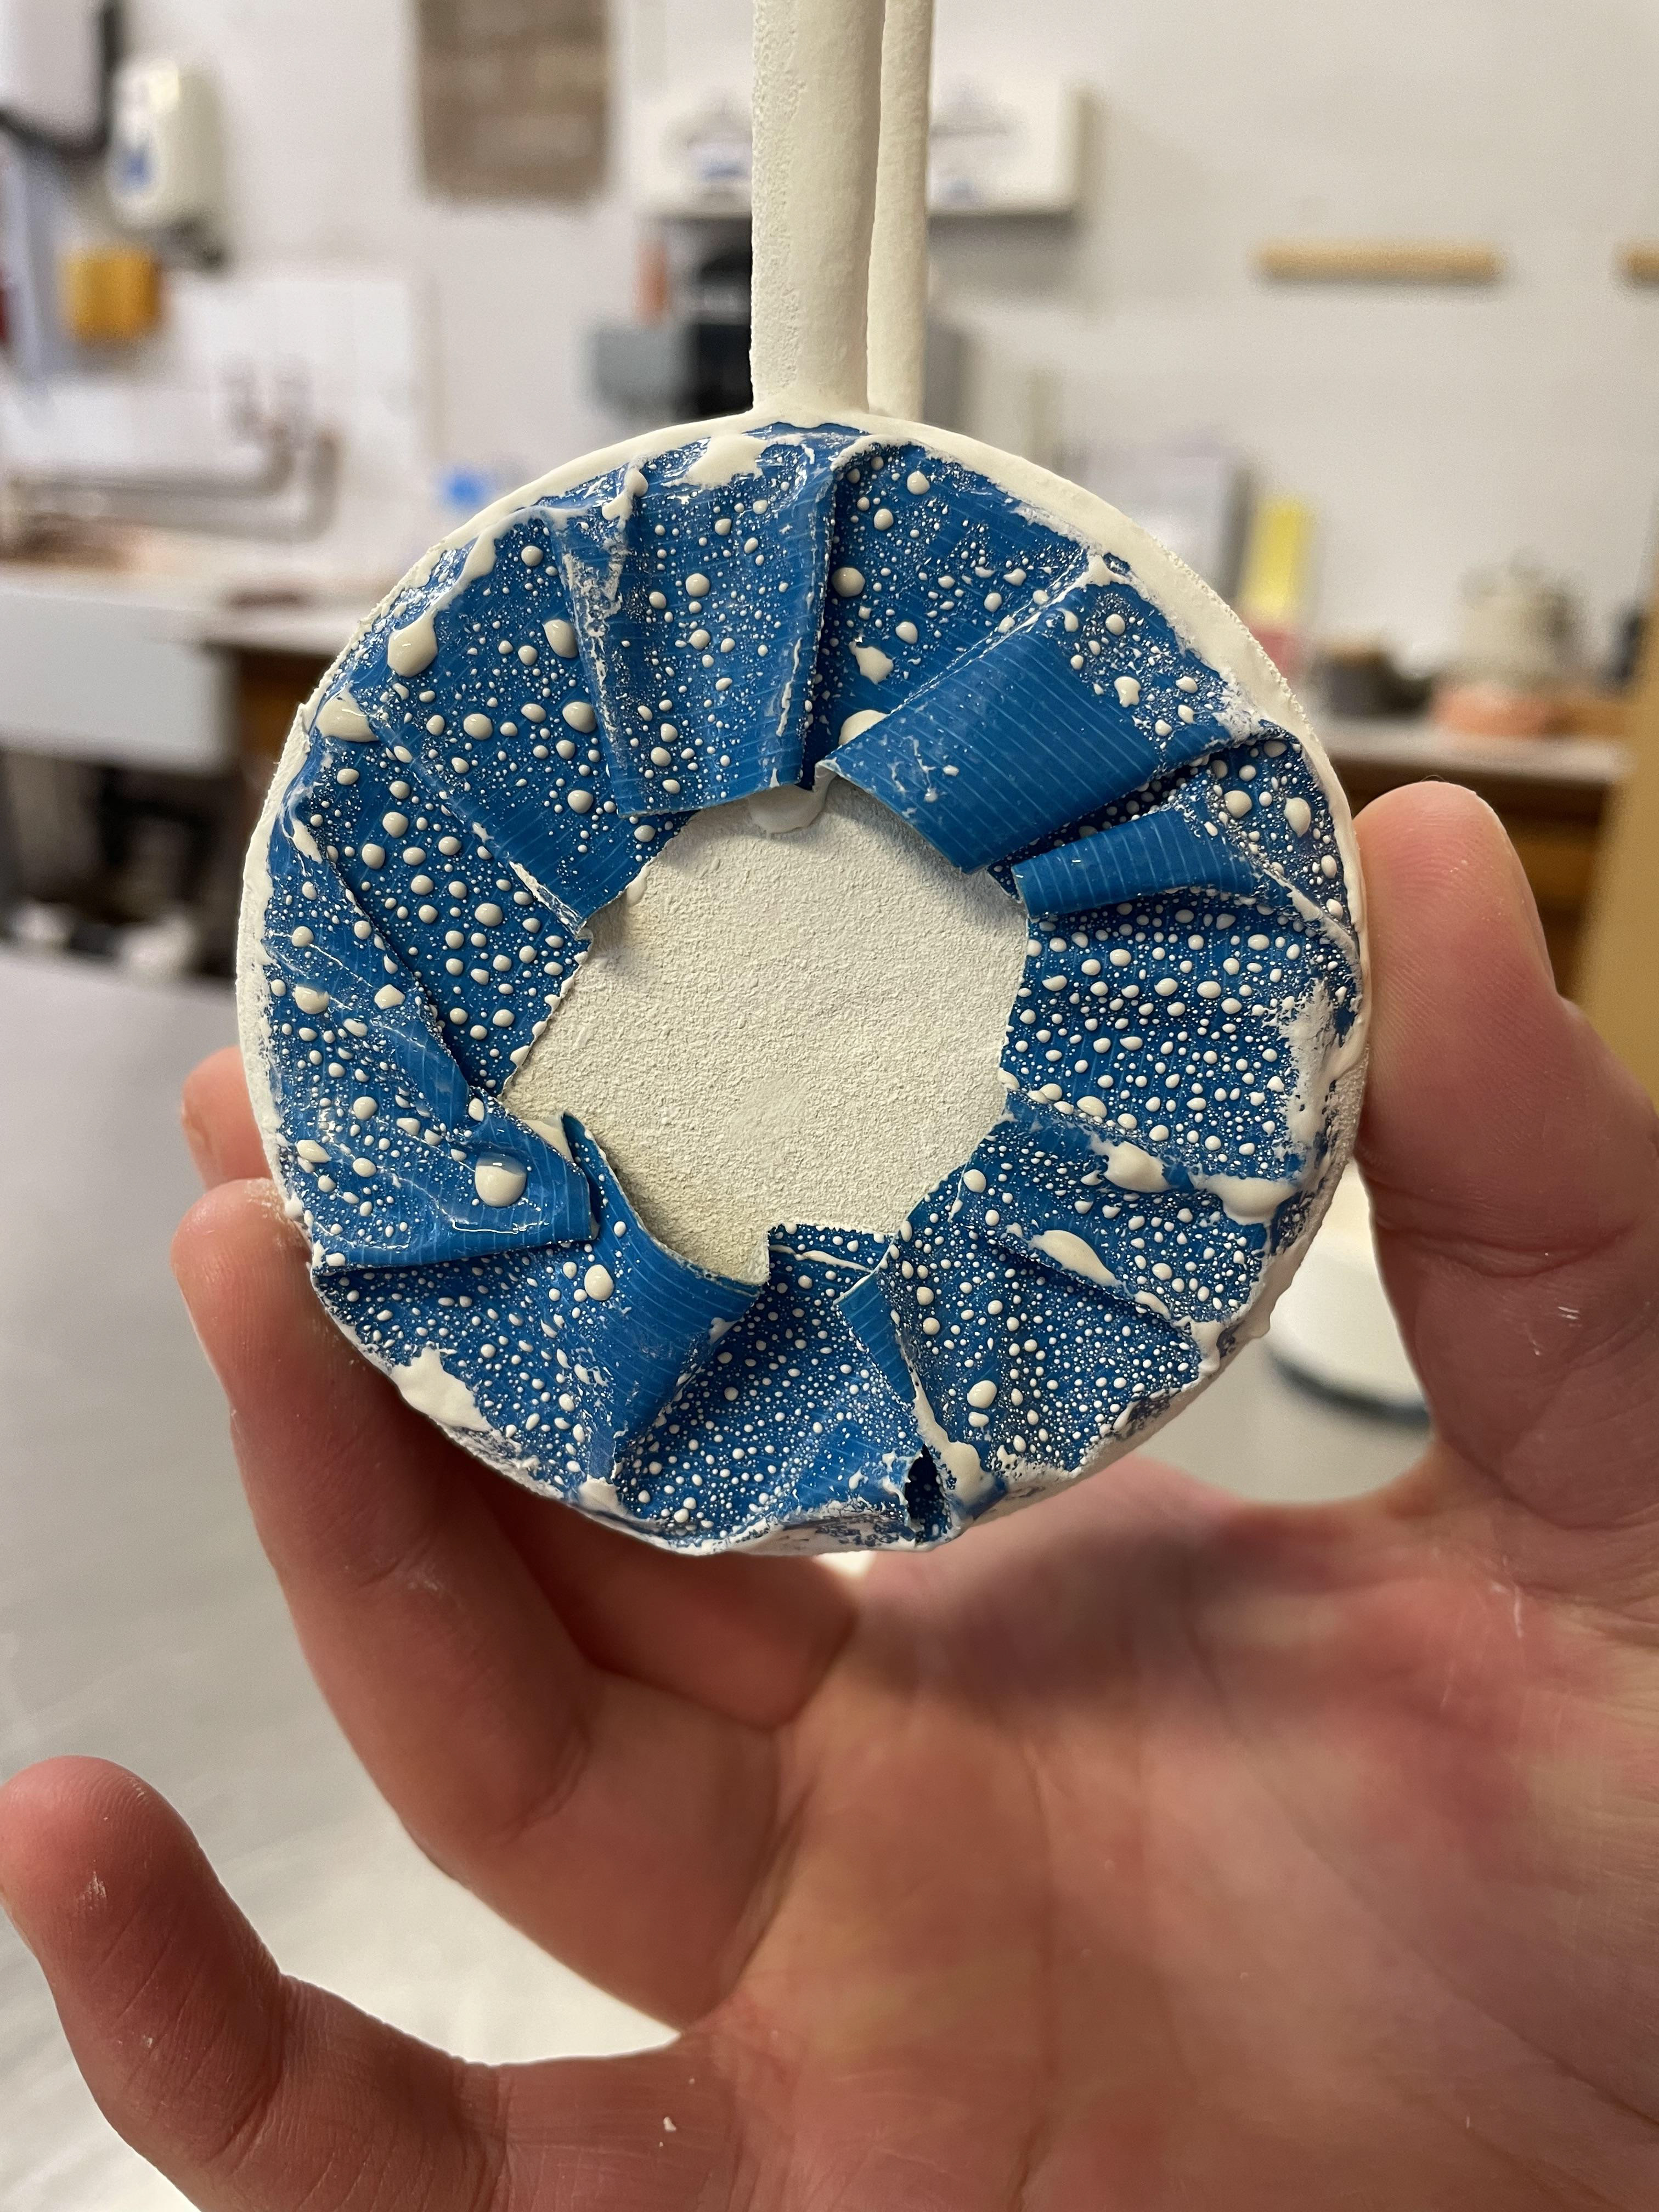
Dividing my clay into equal 33-gram proportions for each mug and rolling them to a 0.8cm thickness, I also rolled out my plain ivory clay to the same thickness and split them into sections of 4 or 6 parts; therefore, I can change my order of stacking clay. Doing this meant that my coloured clay would be in different orientations. The stacking technique worked best for my work as I had more control of the colouring in my clay. It meant that the coloured clay showed on the inside of my mugs rather than just the outside. They have different patterns with all the mugs.
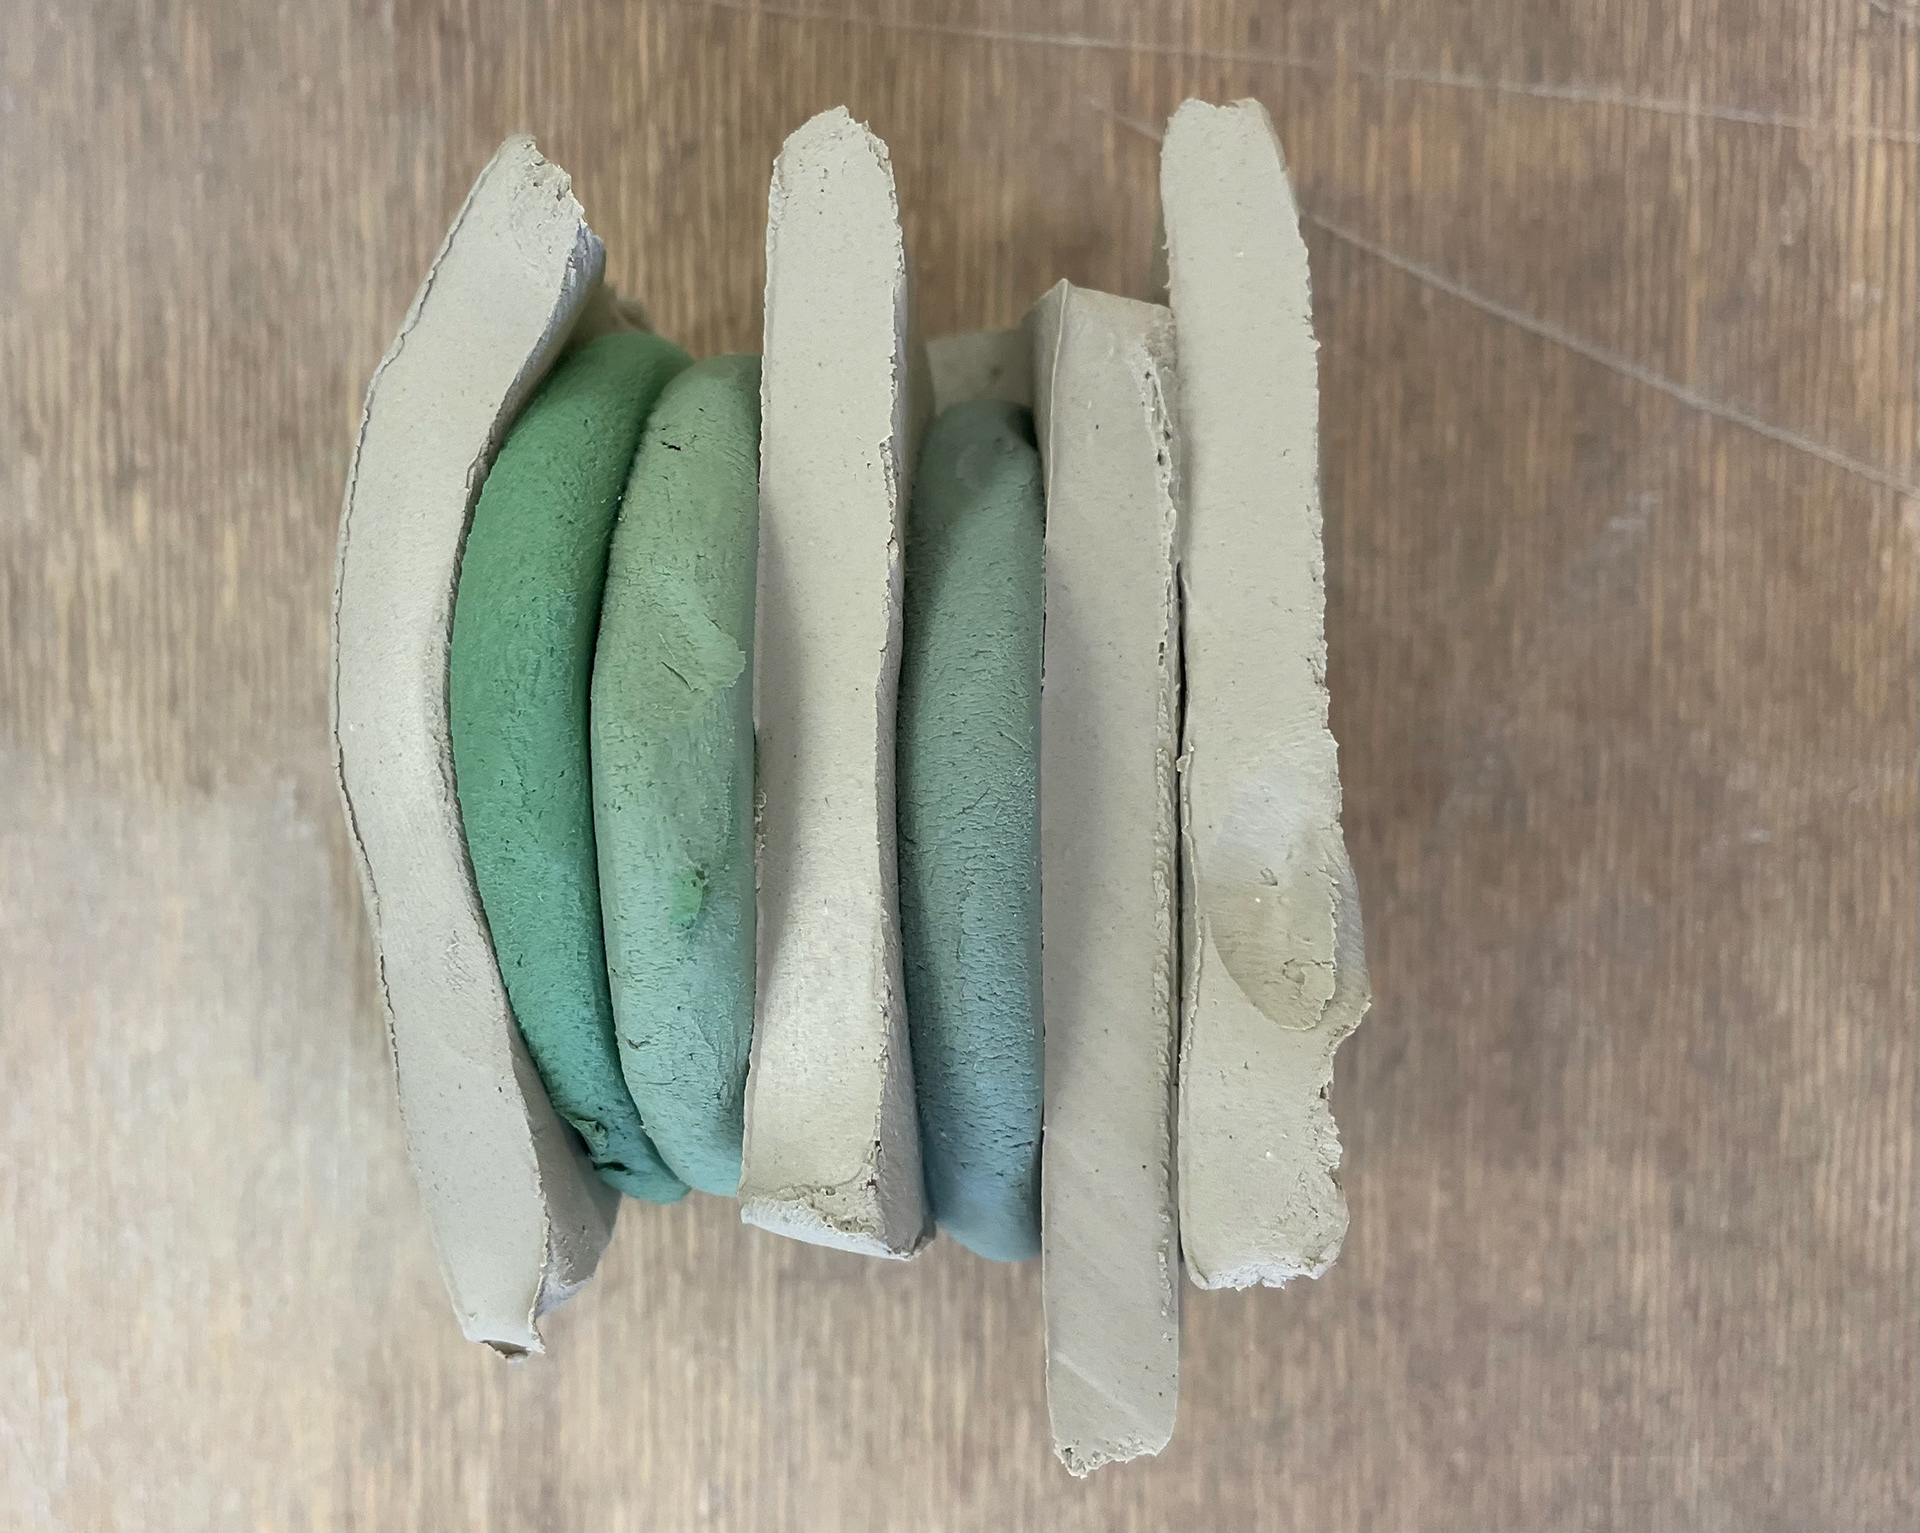
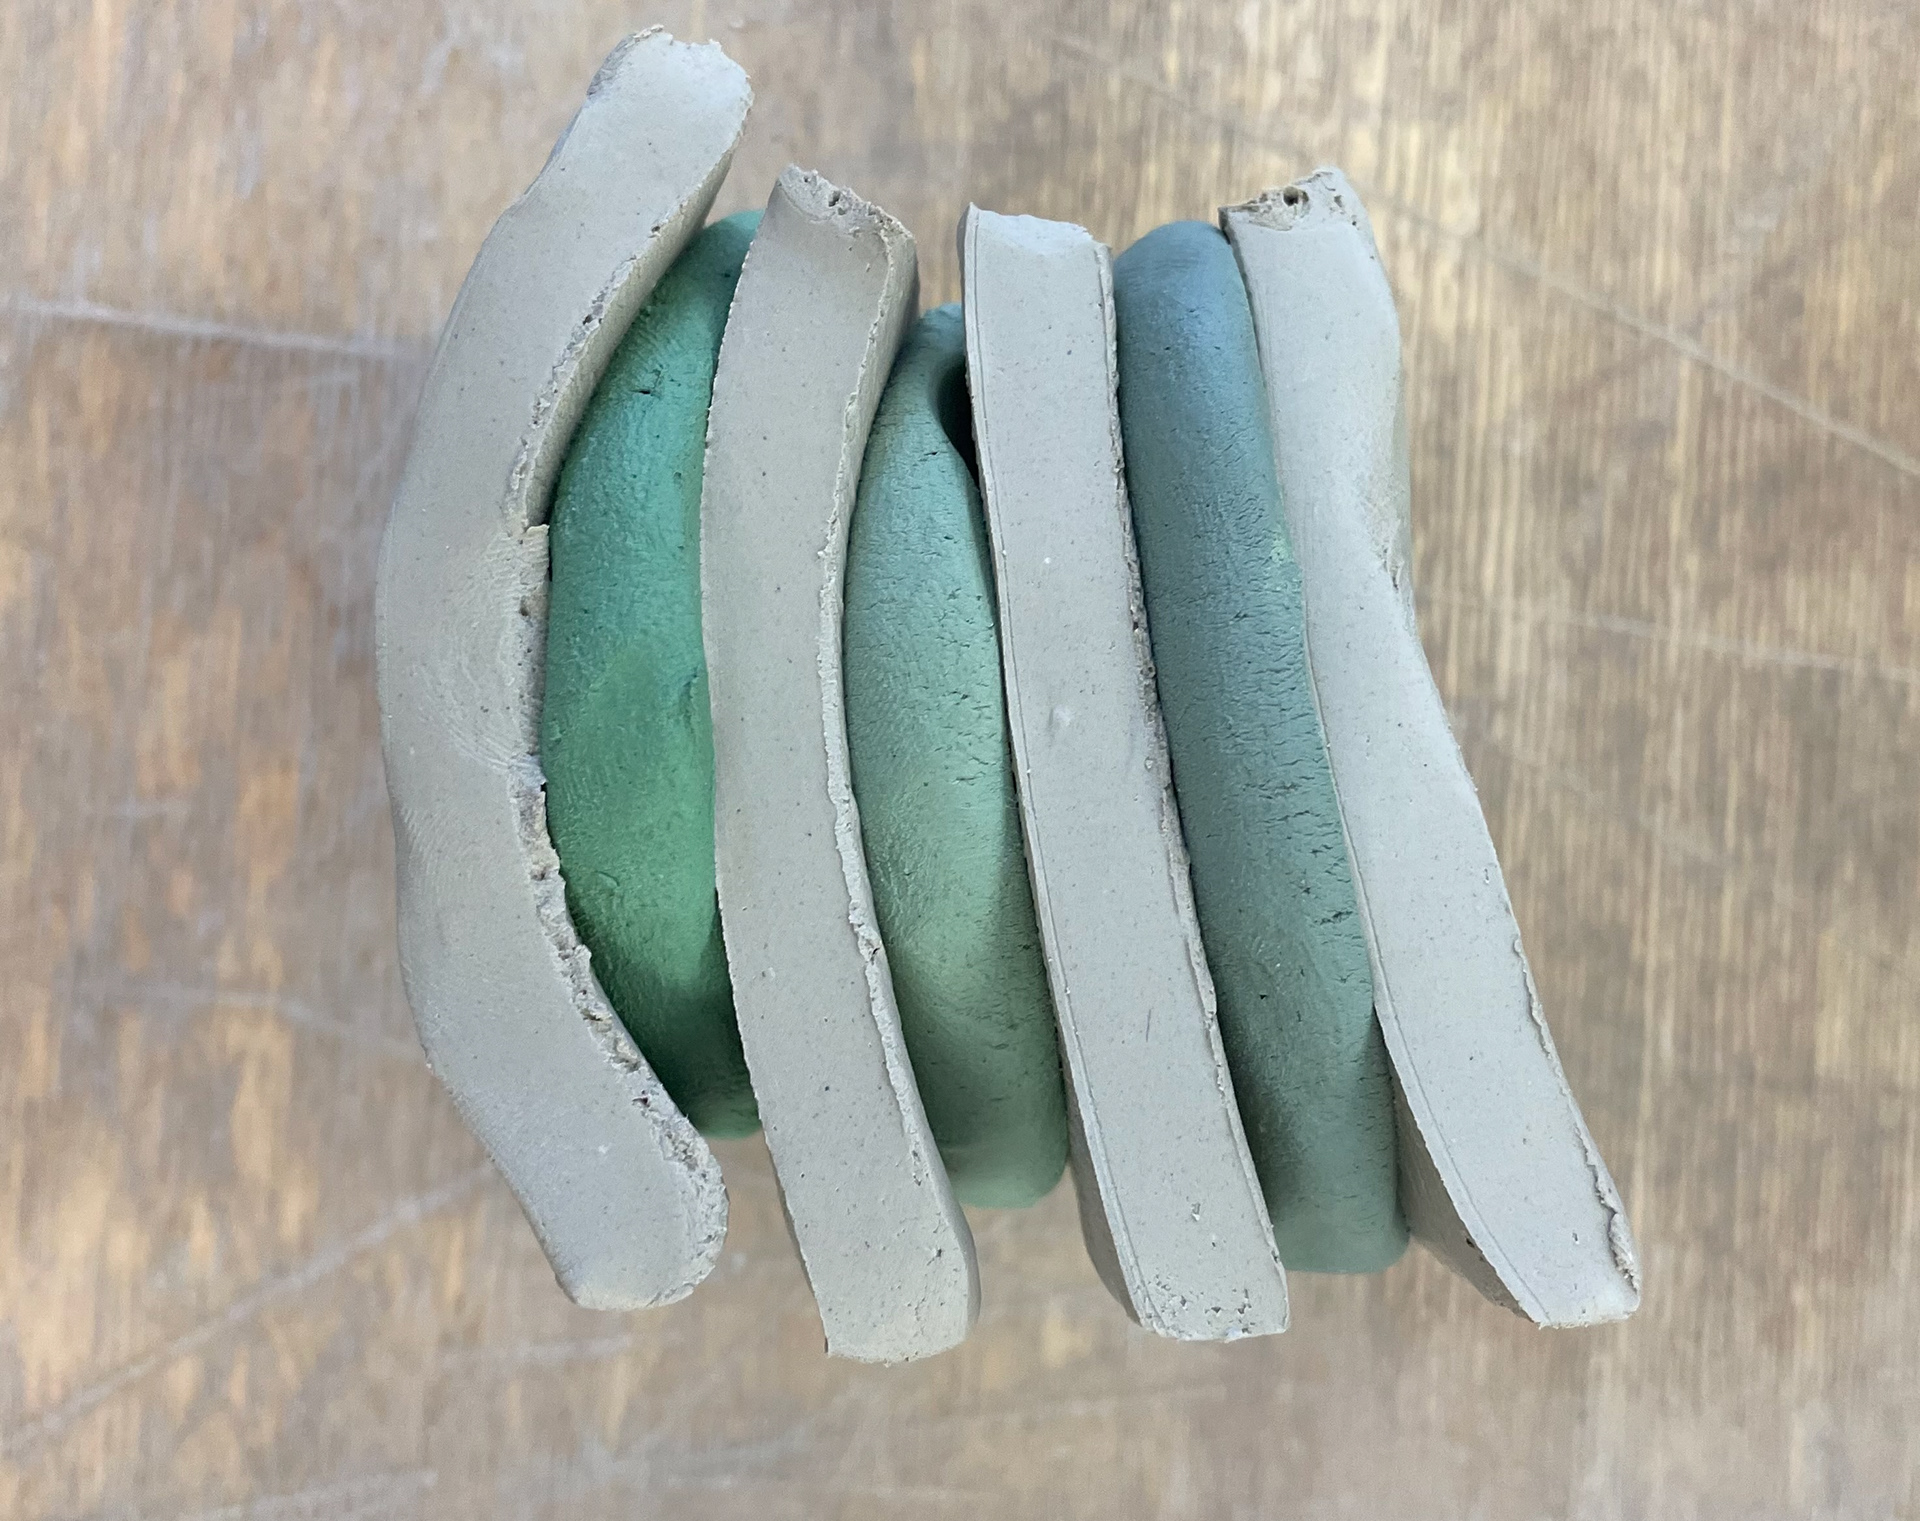
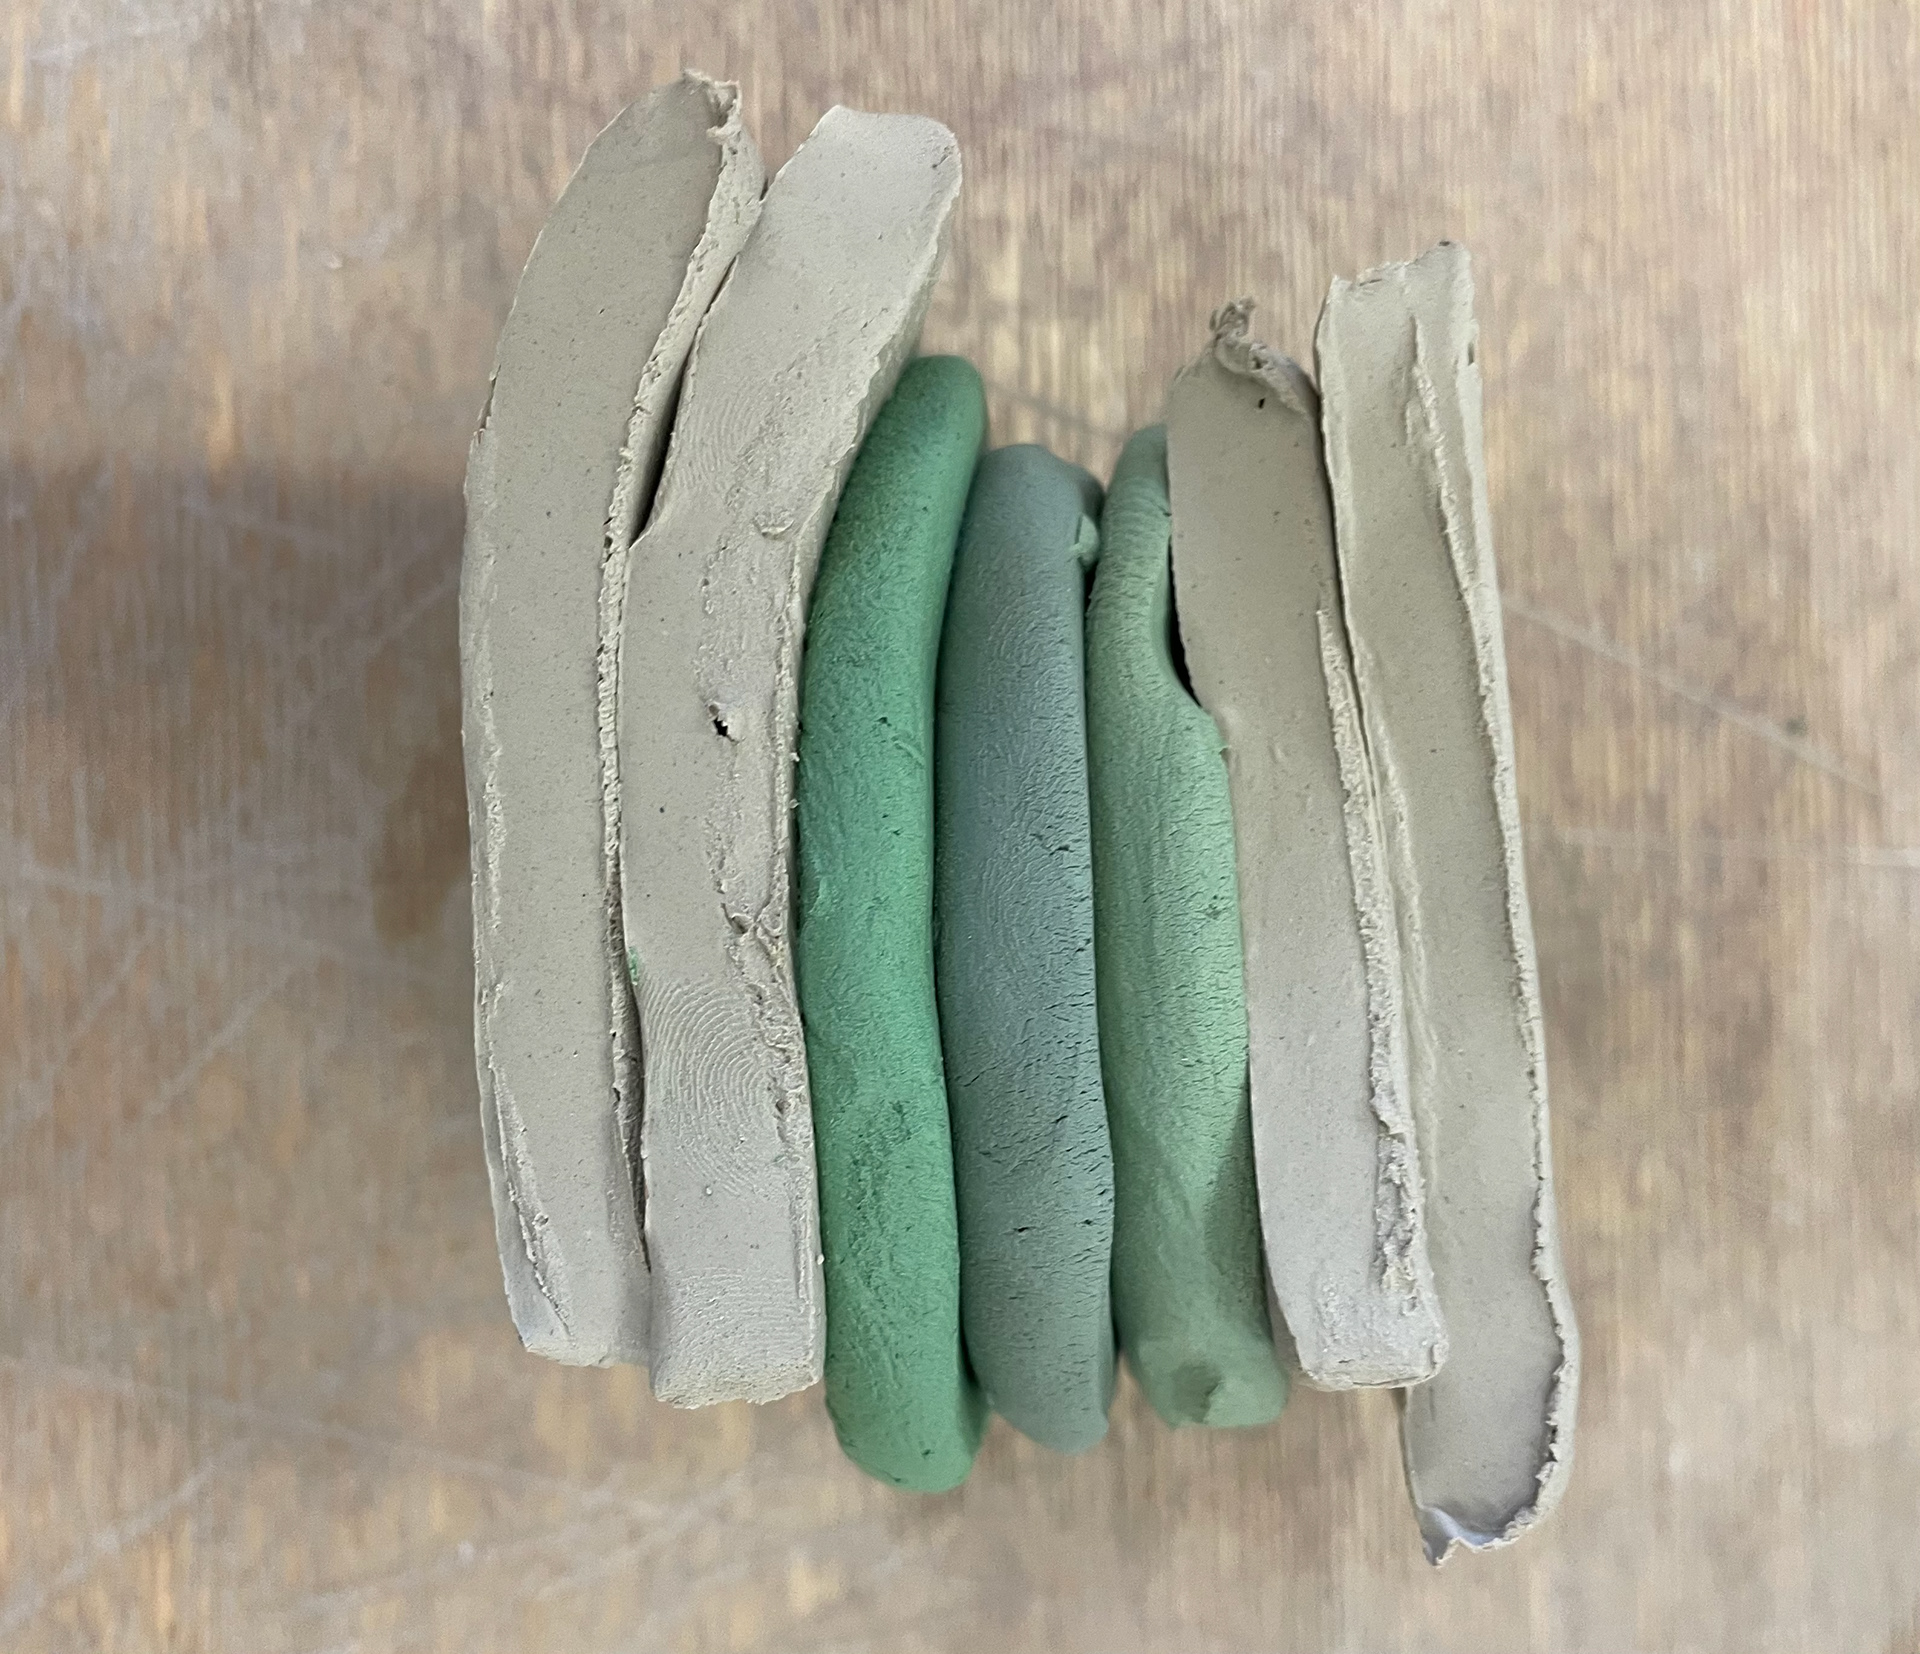
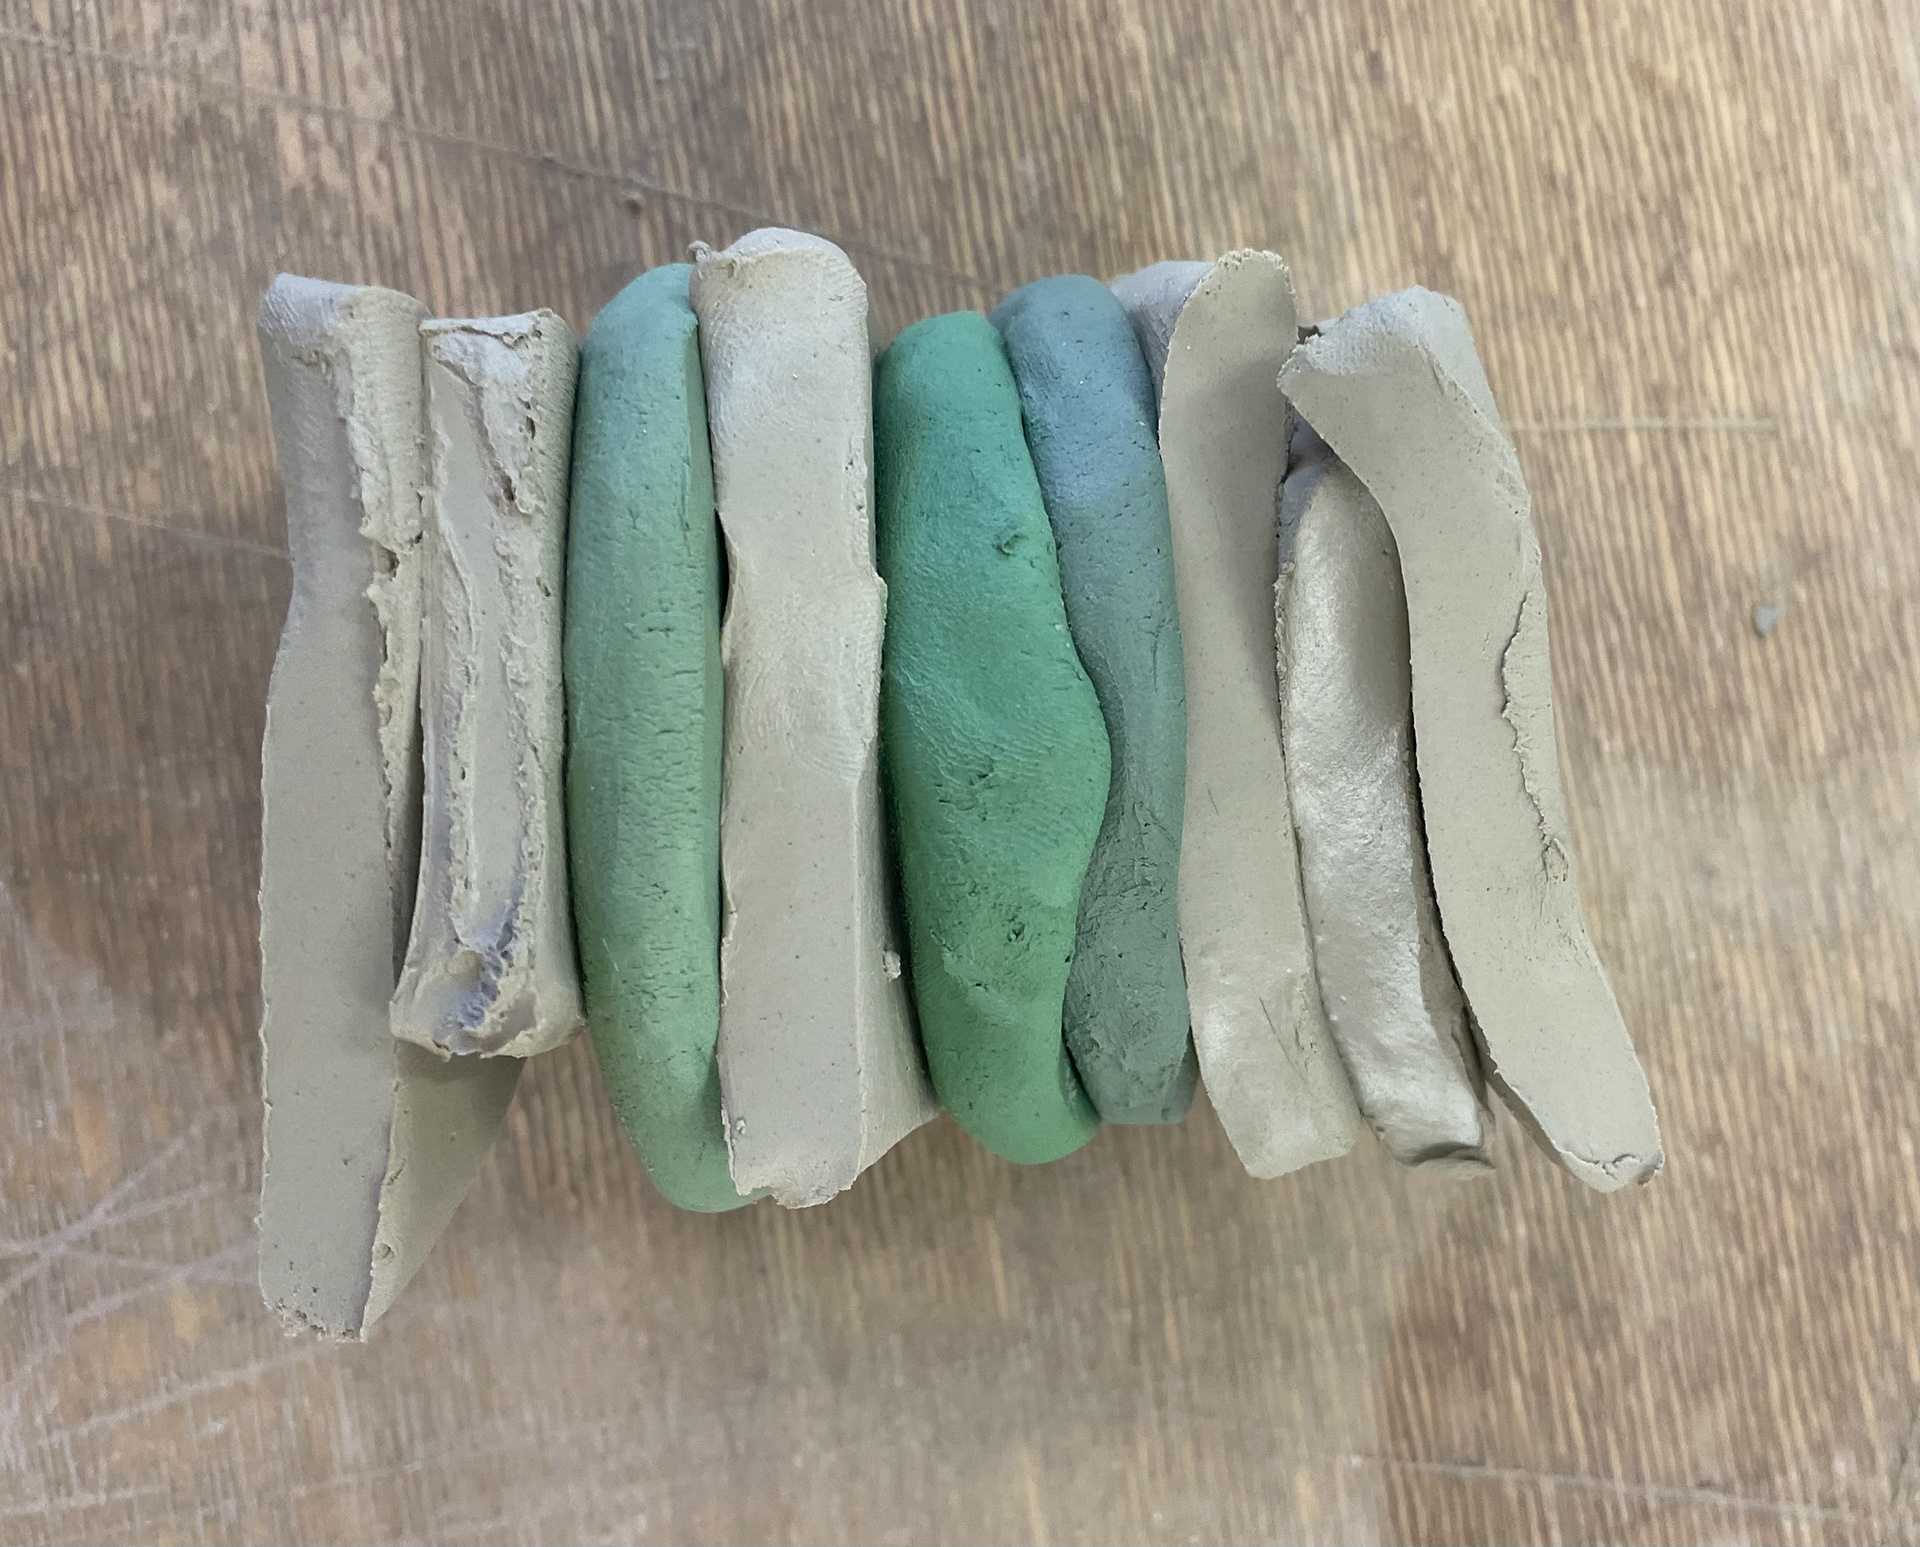
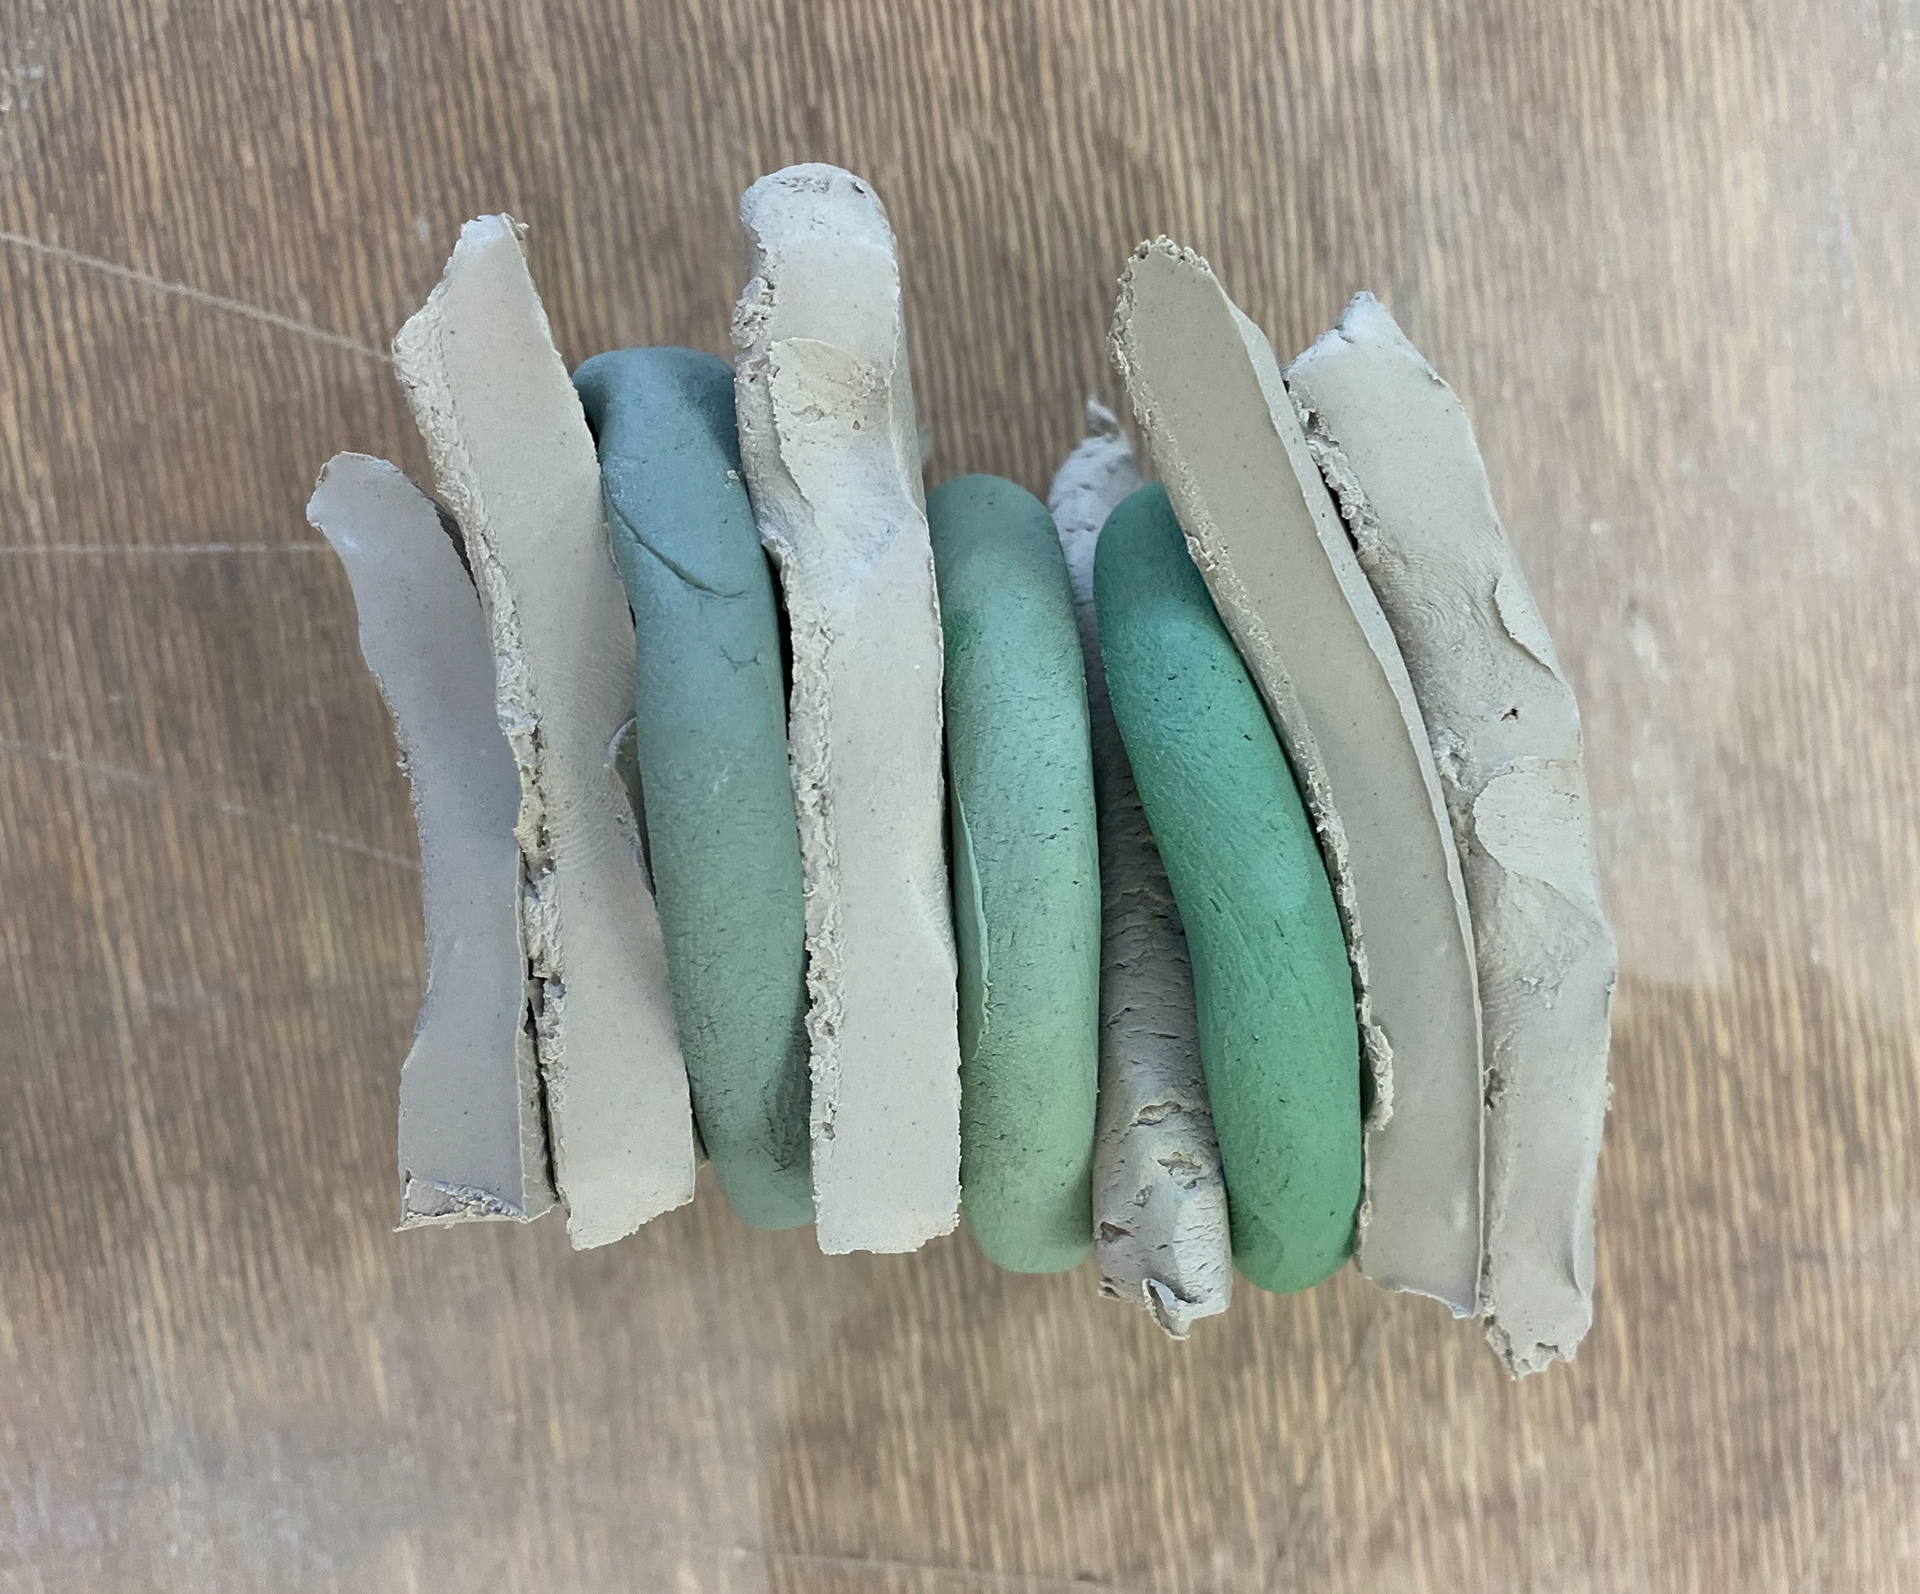
I also learned in my test pieces that I needed to make a fresh batch of coloured clay due to the coloured clay drying out a little faster than the ivory clay. Although I wrapped it up, it dried faster before throwing it. This may be because it was smaller than a 12kg bag of clay, which allows it to contain moisture. Having all the clay with the same moisture and consistency is essential in throwing; otherwise, you waste a lot of time throwing the clay up and down; this means the clay mixes with the coloured clay, not giving distinct marbling. It can also lead to complications when drying. They can crack due to drying times if they have different moisture content.
Throwing Mugs

With all my material testing, I found these measurements were the best sizing for my mugs; I didn't want the mugs to be too big as they were meant to be pretty delicate with the handles, so too big of a mug body is too heavy, not allowing the long handles to be the main focus. These sizes meant the mugs held around 180ml of liquid, perfect for flat white, artisan coffee. As I trim quite a lot of clay off, allowing the mugs to reveal their patterns, I deliberately throw with more clay than needed. I have 300 grams, which allowed me to make the walls a little more ticker, allowing room to trim and having more clay on the base for removing the mugs.
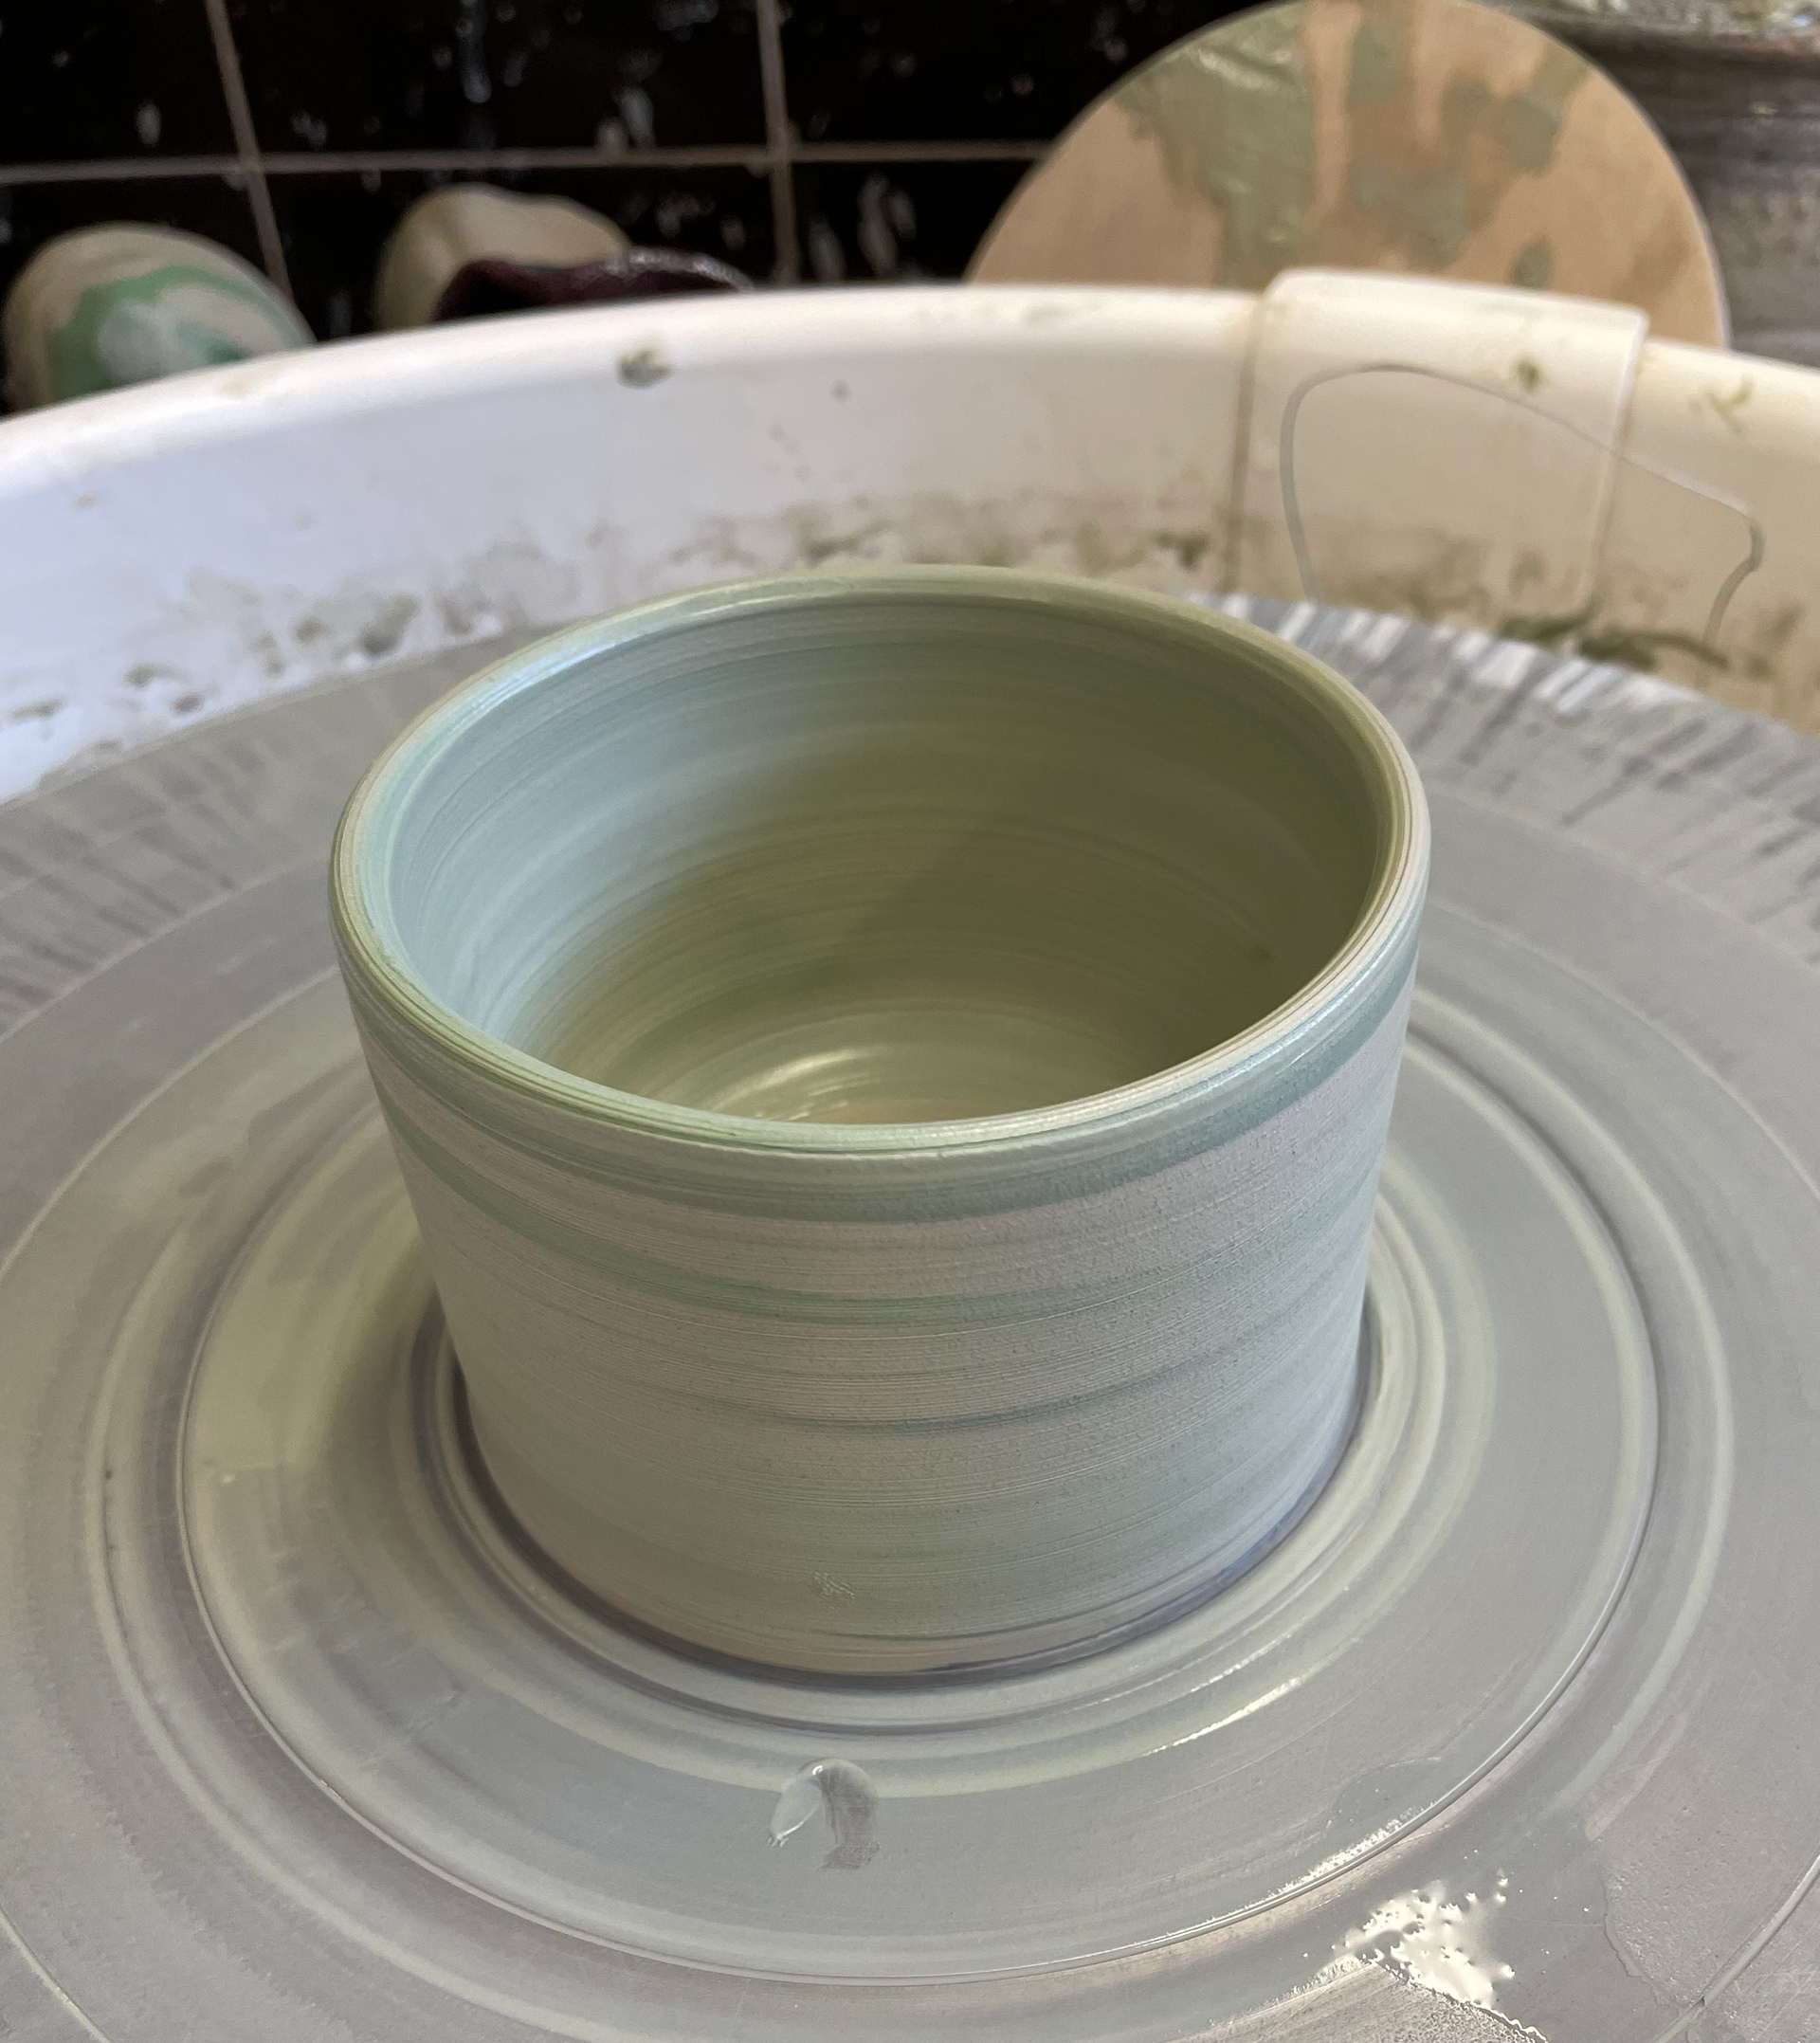
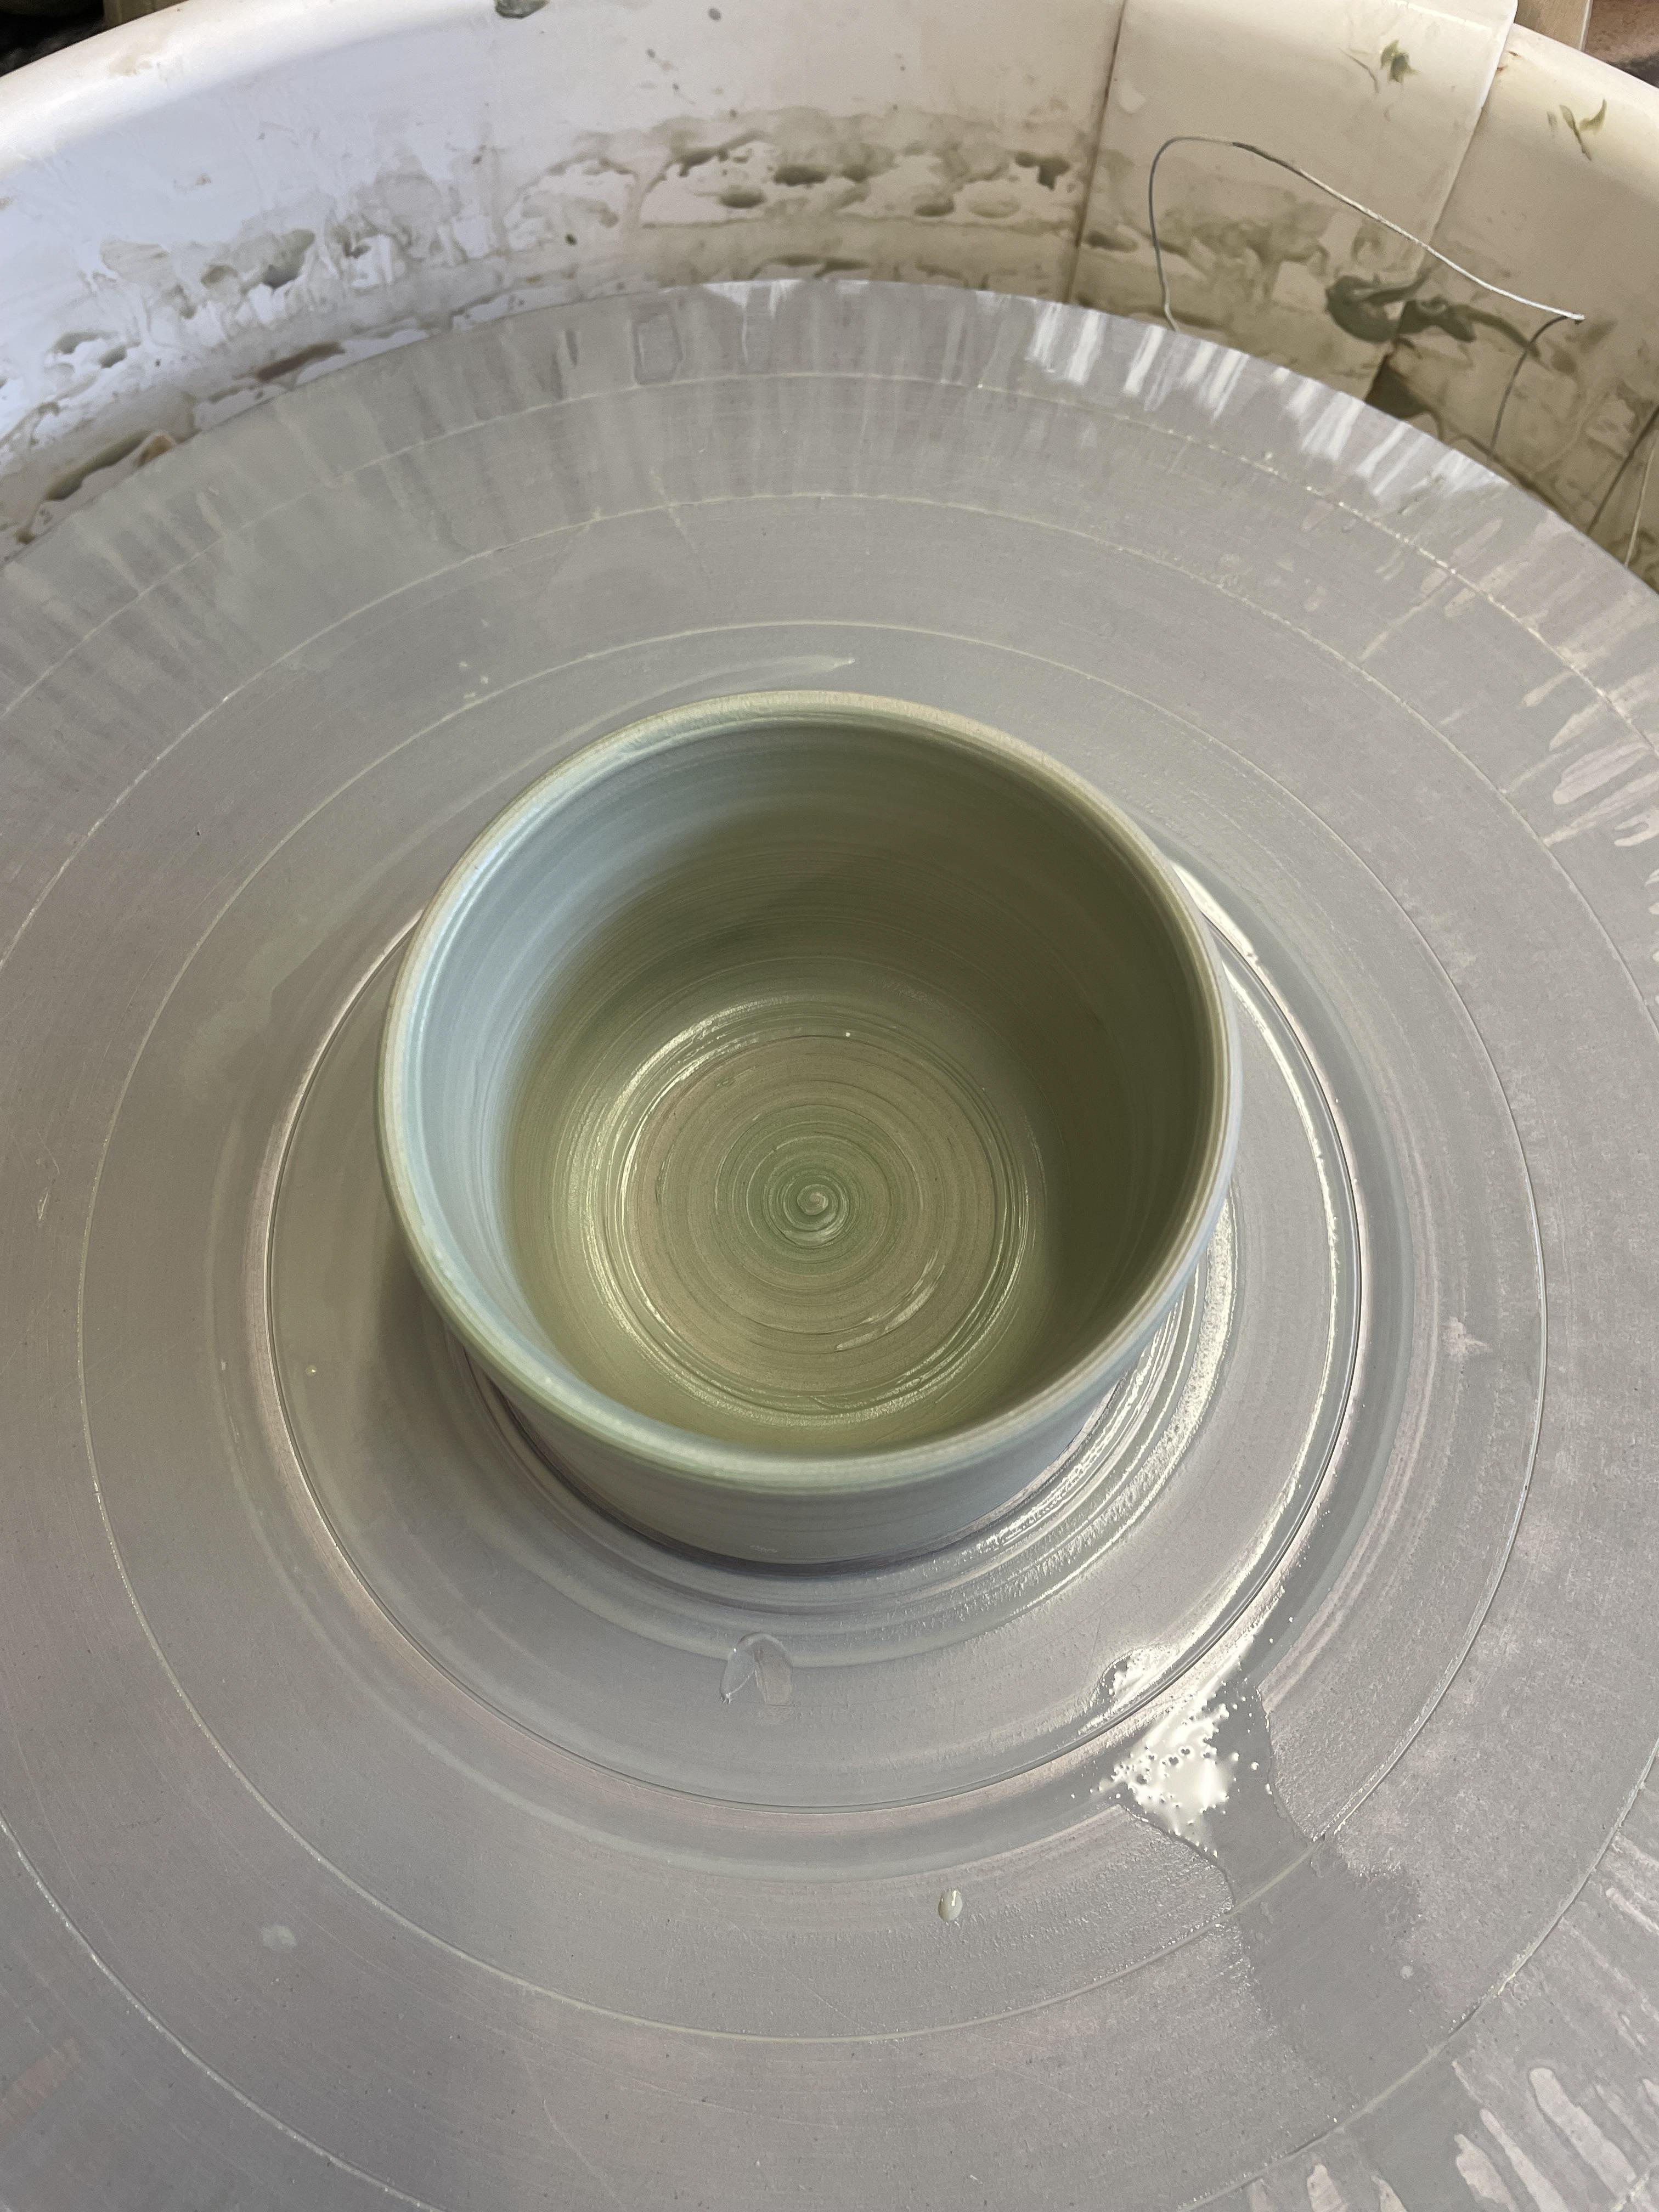
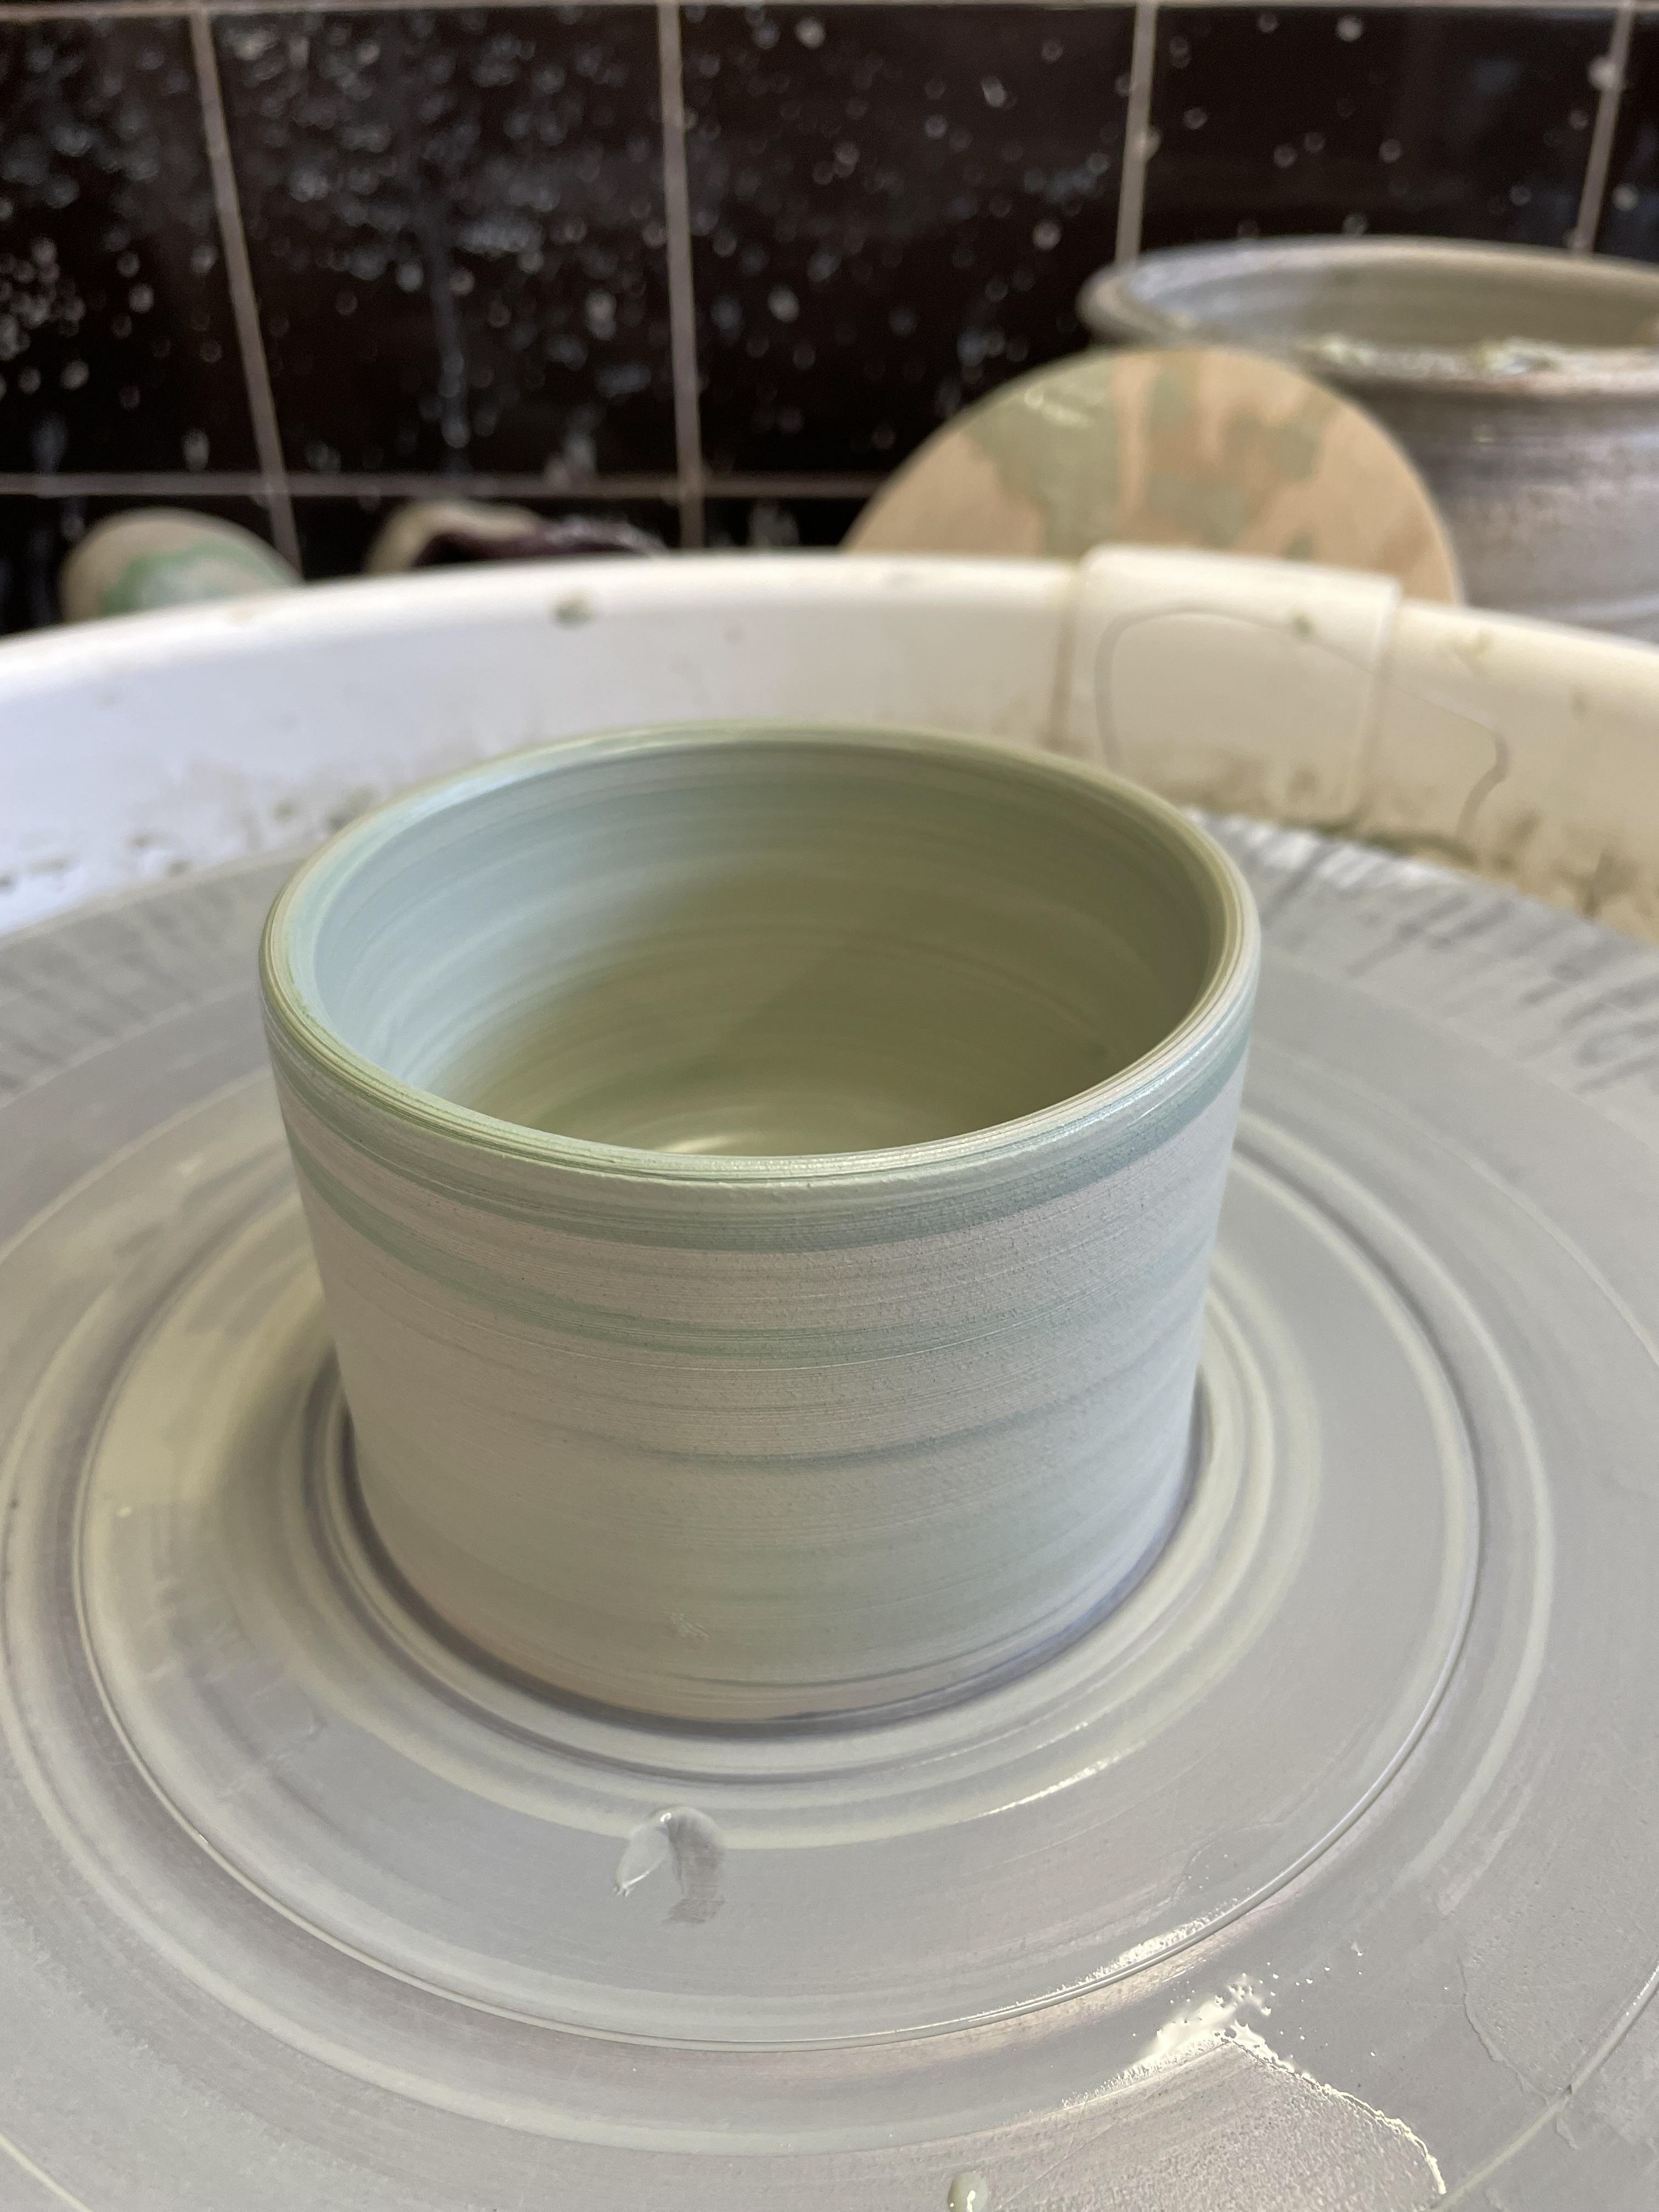
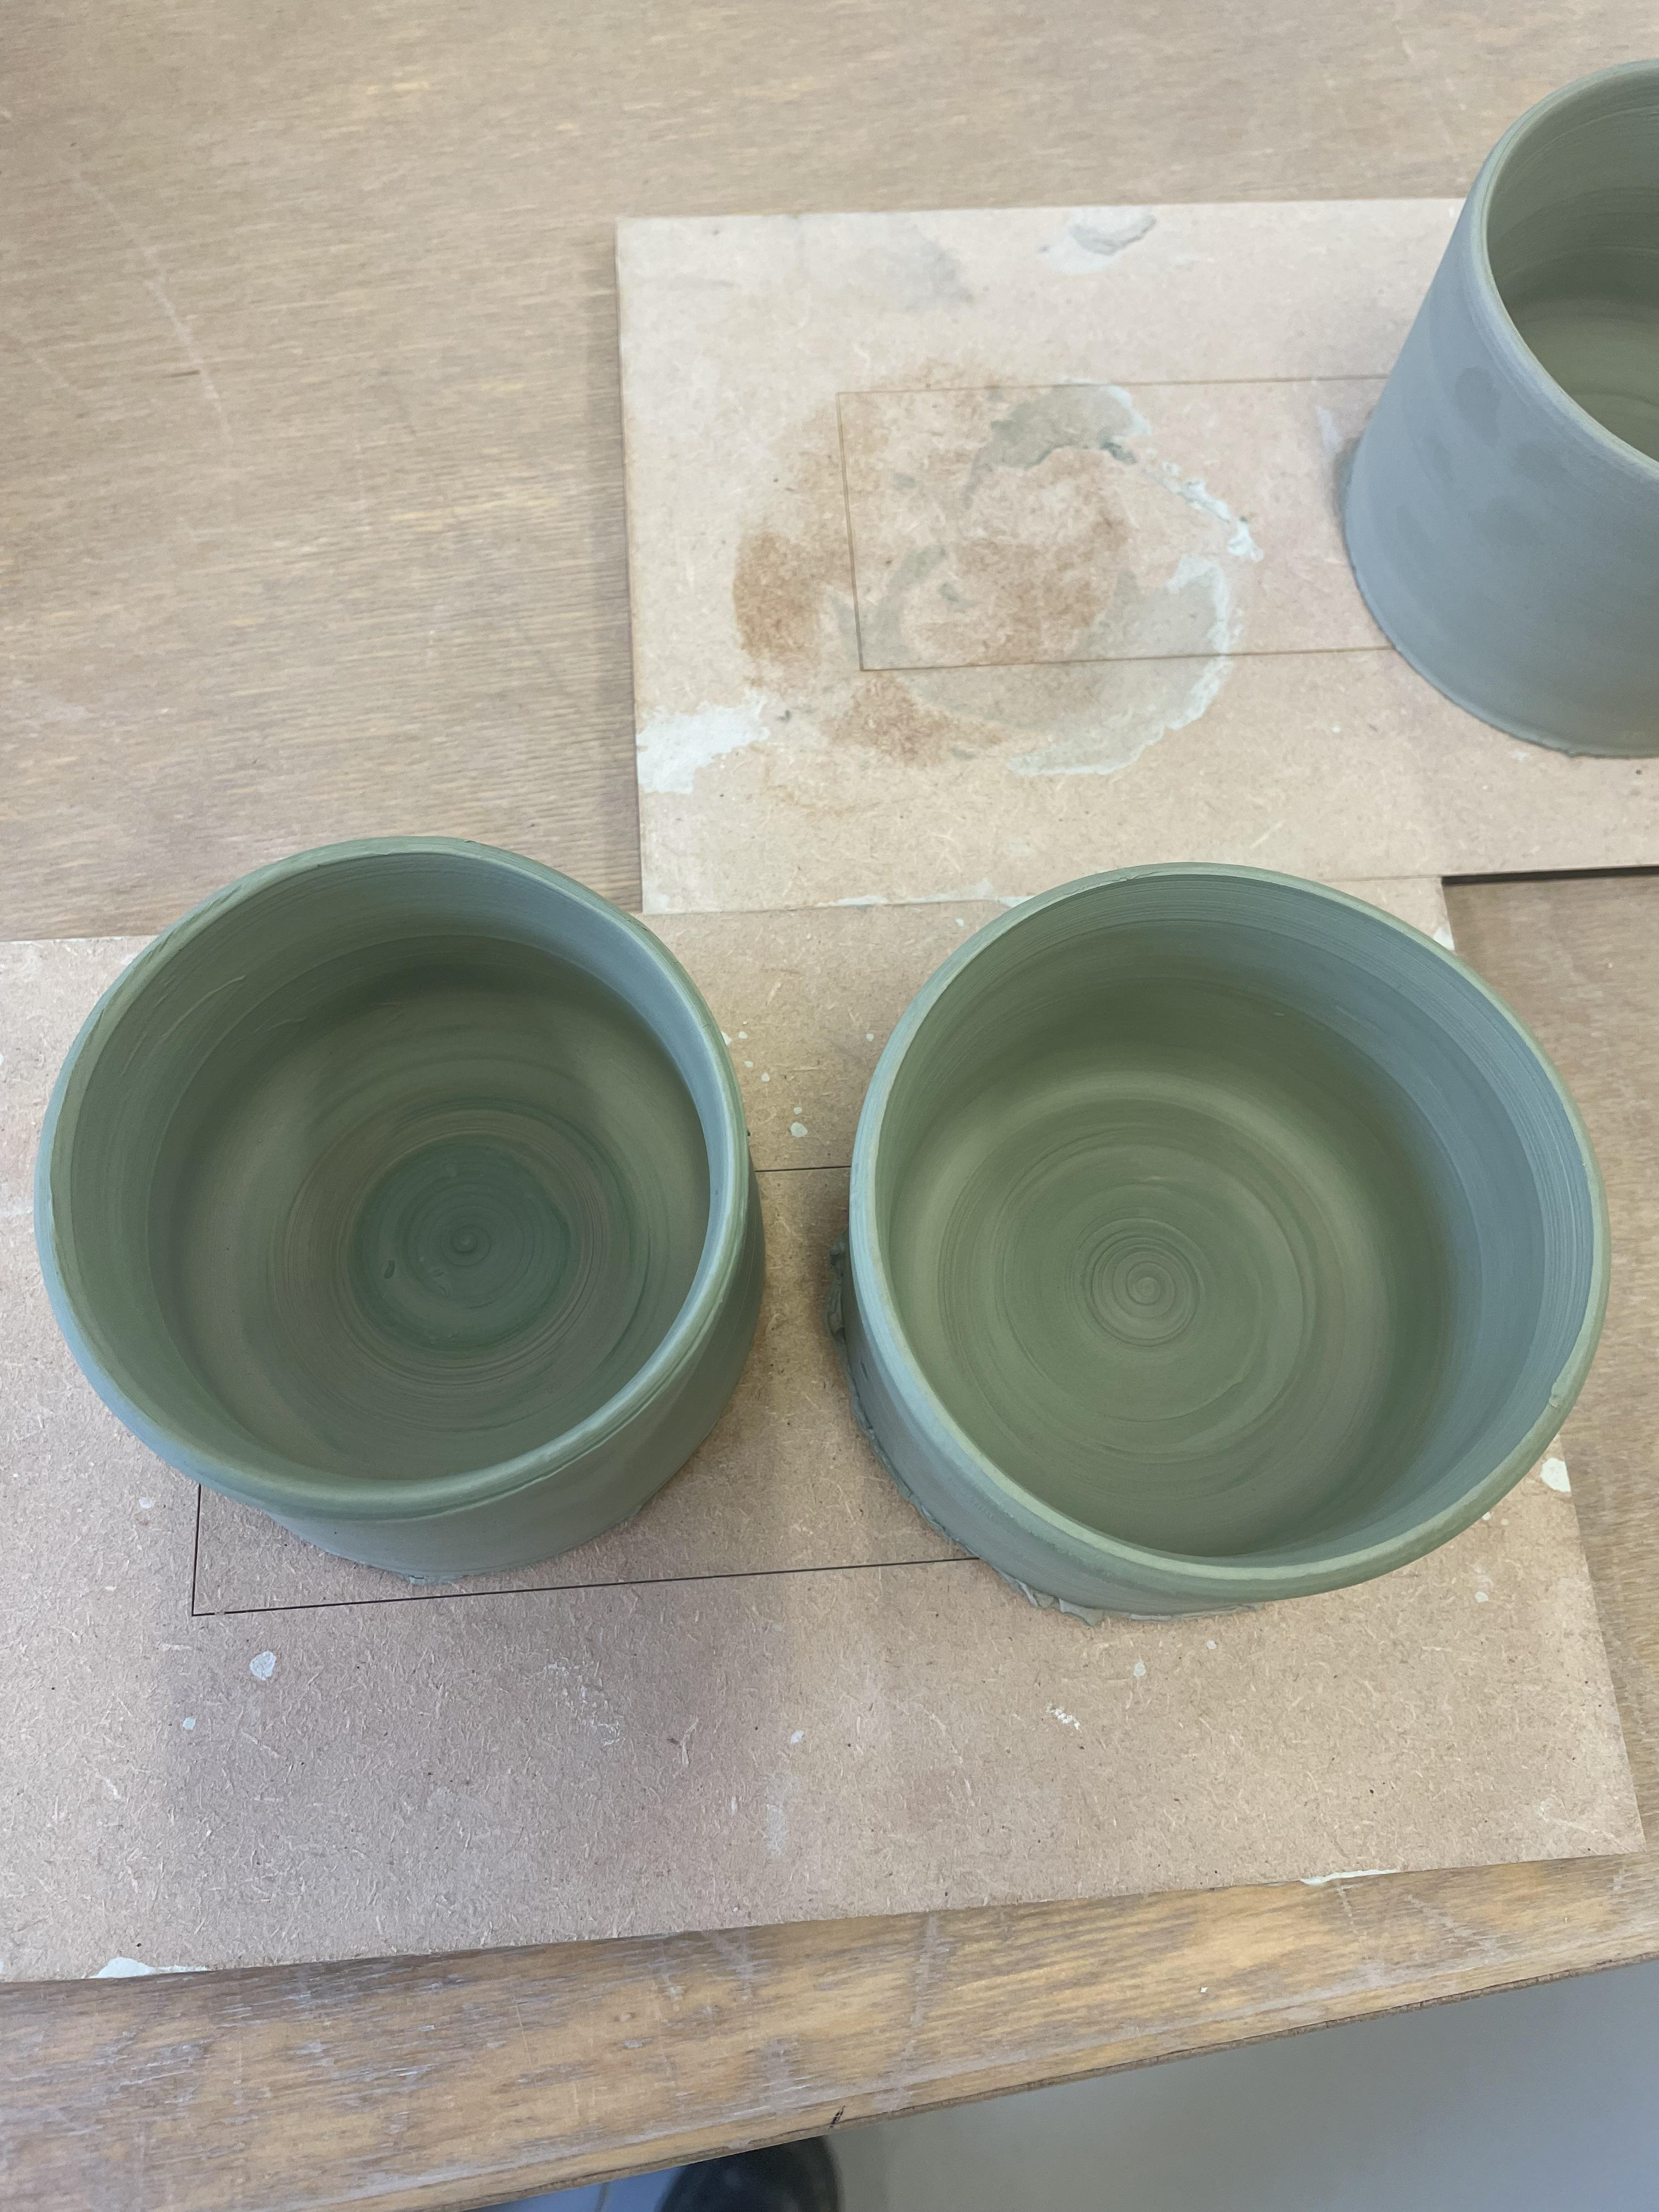
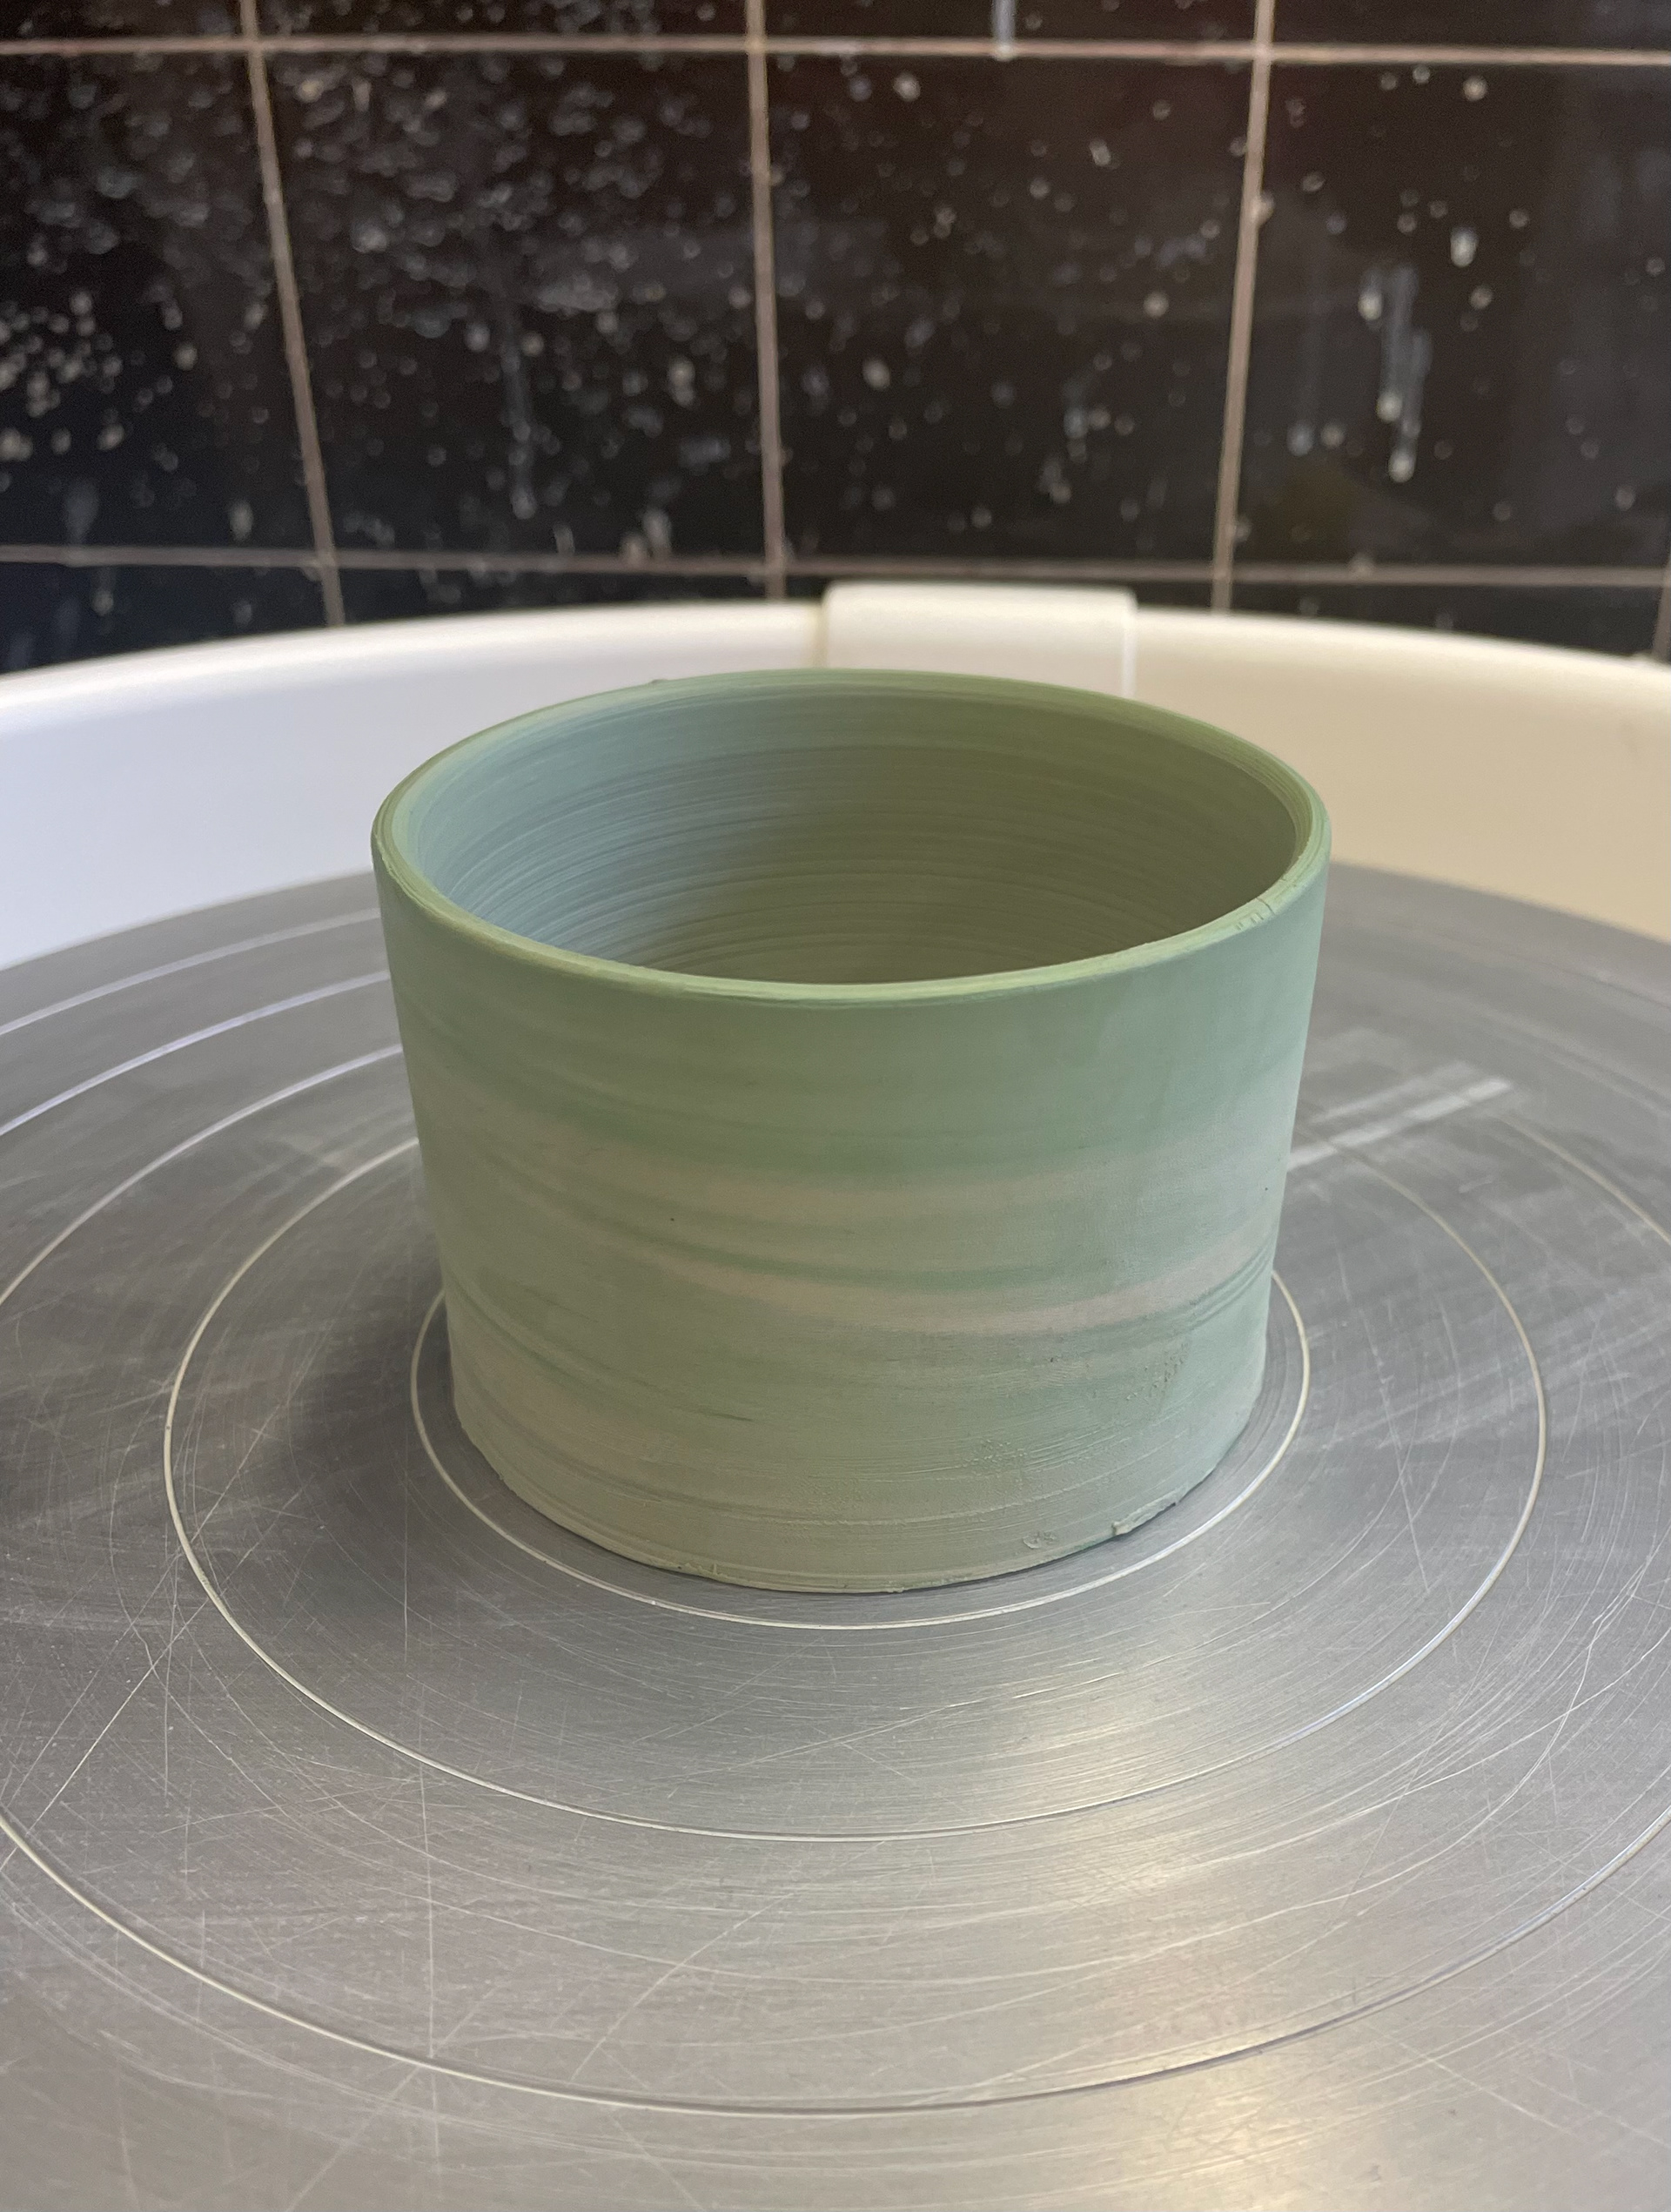
Playing to these measurements, I then started to throw; my process of throwing took a while as I would throw the mugs as accurately as possible, being relaxed as I knew I could reduce clay in the trimming. The most significant difficulty was getting constant wall thickness. Although I had a lot of practice, I still needed to be more confident about doing it equally in all the mugs. I aimed to centre my clay as fast as possible, as I found with my test pieces the more I handled the clay in the centring, the more the coloured clay would blend into each other, not giving distinct marbled patterning and blending the colours.

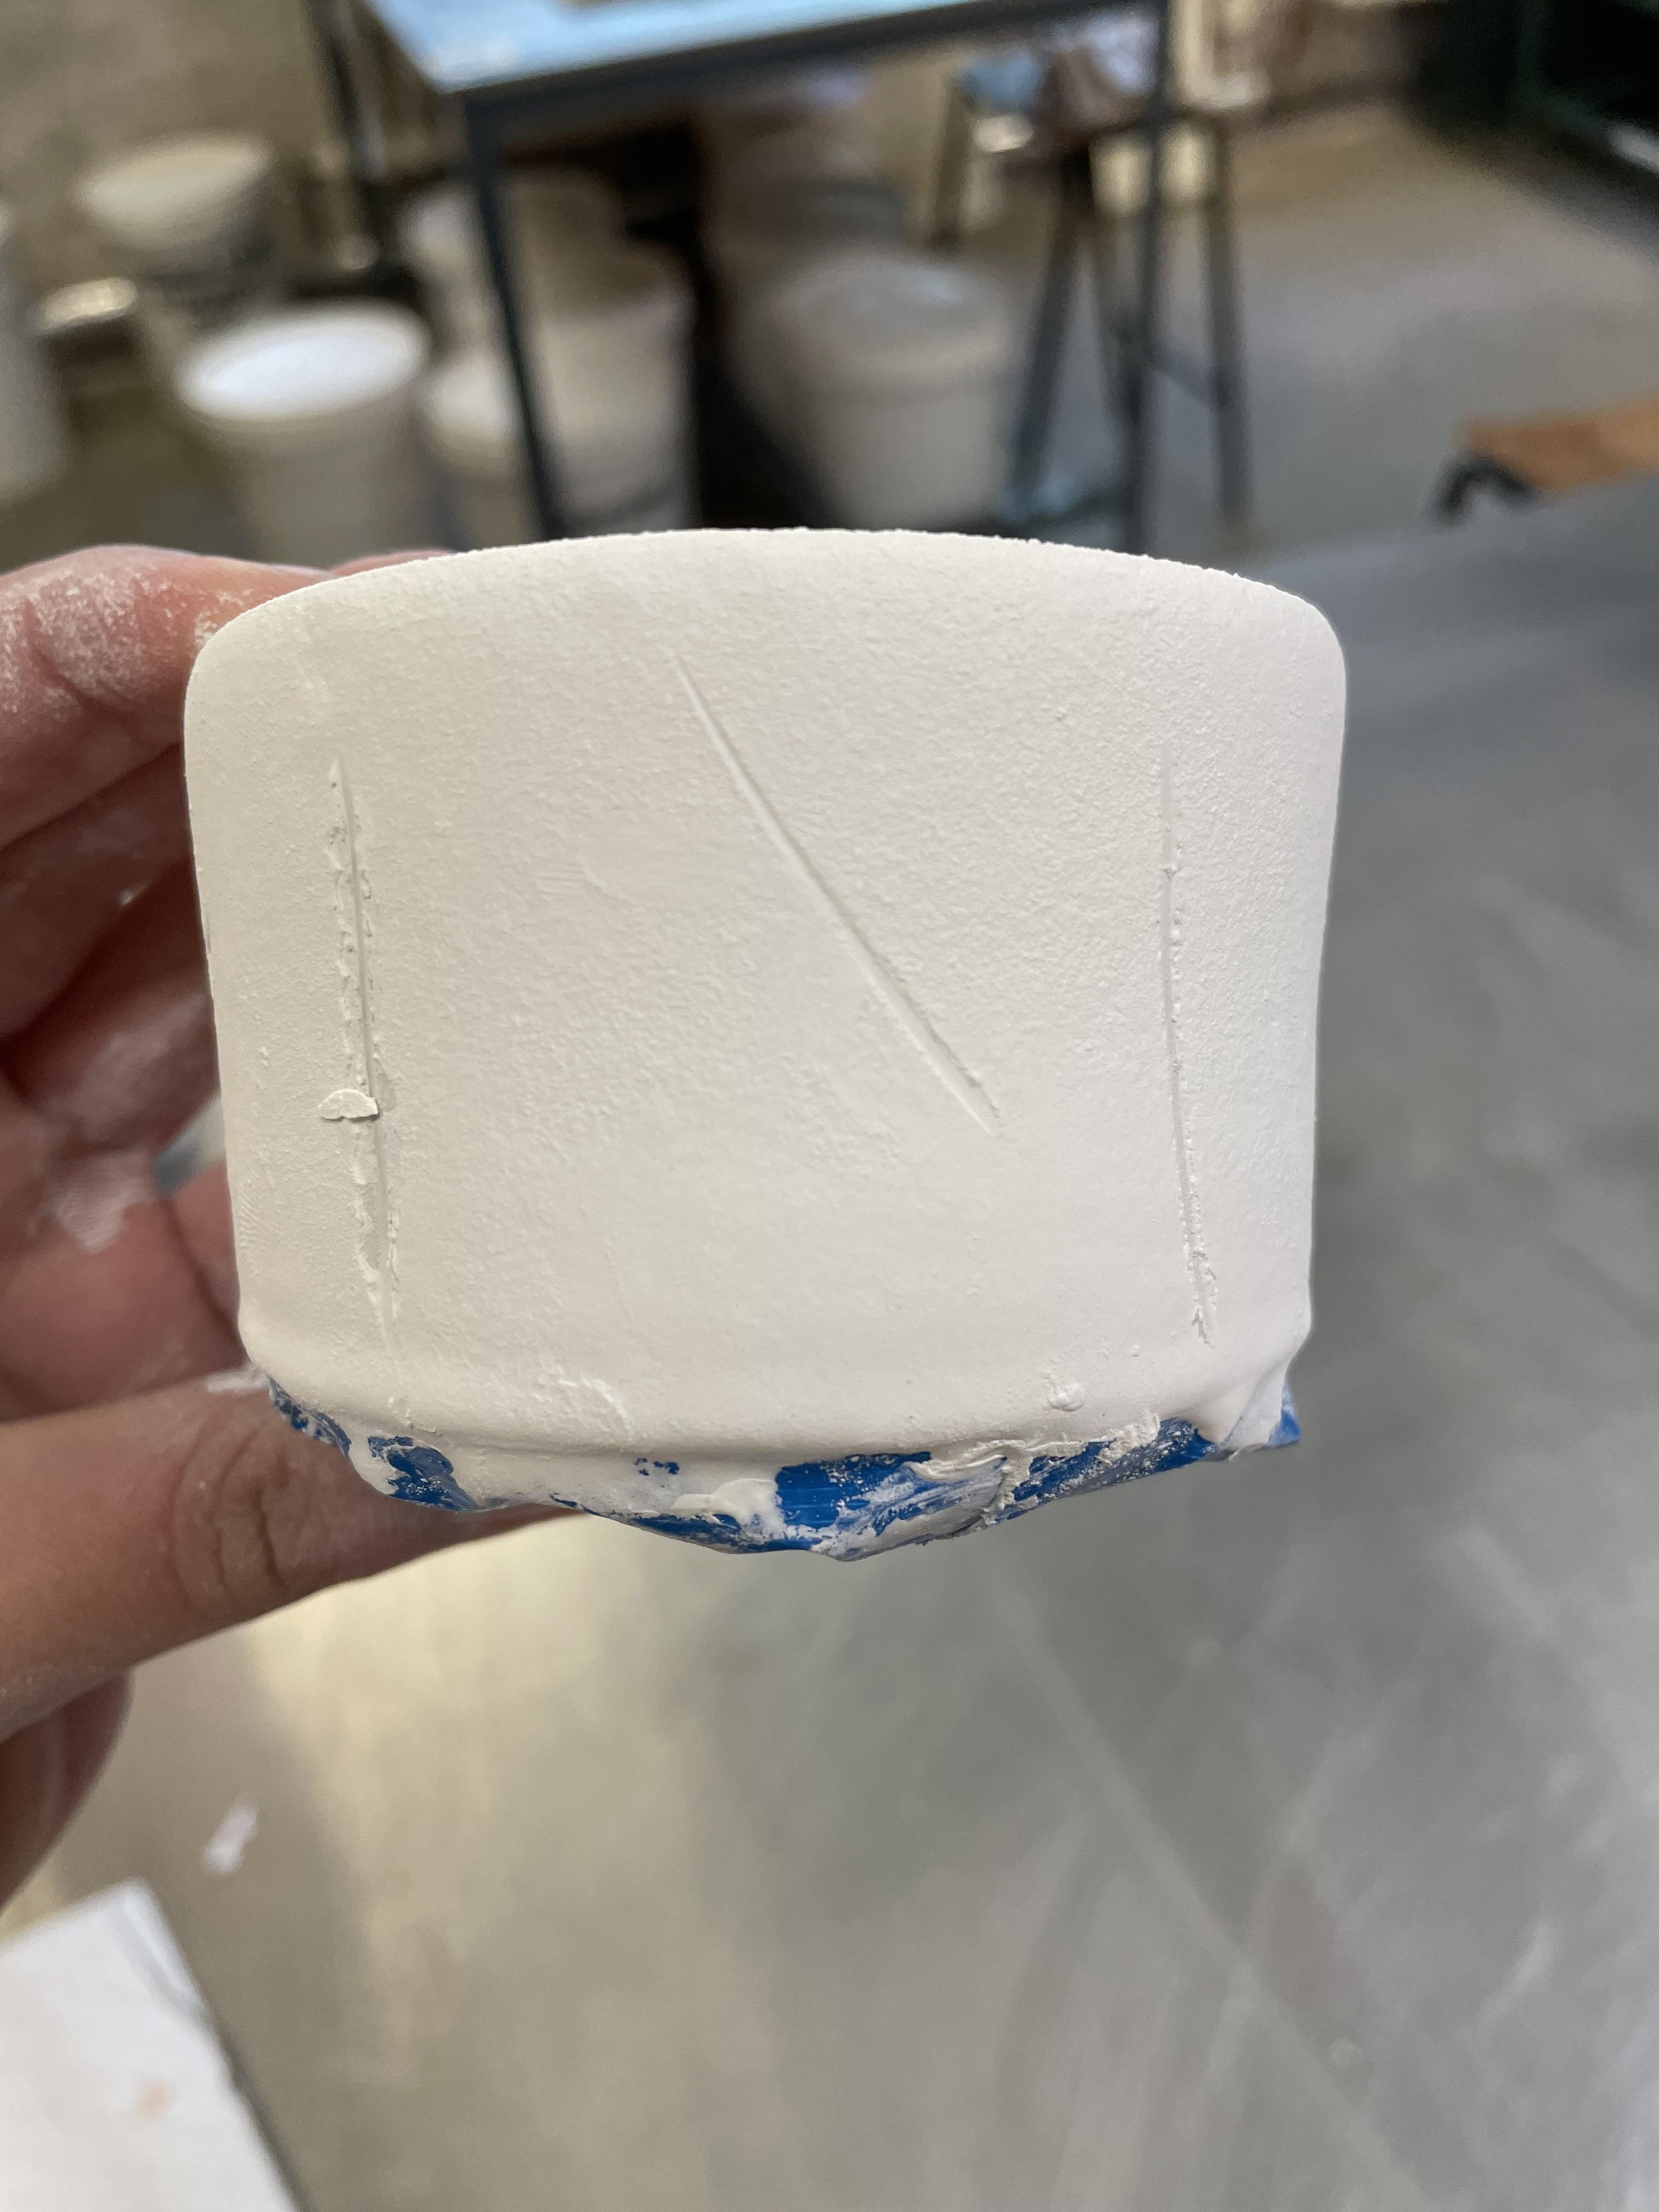
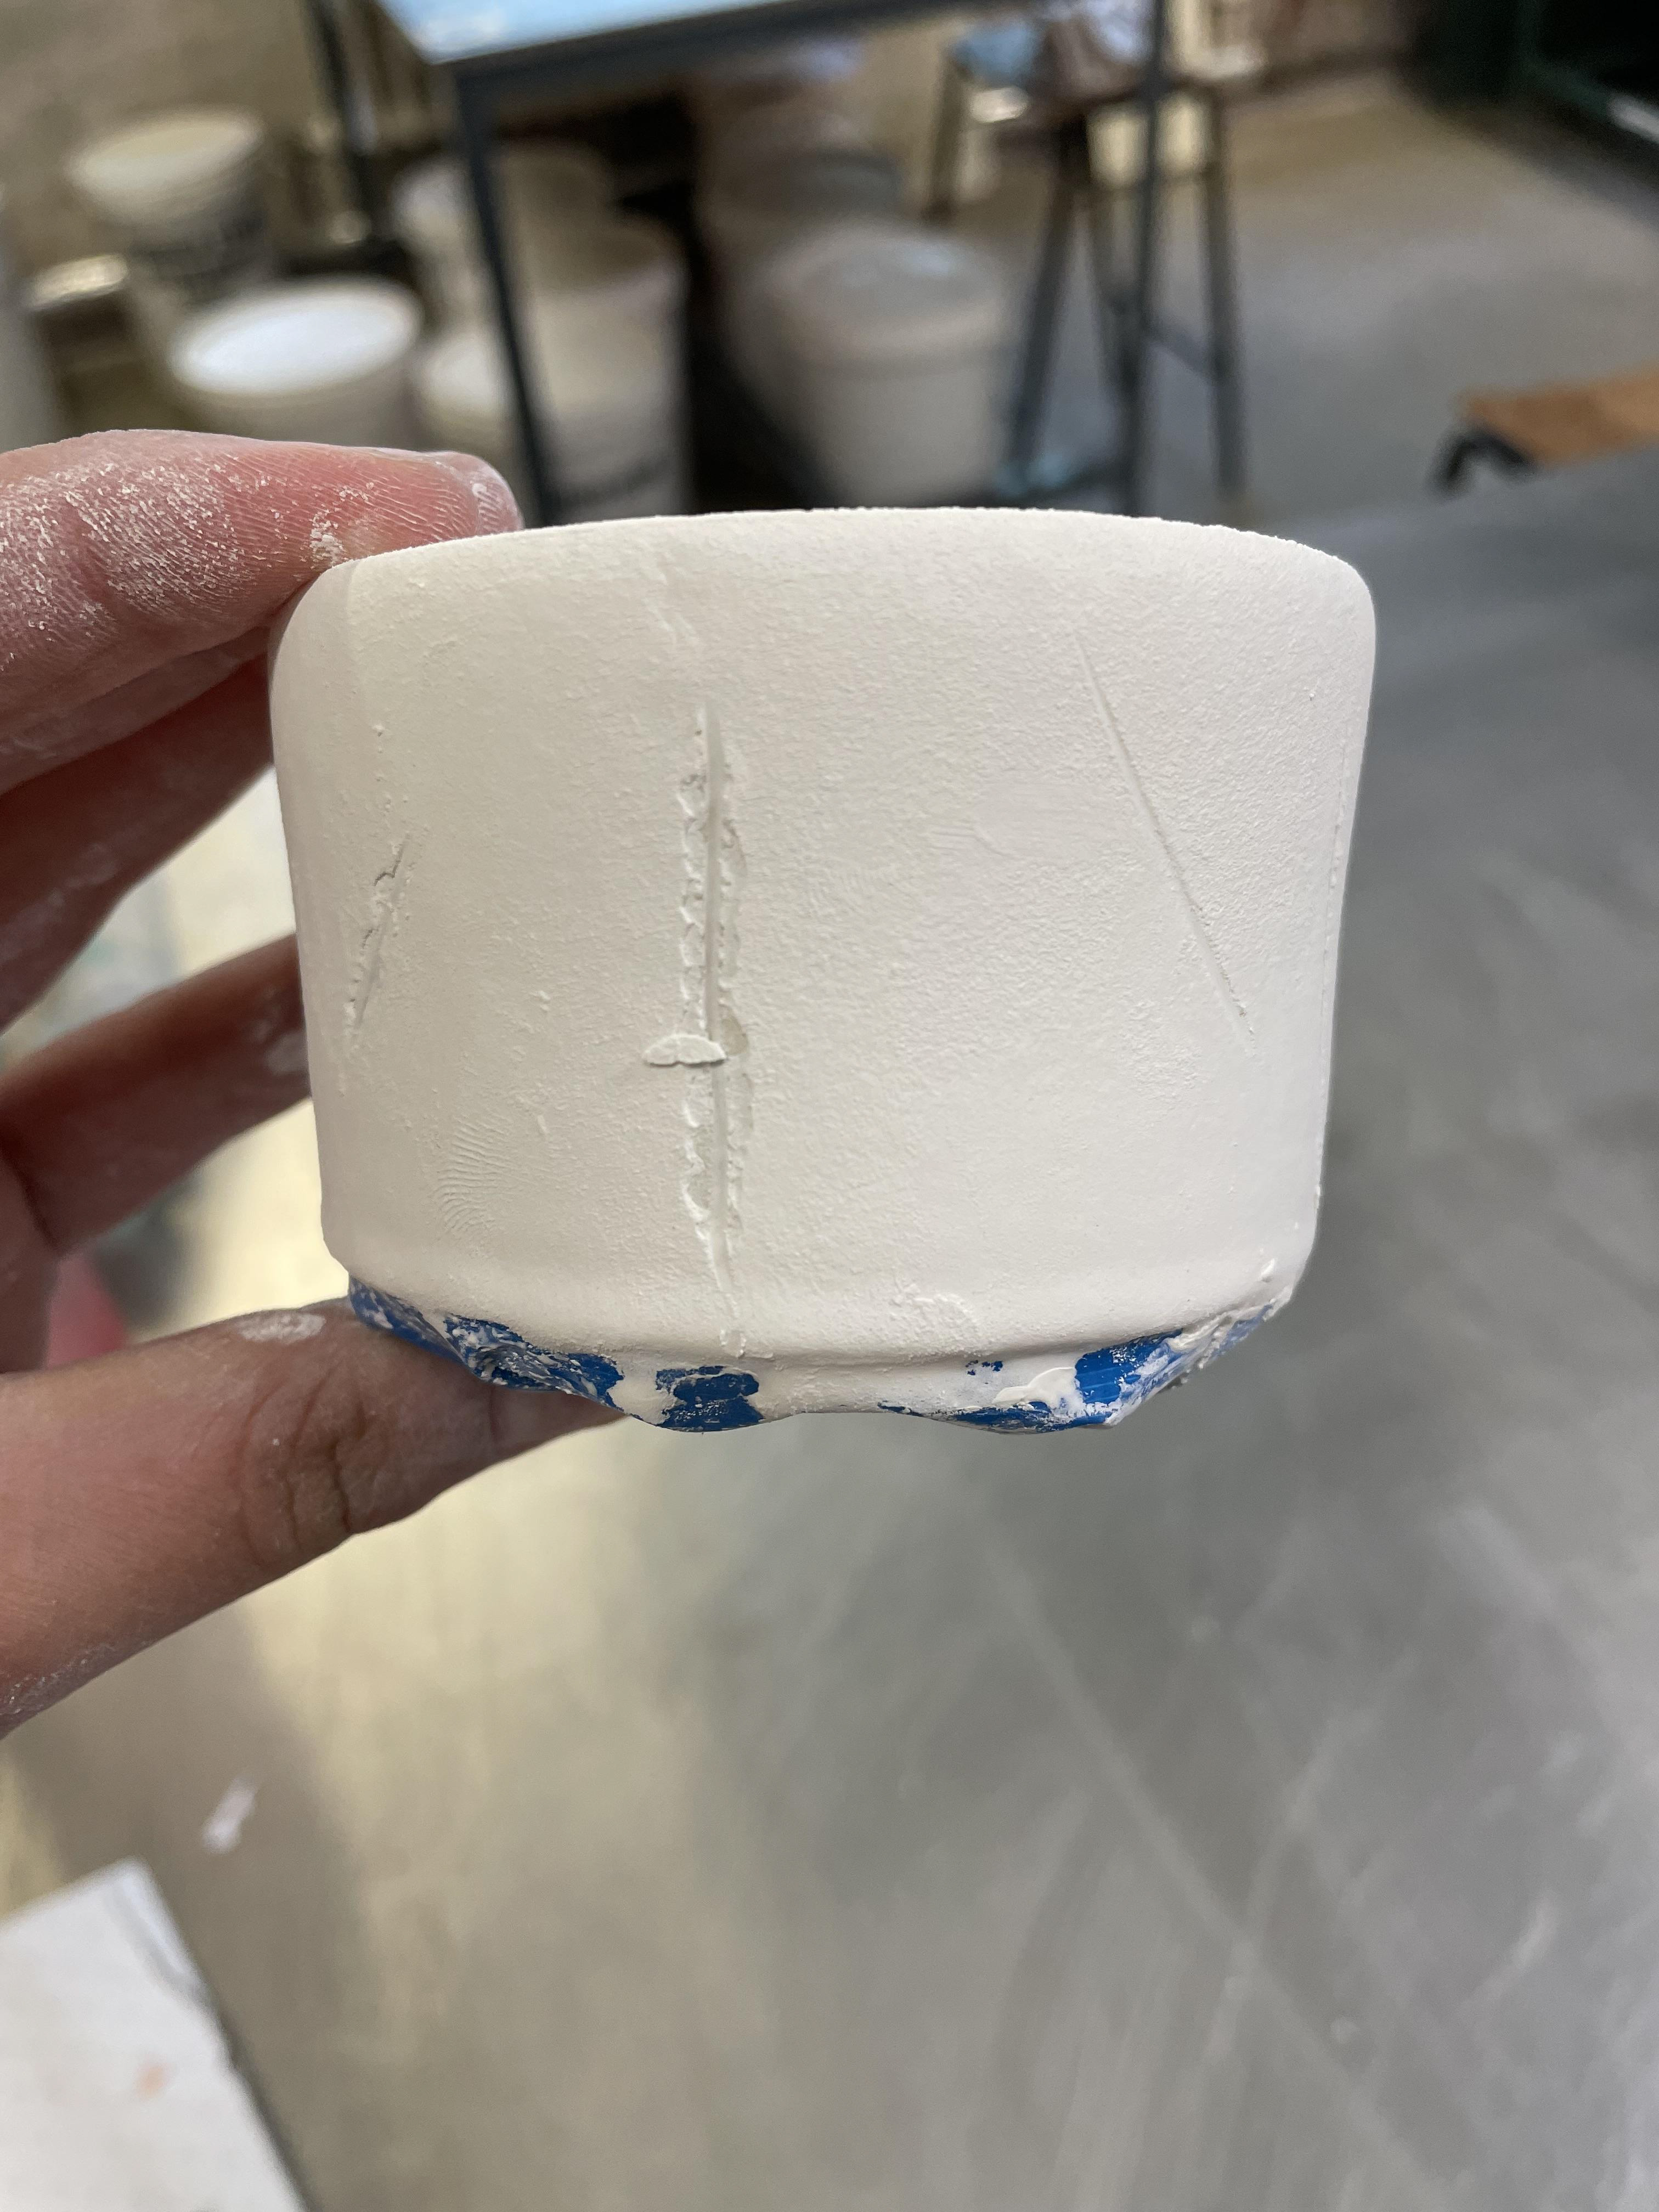
I also changed my technique when throwing my final mugs; I used to throw my mugs, take them off the wheel, allow them to get leather hard, then put them back on and trim them. I found that during this, I would handle the mugs when wet, which ruined their form. I also found that once trimmed, they would get stuck to the wheel at the bottom, as the mugs had a large surface area; this handling and wiring them off the wheel twice meant I was losing clay at the bottom, constantly ruining the mugs and tearing the bottom of the mugs. Instead of taking them off and trimming, I threw my mugs and then dried them to leather with a hair dryer. This meant I could go in straight away and trim the mugs the inside and the out. This clean trim worked much better for me as I handled the mugs less, and the mugs were more consistent. And I would trim the bottom of the mug at an easier control angle.

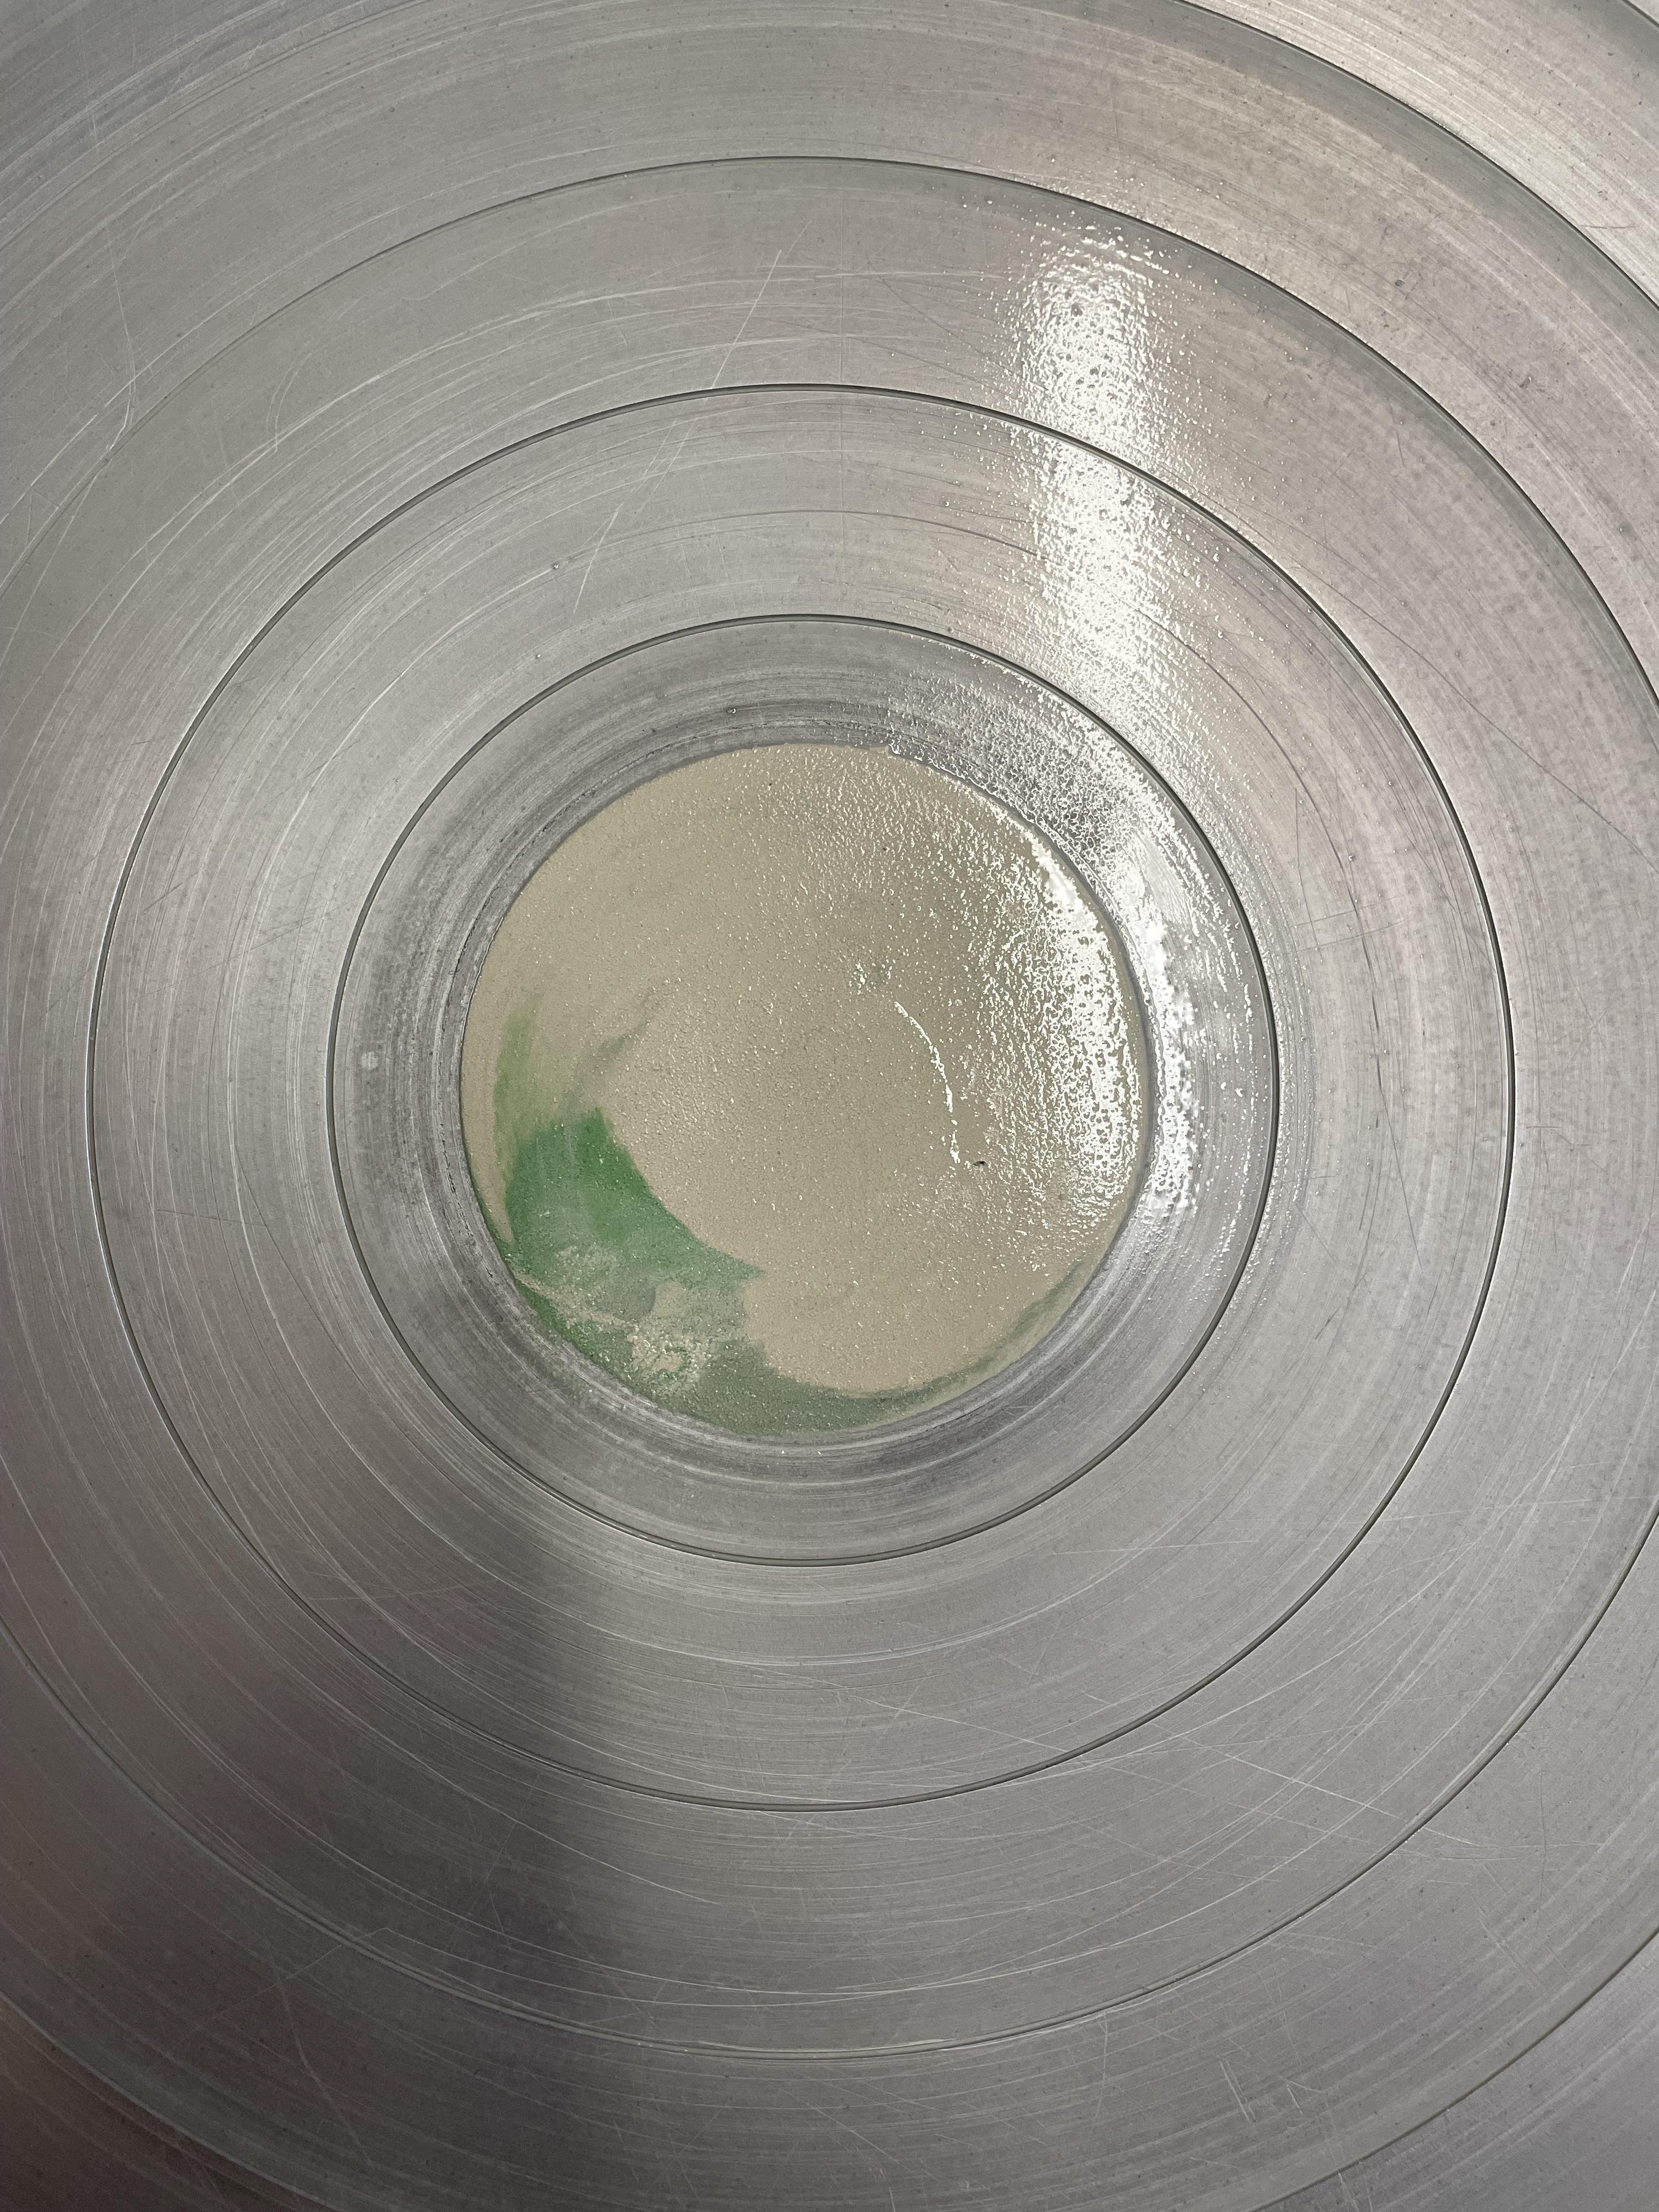
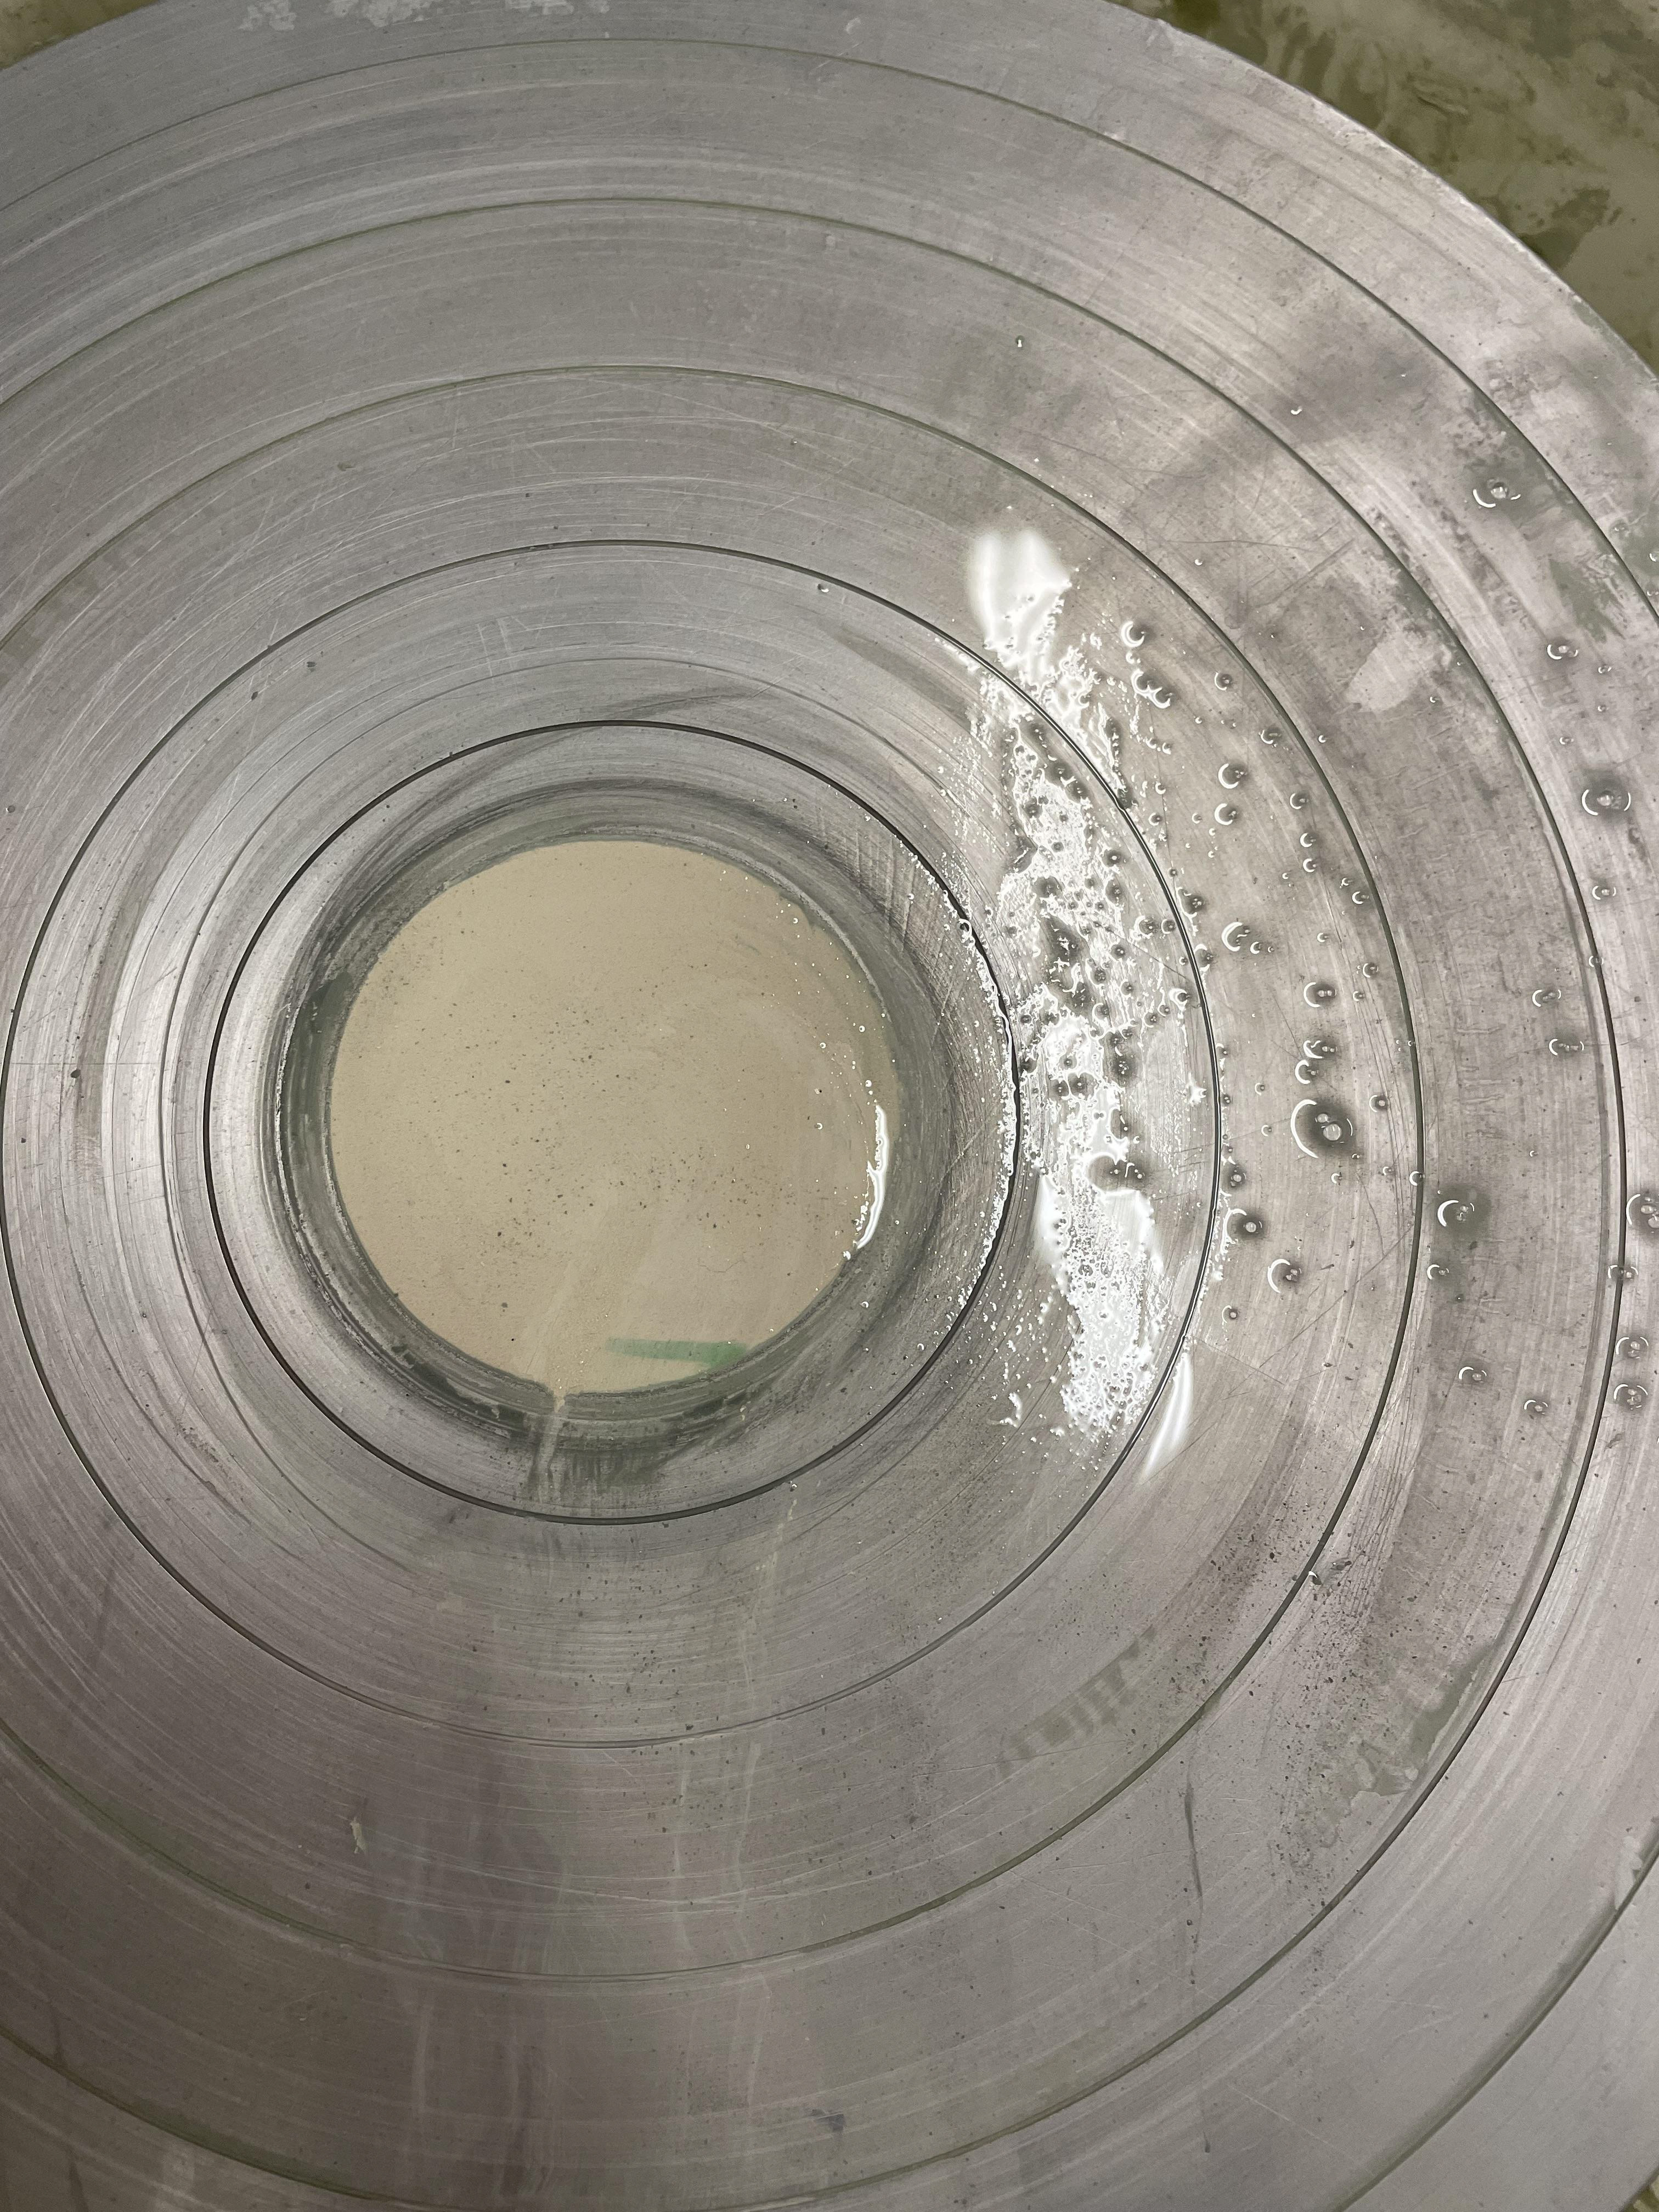
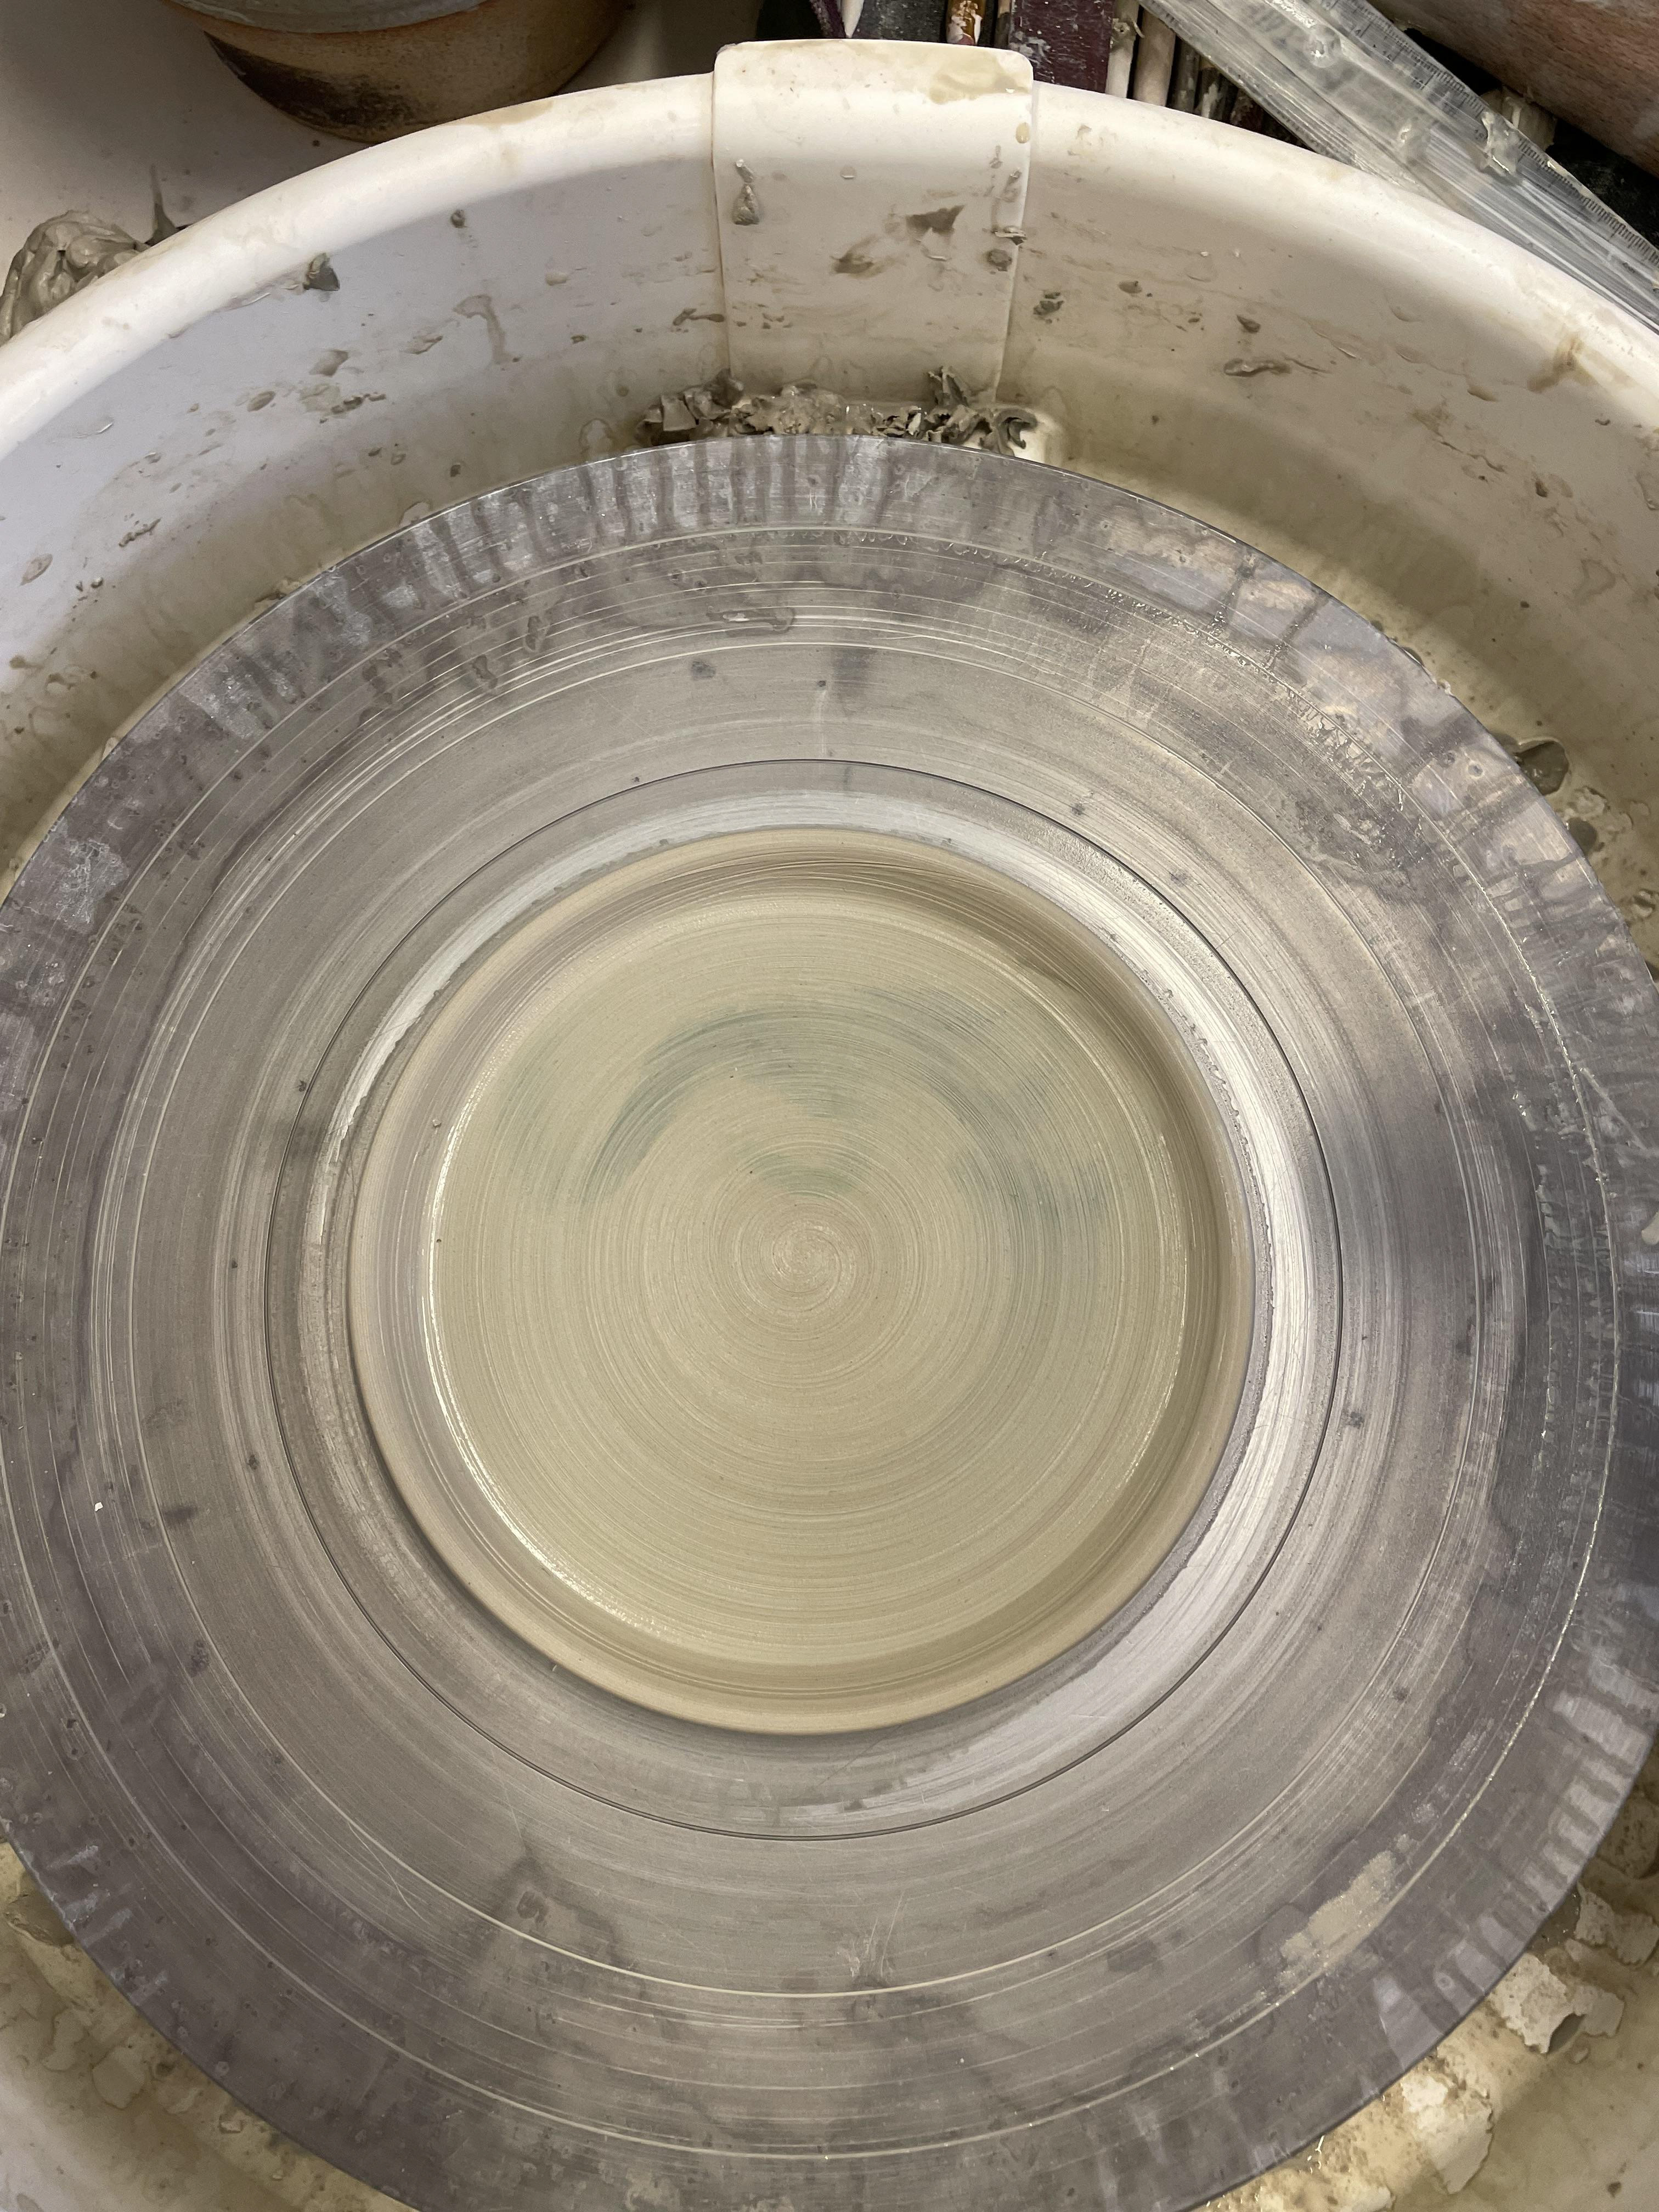
While throwing the mugs, I was drawn to the surface patterns left on the wheel while removing the mugs. This is seen as a throwaway clay, which I will collect and recycle. But I found the patterns fascinating. It was a beautiful pattern made entirely from the accident, which was just getting thrown away.
With this mug, I allowed it to get too hard, which meant the handle wouldn't attach properly, so I decided to rehydrate it, spraying it with water every 2 hours, rehydrating it a bit too much where the clay got too saturated. The wall got too soft, and it could not hold its weight. However, I could place it in a round shape, which reshape the mug's walls.
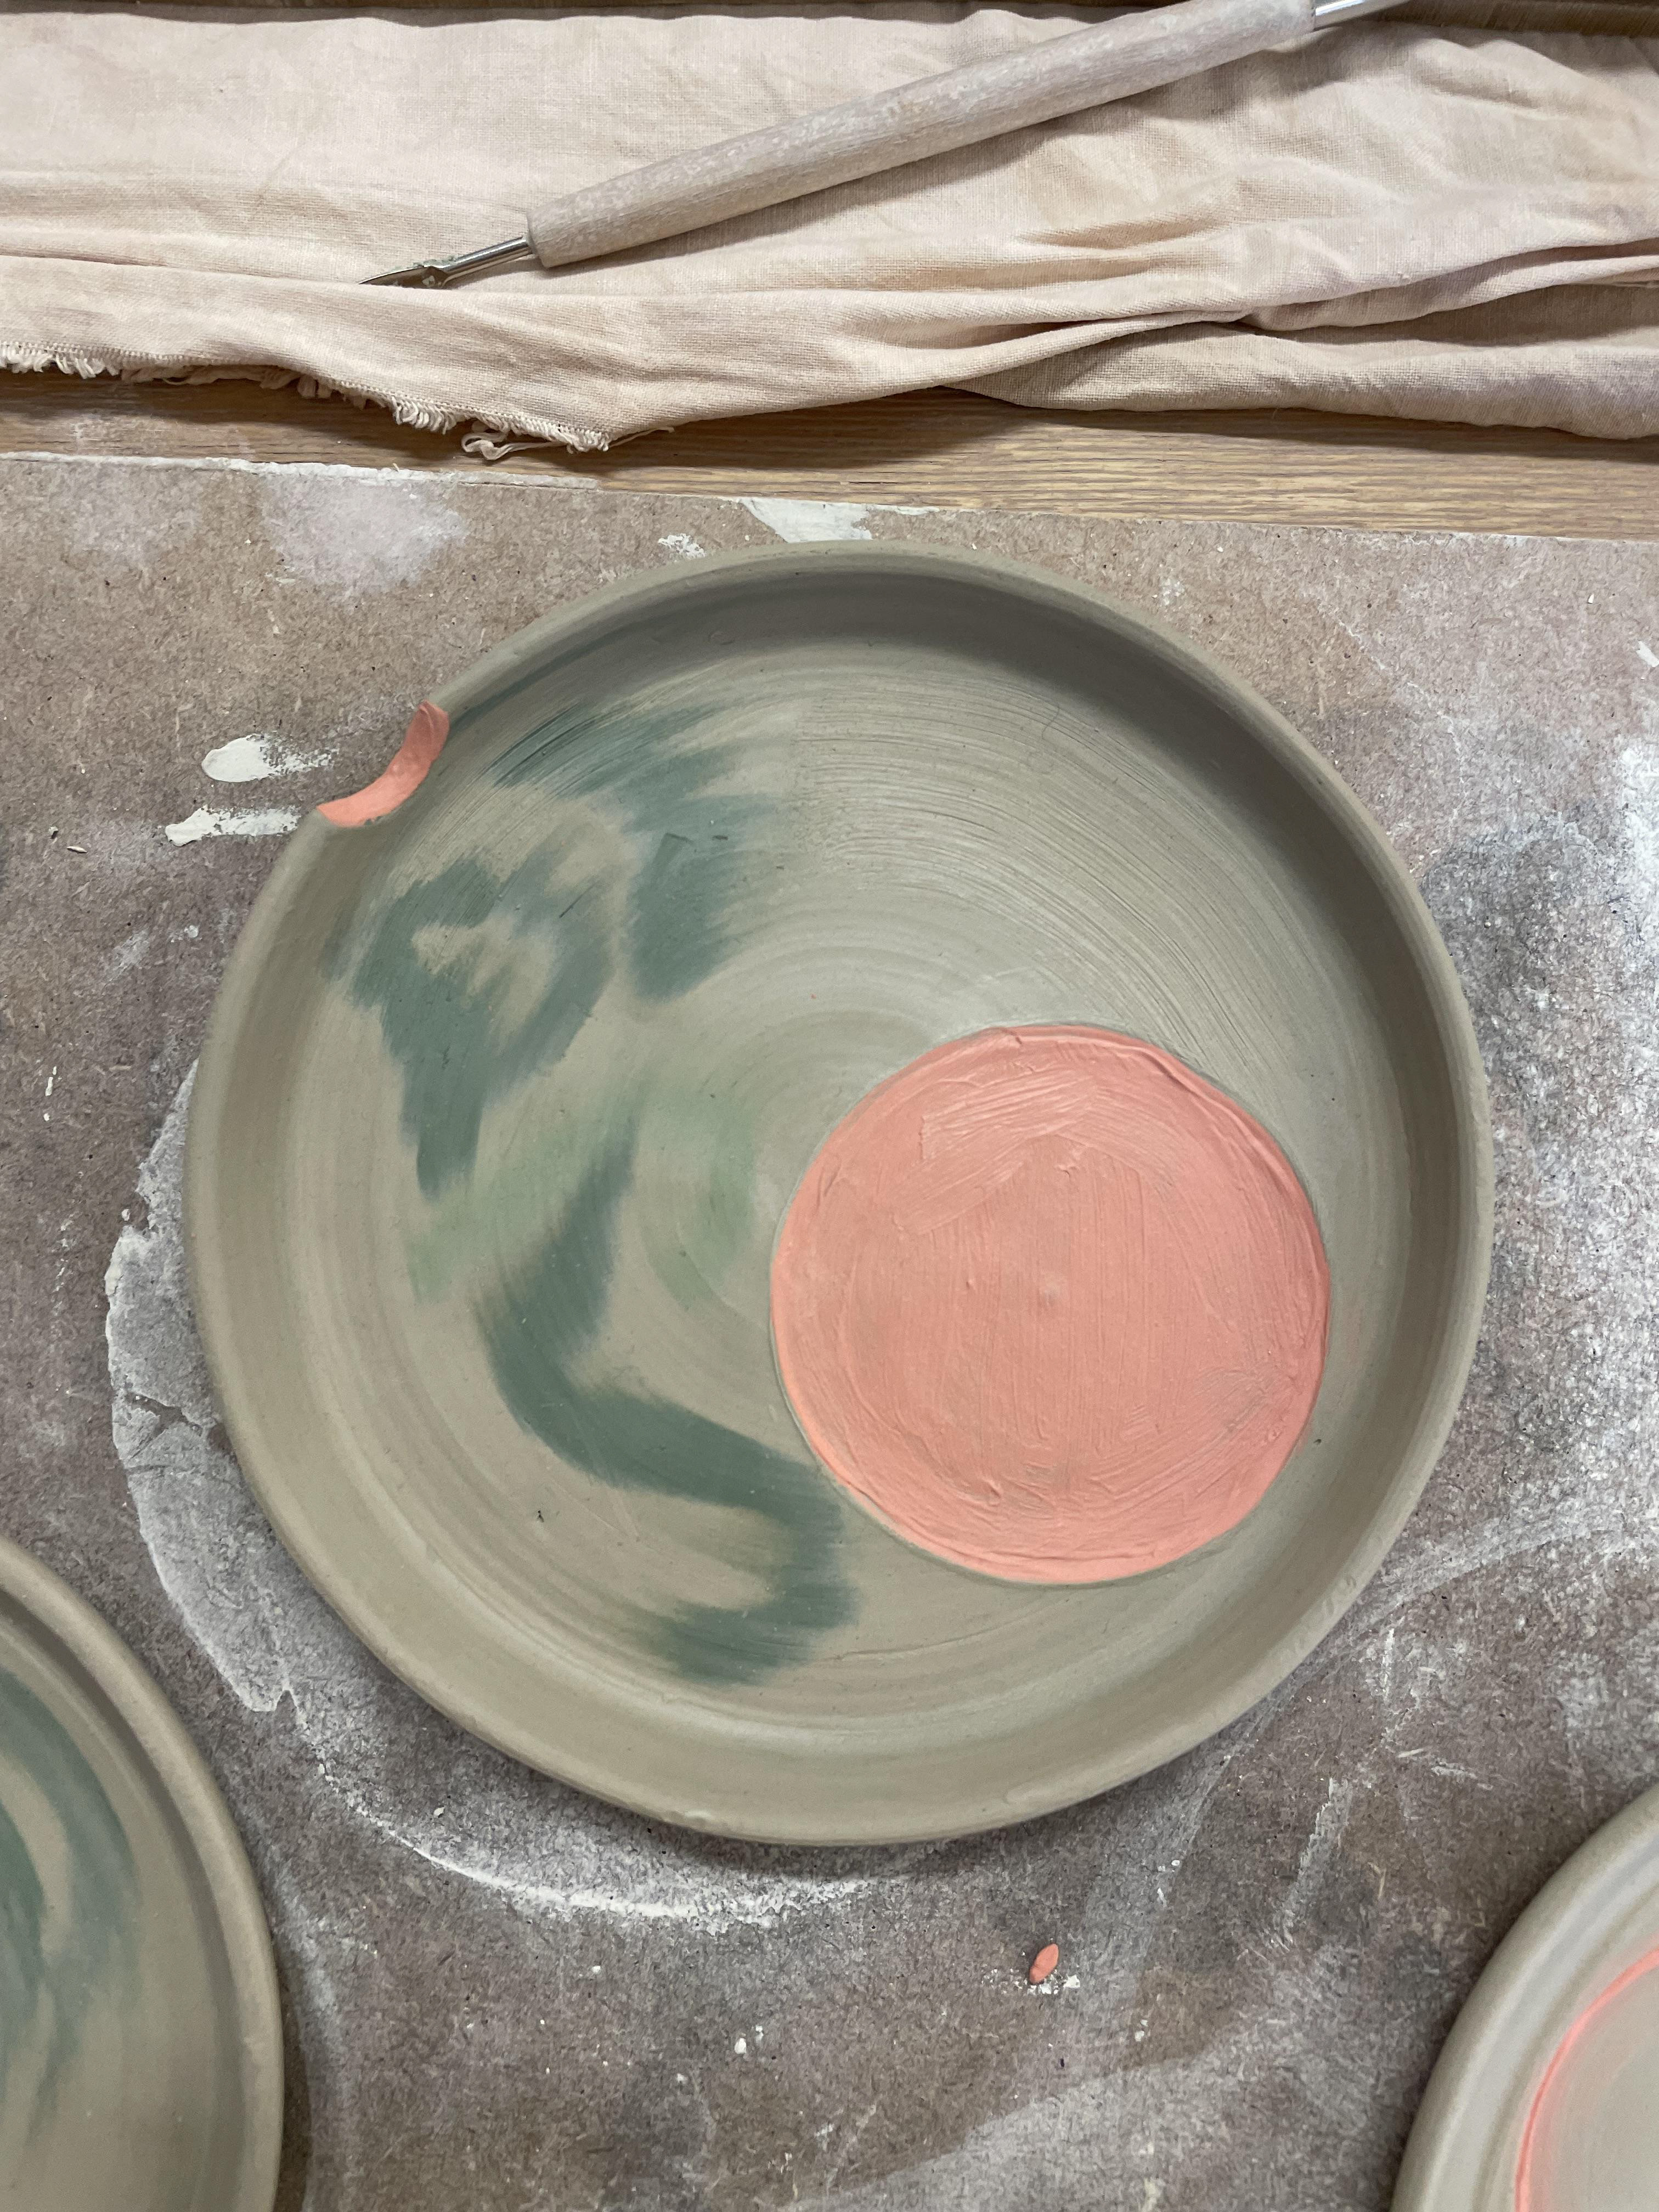
Creating Orange Slip
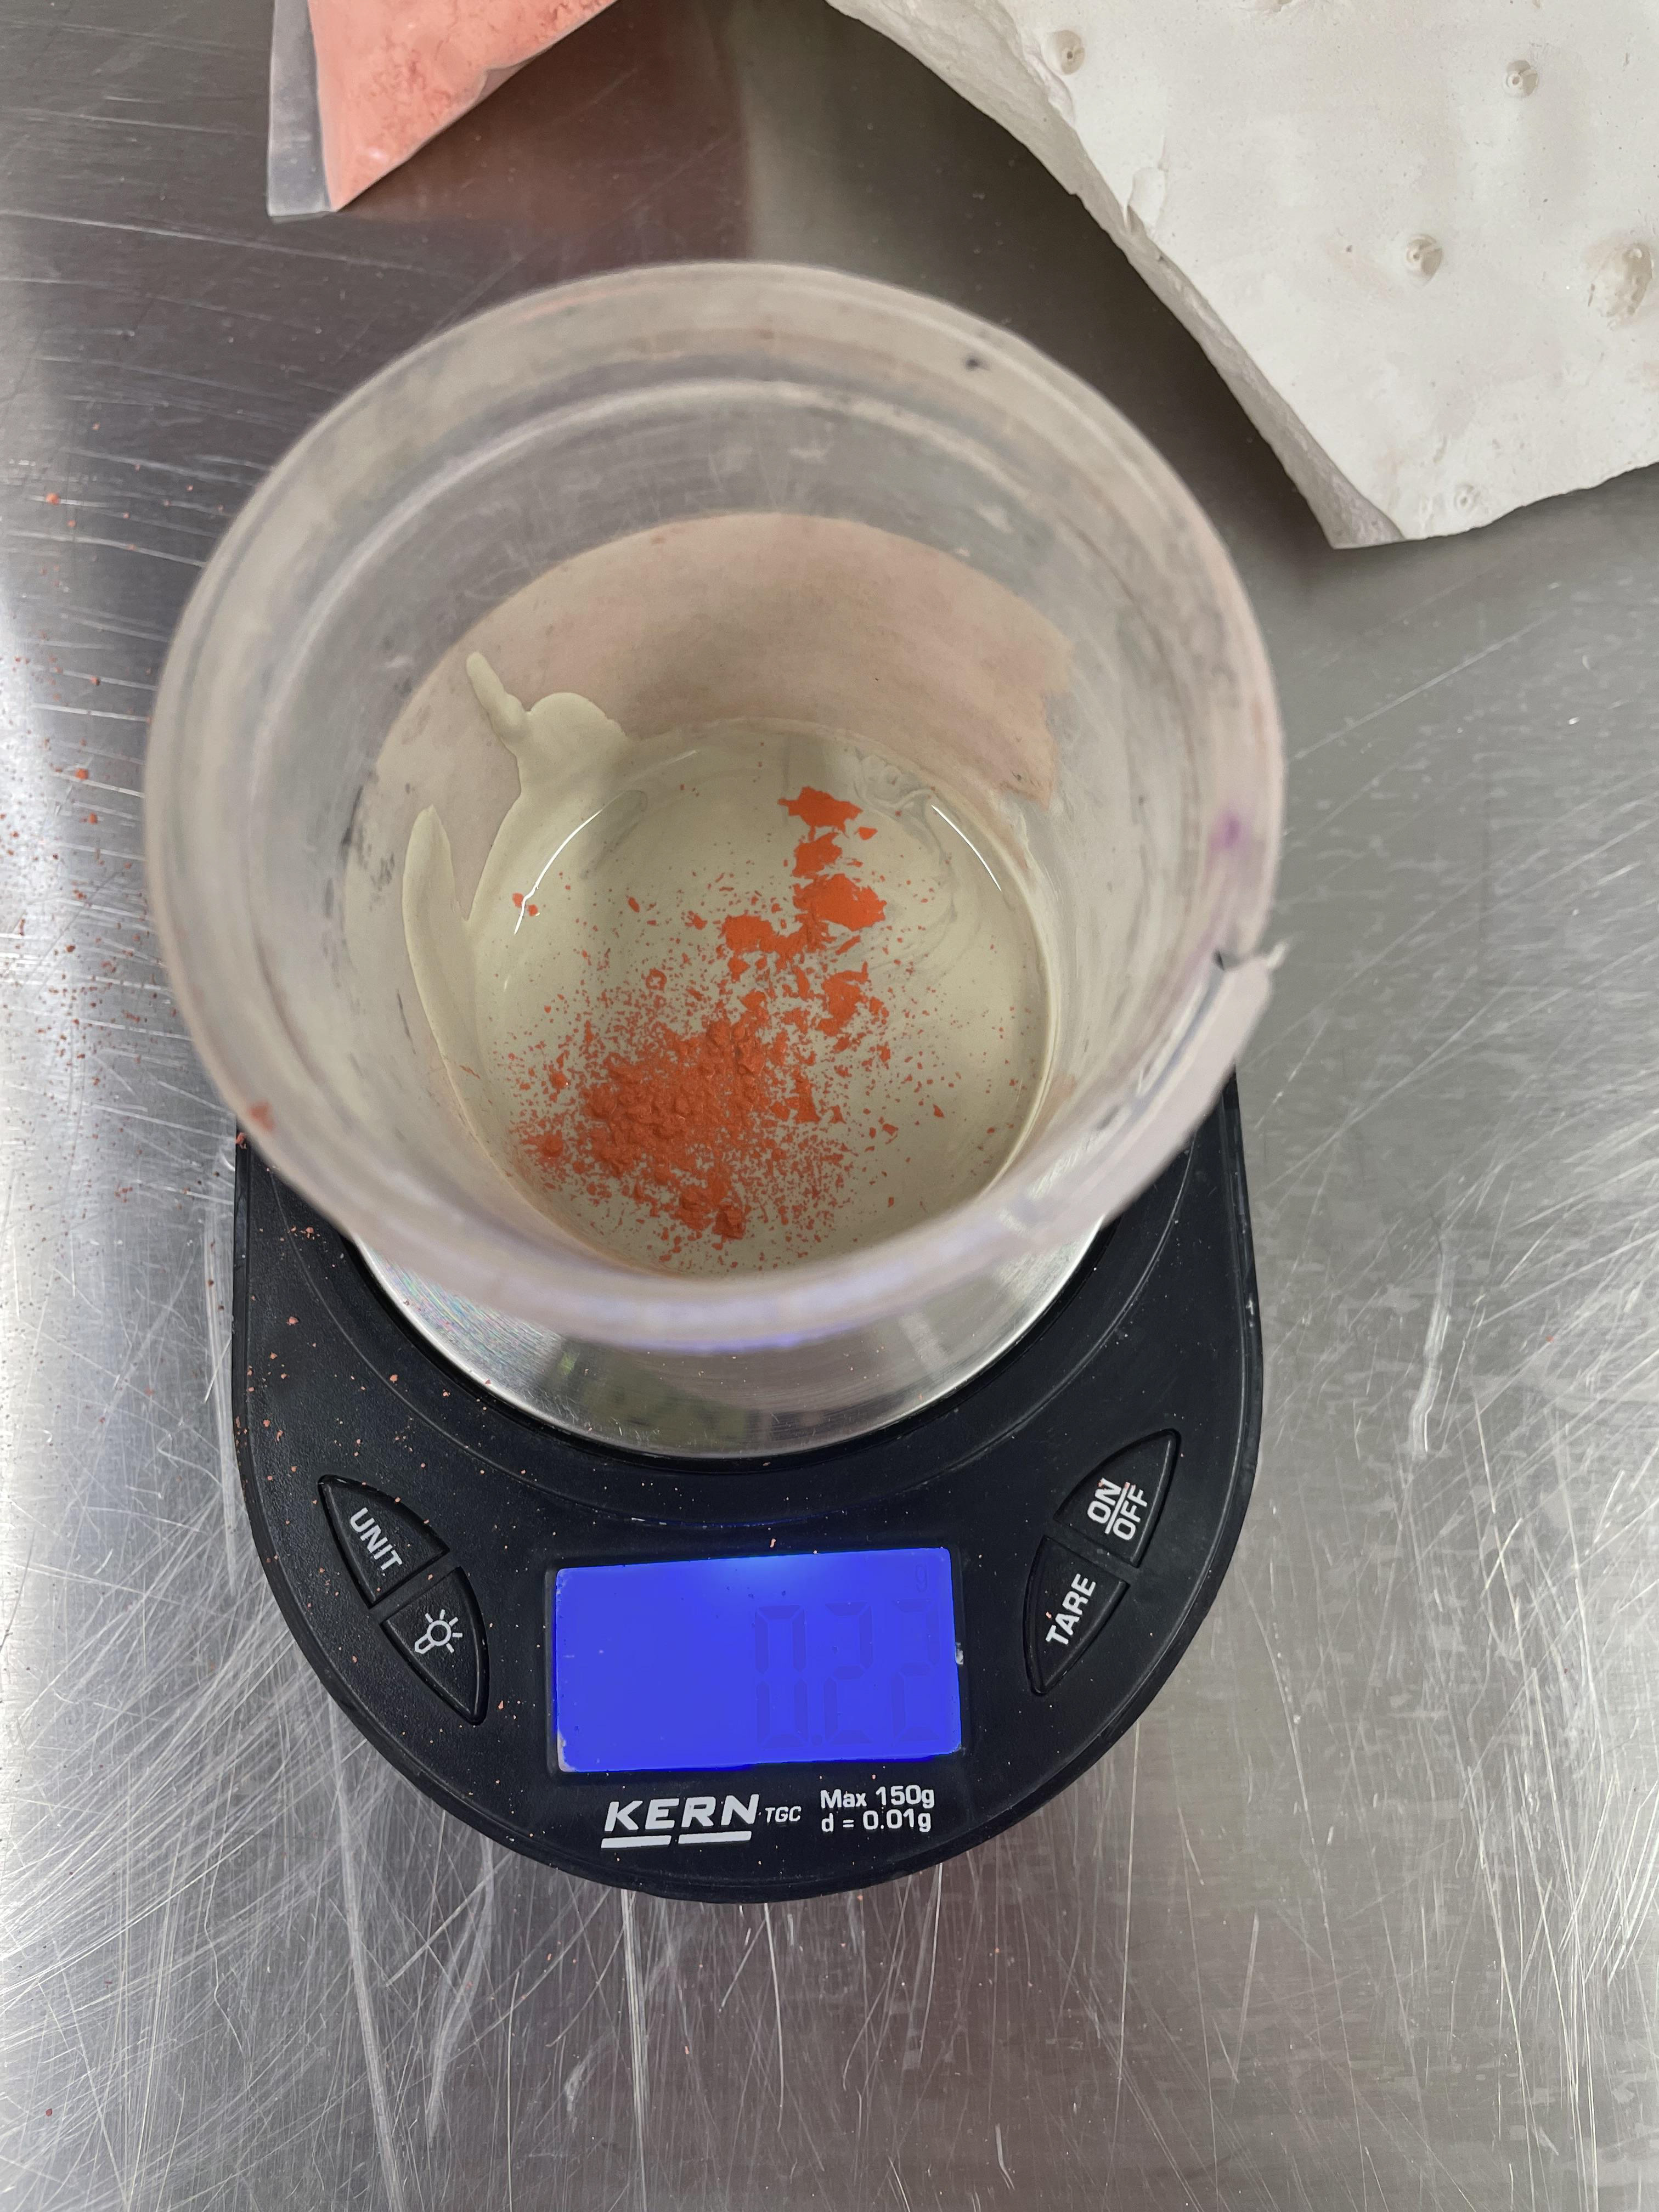
In my material experiments, firing the mugs at Earthenware allowed the best colours for my oxides; however, it didn't give the best result for my stains. I wanted to create a bold orange, which is hinted at throughout my mug sets. Due to this, I increased my orange stain to 10%. Weighting out 10% of the stain that was powered to mix into my slip gave me good consistency, allowing me to paint it smoothly.
Attaching Handles
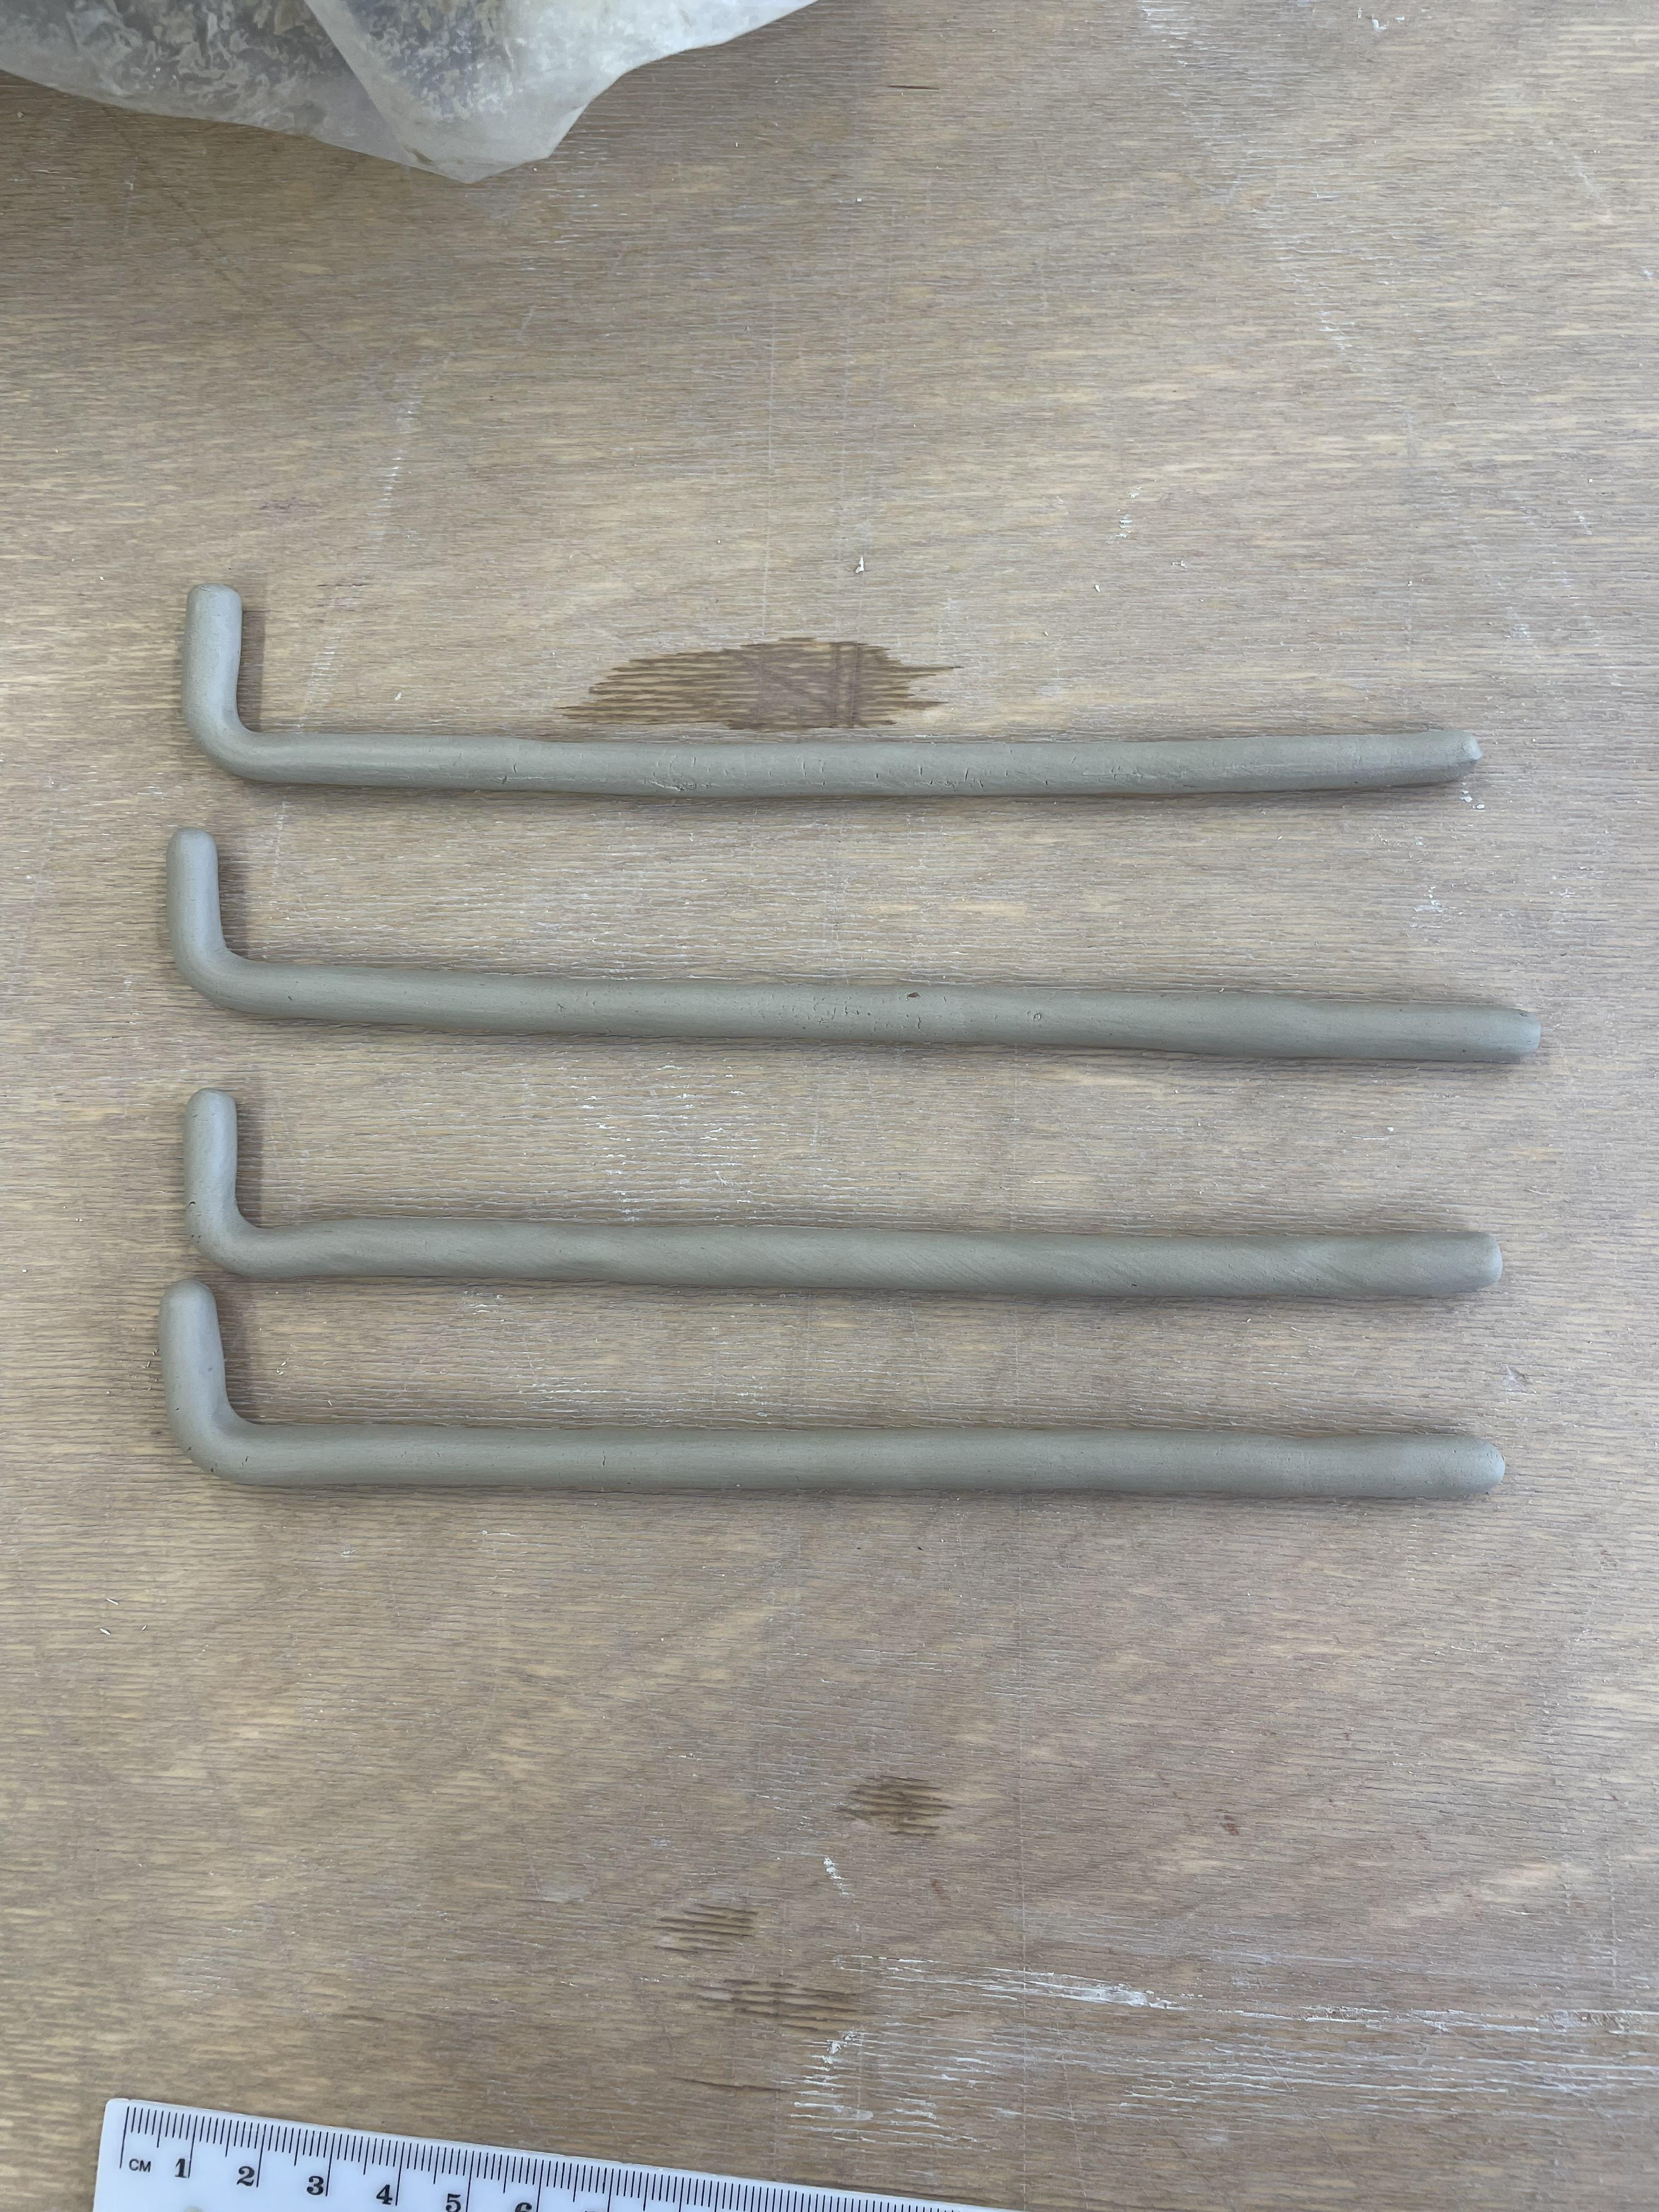
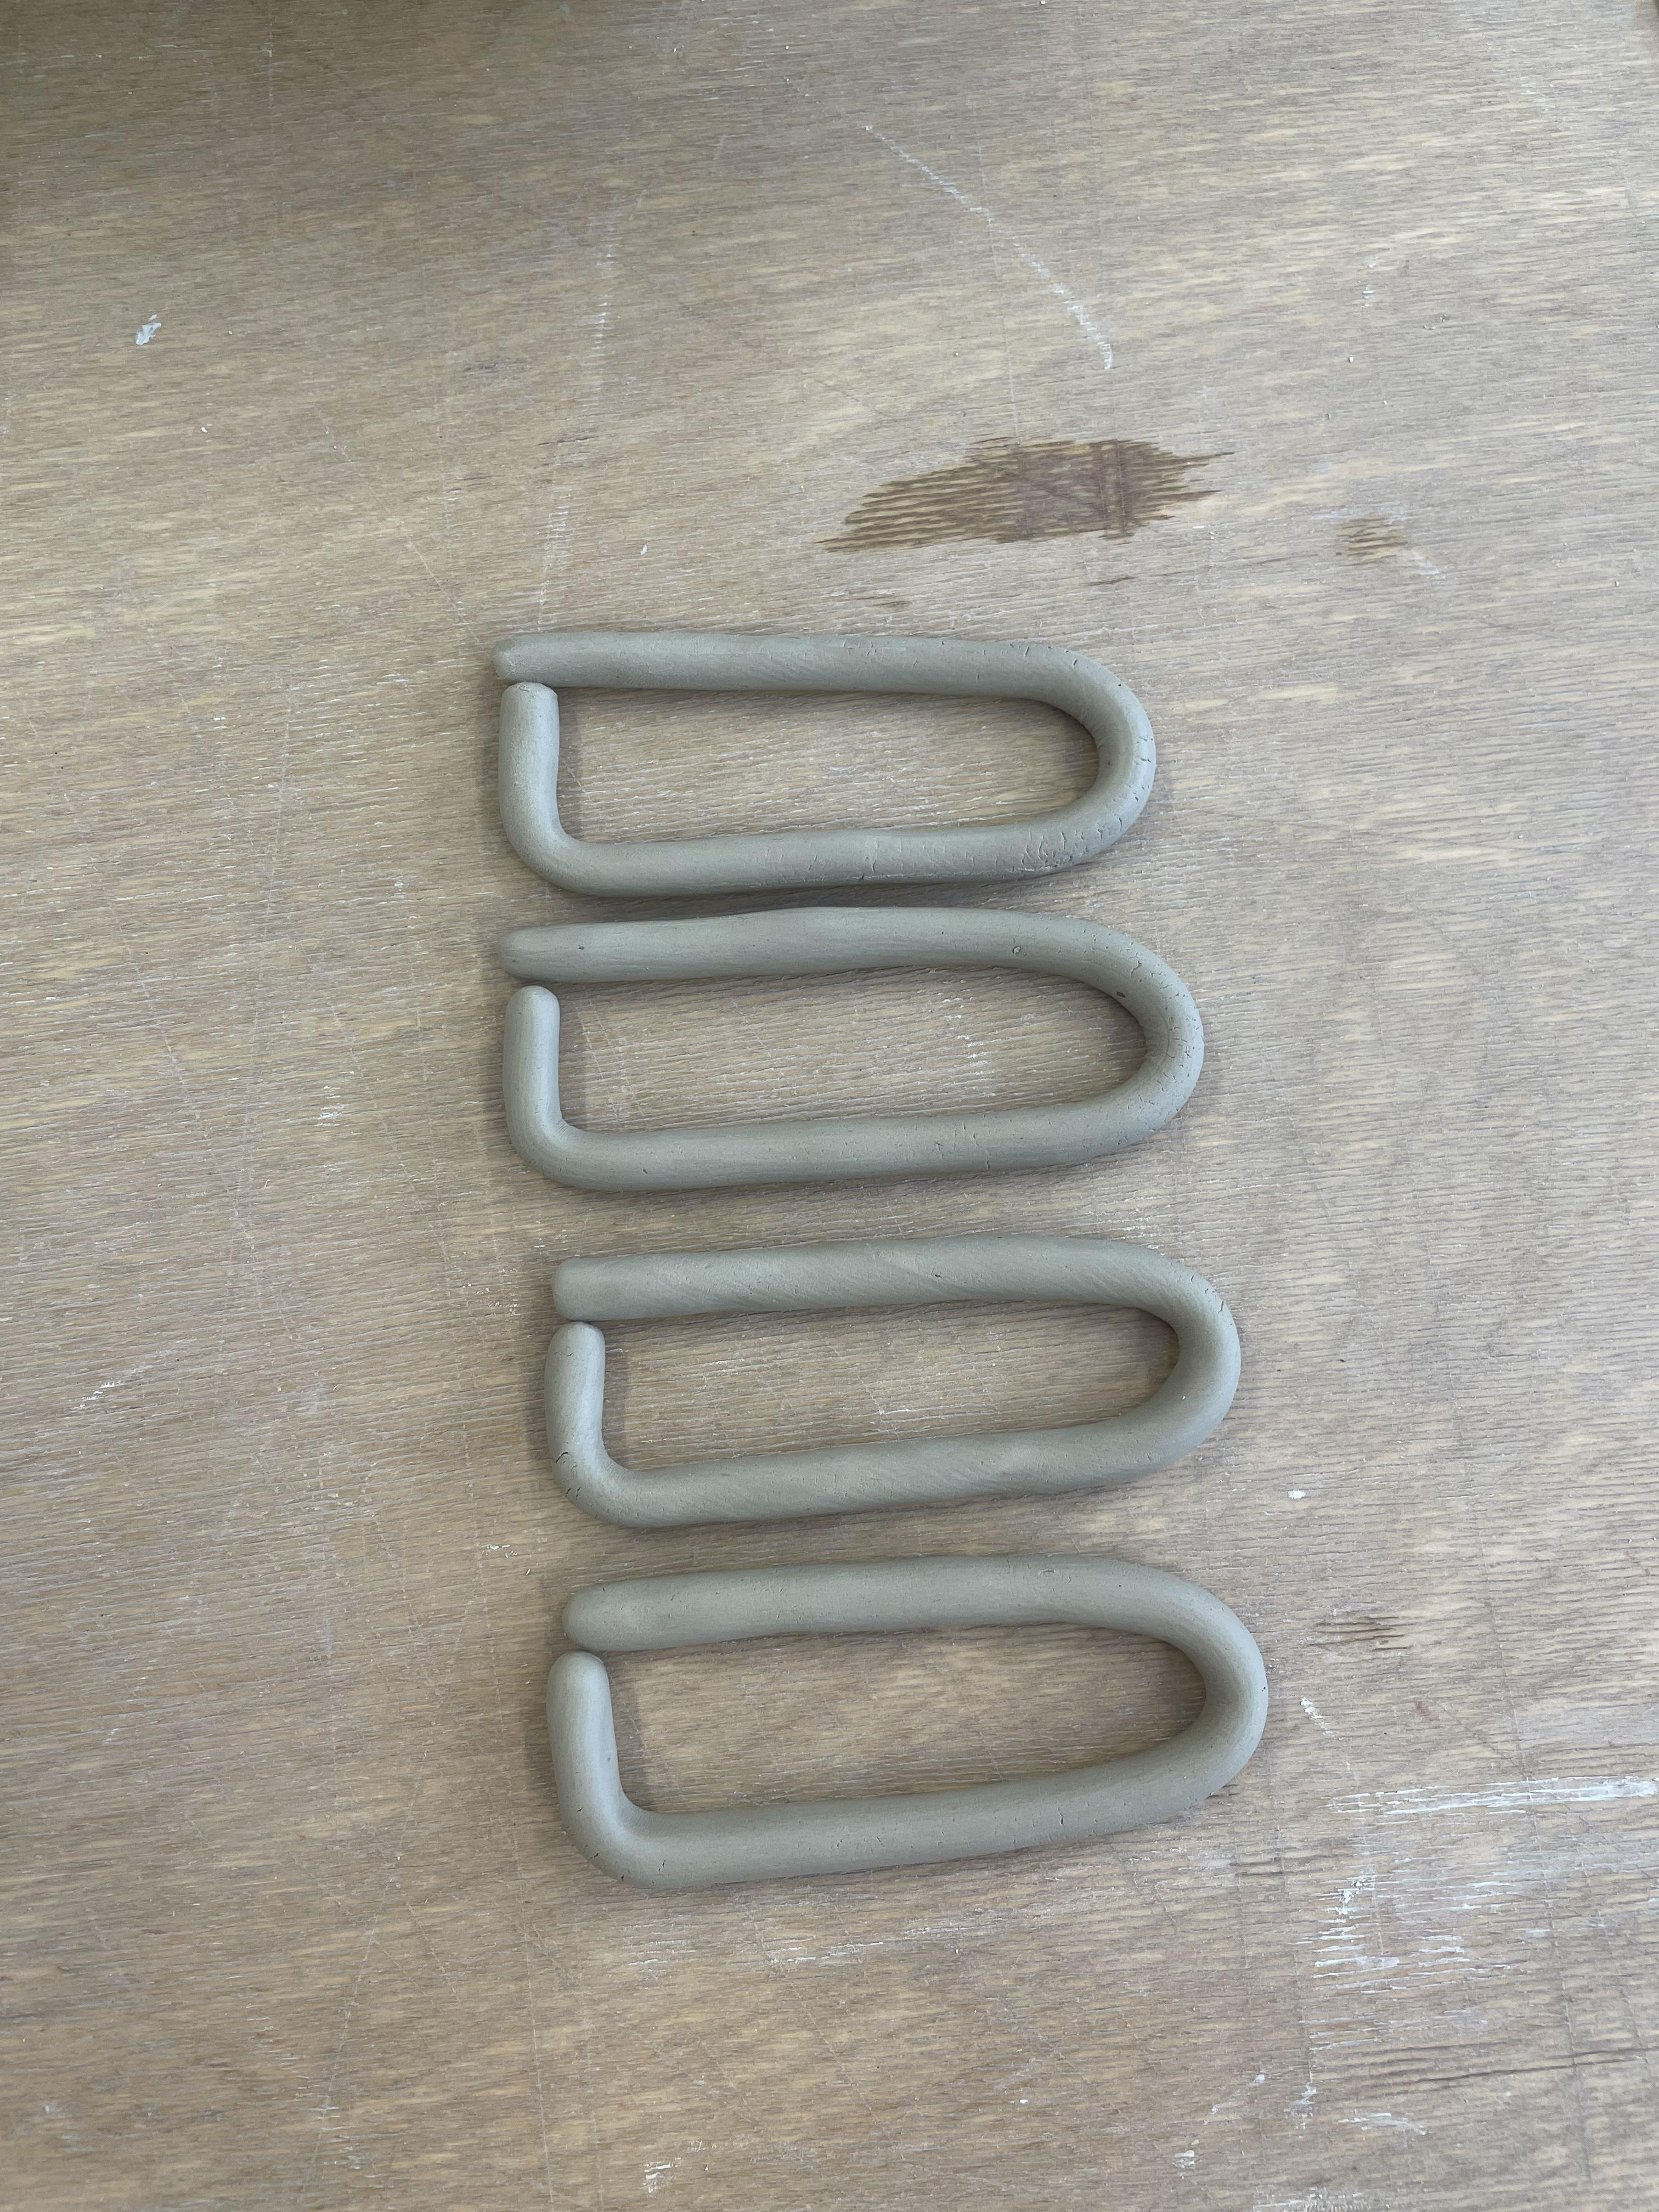
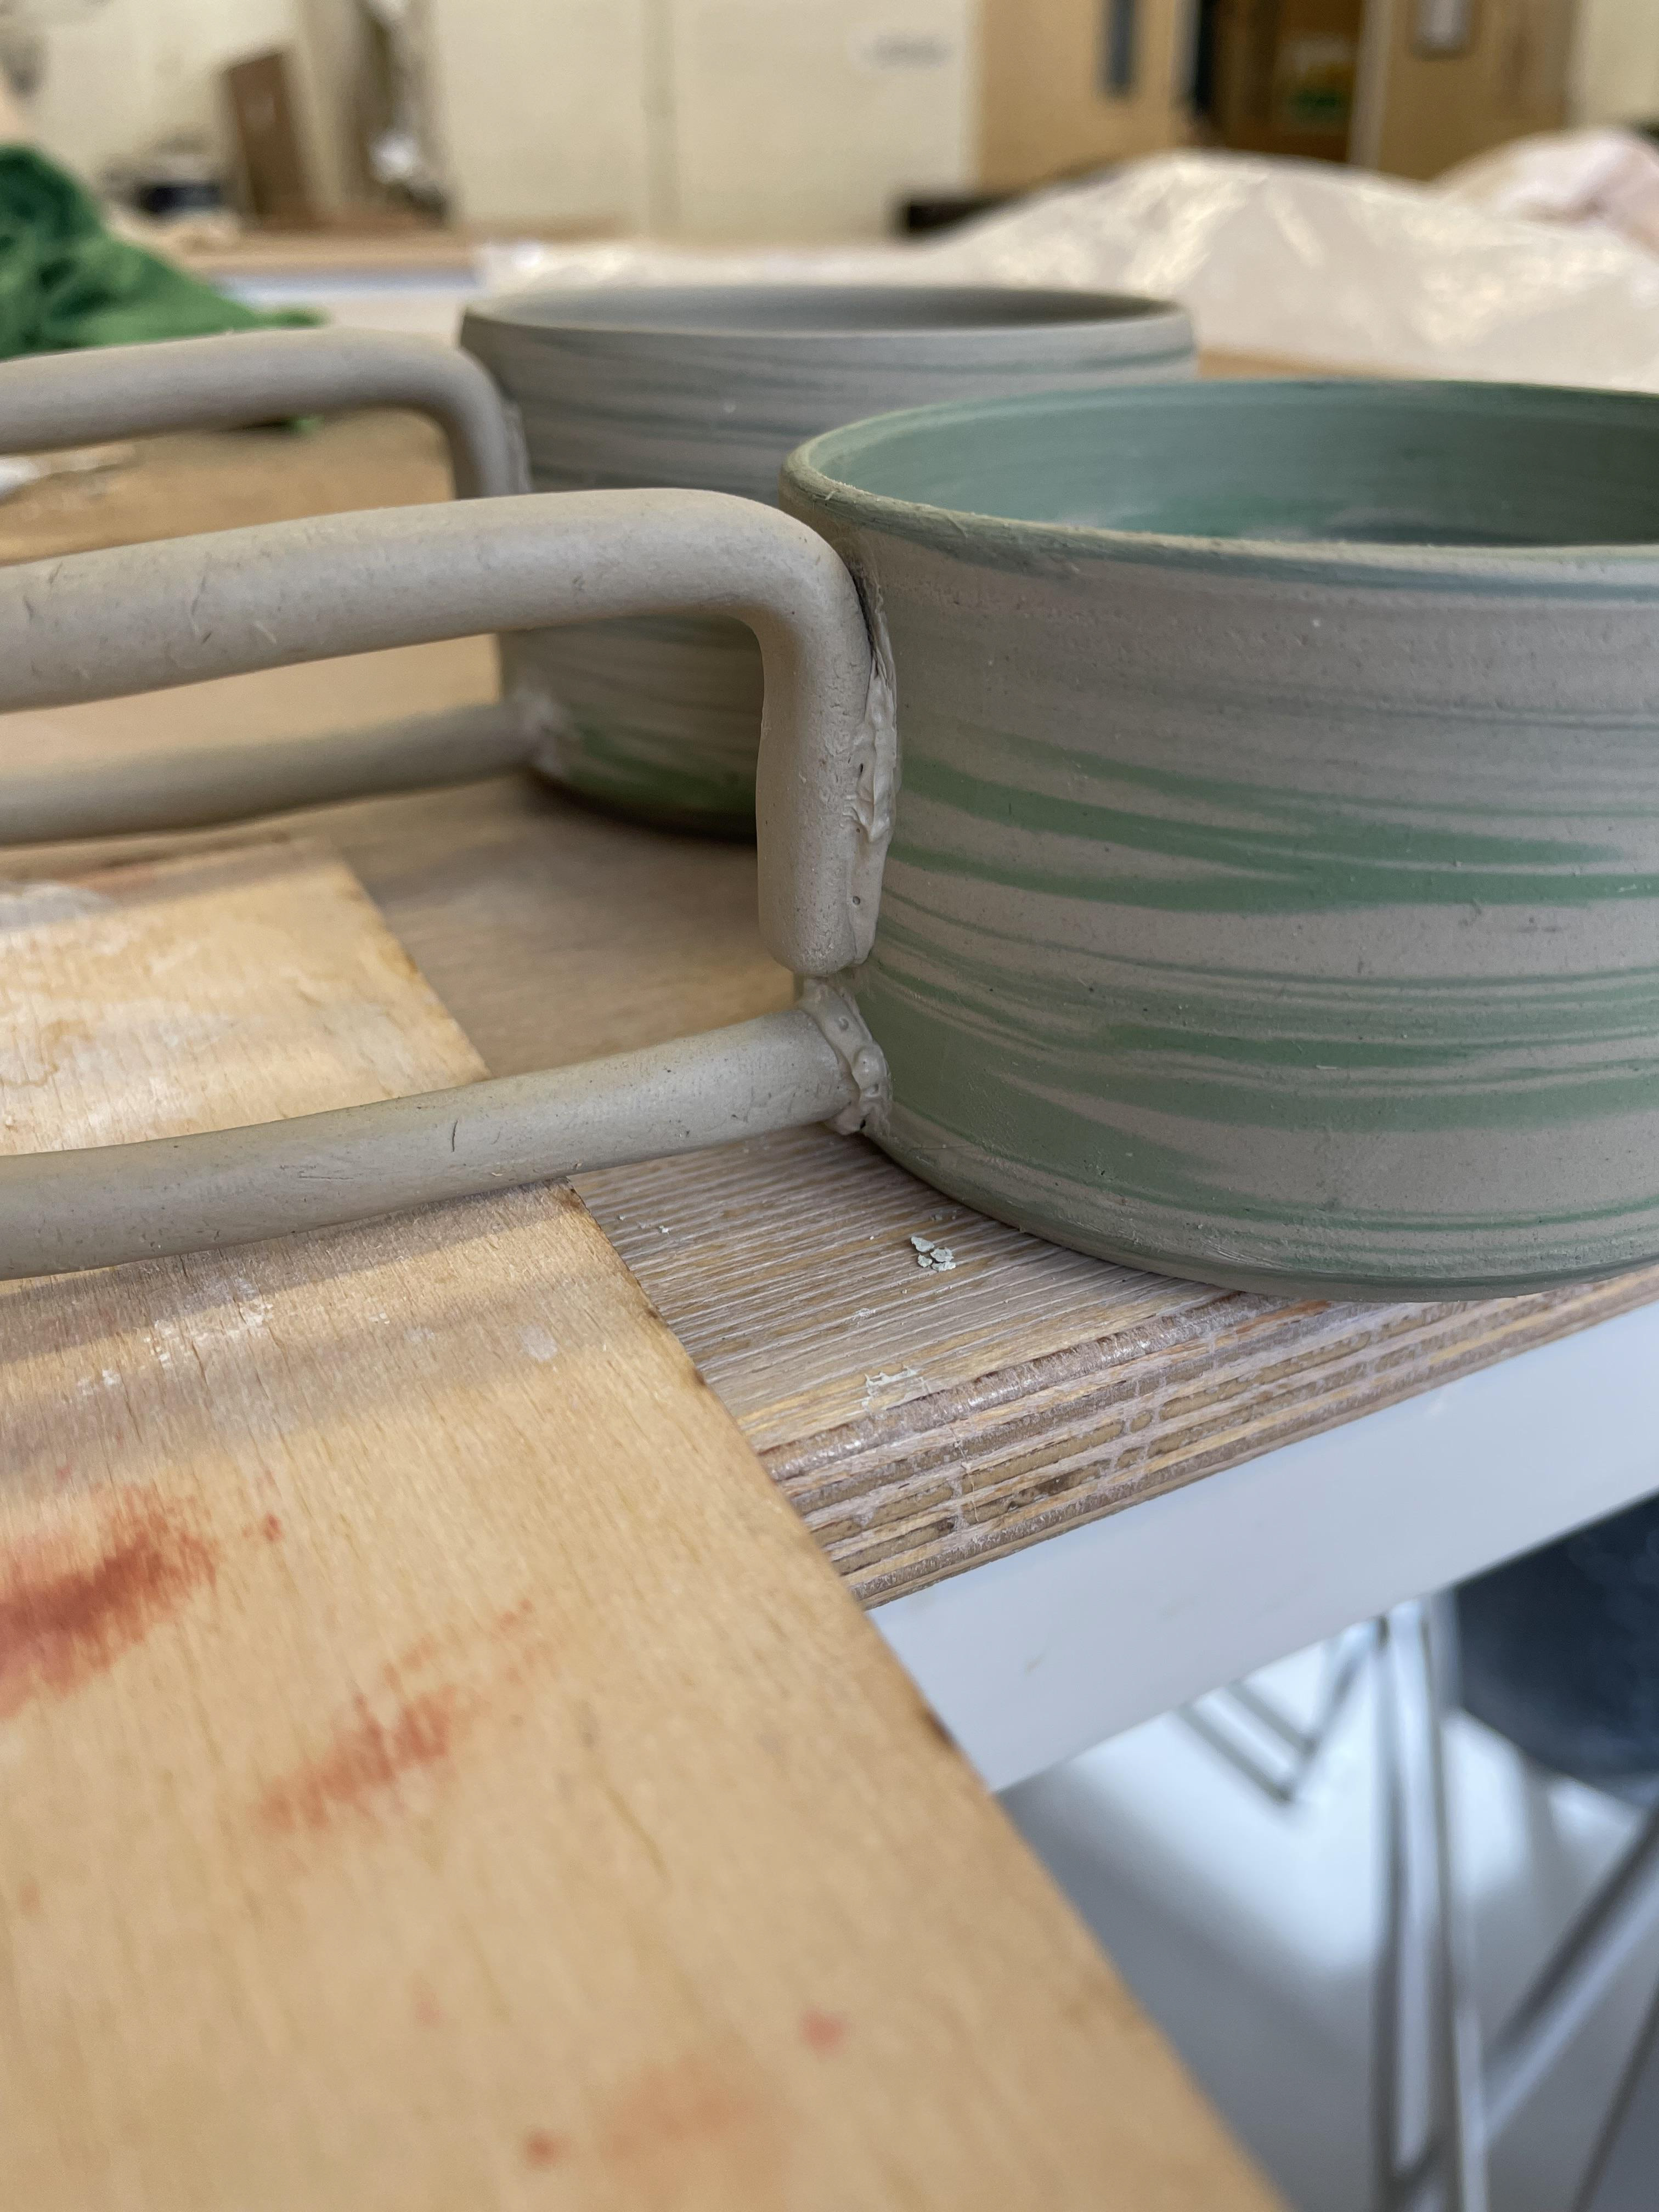
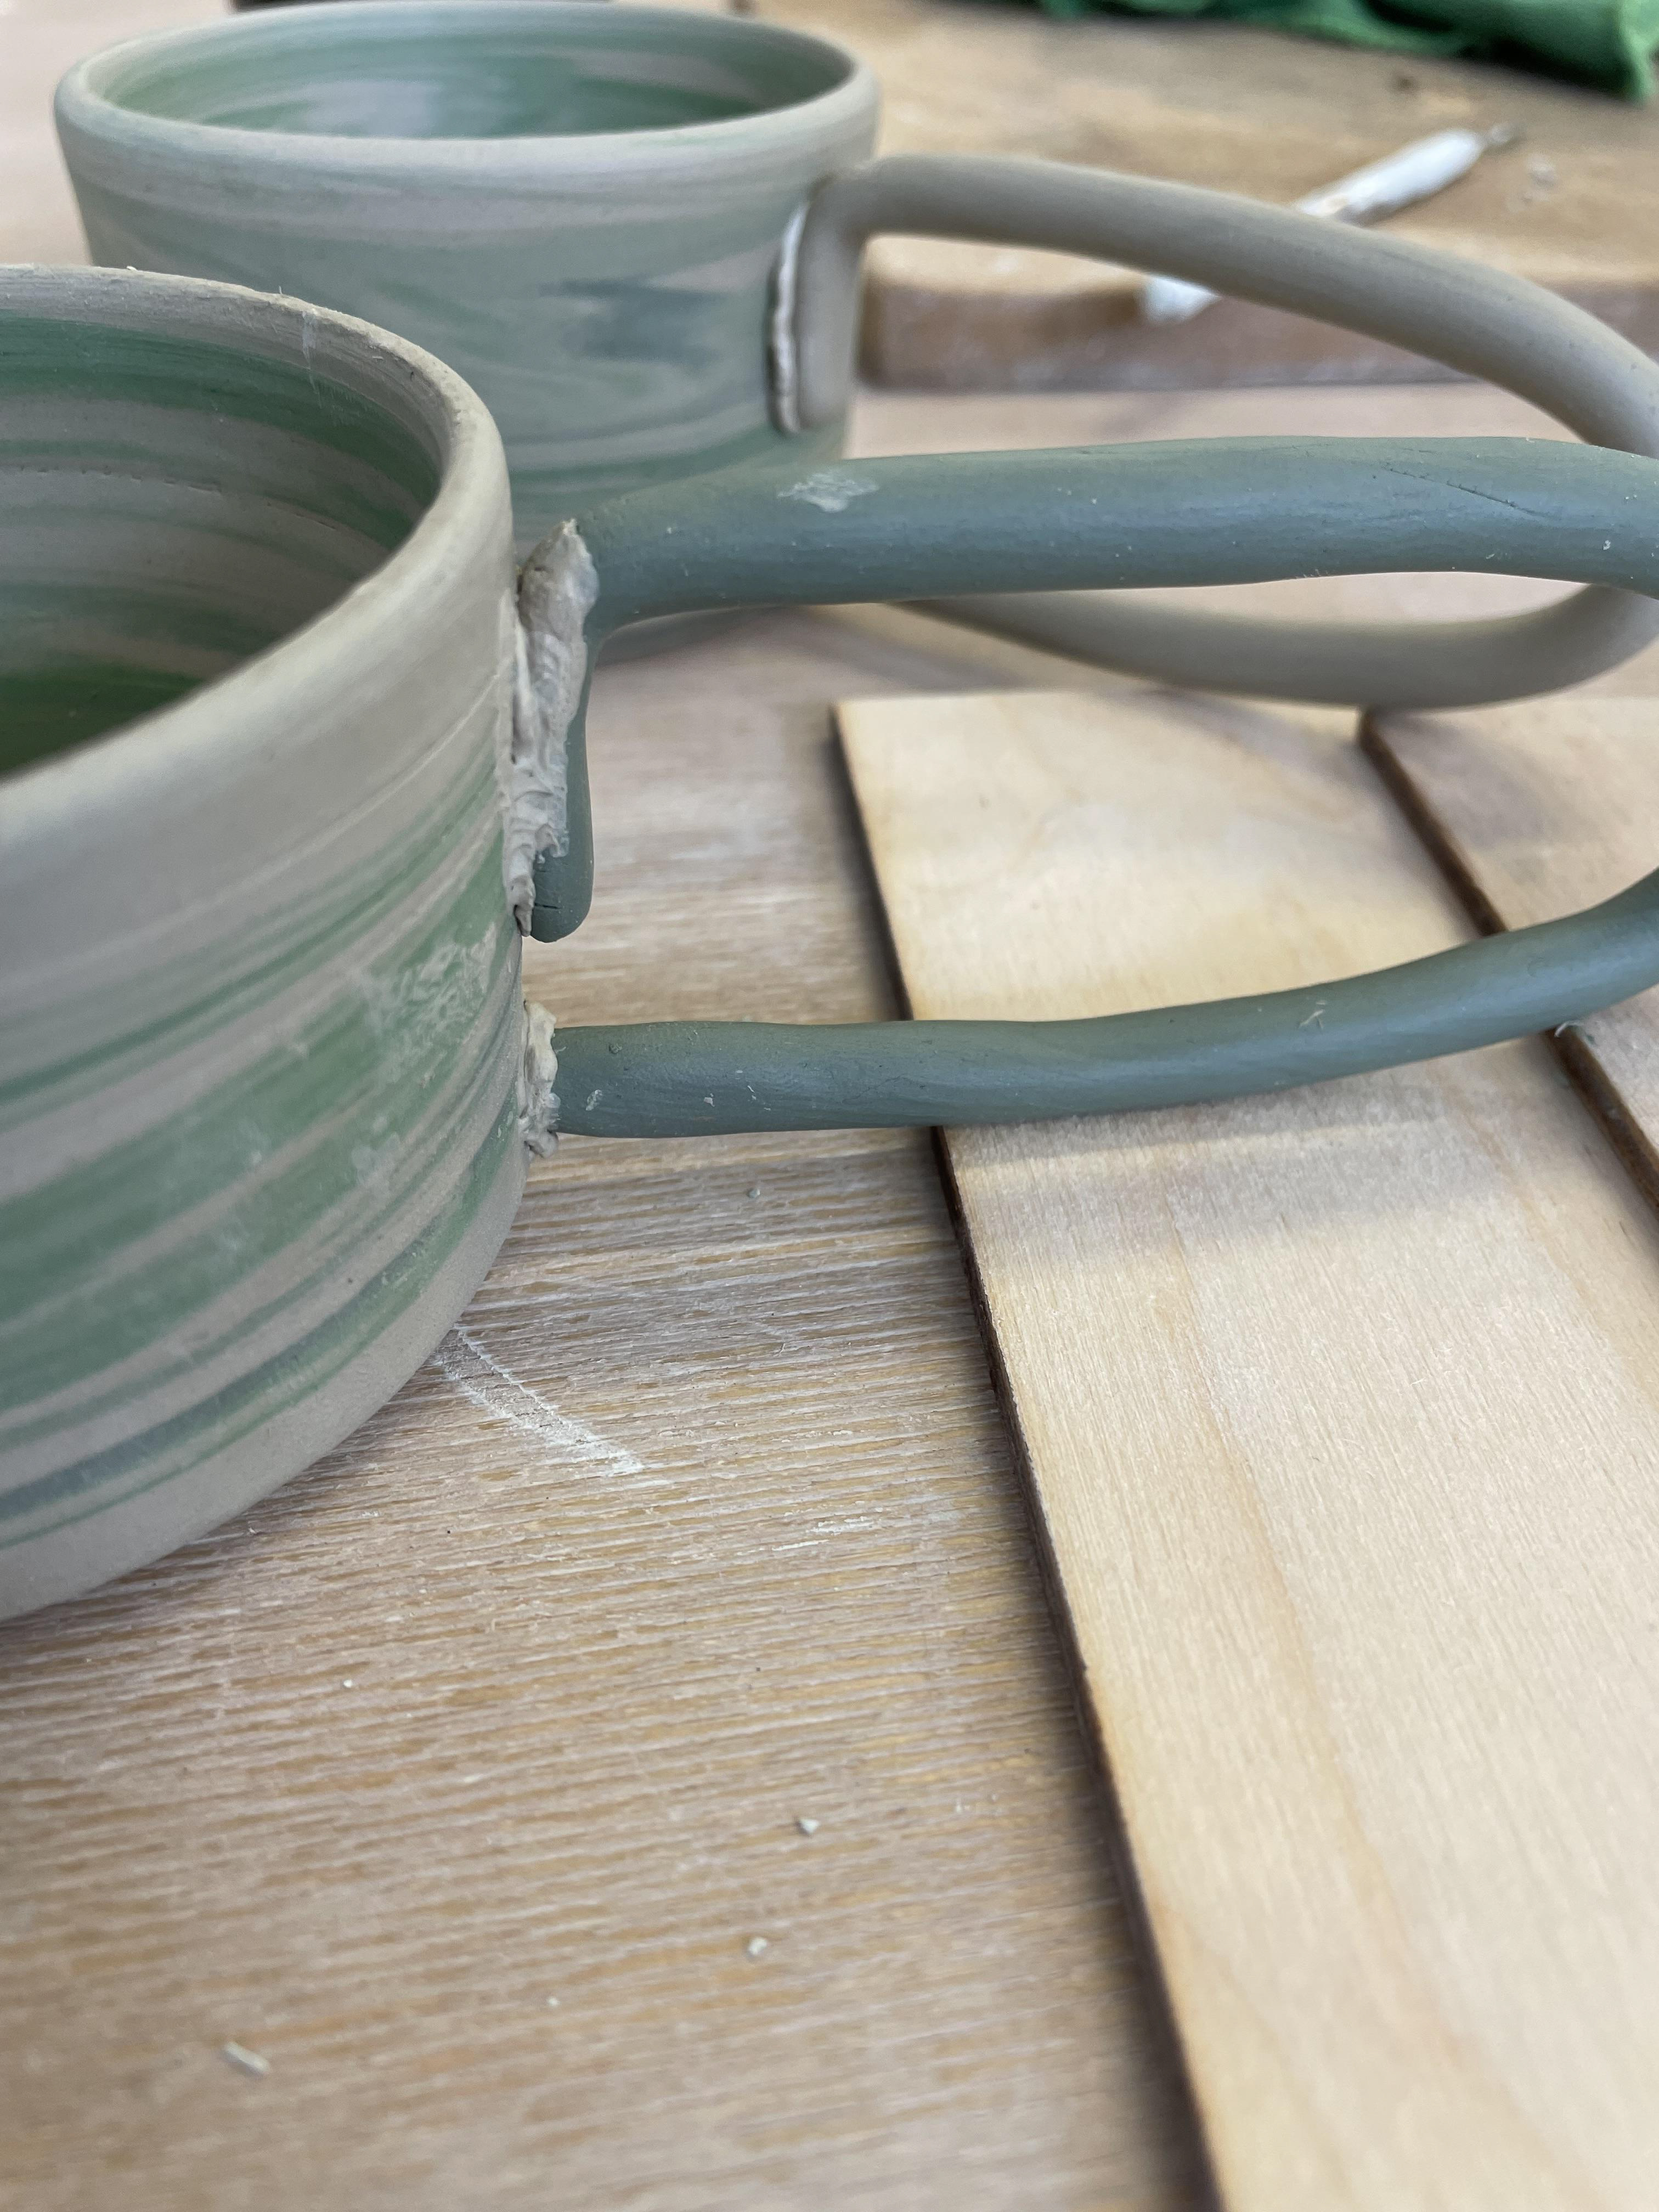
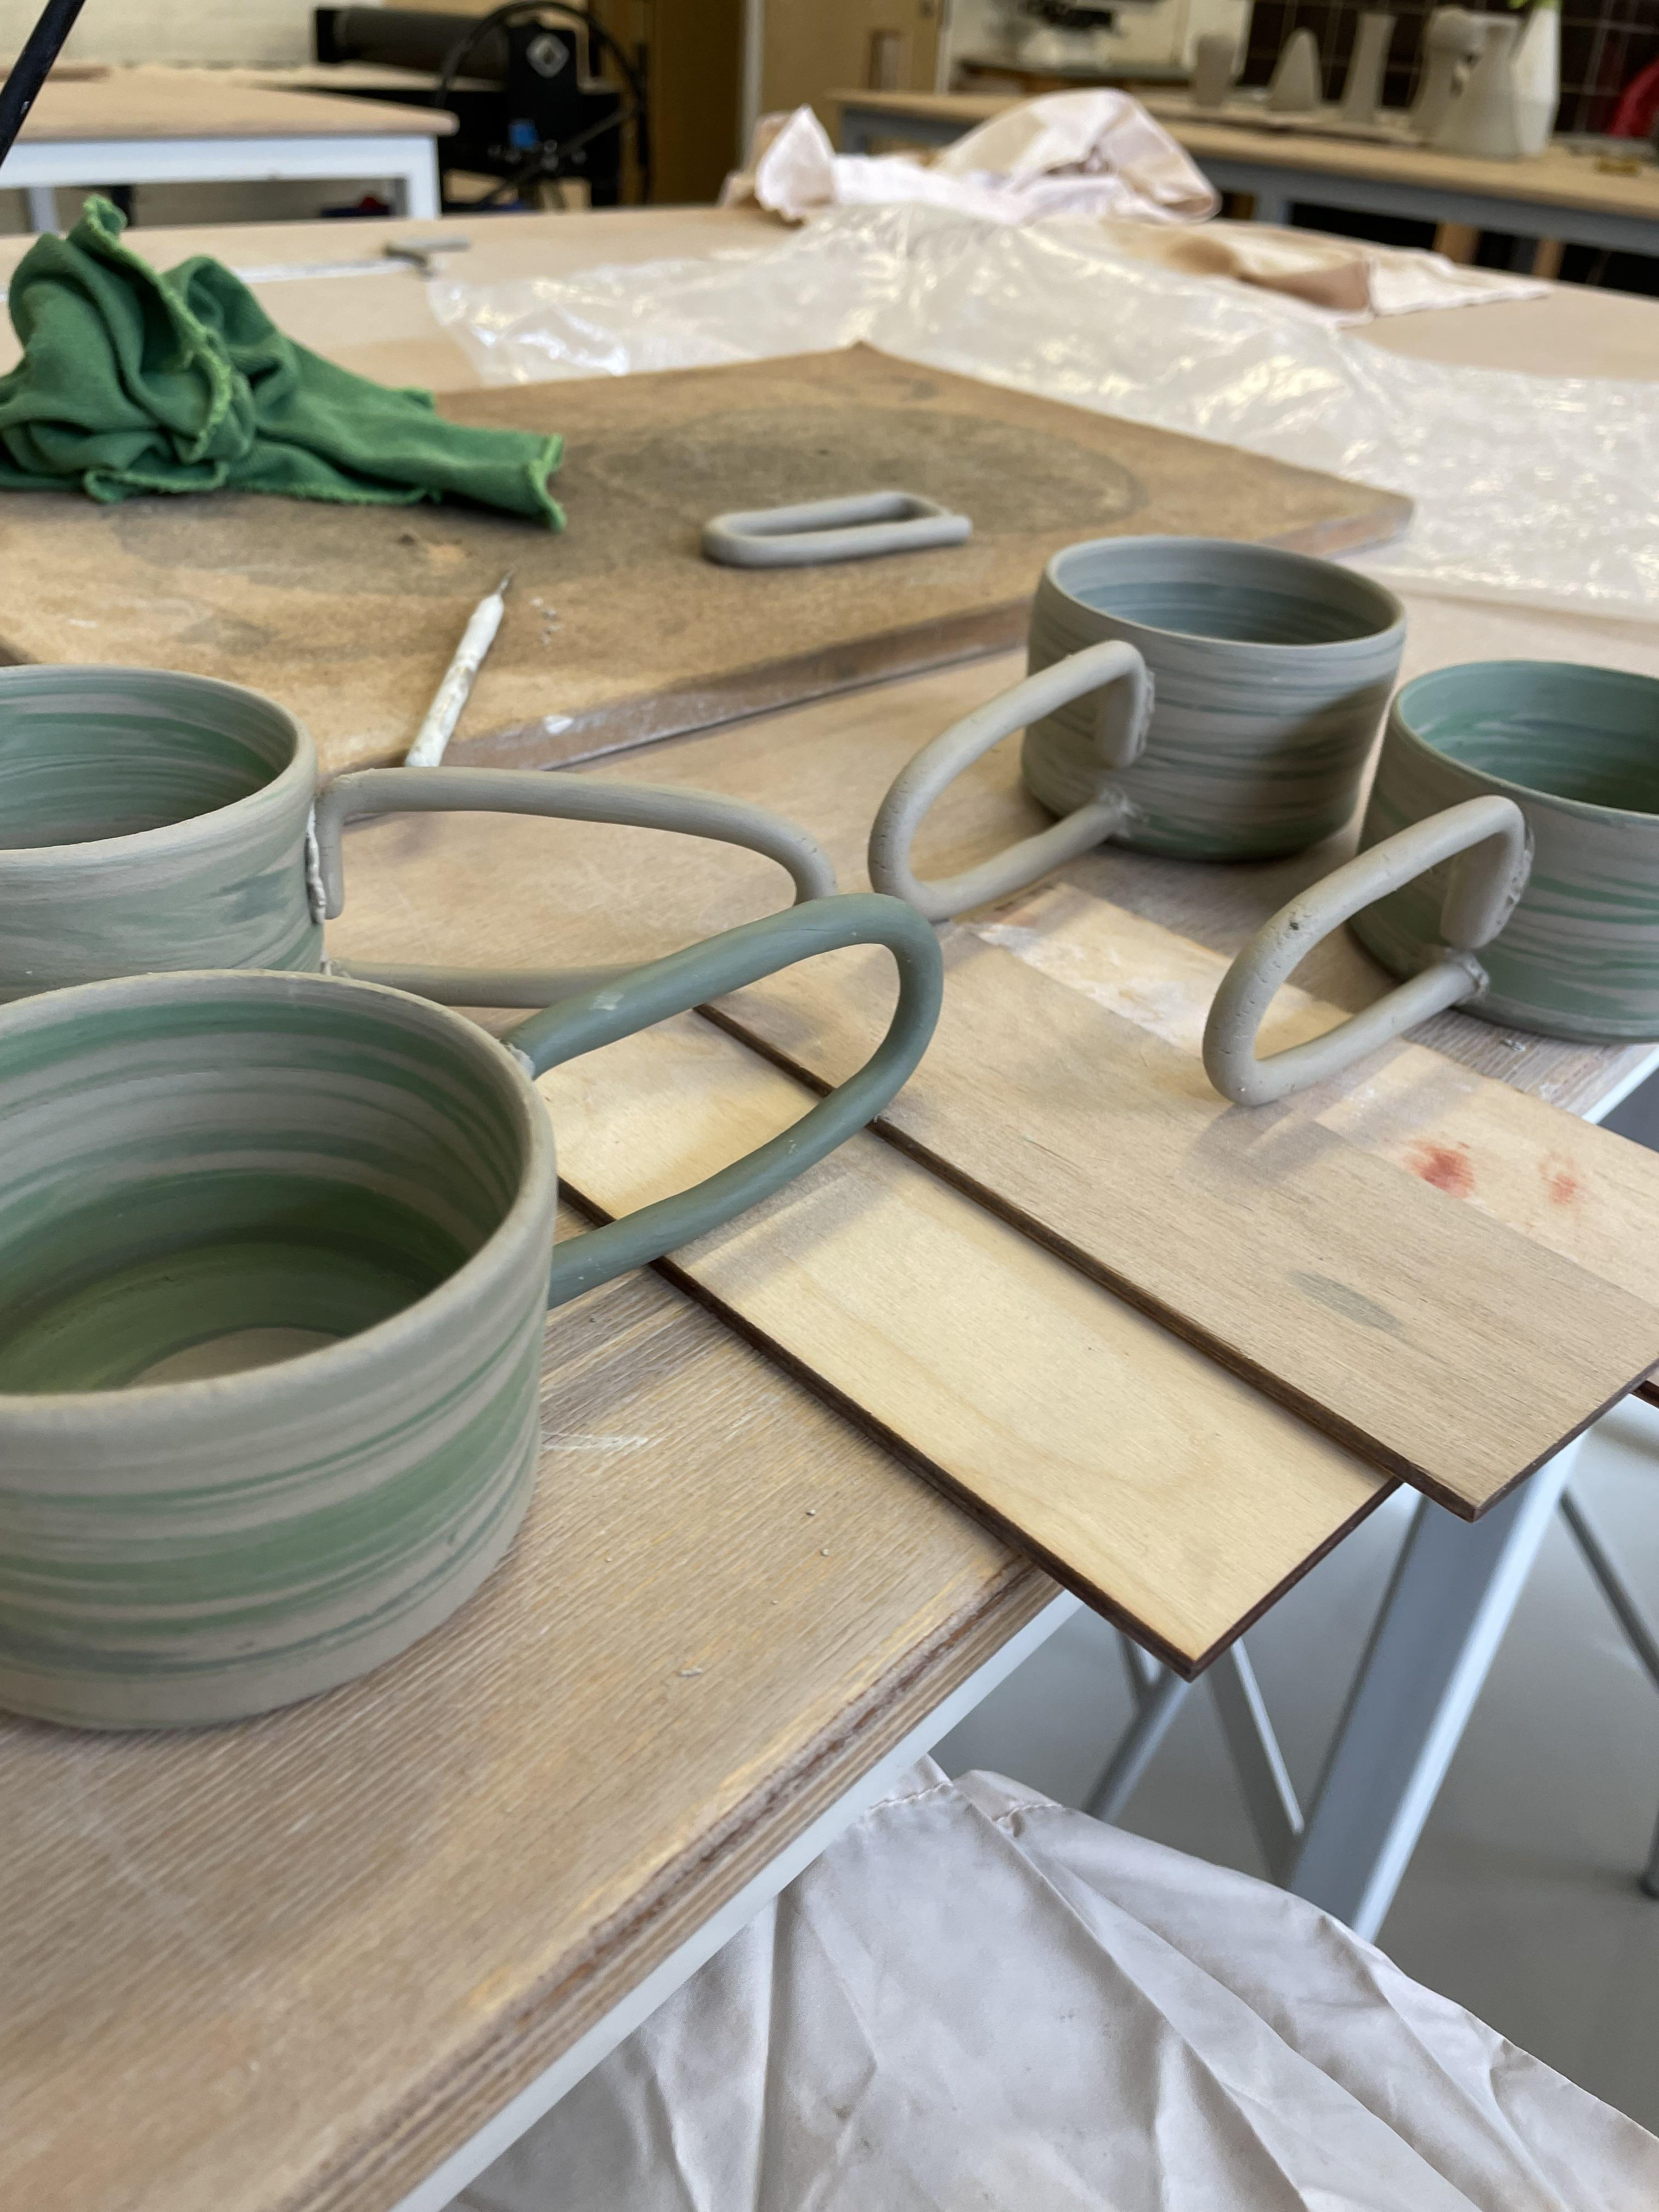
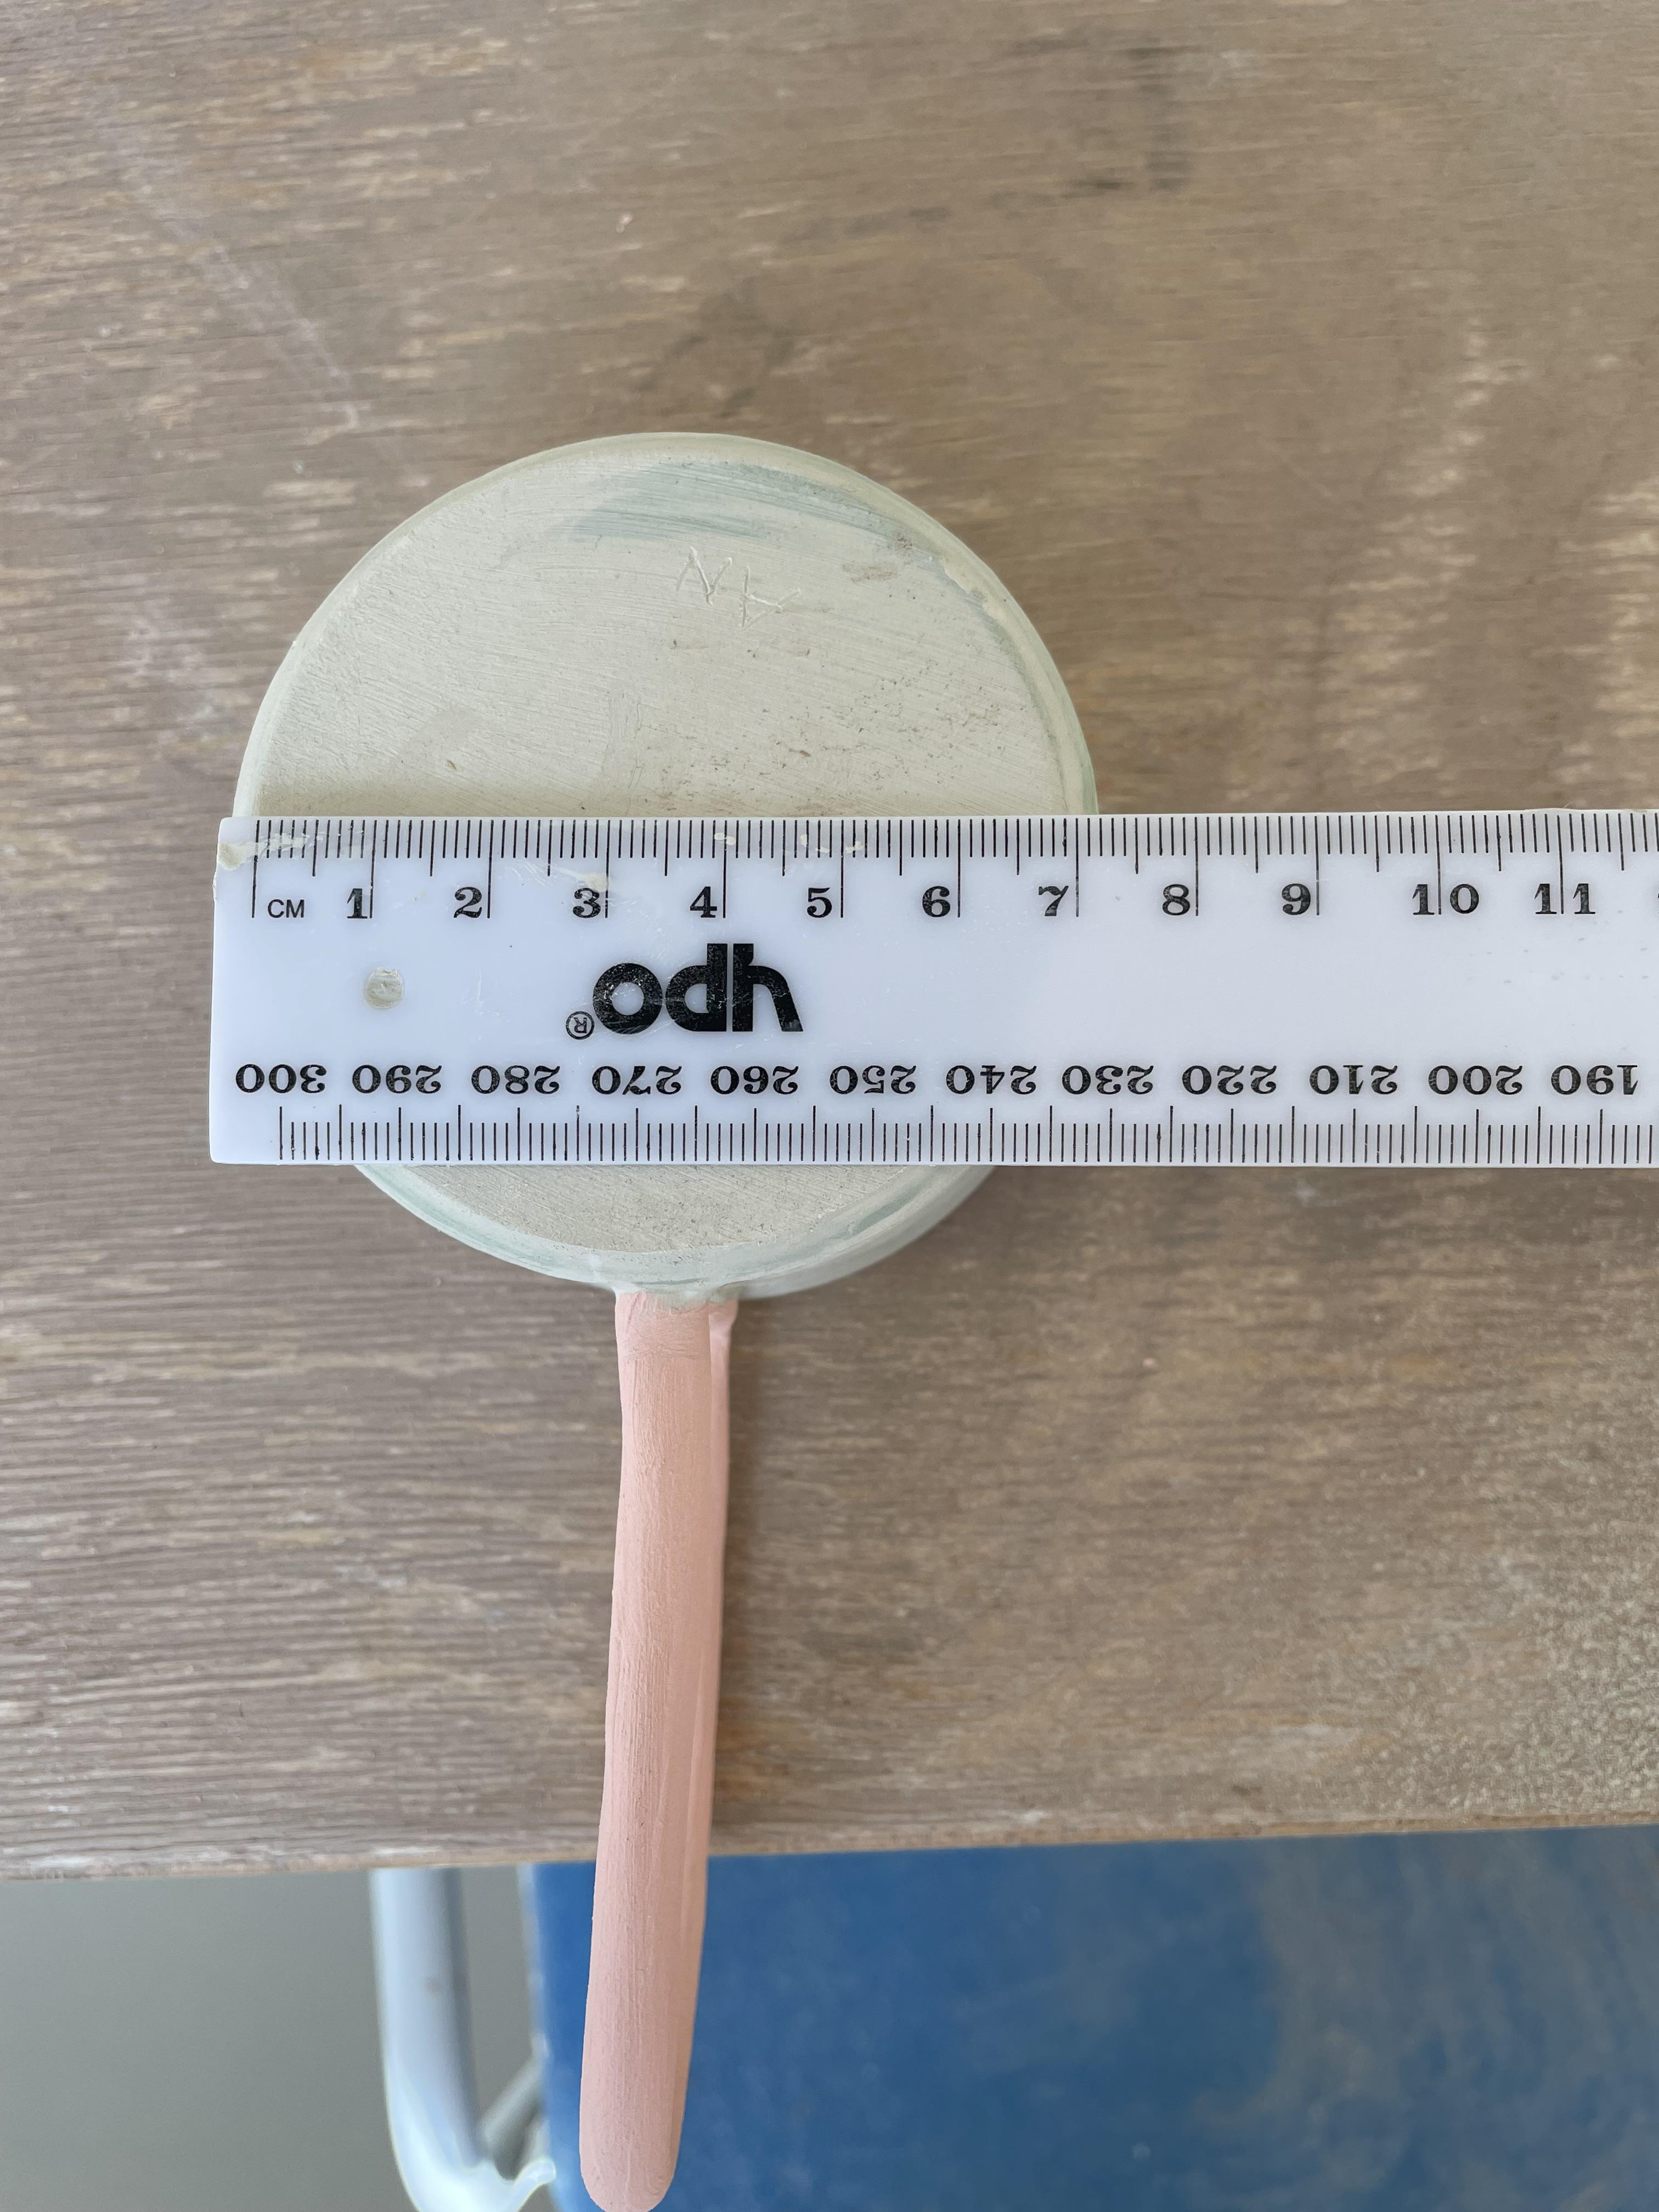
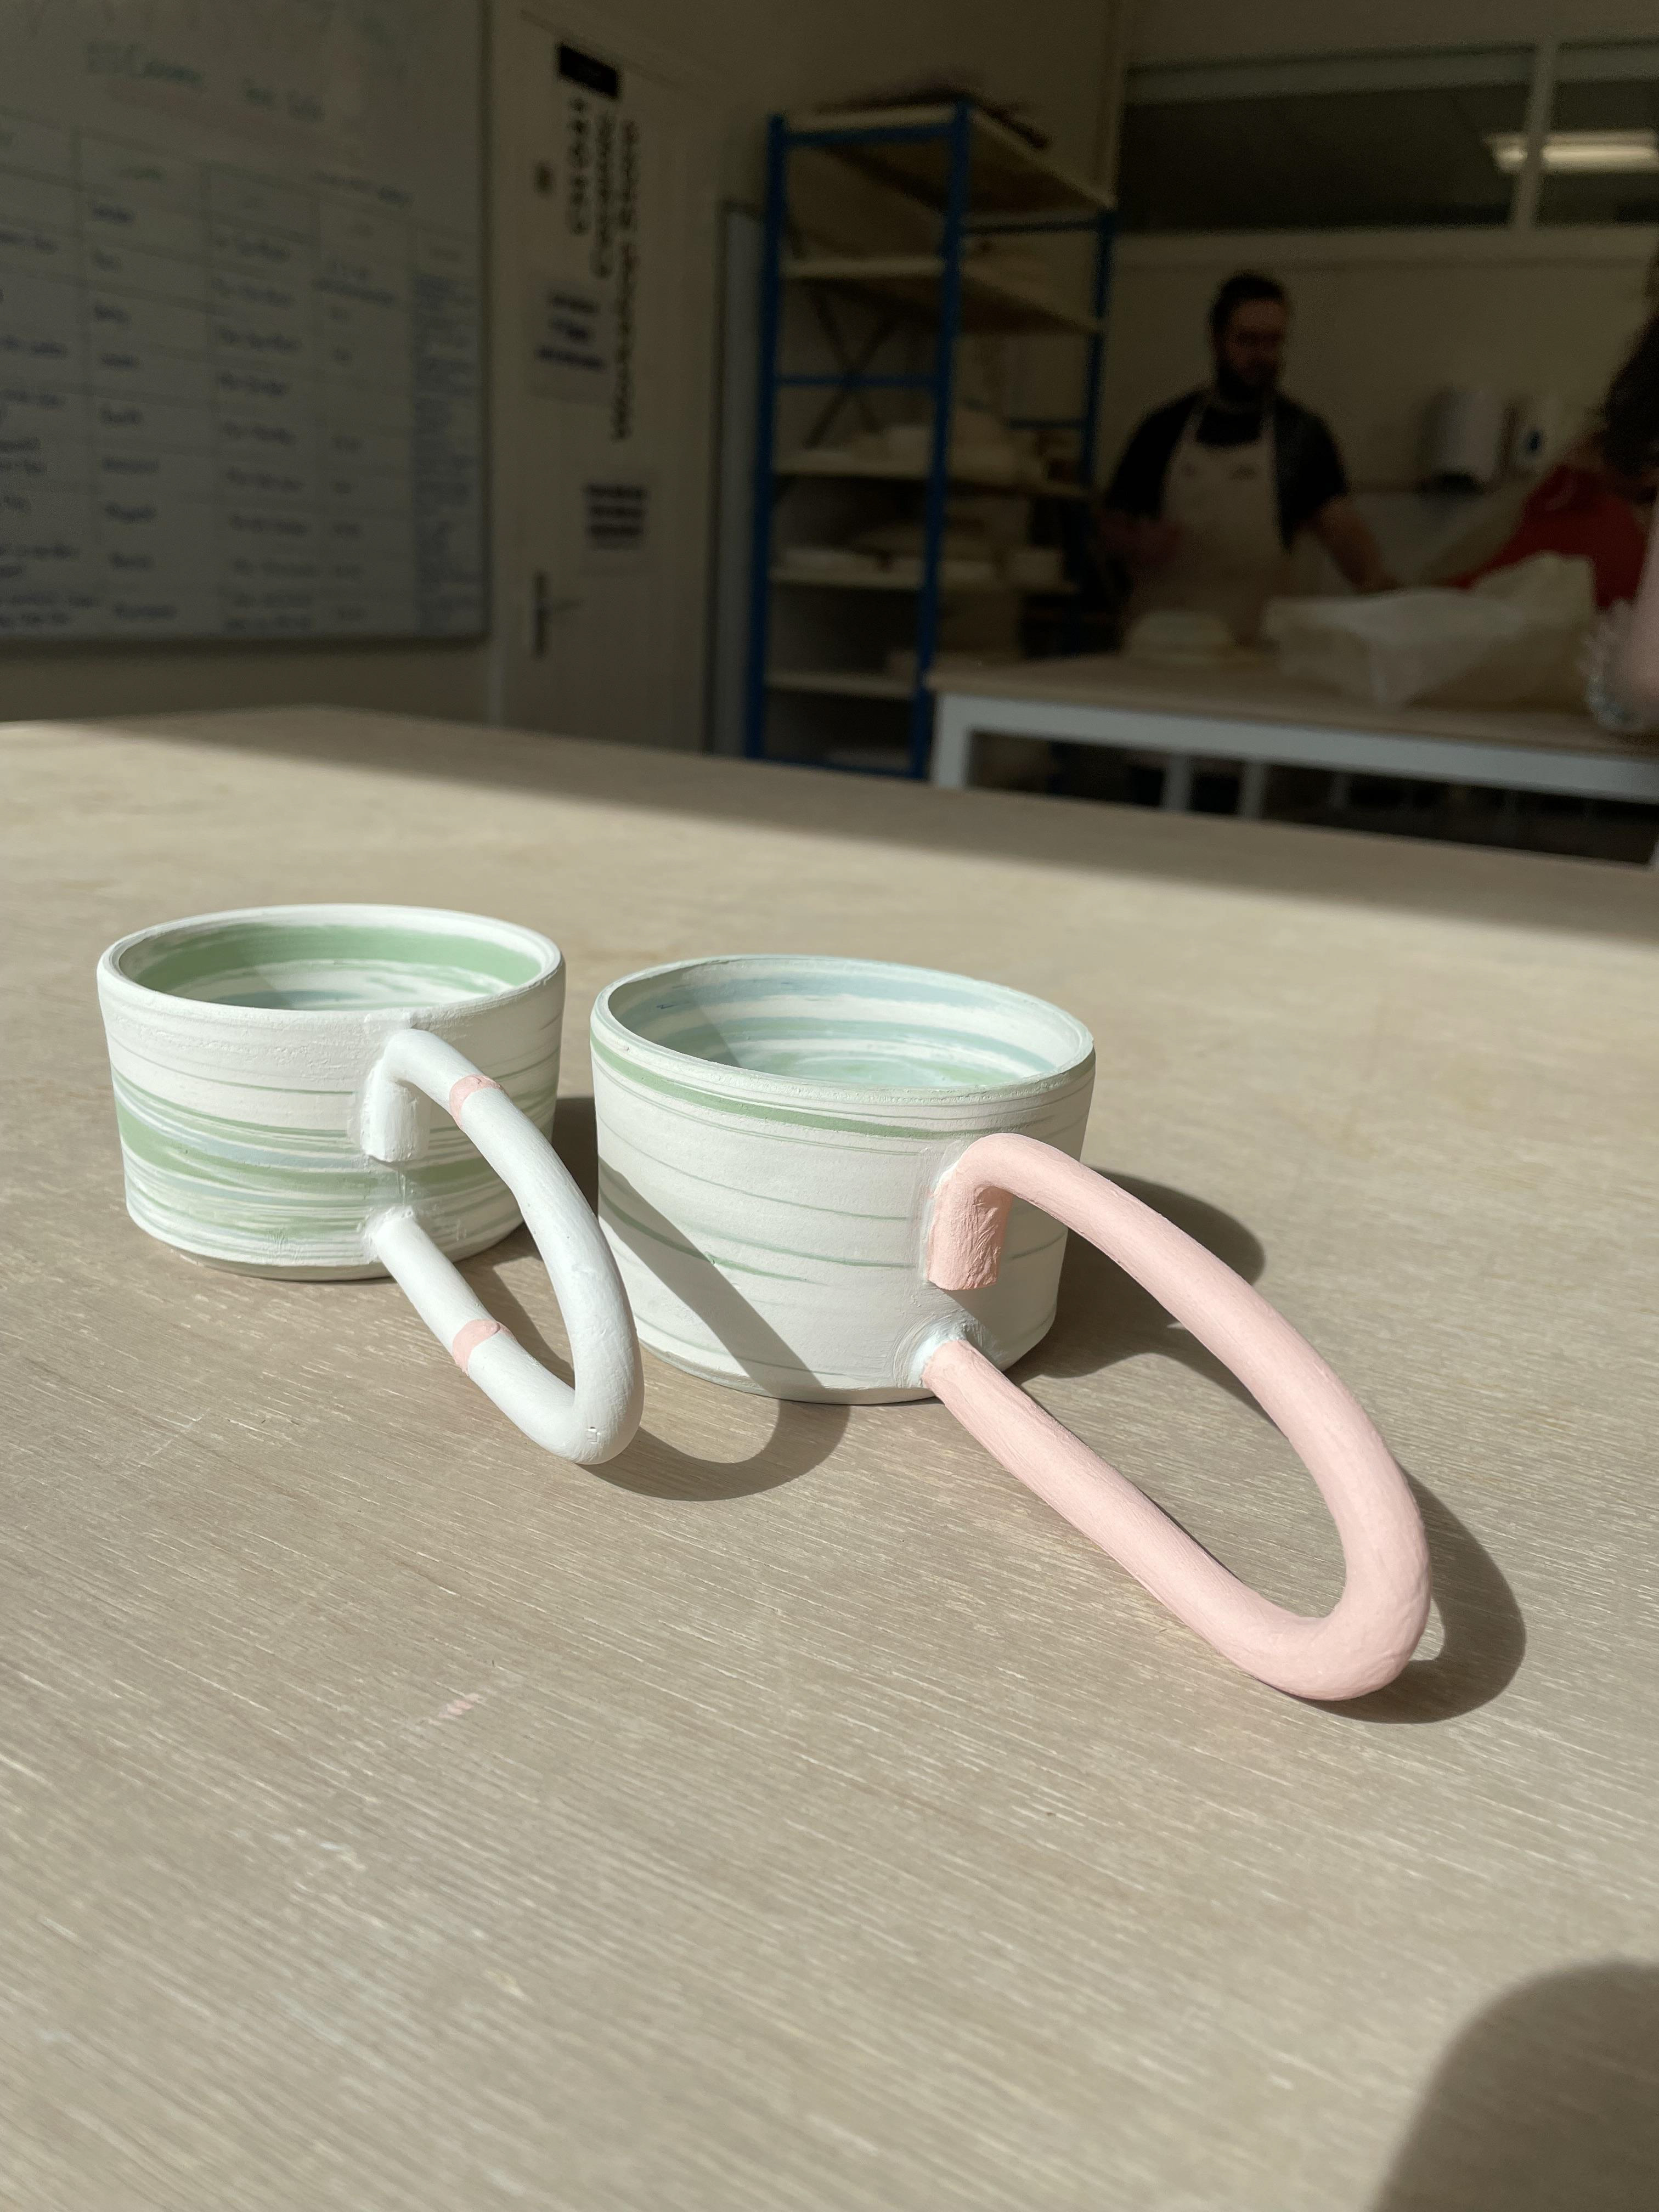
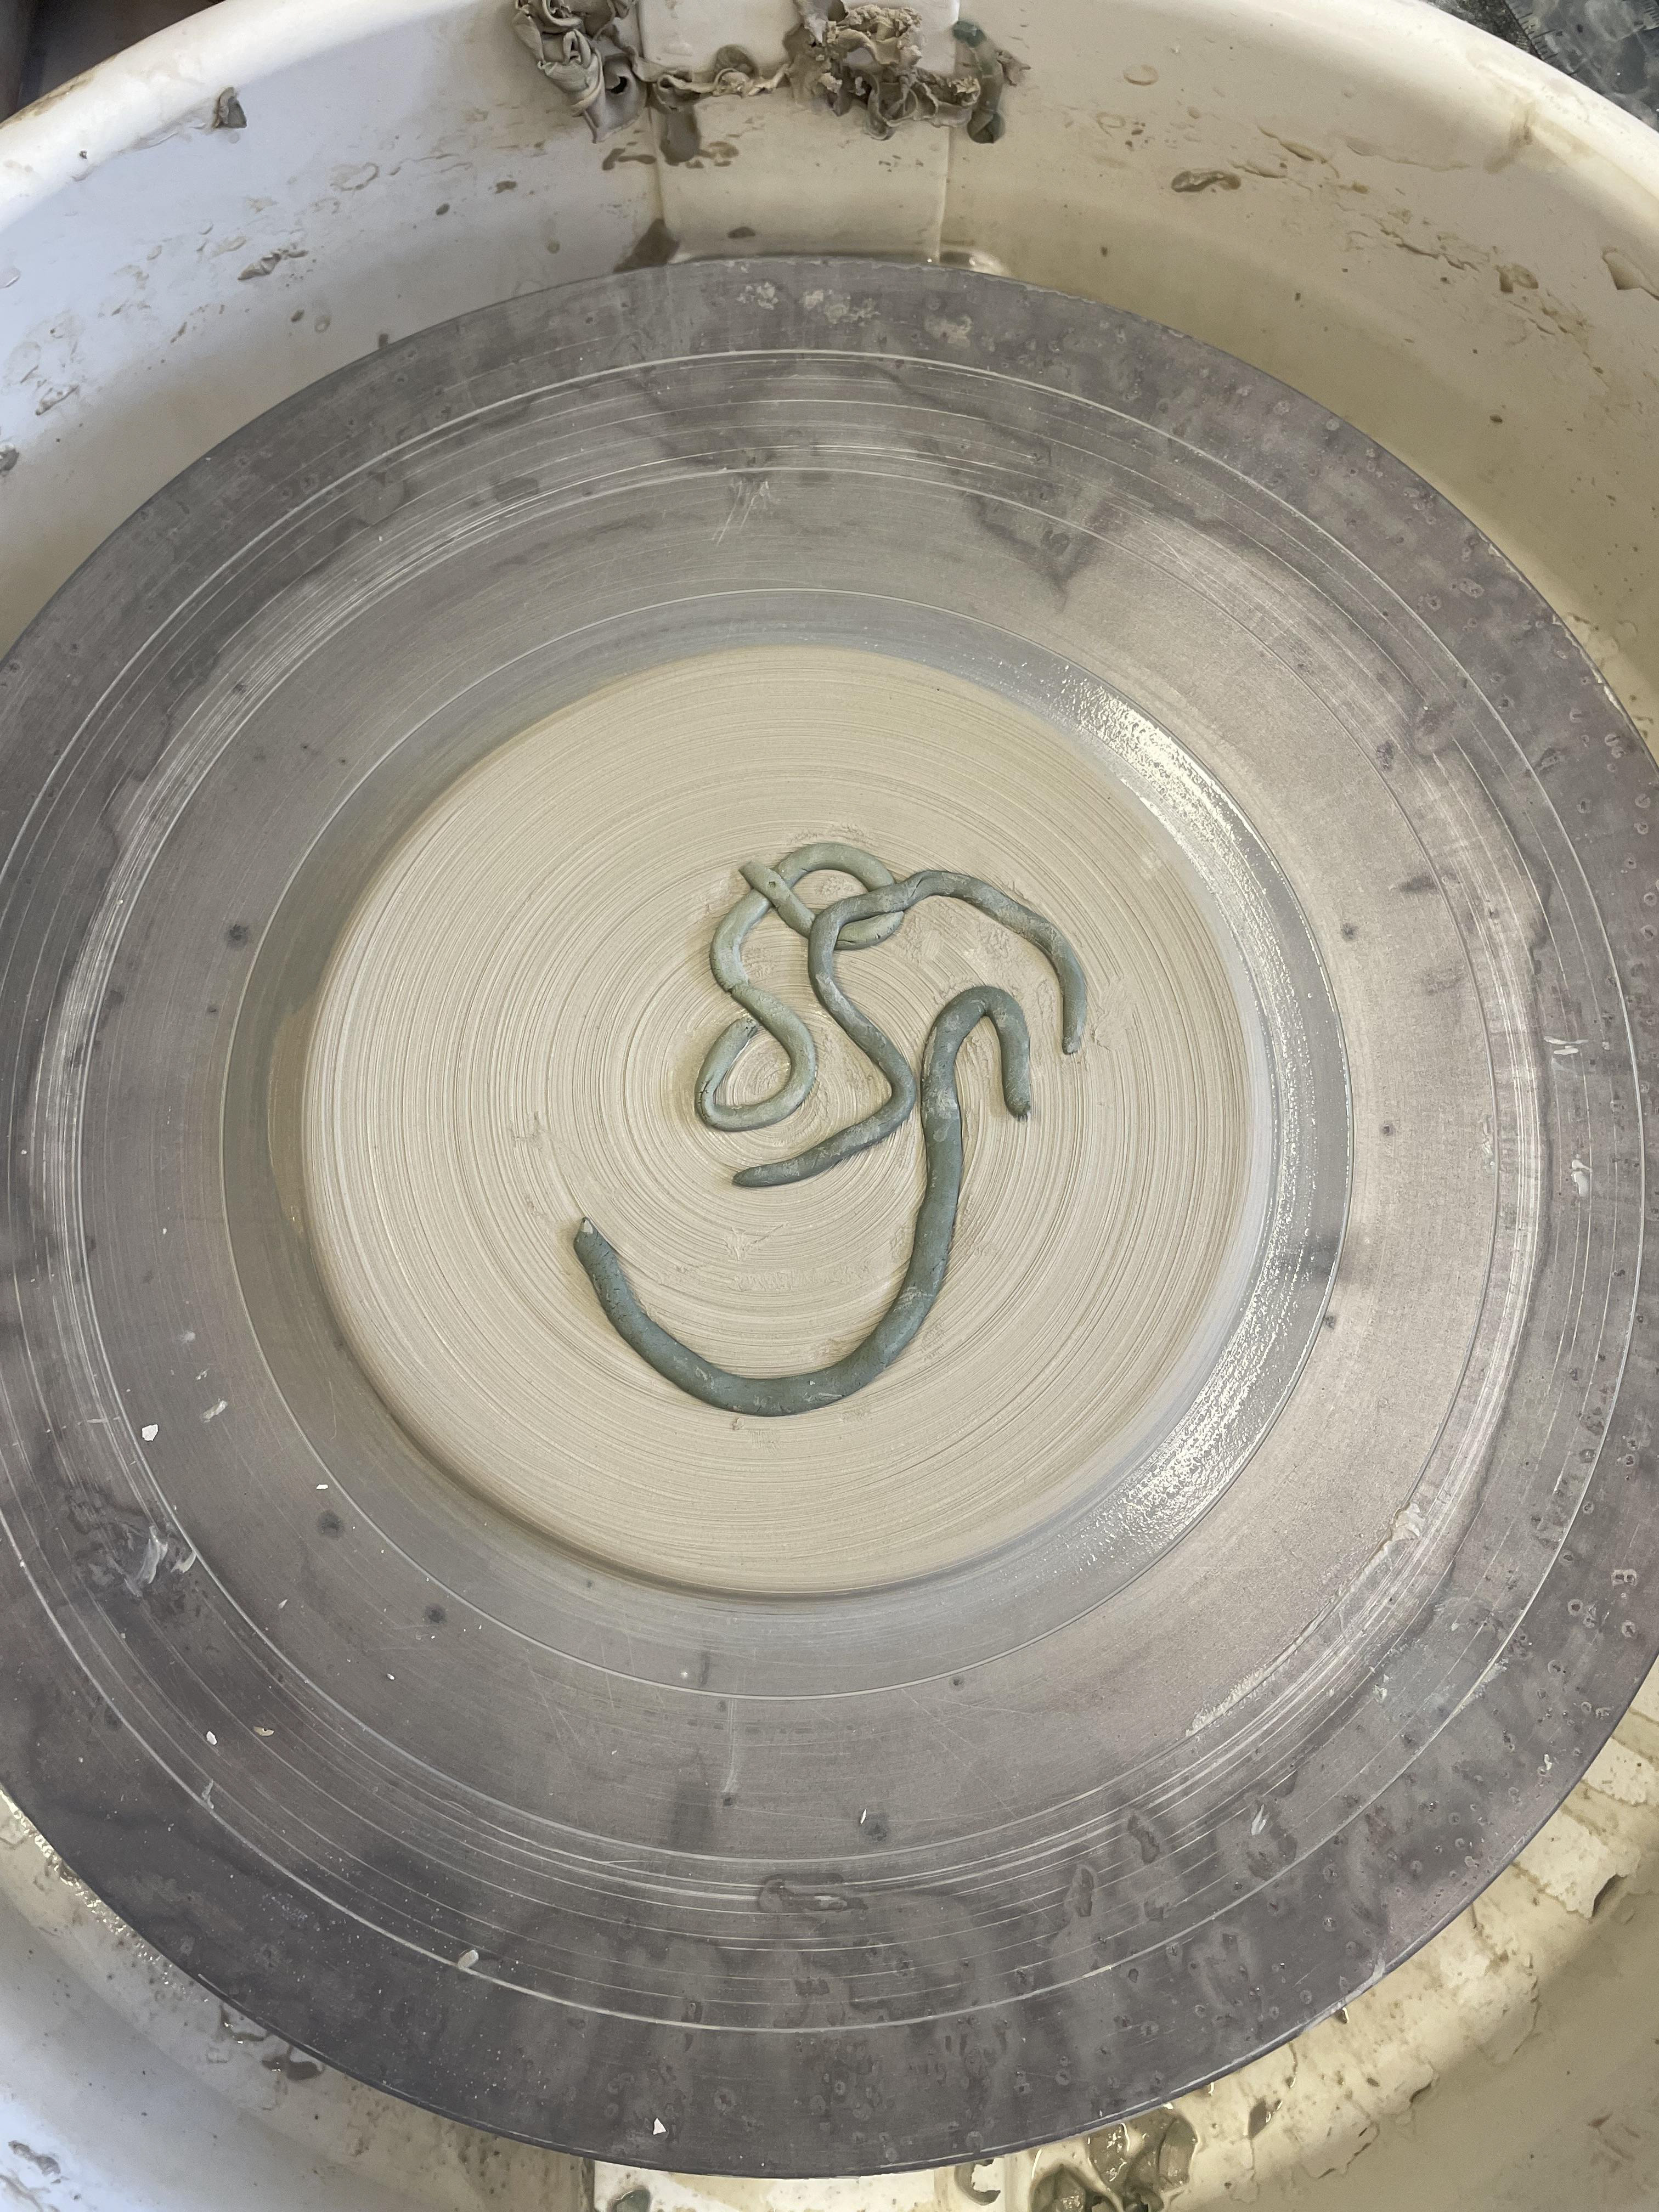
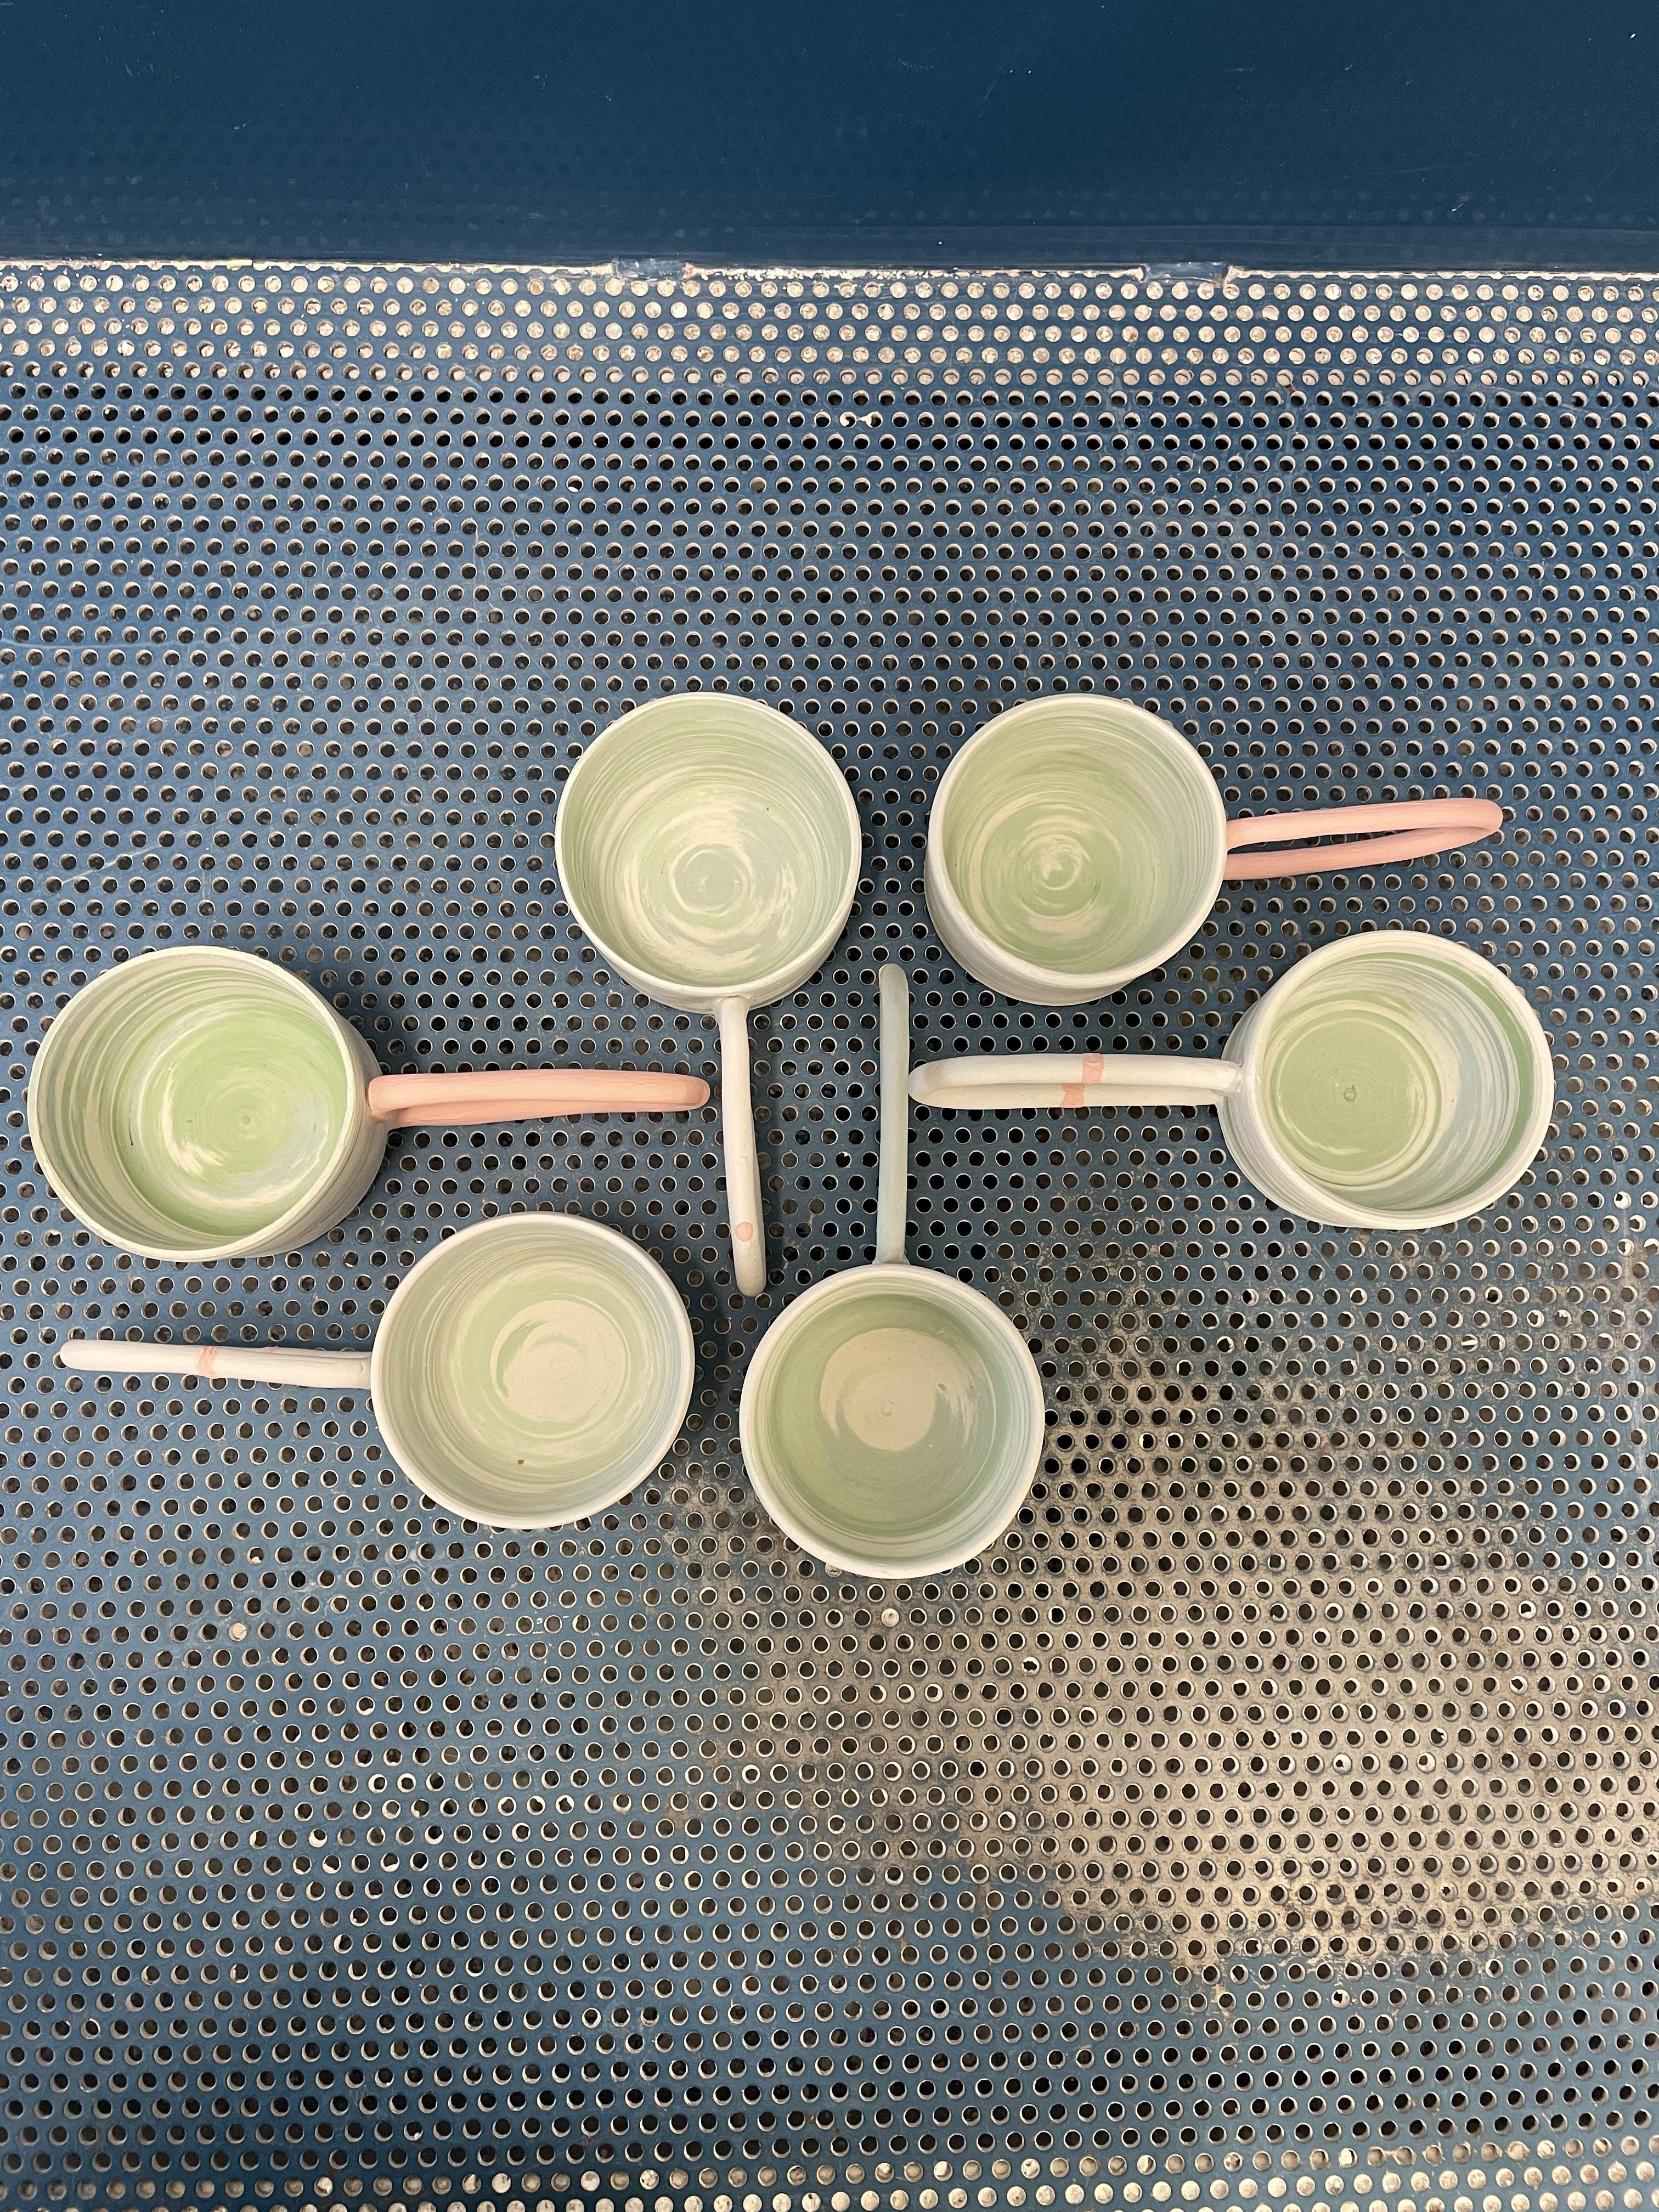
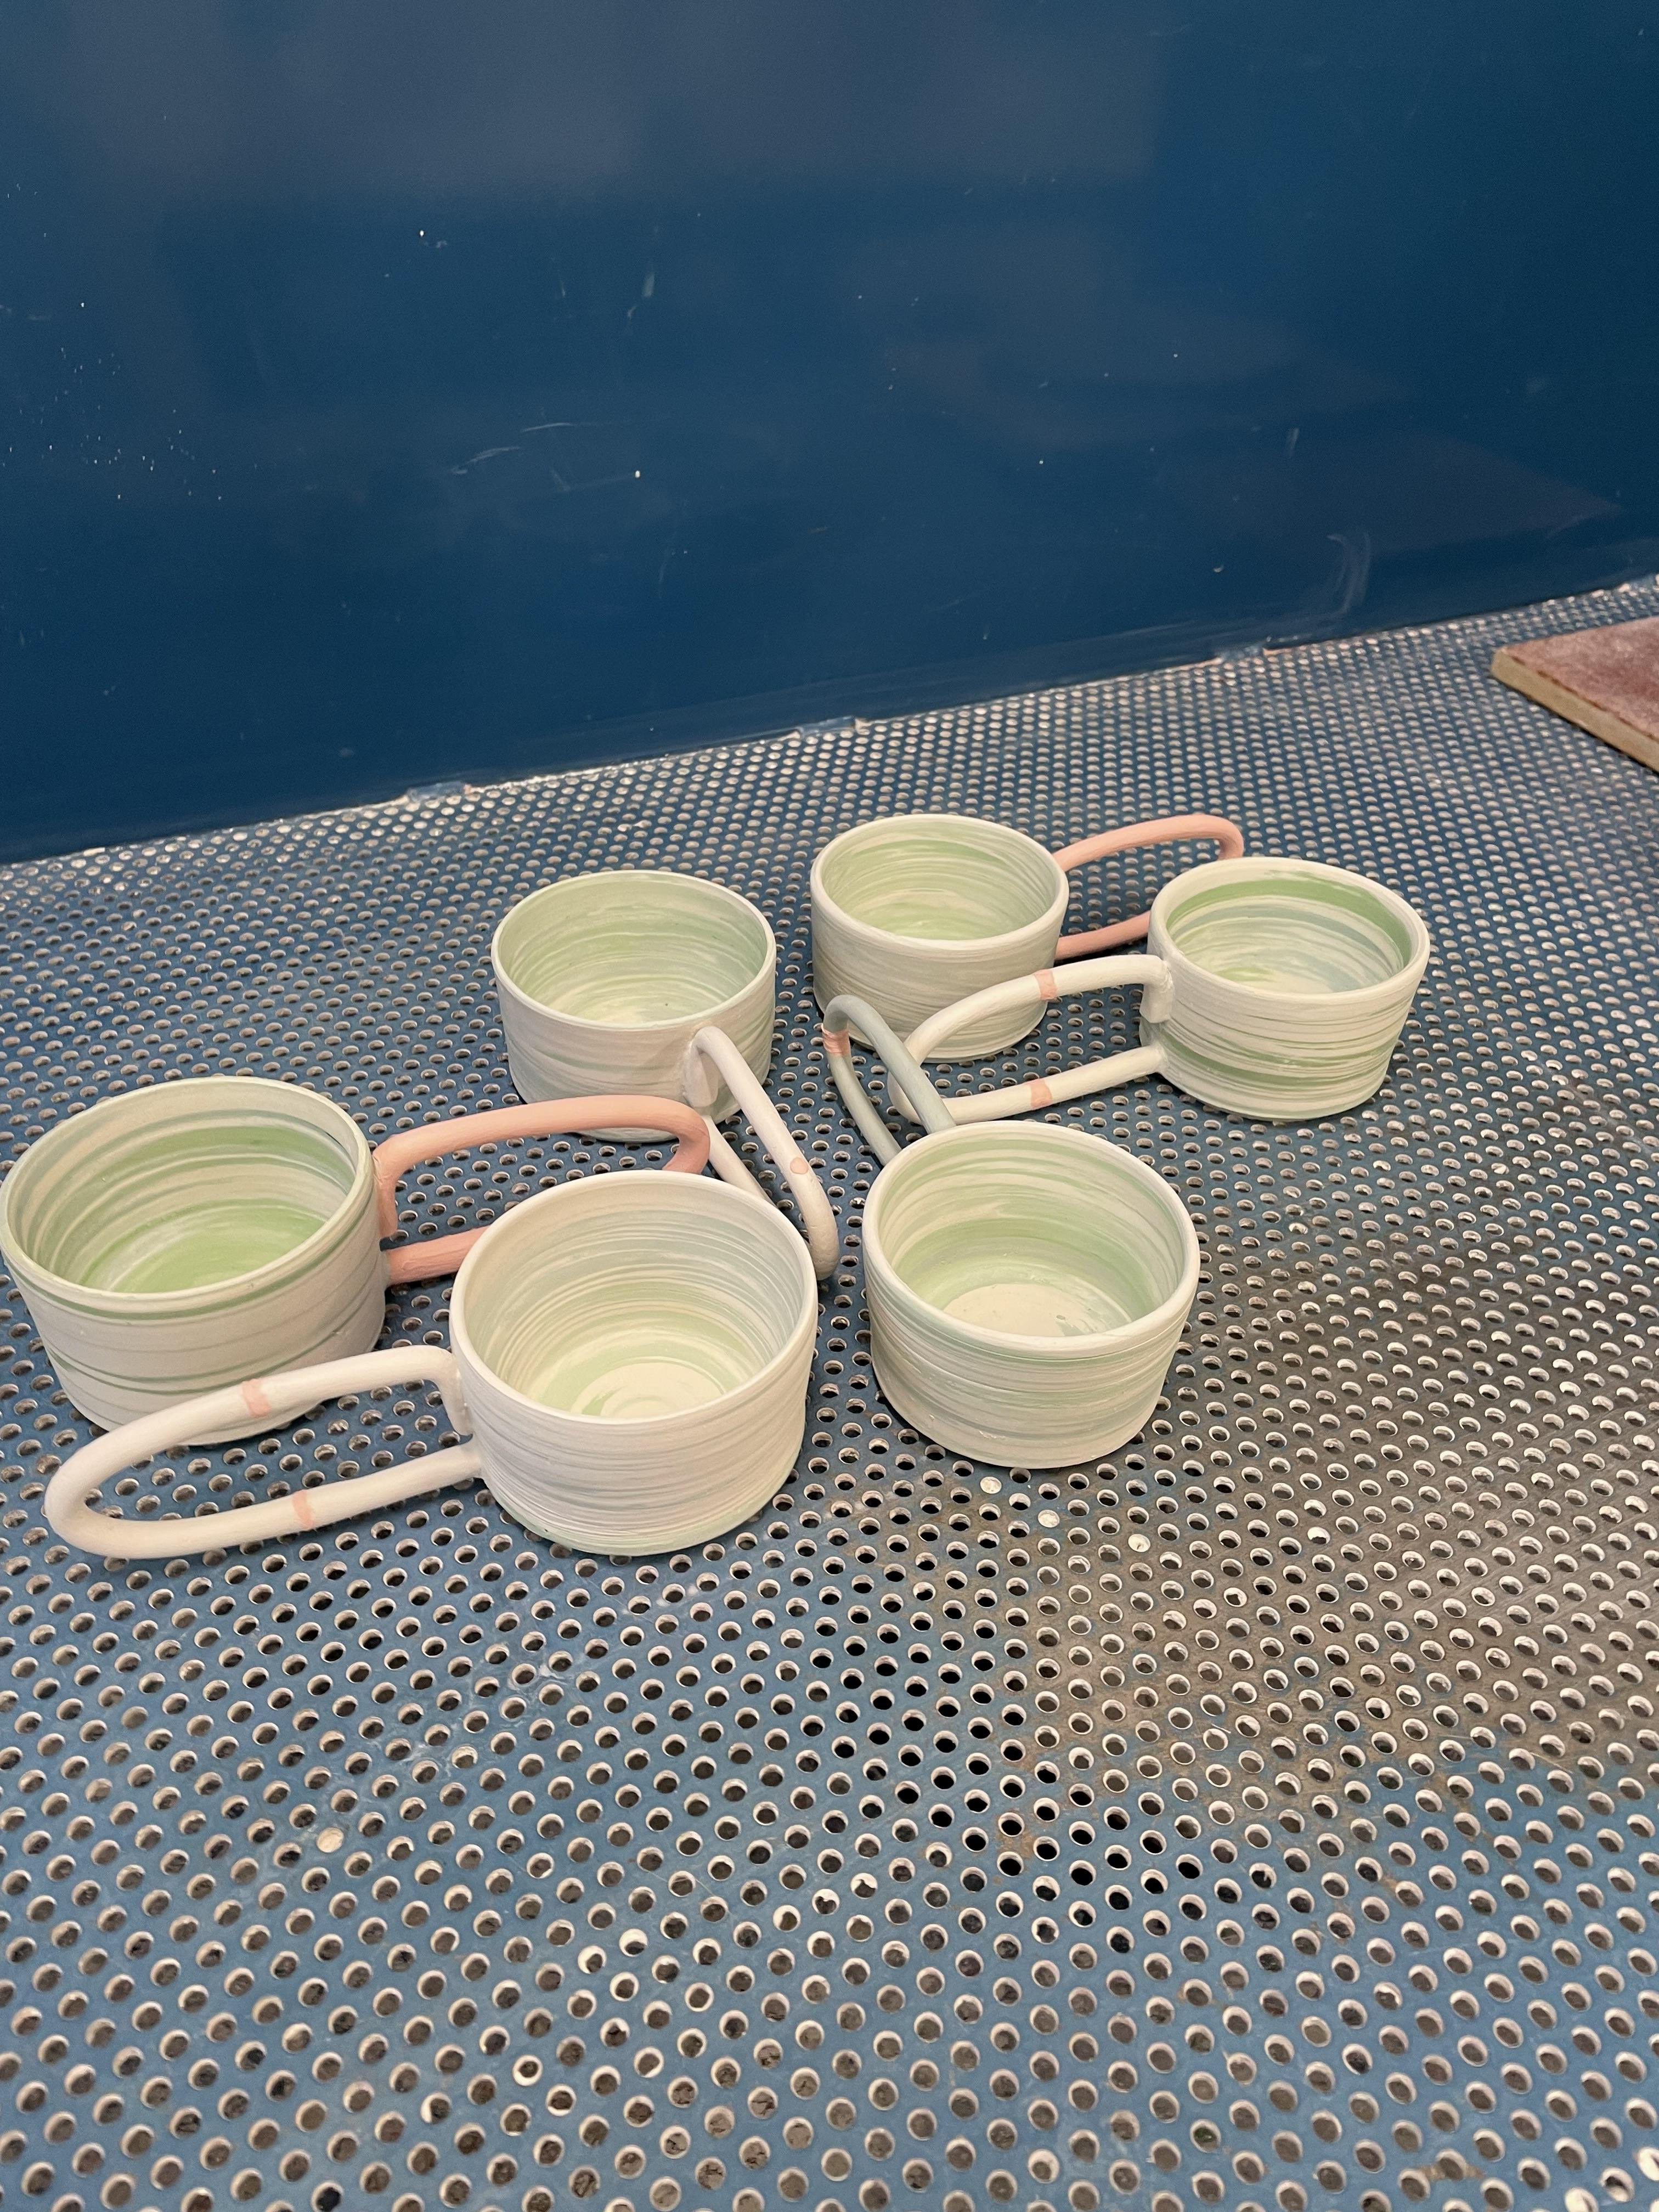
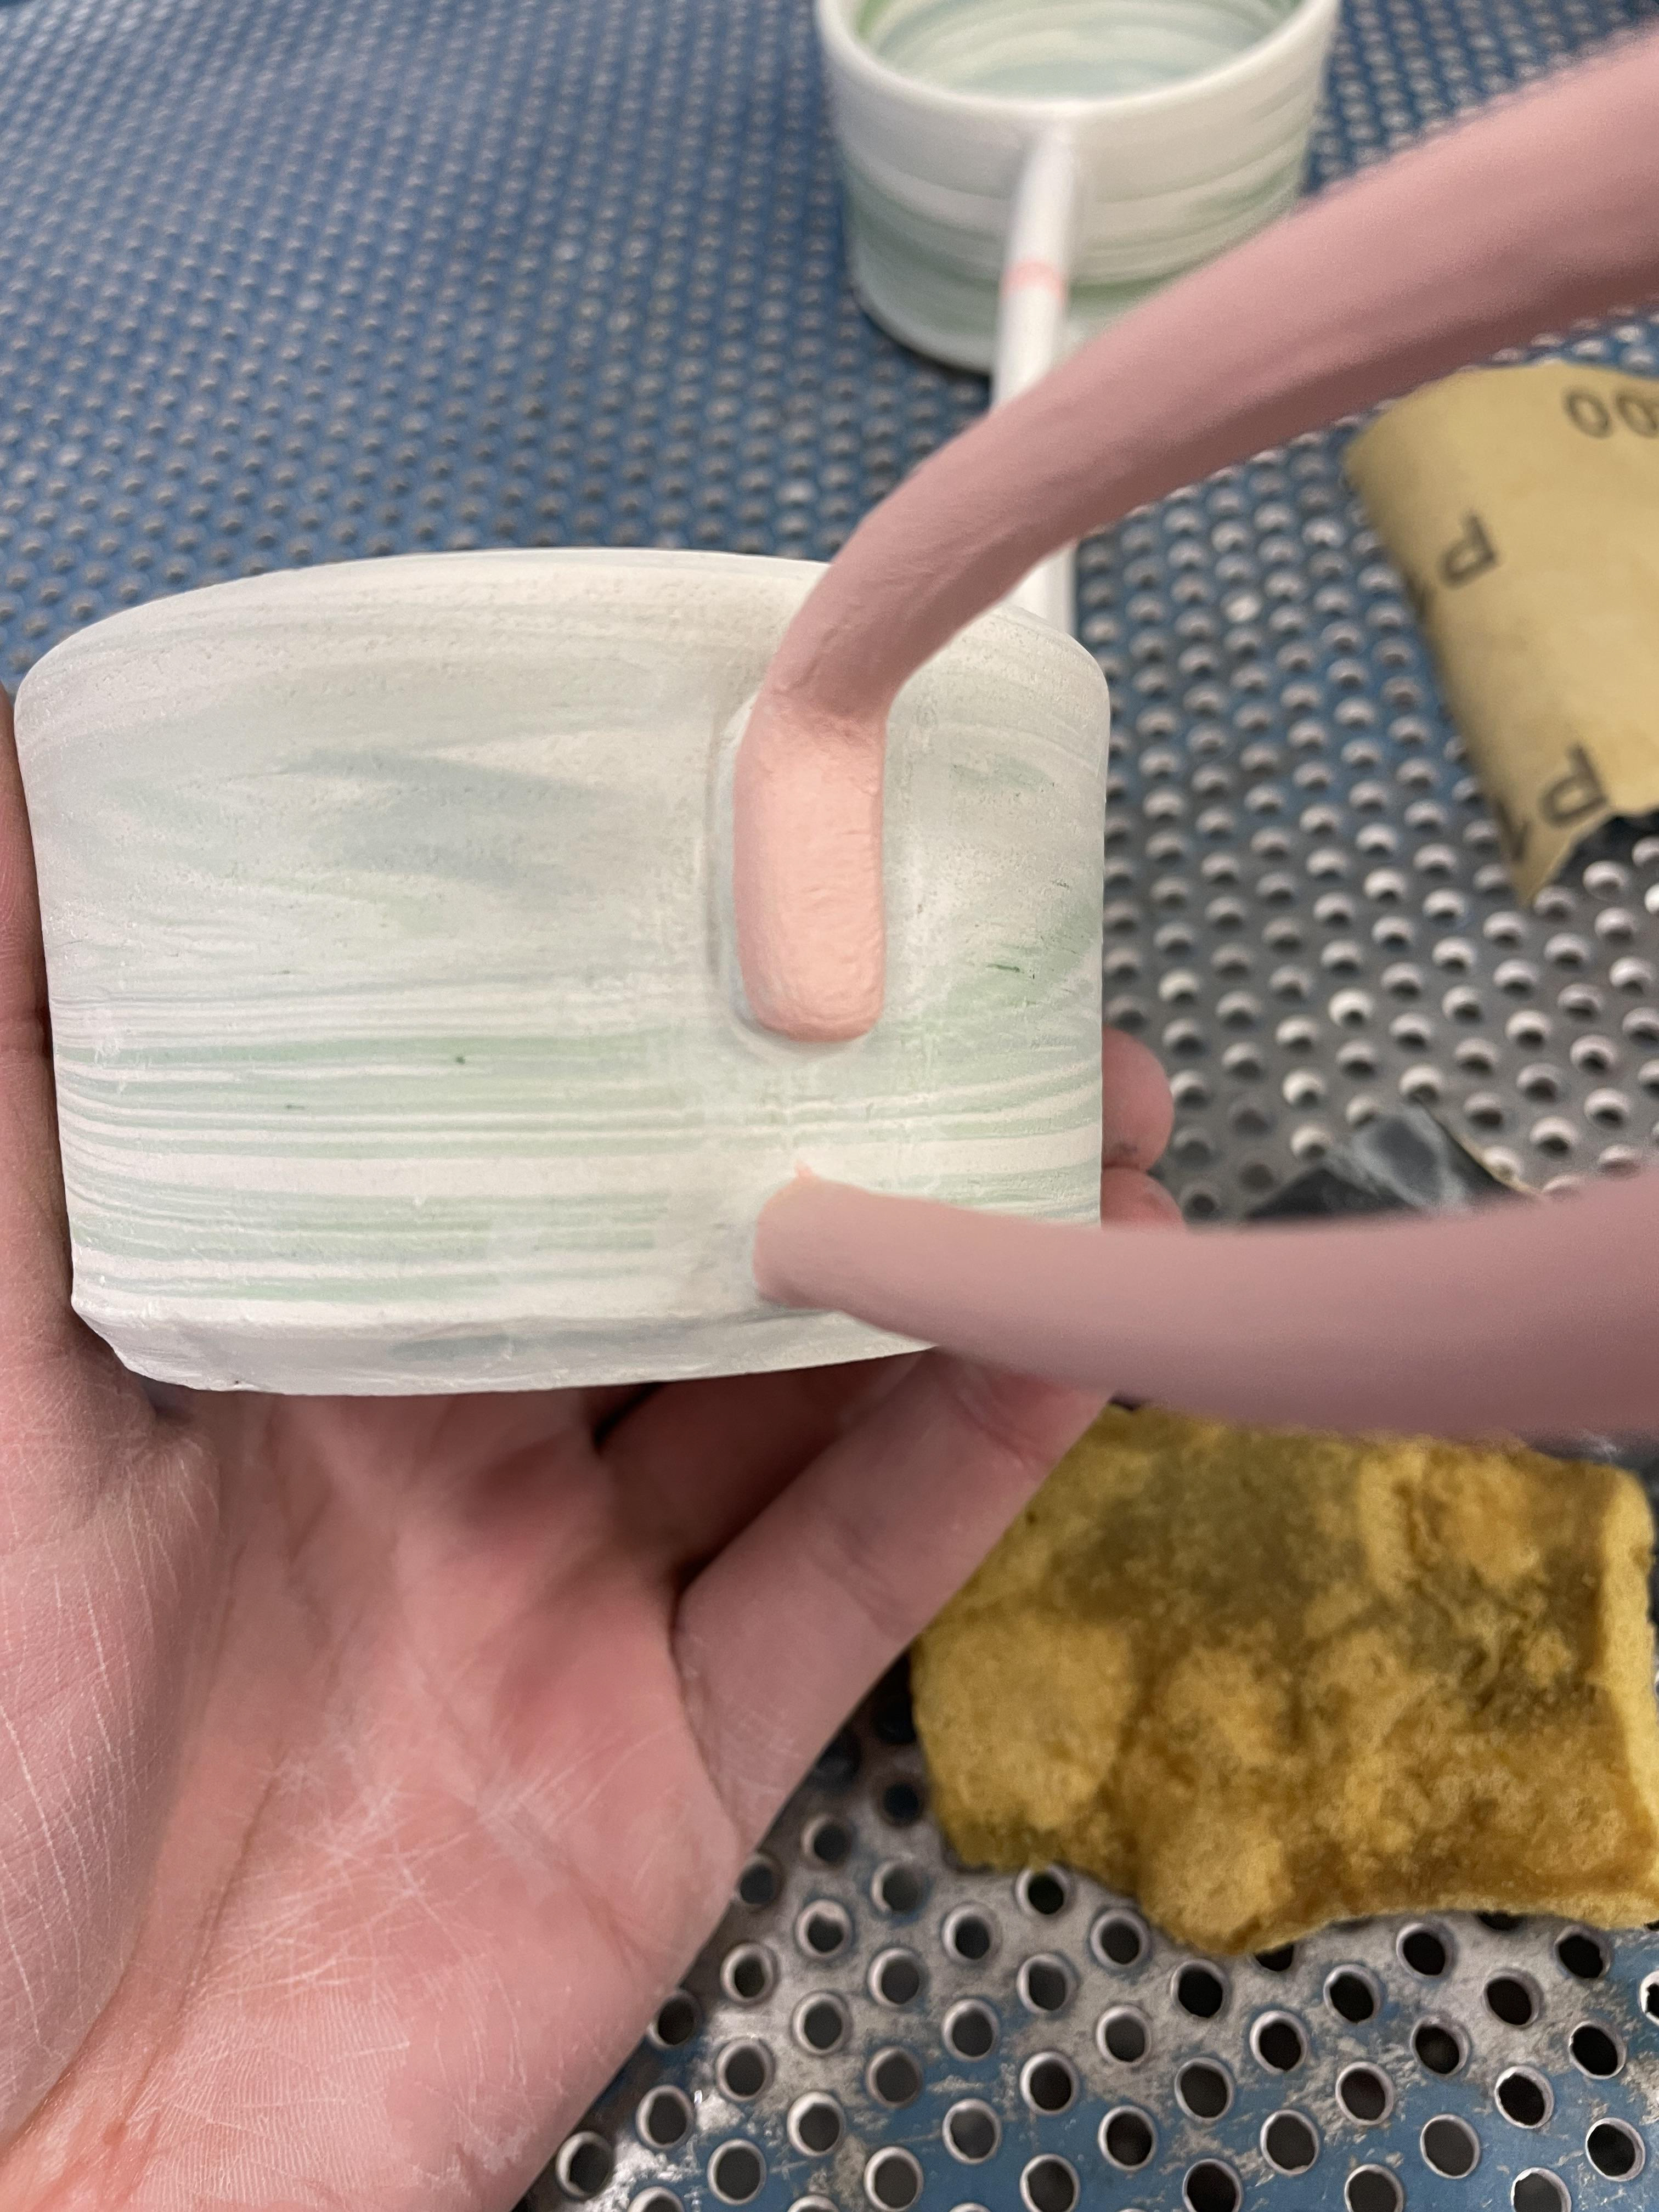
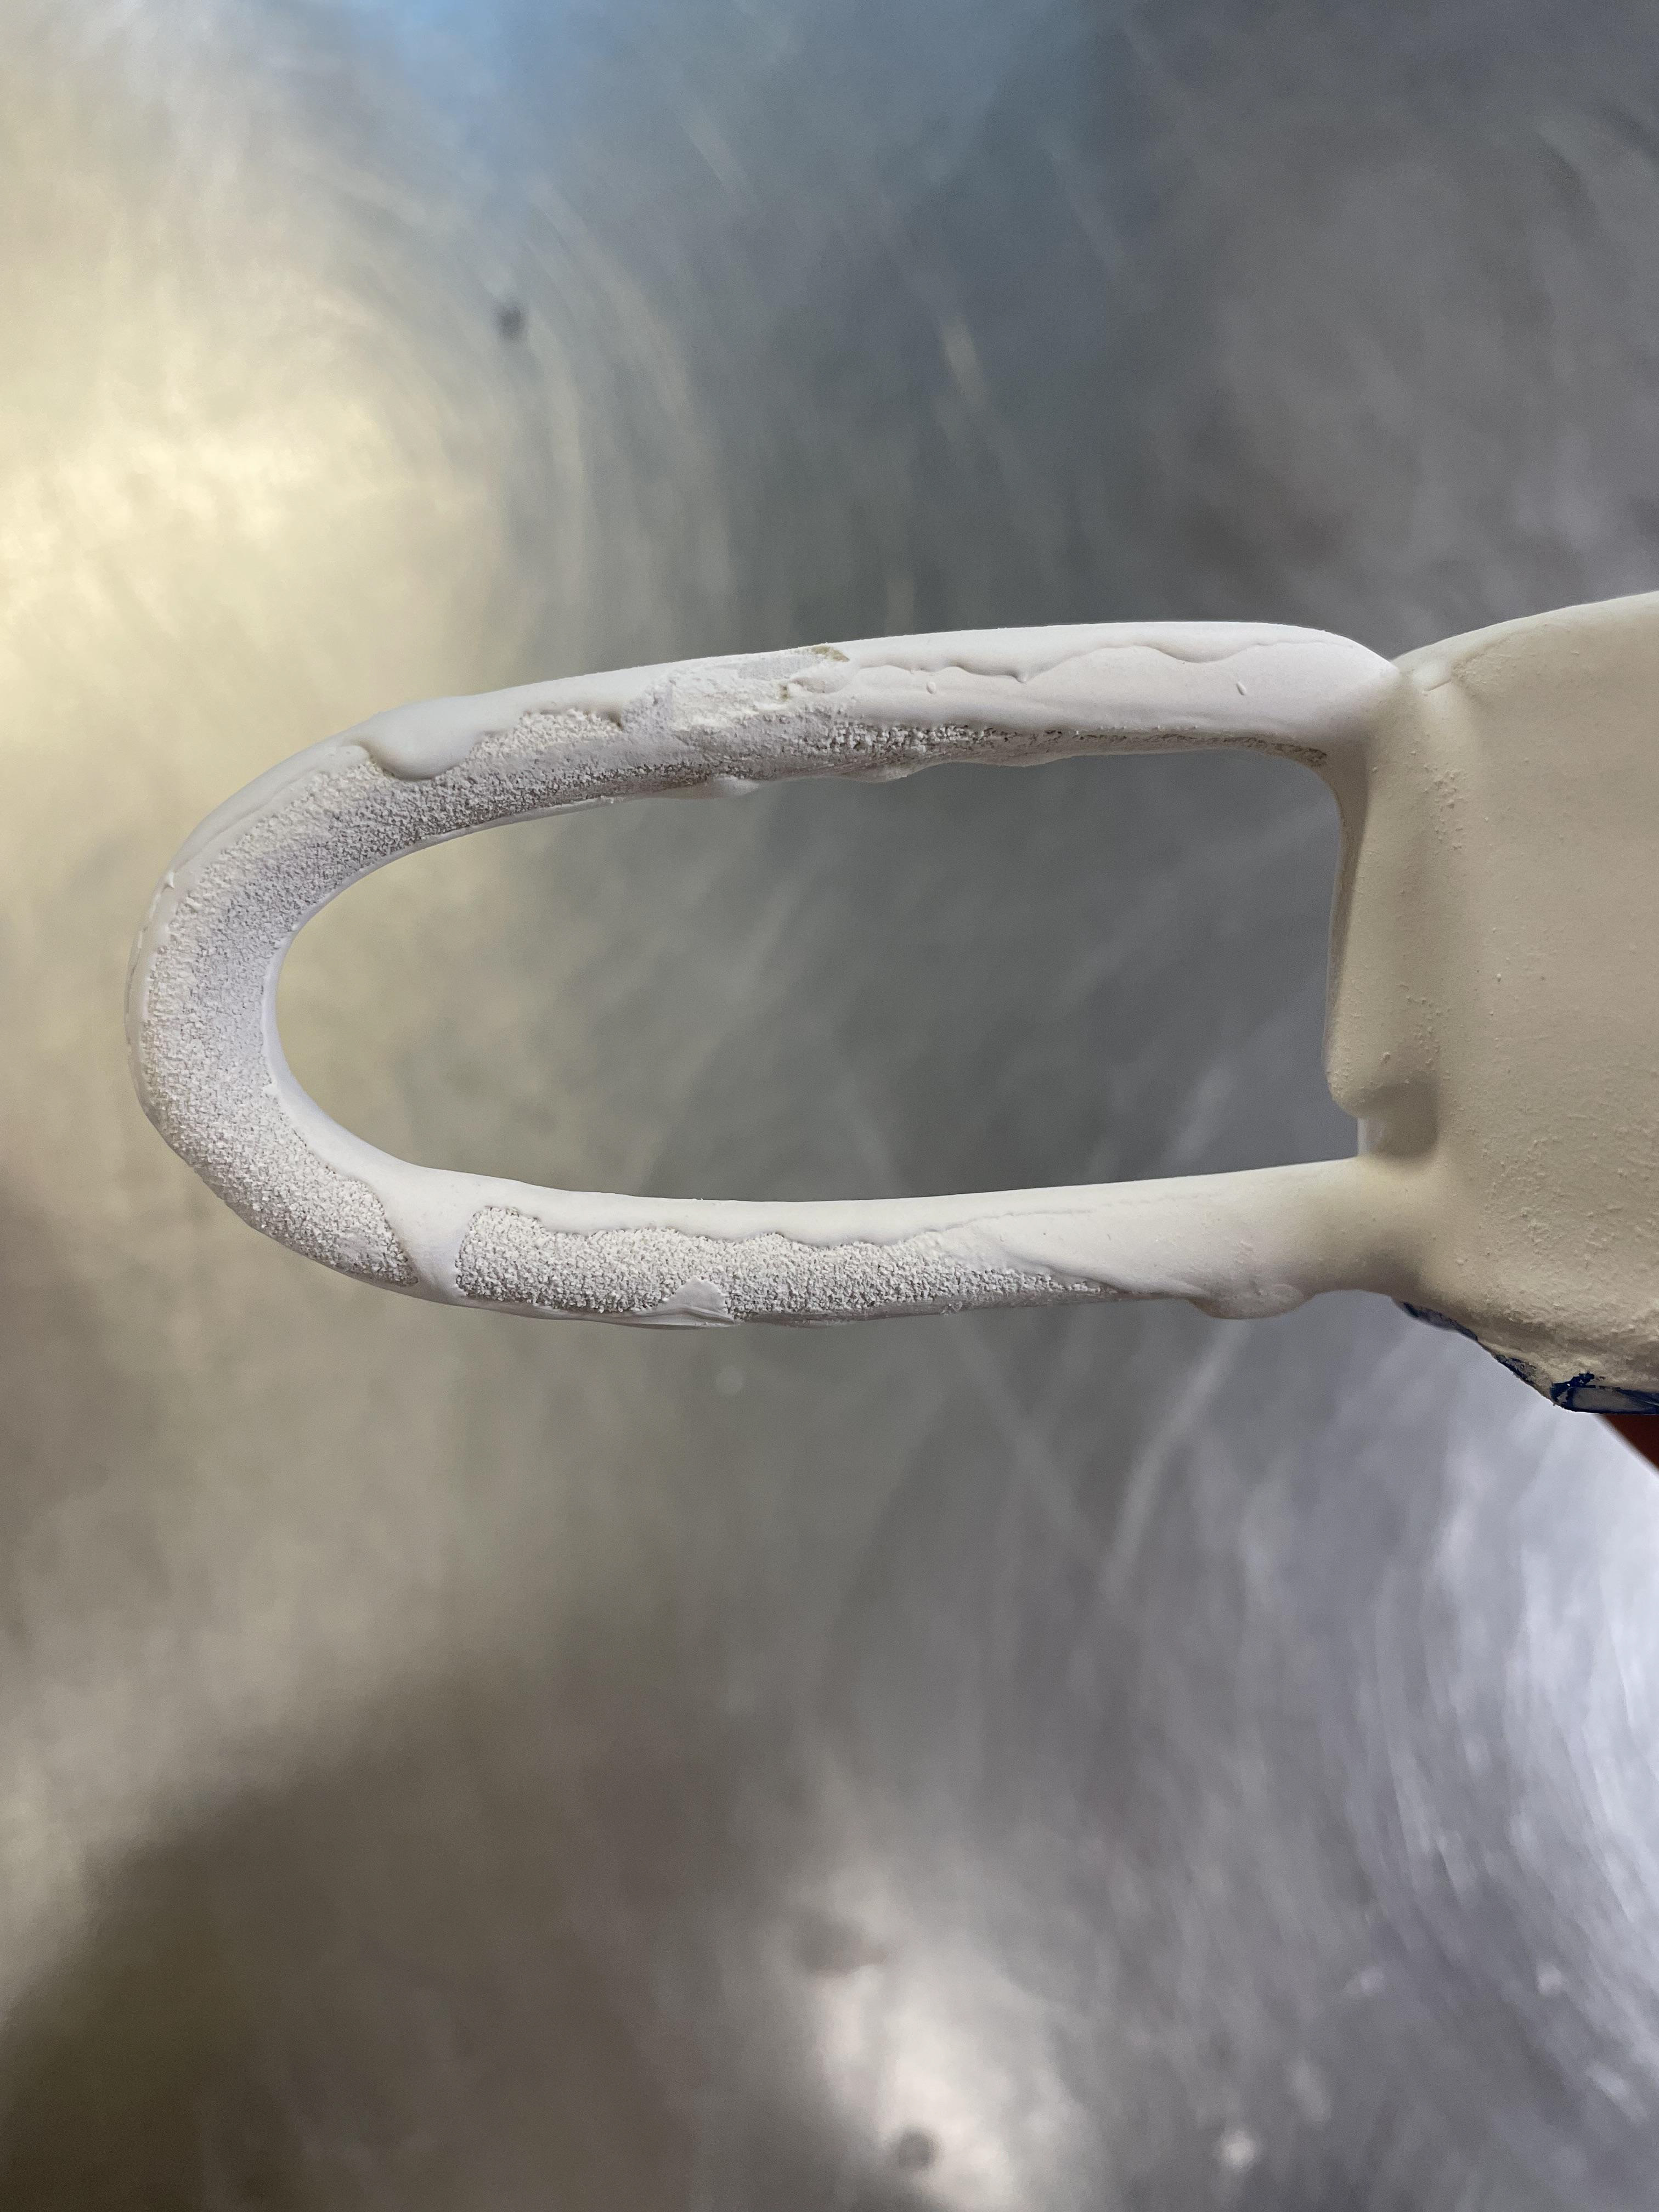
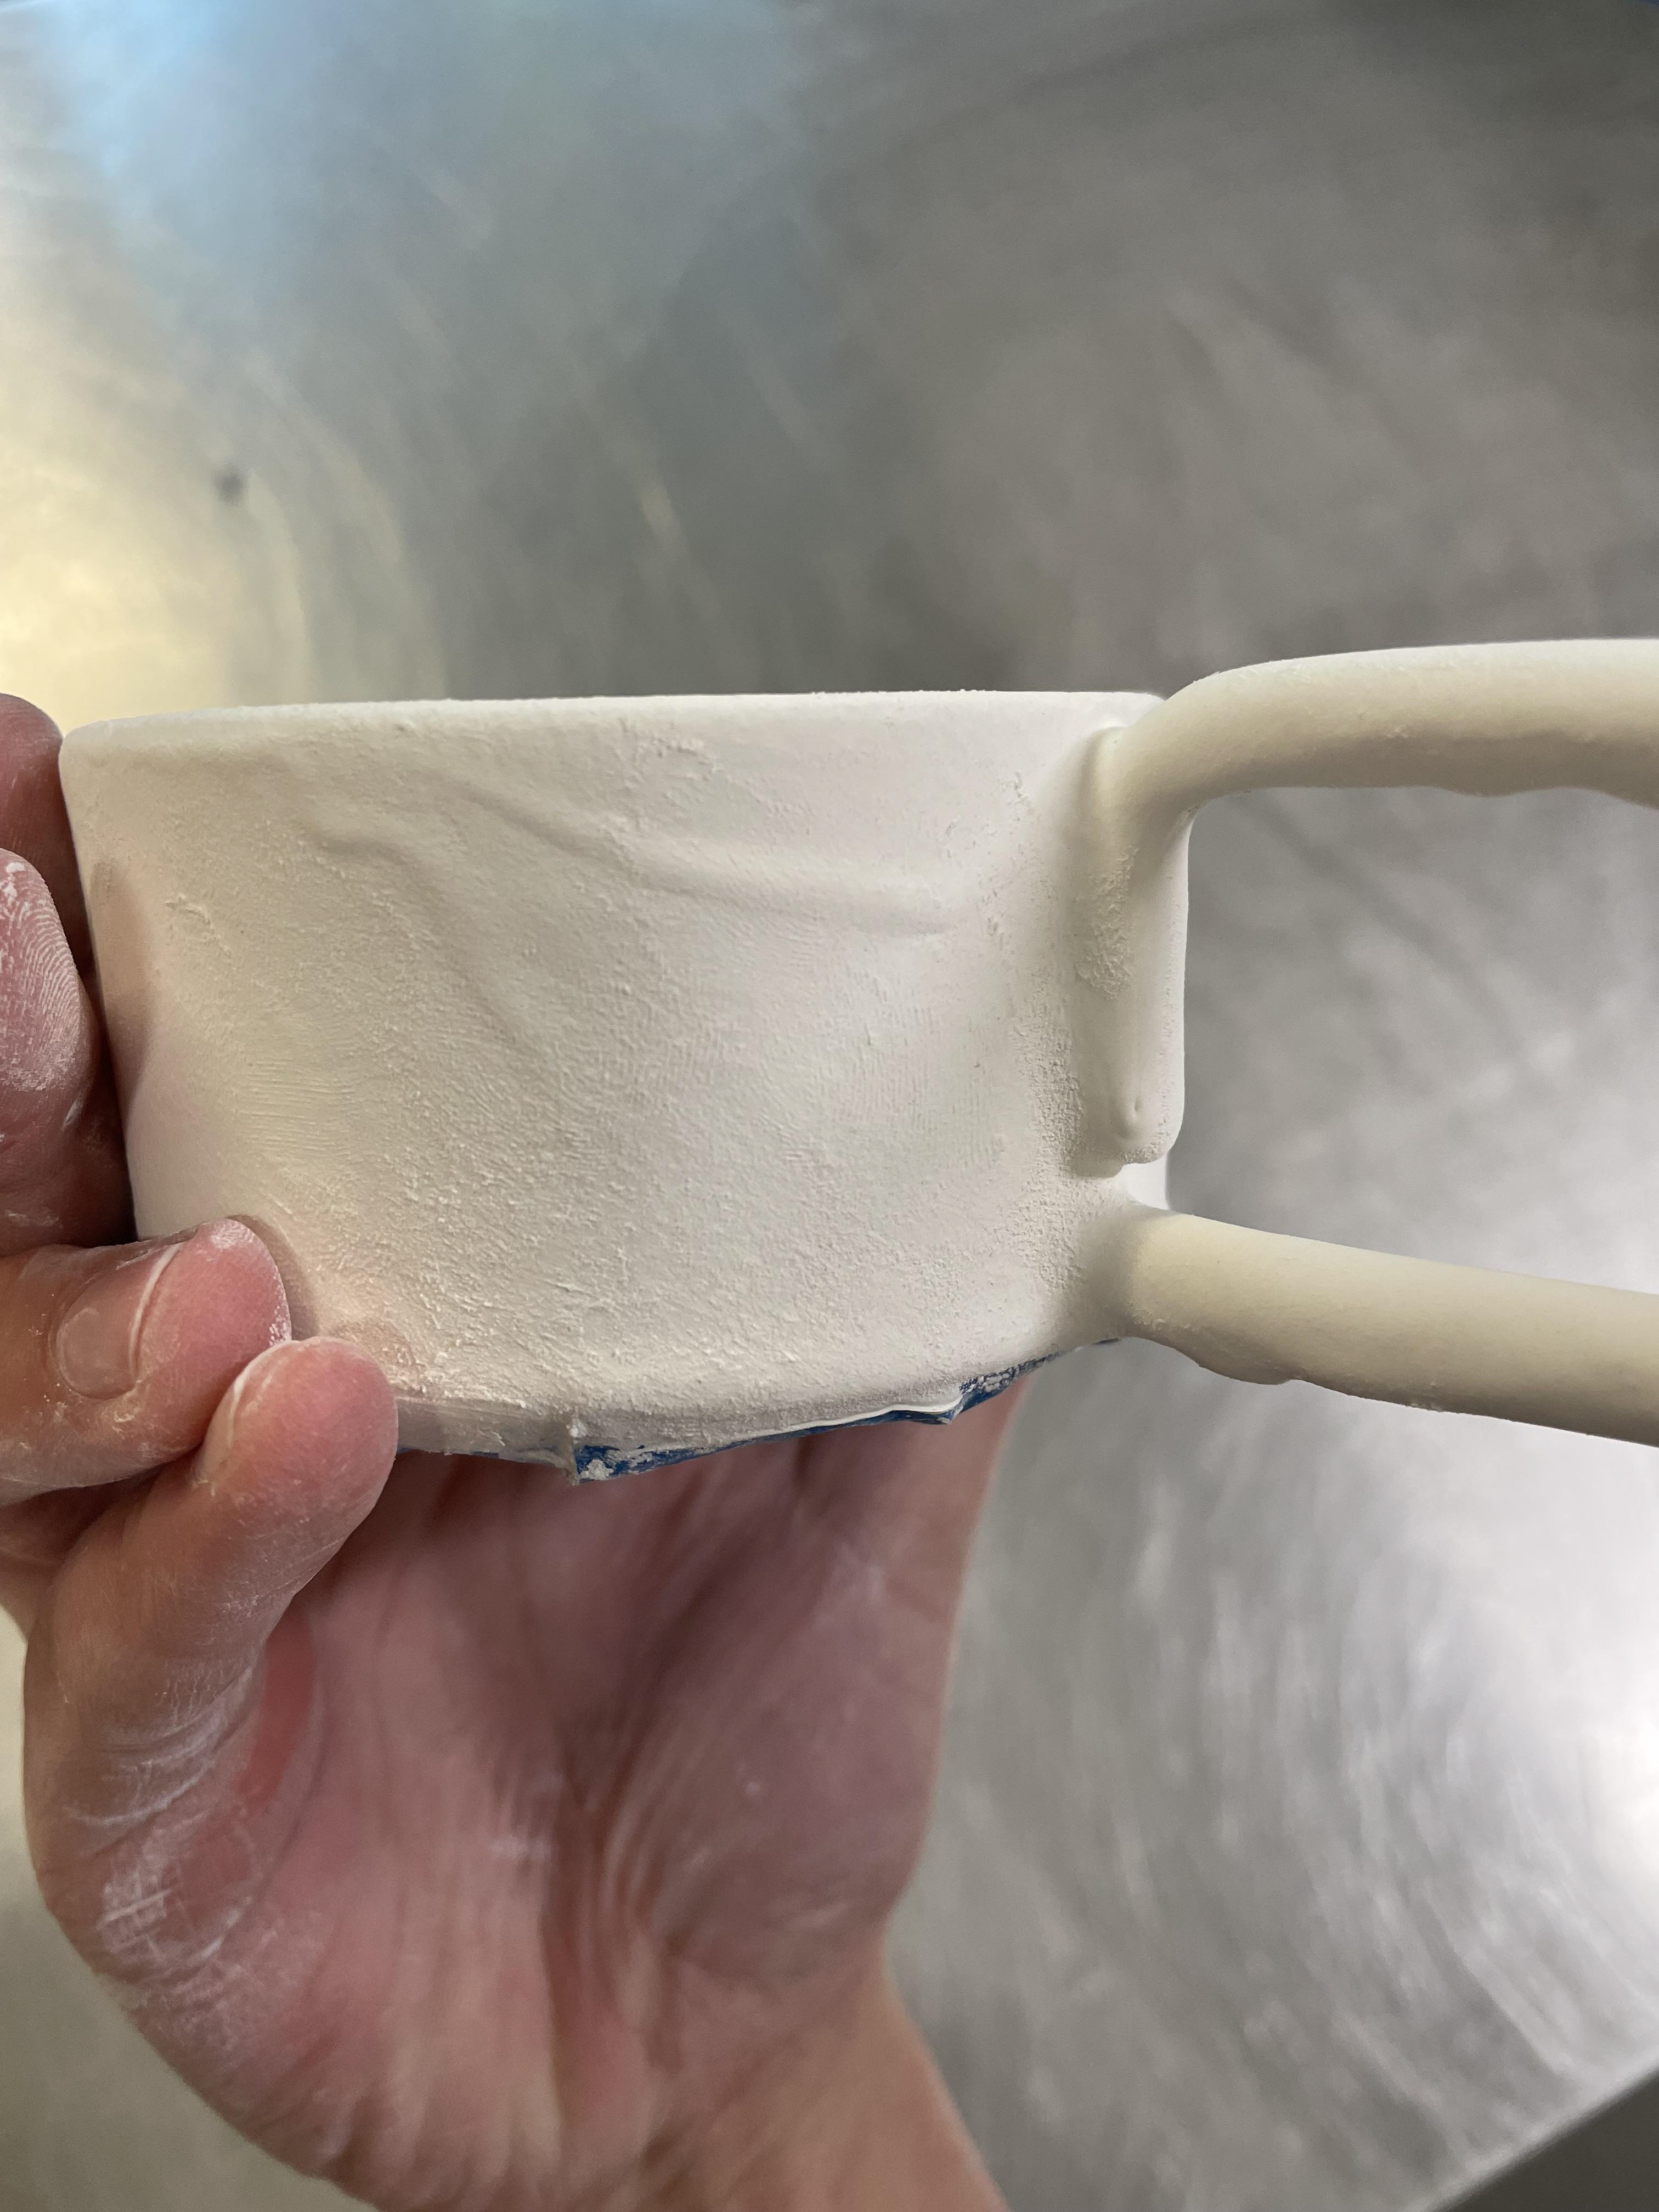
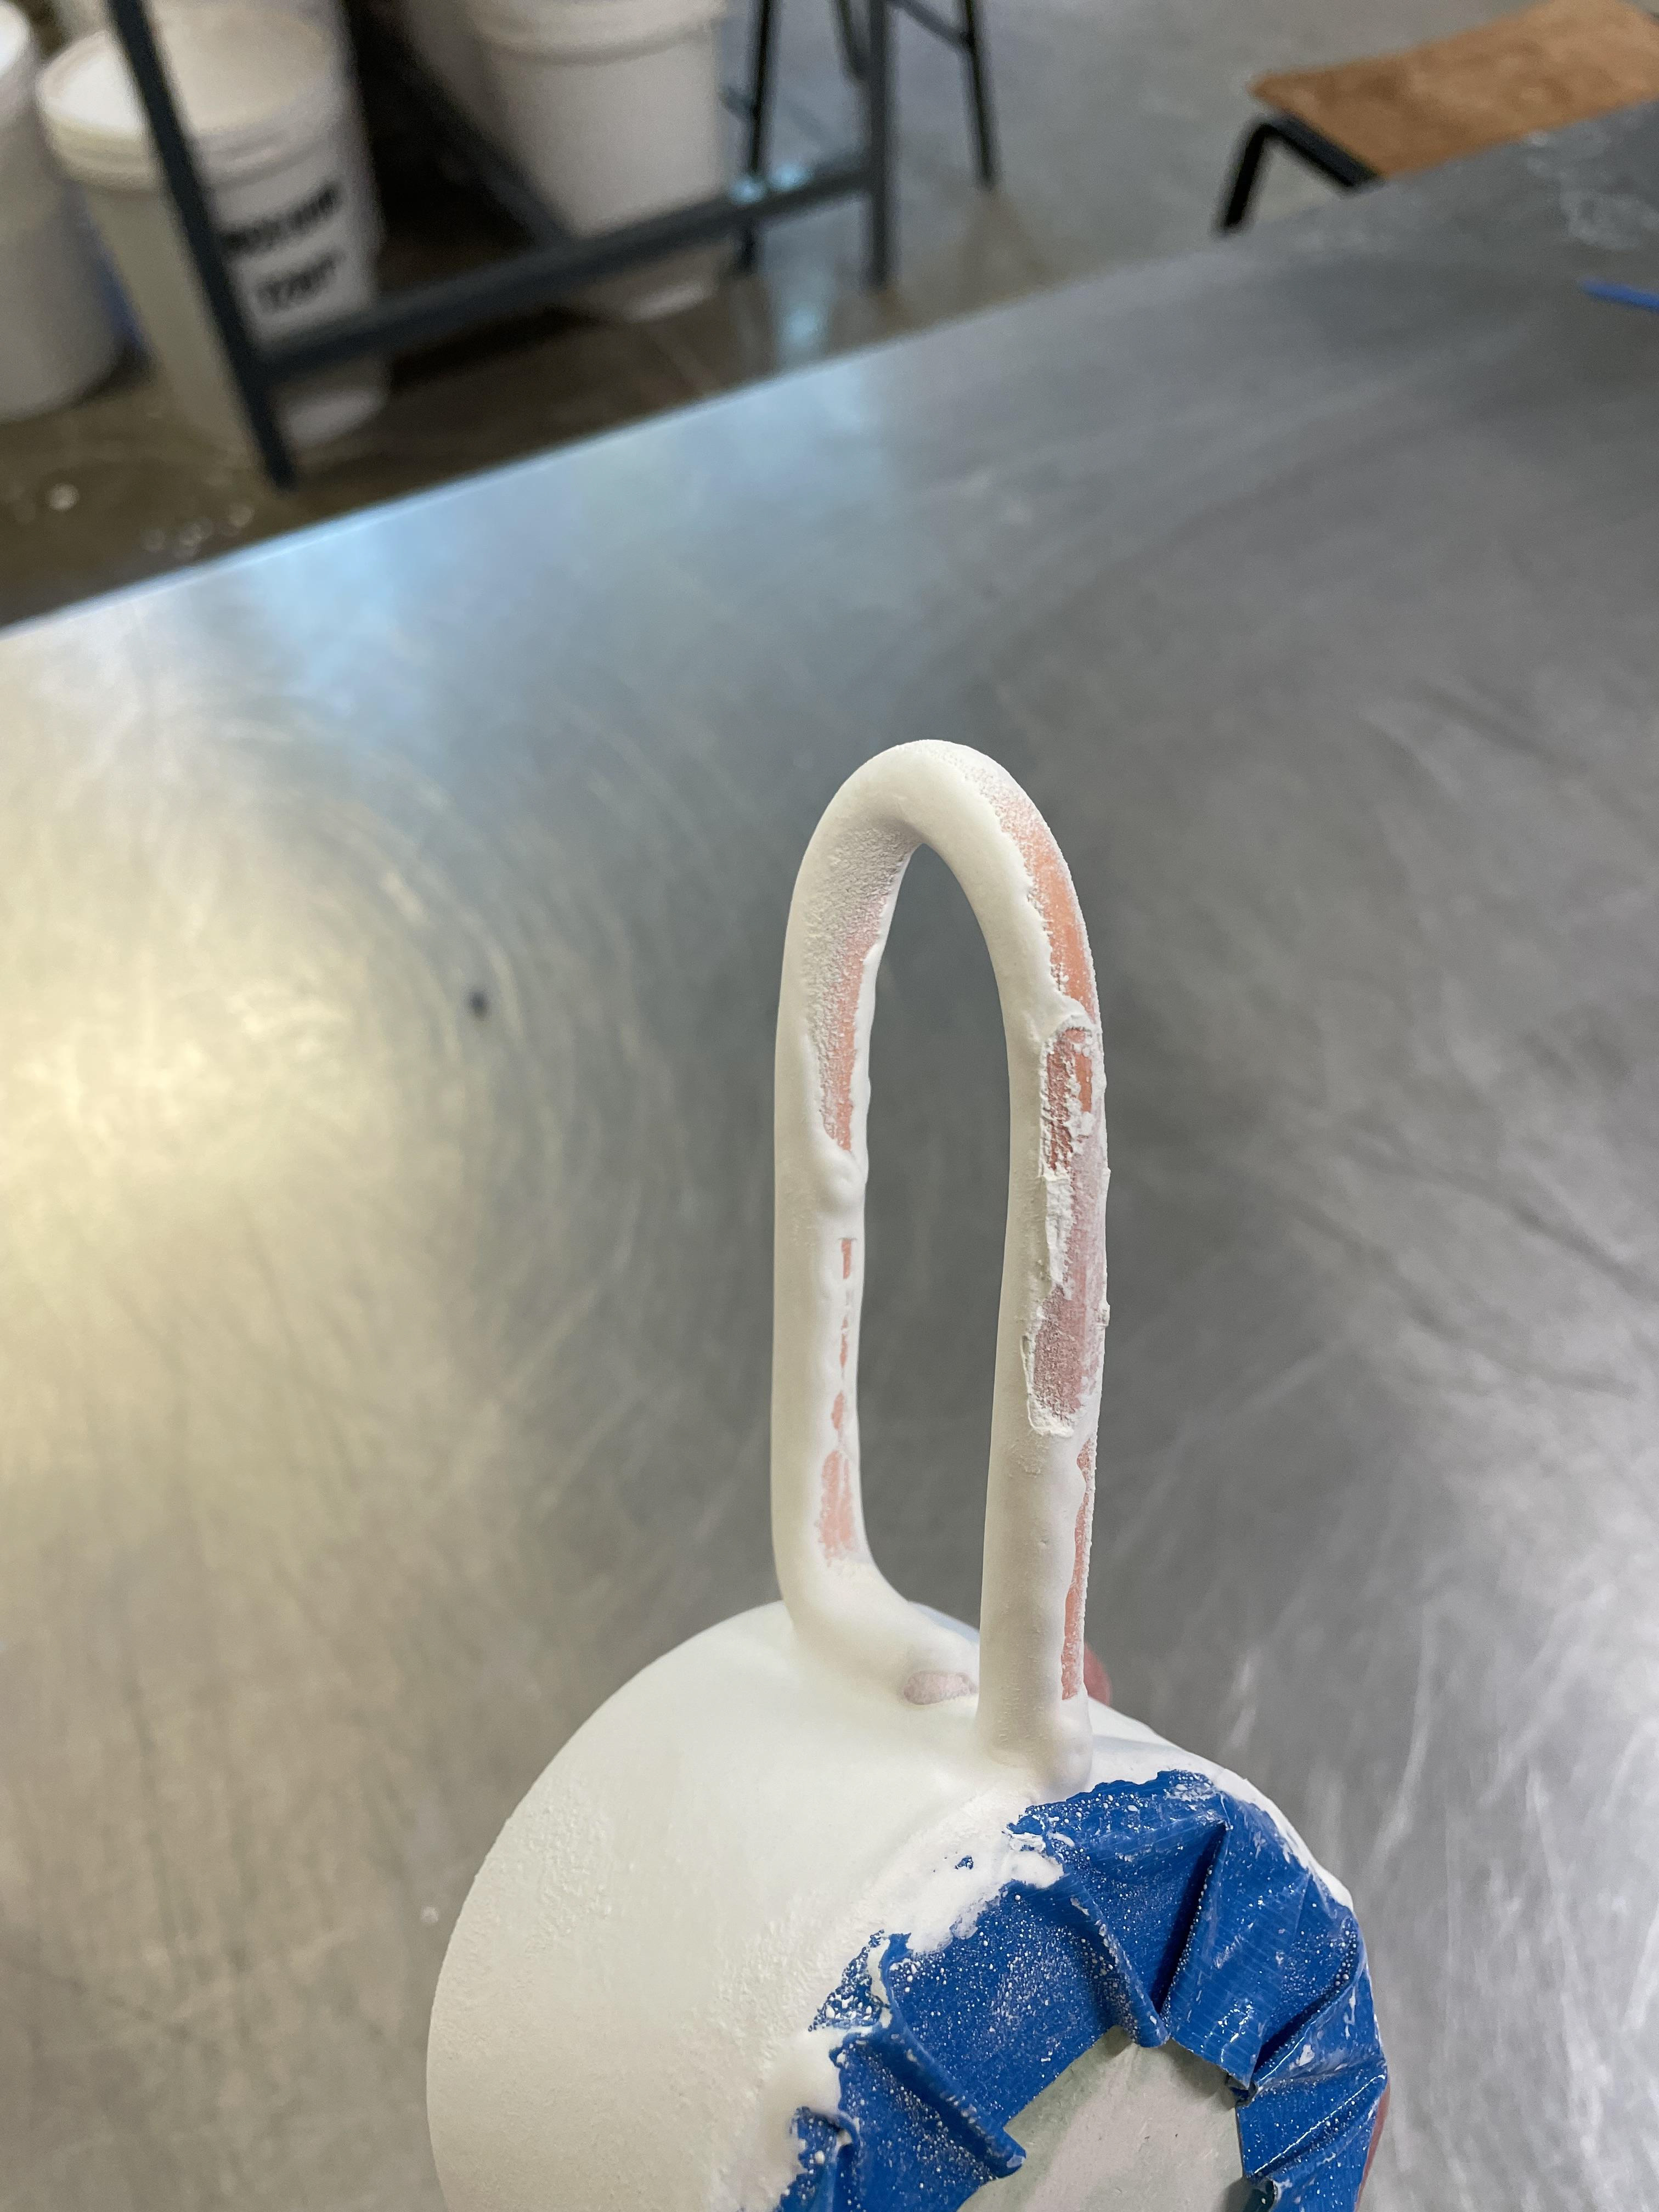
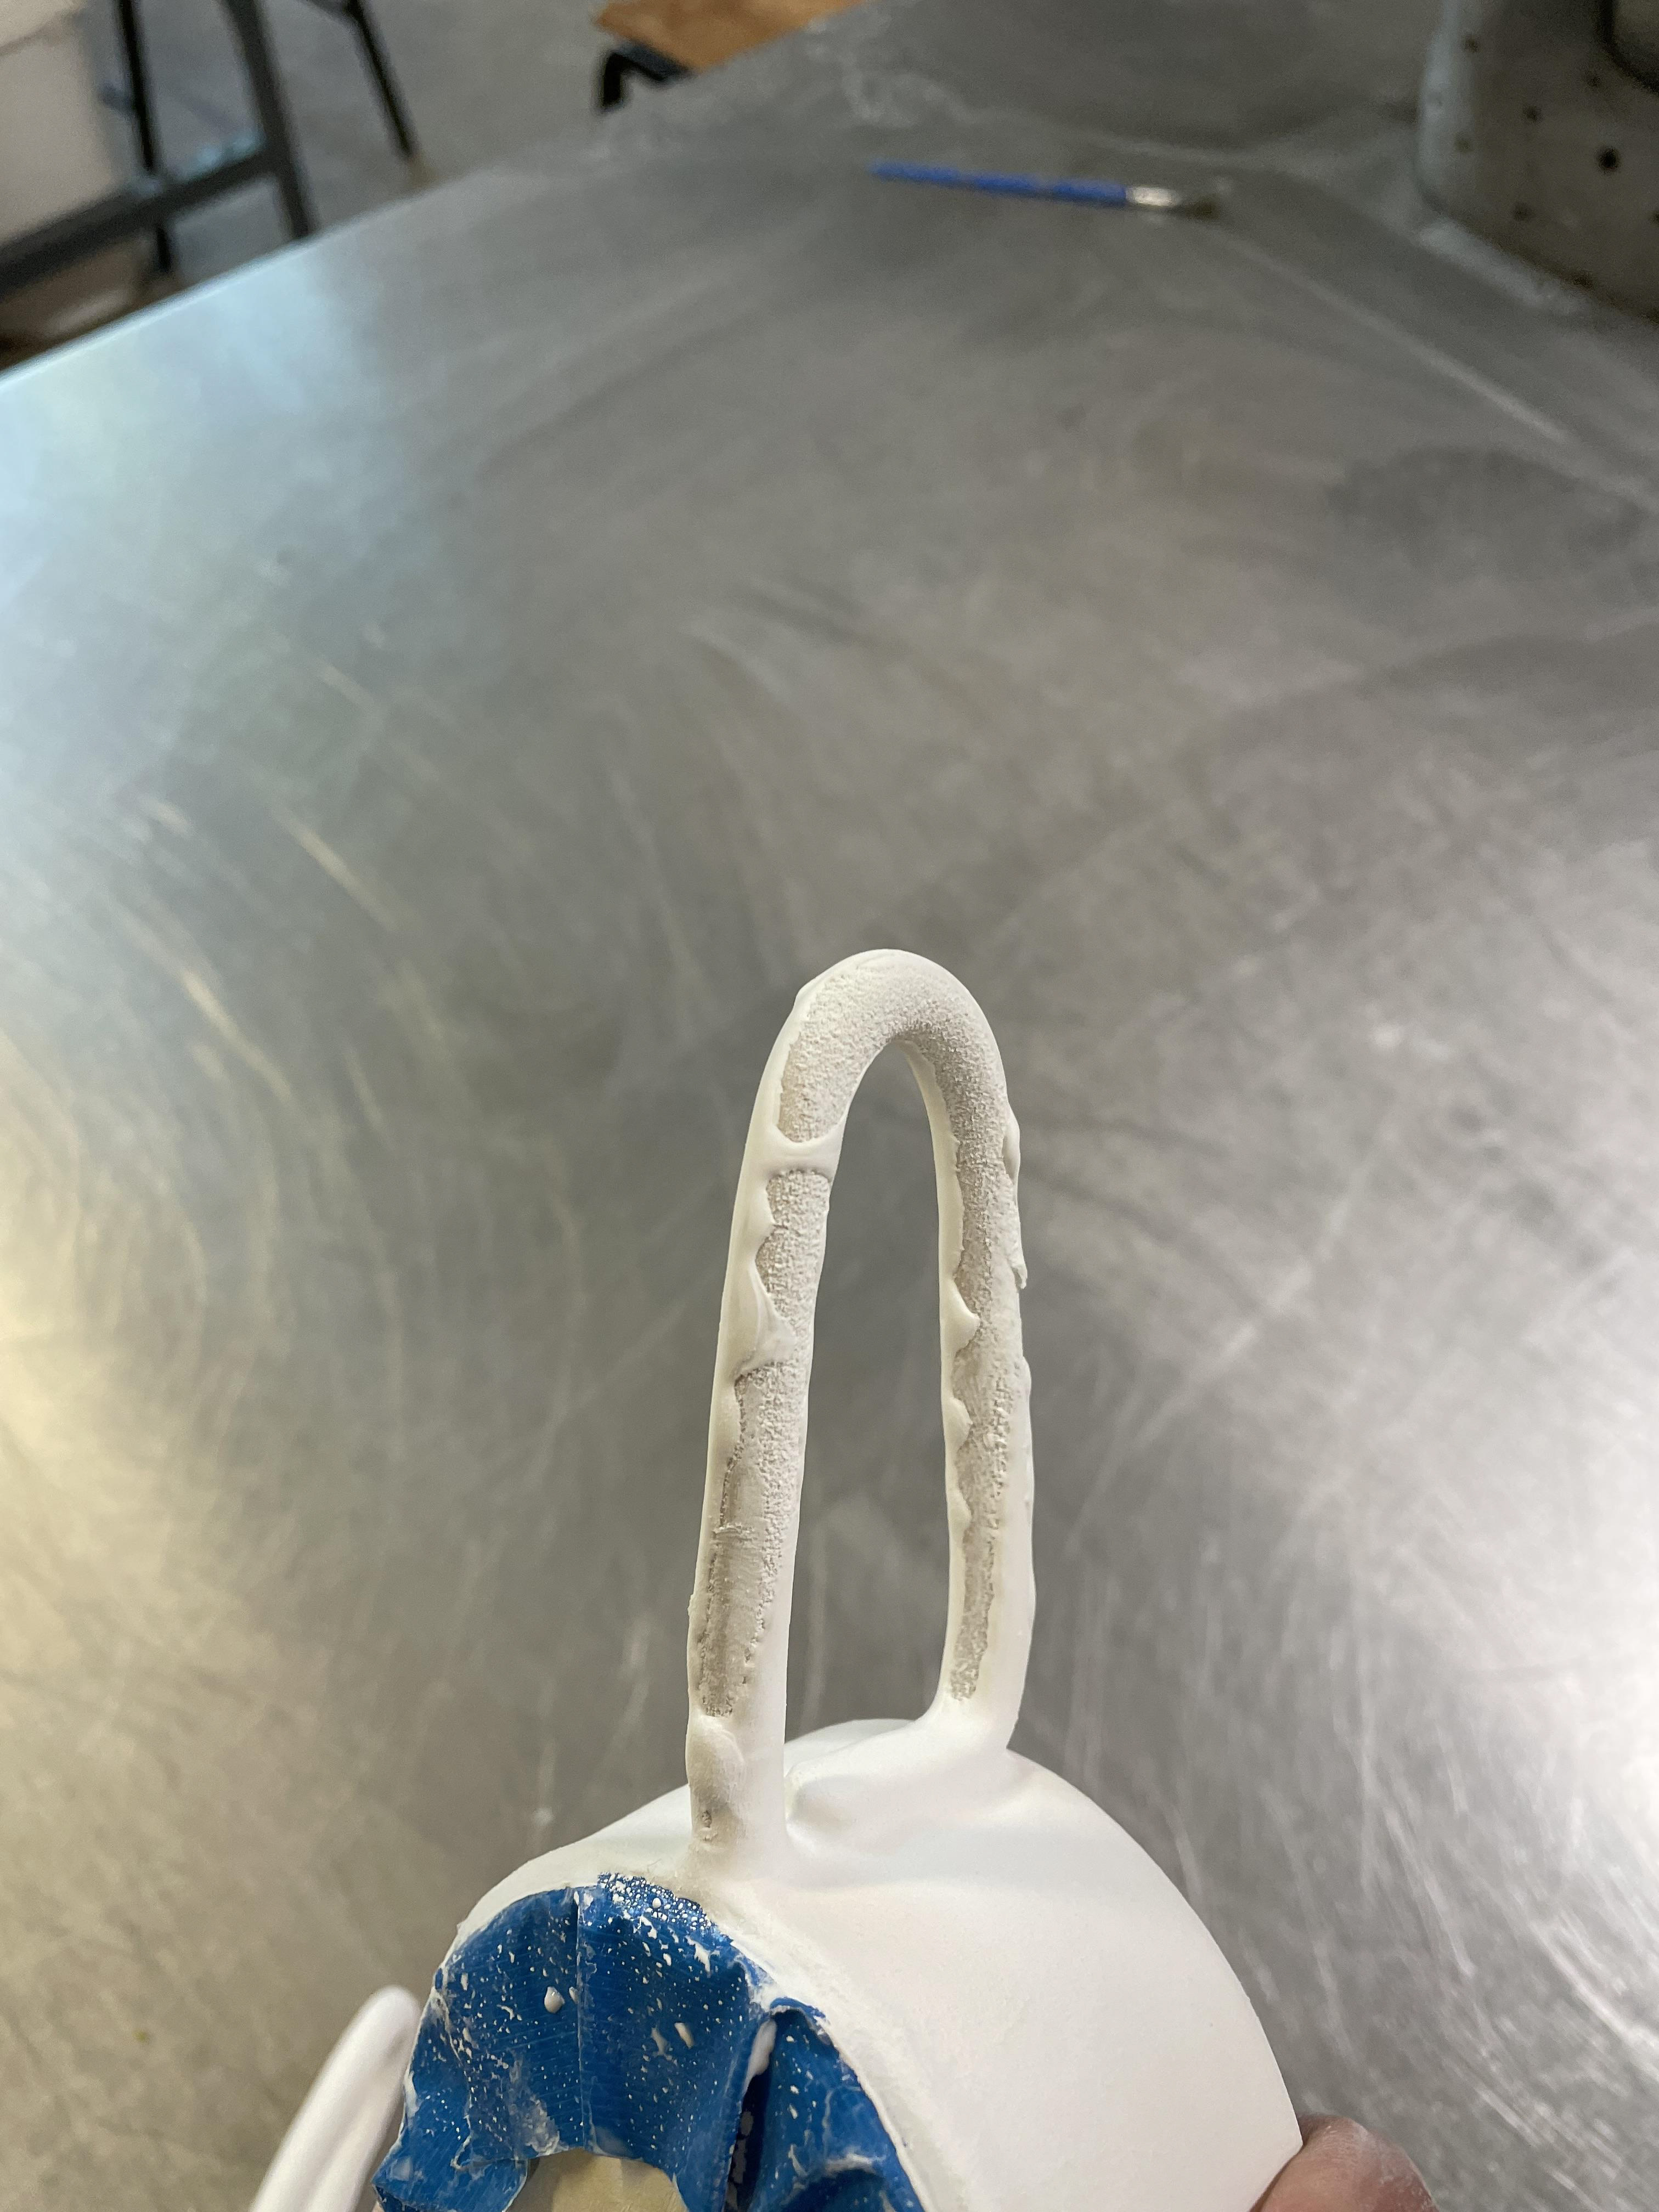
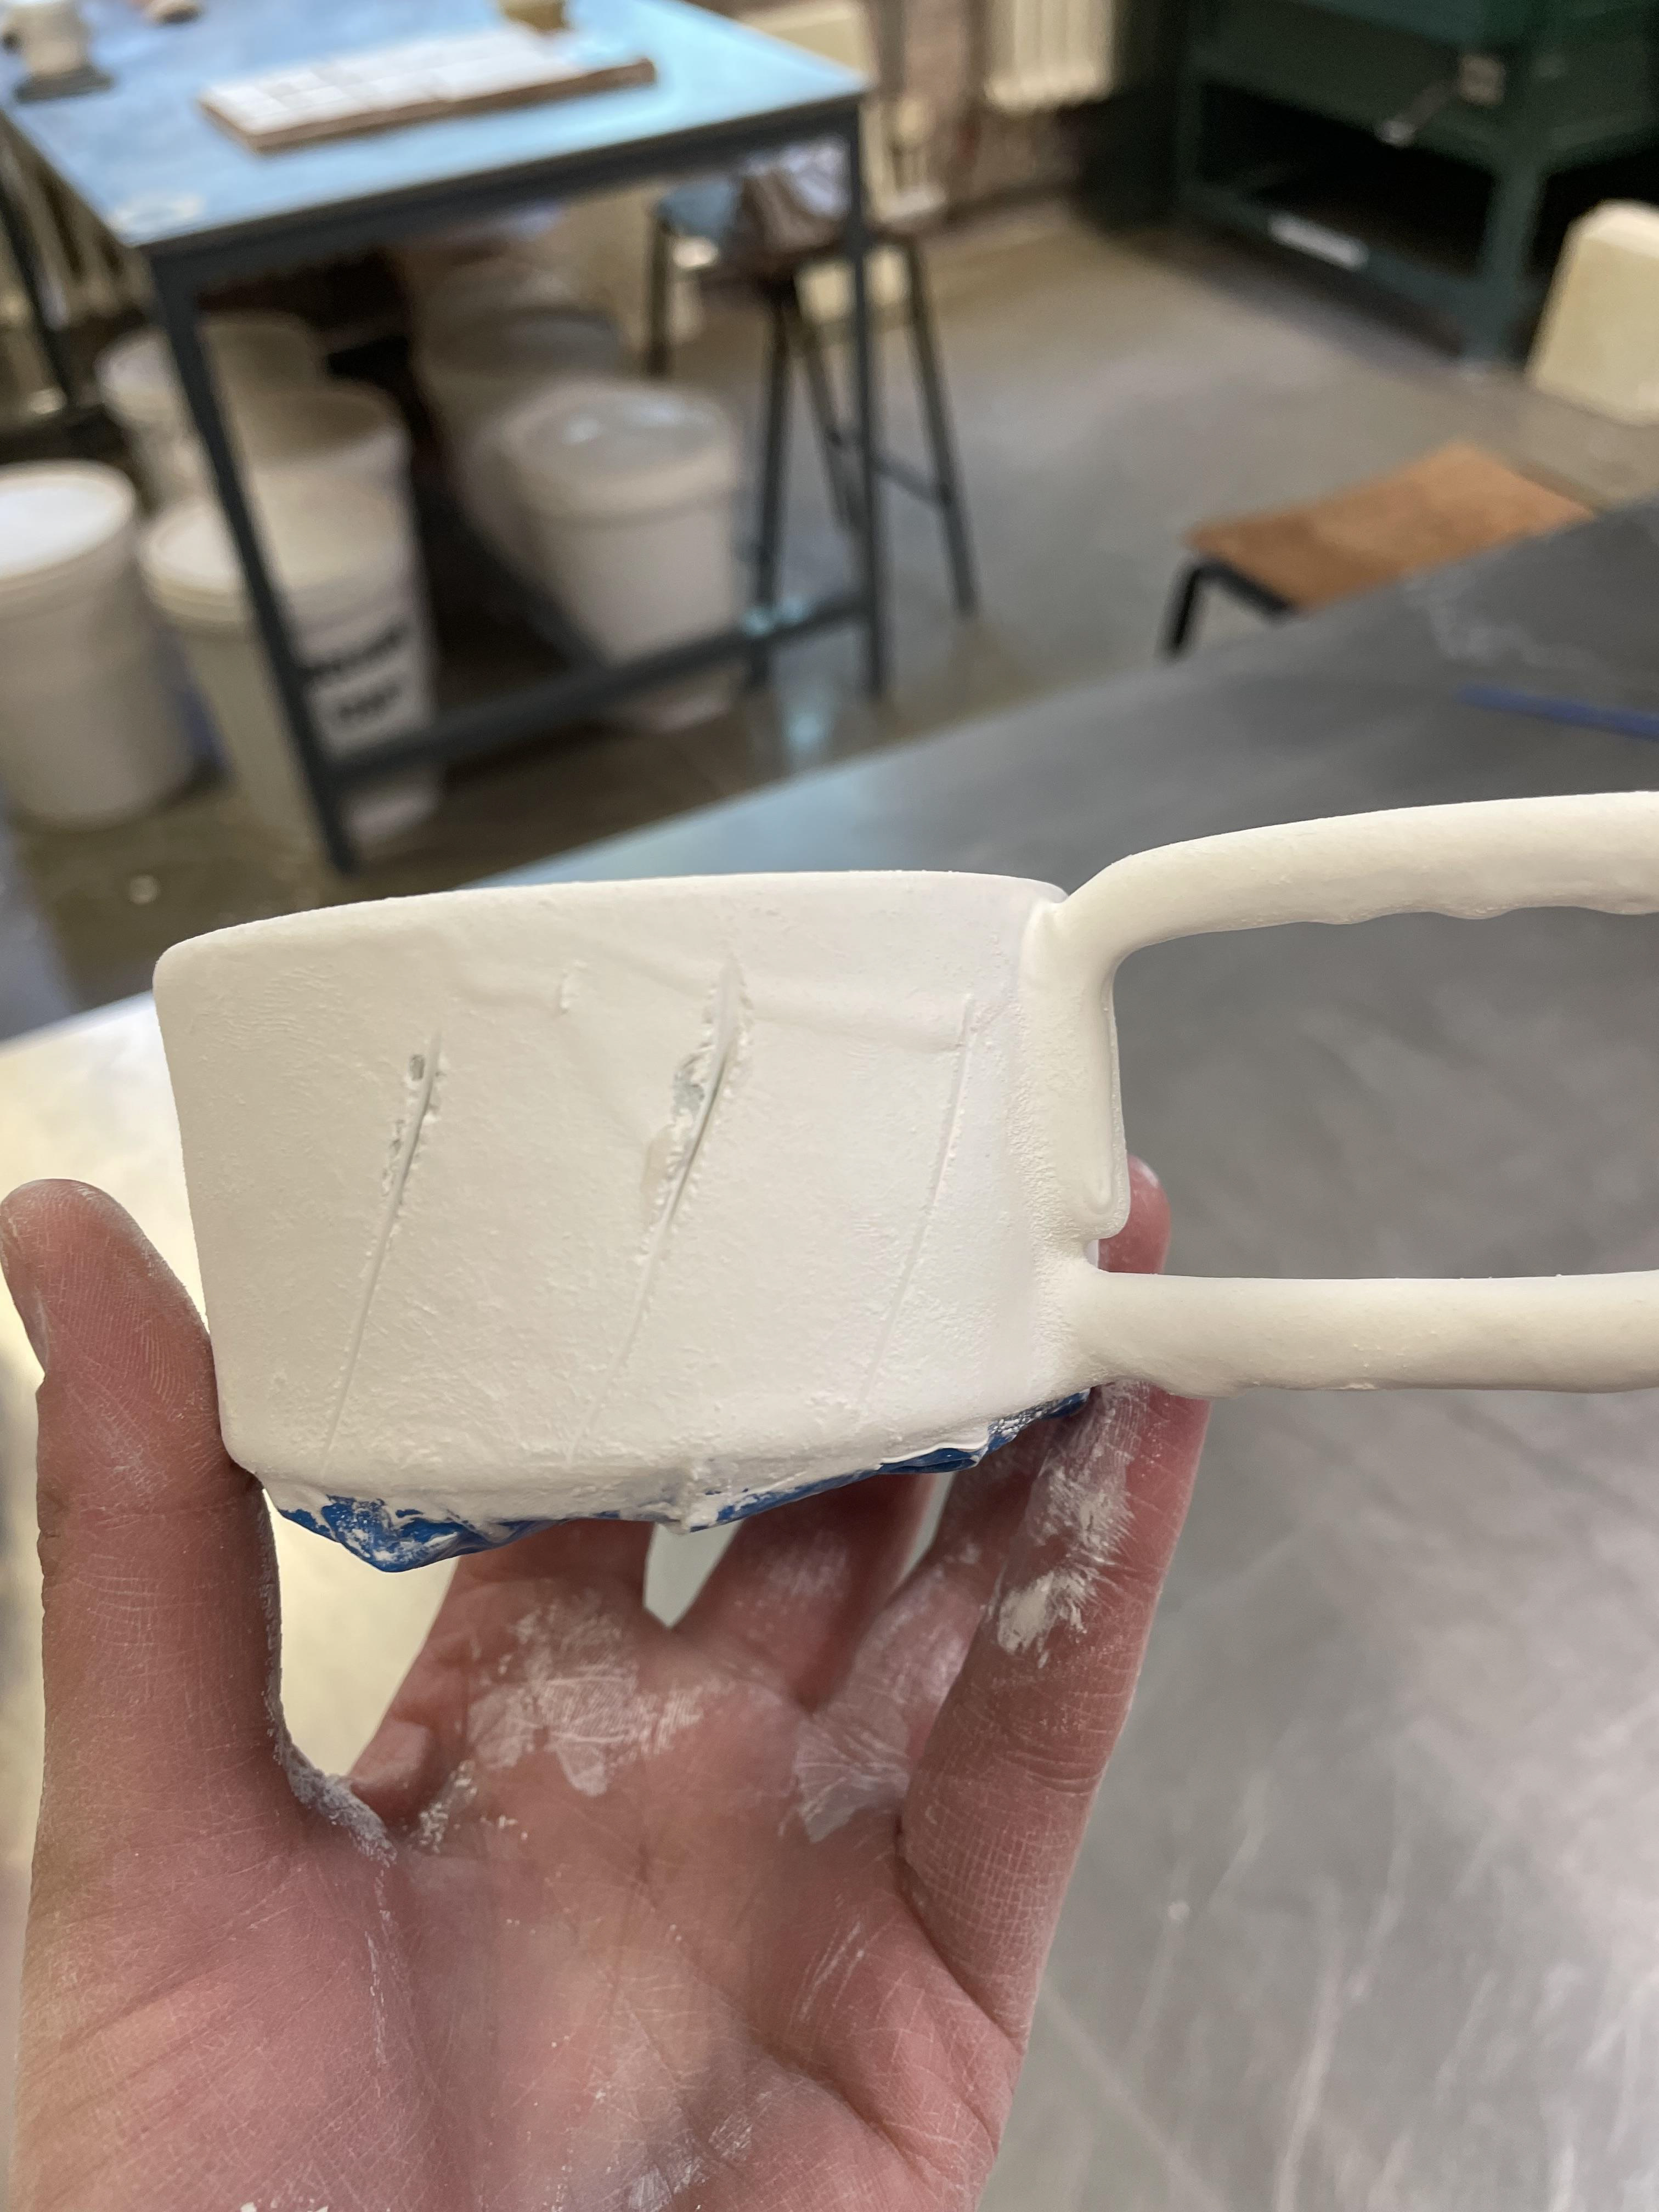
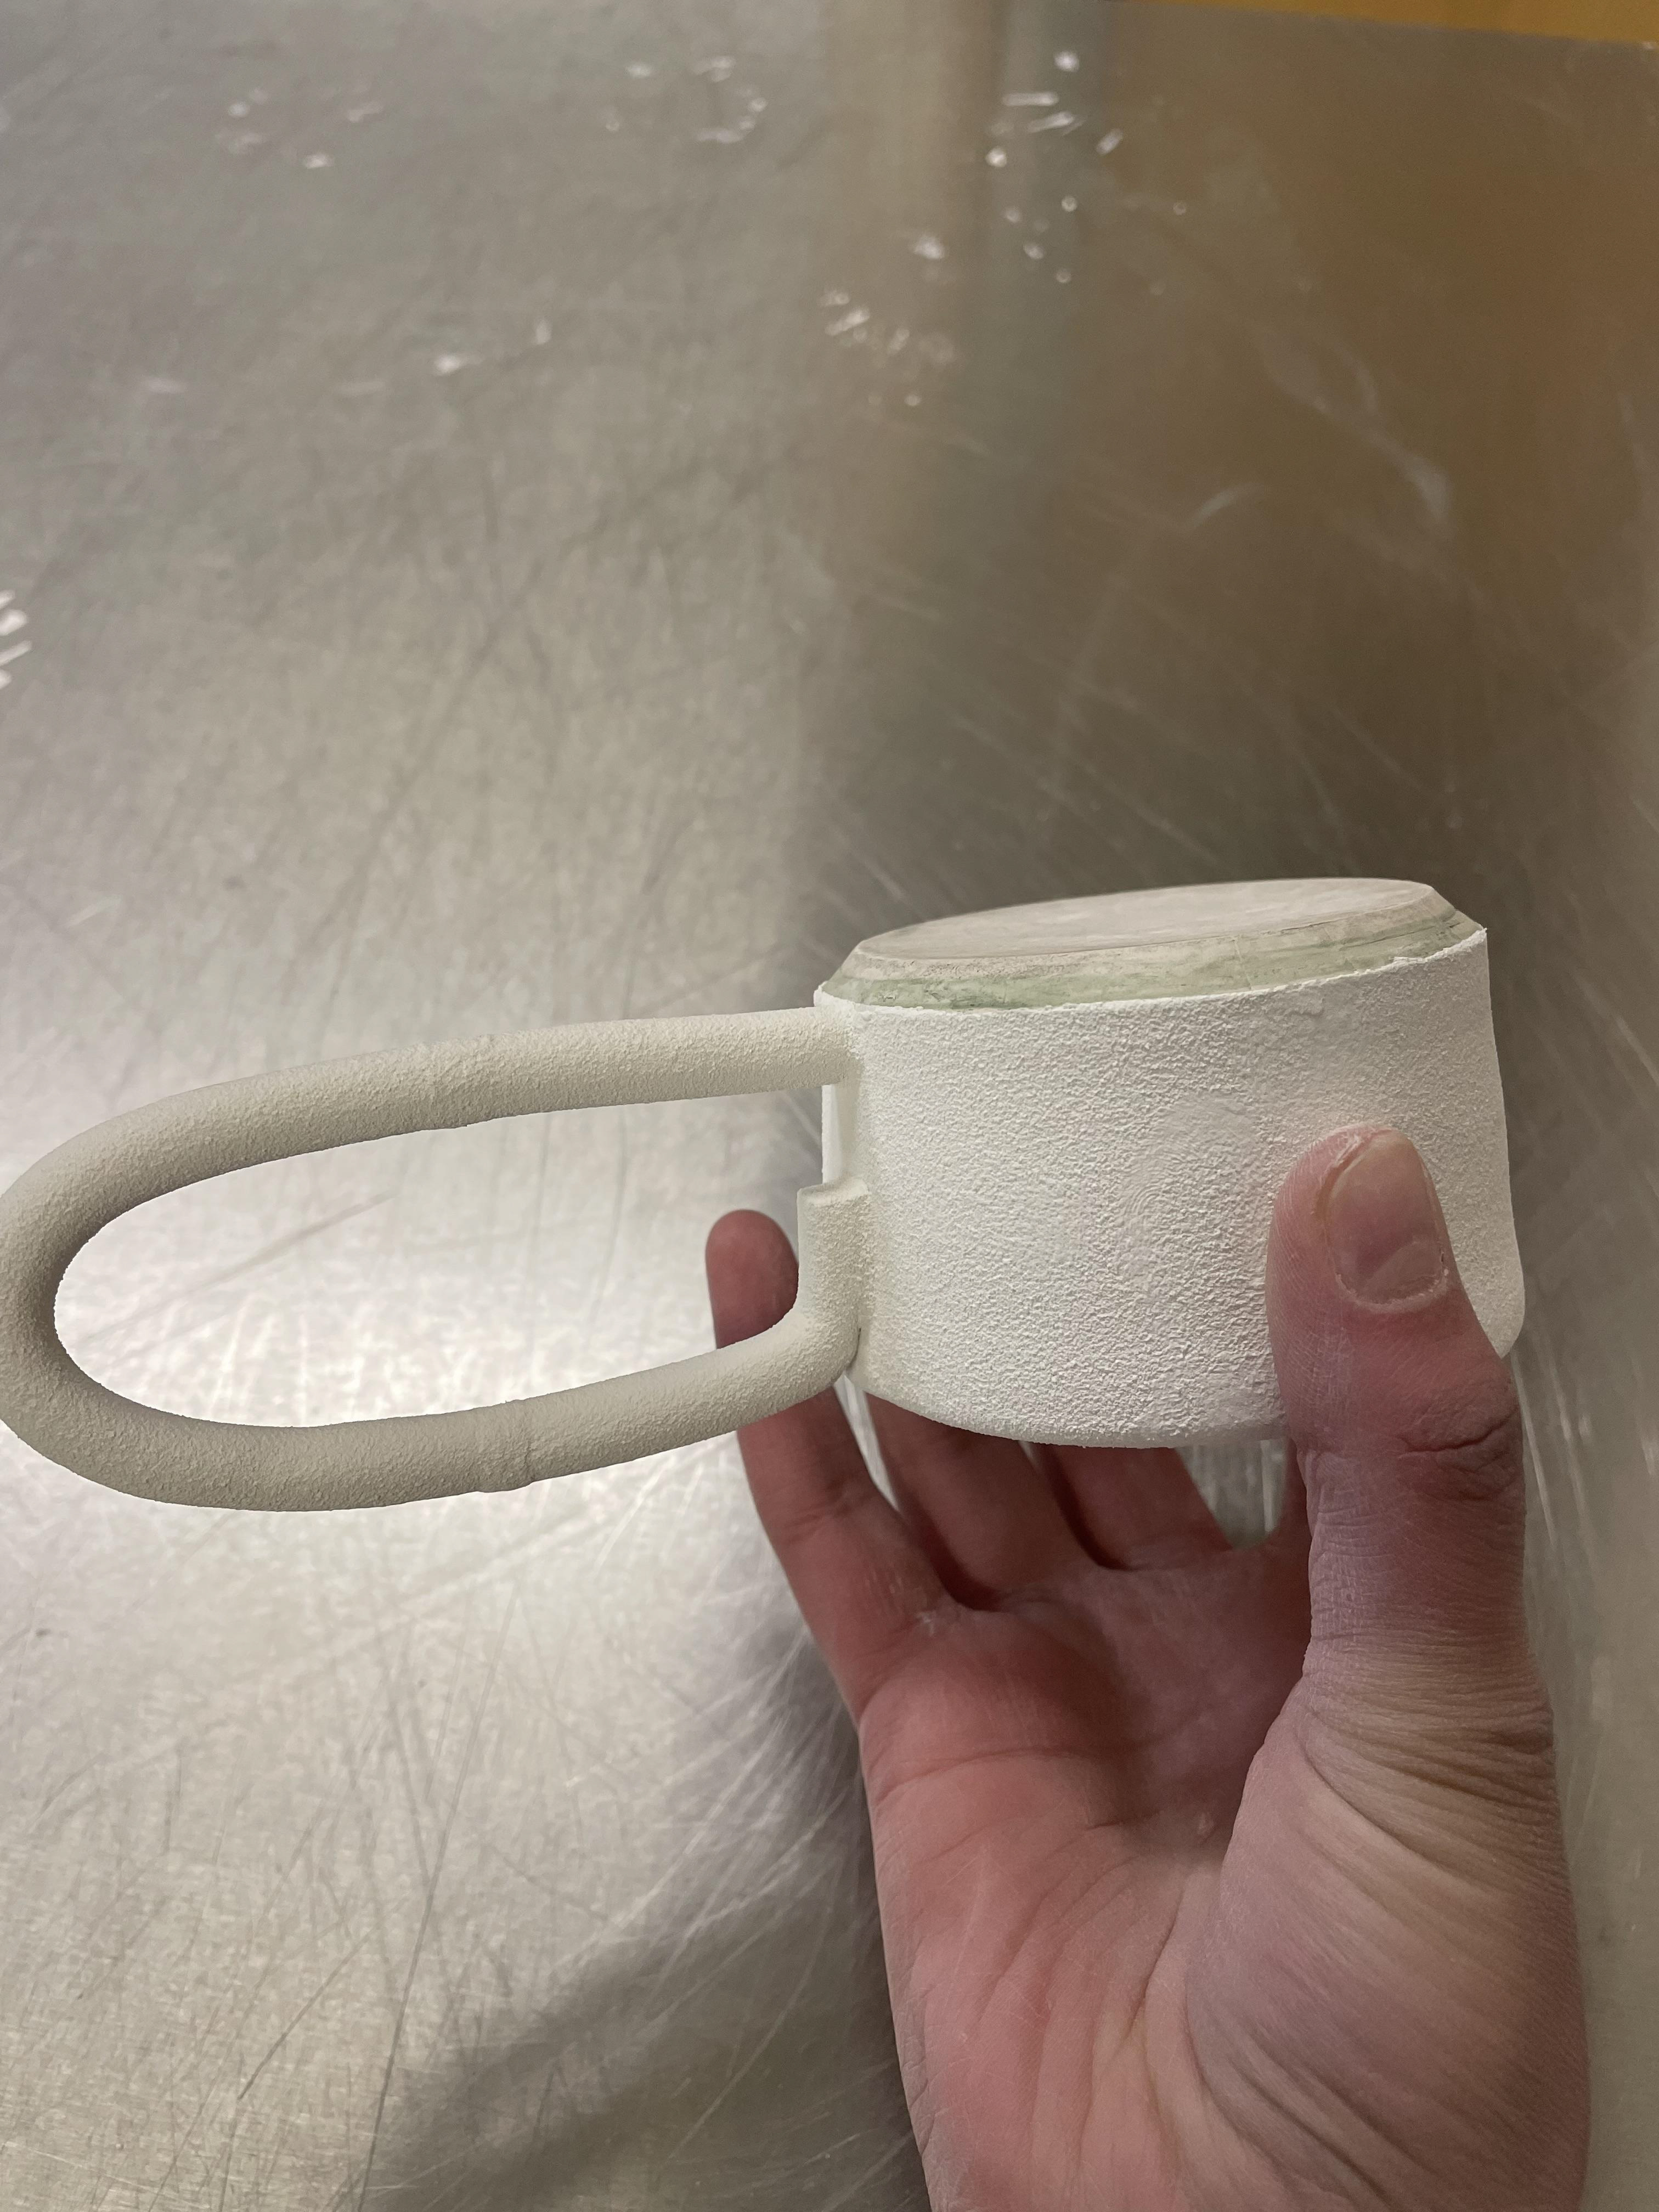
When creating my handles, I measured them all out to 19cm; as the mugs were 9cm, I wanted to have them double the length with 1cm as a tail, which would attach to the body of the mug. After experimenting with mug handles, I decided to go with a long handle shape with a tail down the mug. This was essential to my design as the handles did not support the mug body. They need to have a stronger connection to support the body of the mug; having this small change in design gave more support to the handle, creating a more extensive surface area, making it more secure, and it also reduced the chances of cracking, which were pretty consistent with my other handle attachments. I wanted the handles to be thin and delicate, following the mug style; a bulky handle would be too overpowering, taking away from the details of the mug. These handles must be shaped and left until the leather dries, with a similar moisture content to the mugs, allowing the clay to dry simultaneously. Being leather-hard, they kept their shape, not dropping at the ends, leading to a saggy handle. The handles had to be pretty narrow, around 4 cm in height, as I had a 1 cm rim; they needed to be cut off before the rim to sit smoothly and glazed.
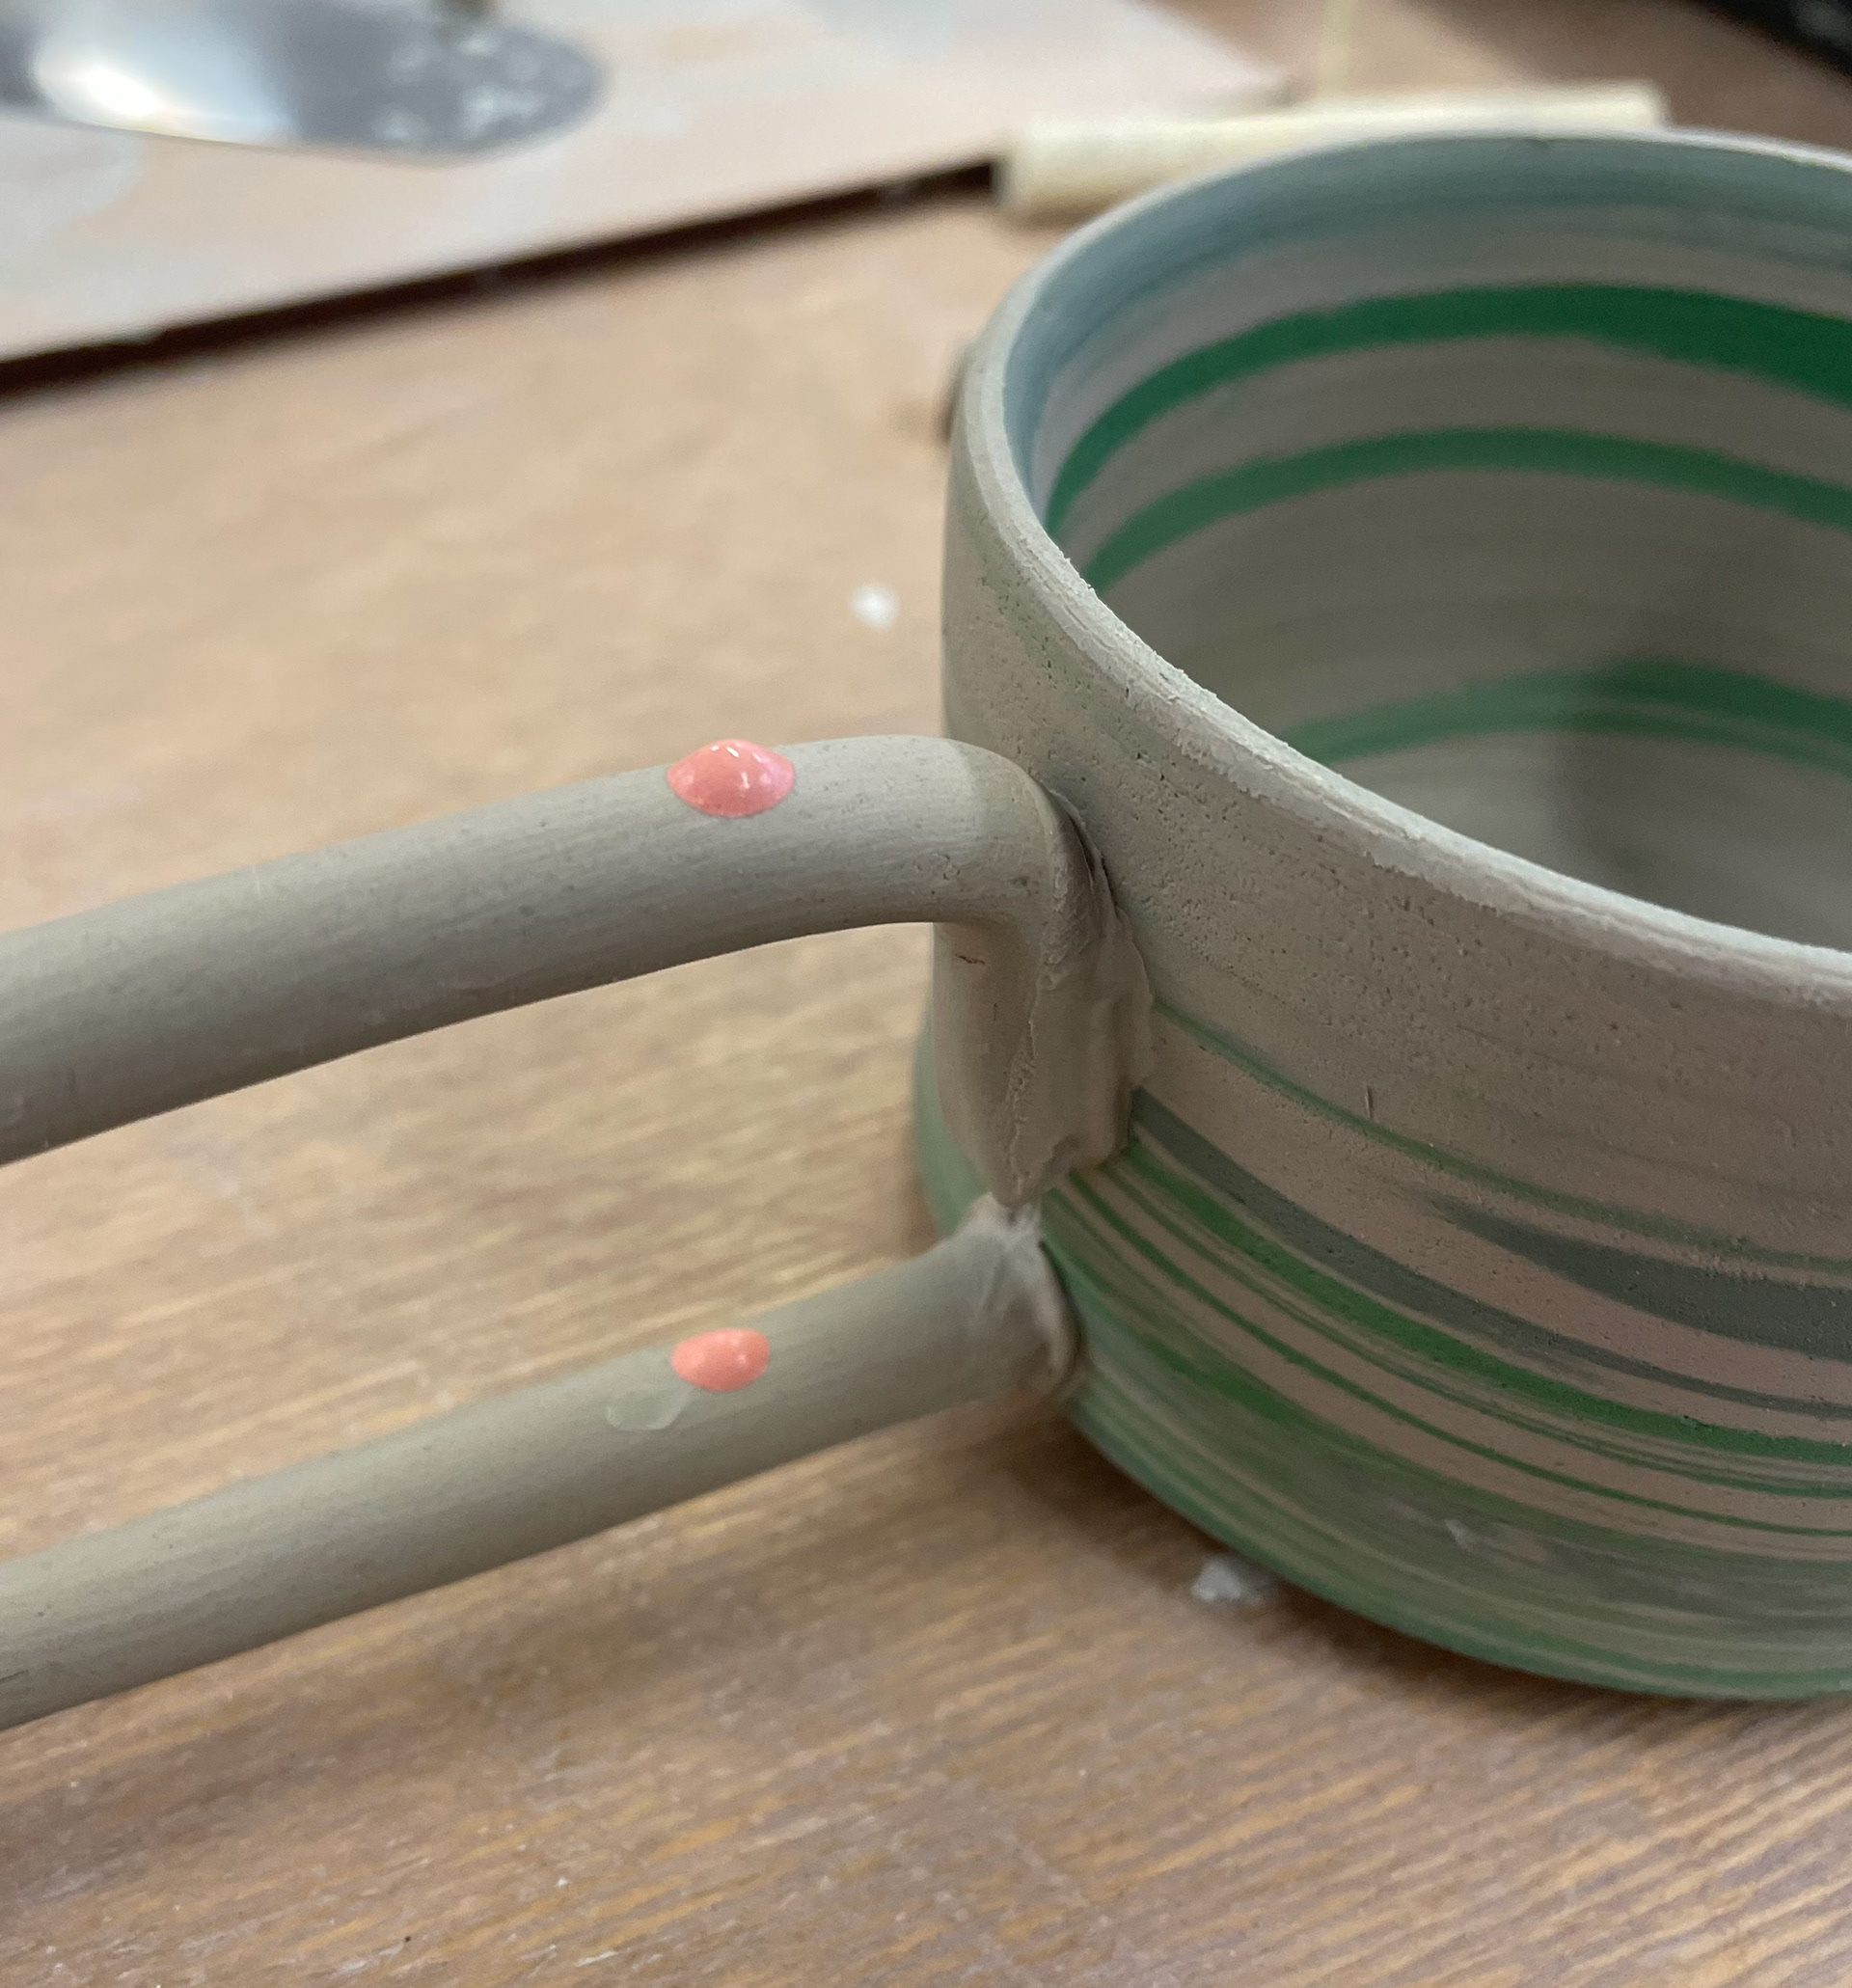
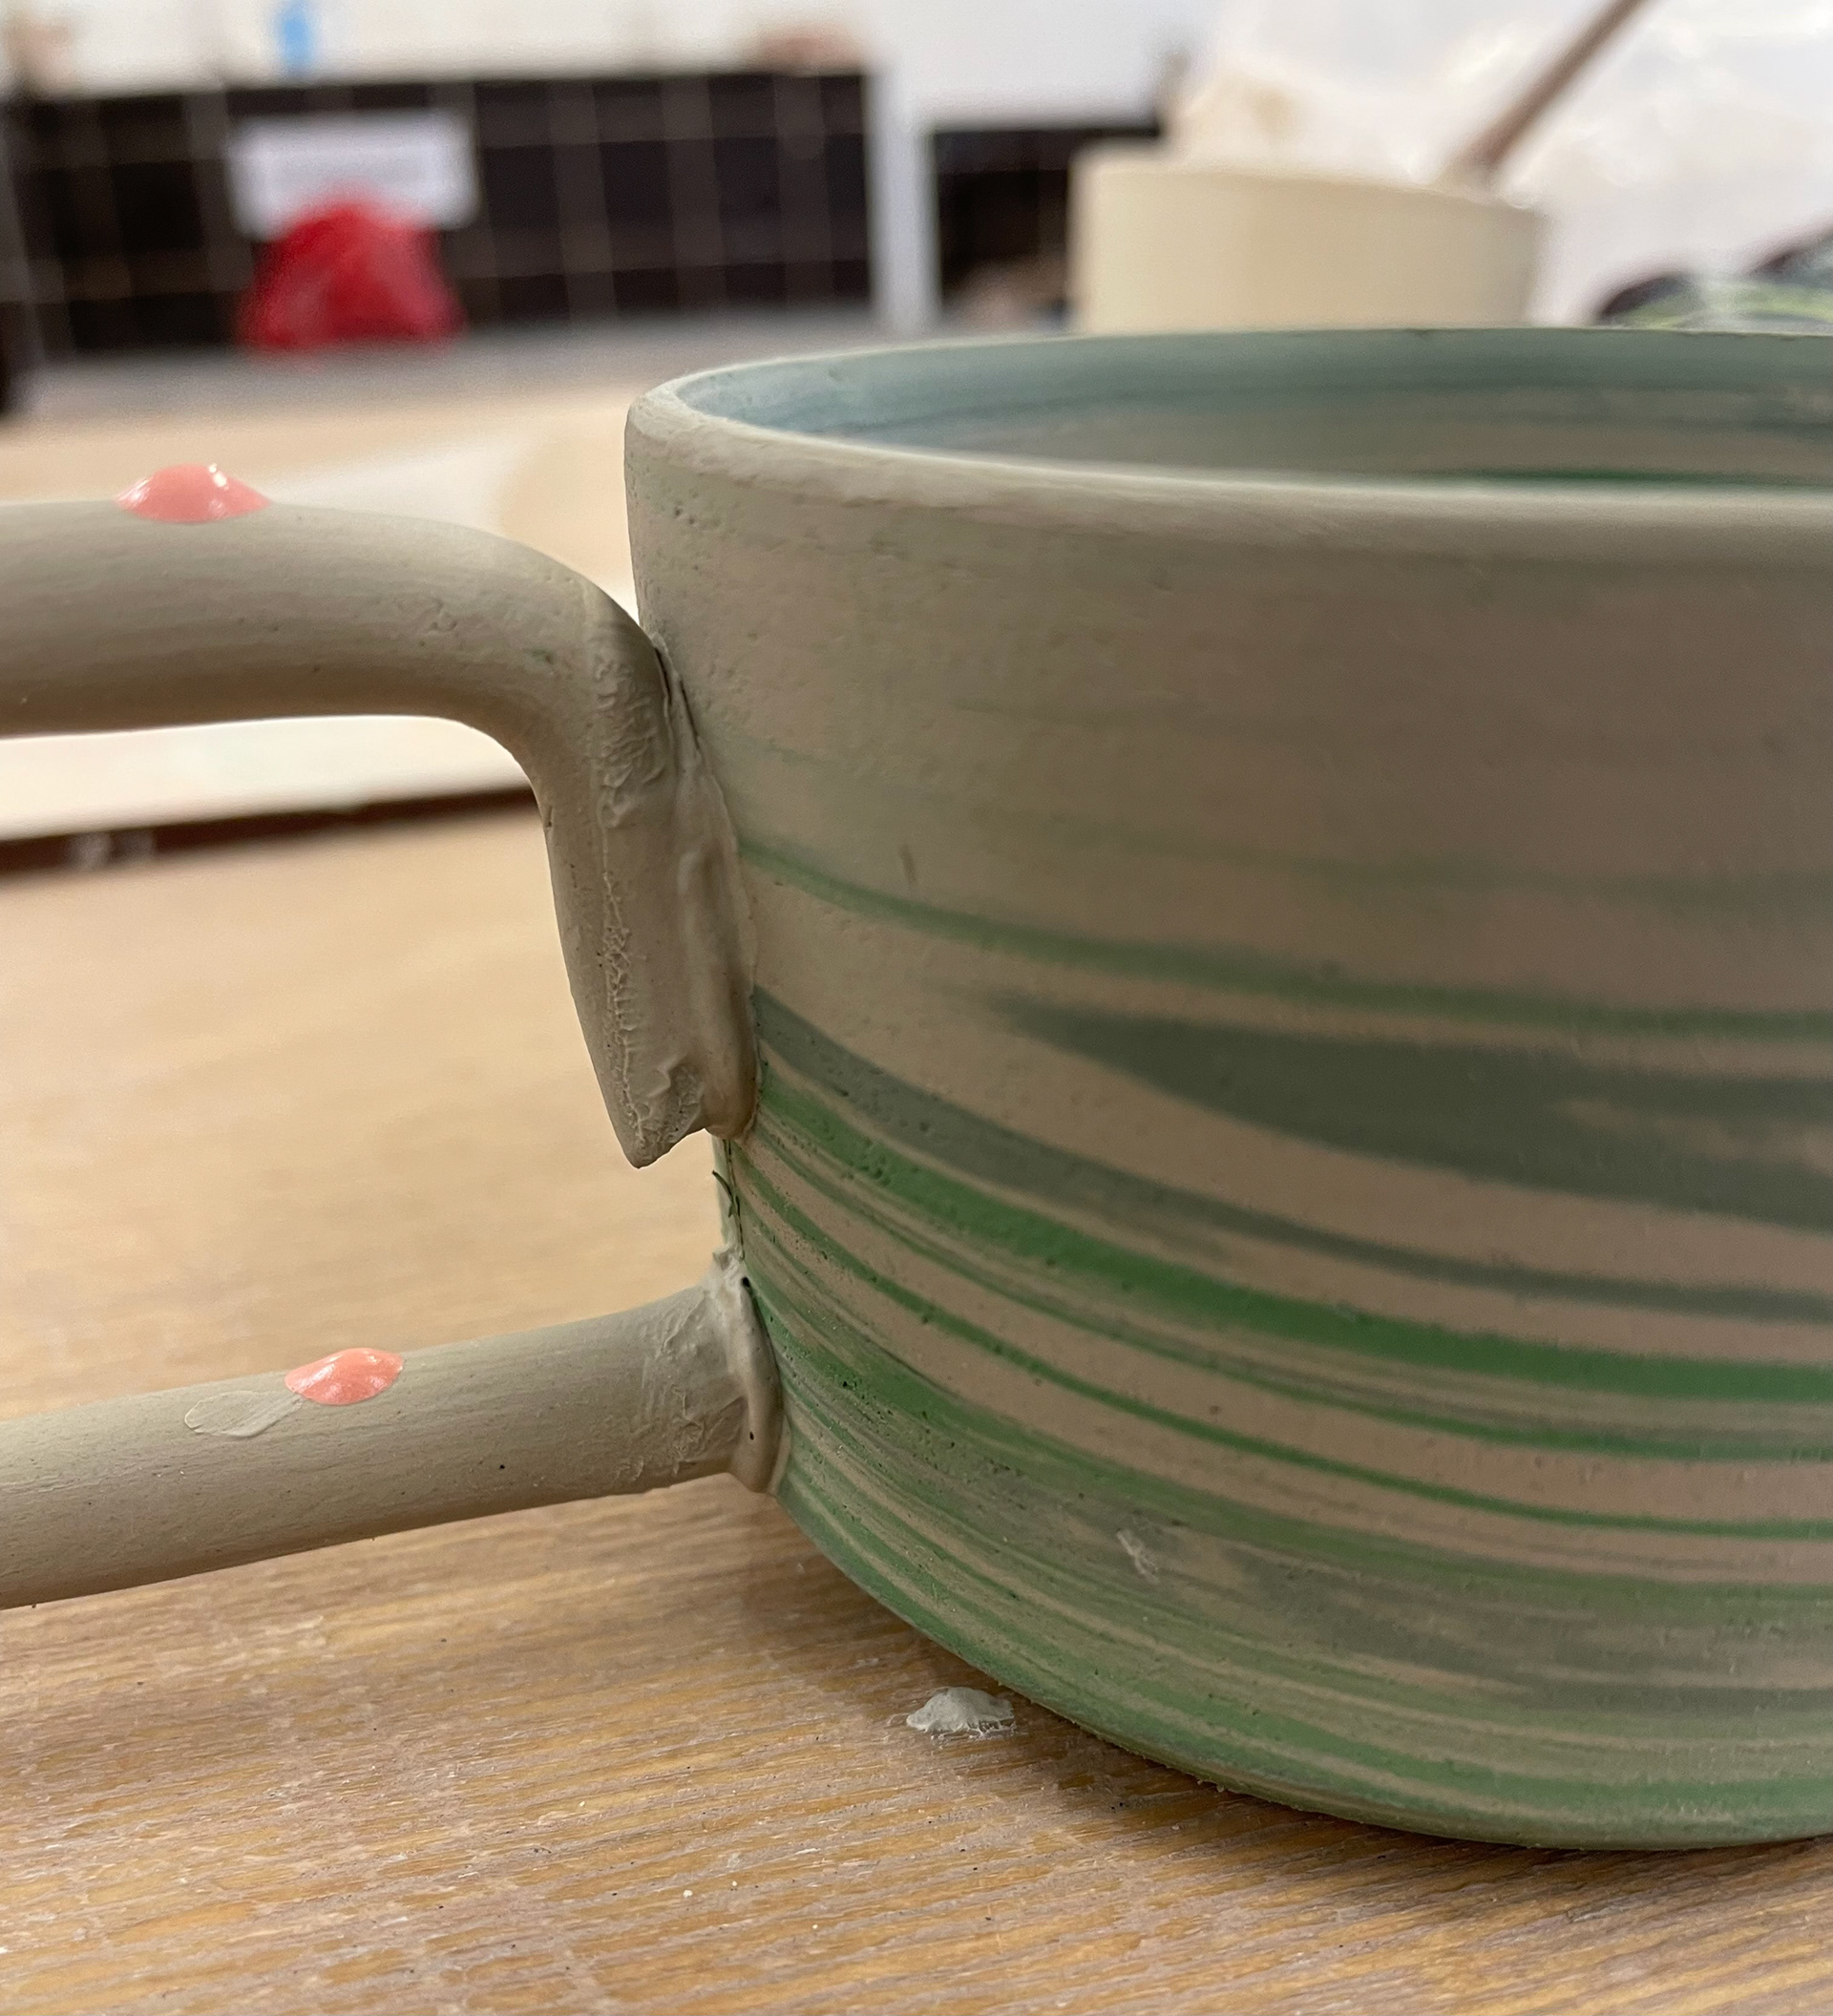
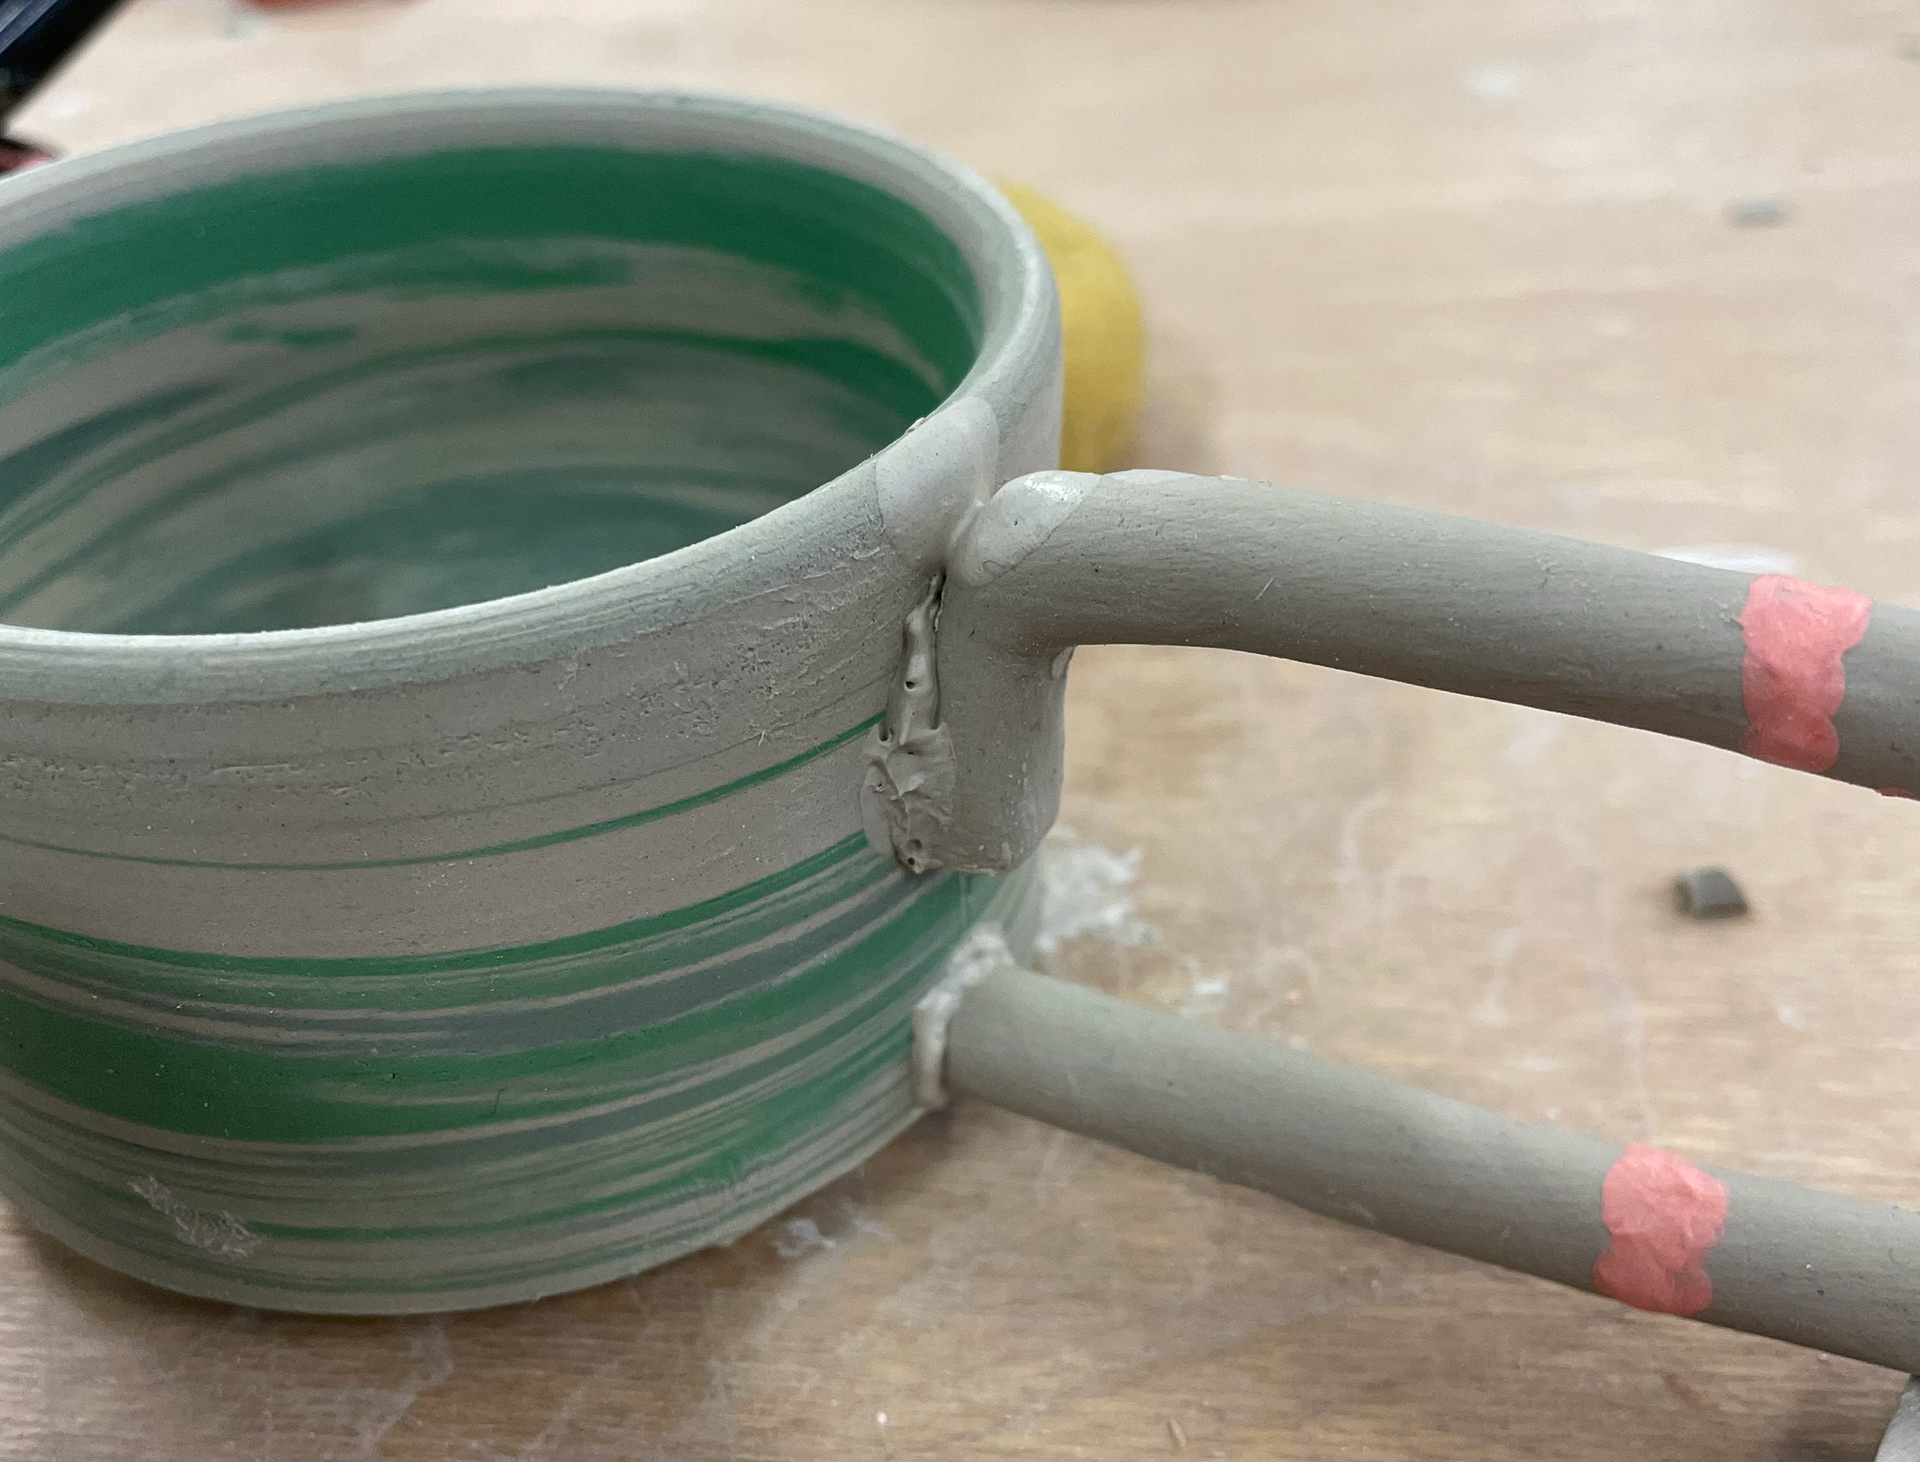
Scoring and creating a slip to attach the handles allows for a very secure attachment. I leave the slip on the handles to dry hard. Once dried, I can scrape it away and smooth it with a wet paintbrush, allowing for a clean attachment. I used slabs of wood stacked to support the handles, which were designed to prevent them from drooping, keeping the handles' structure.

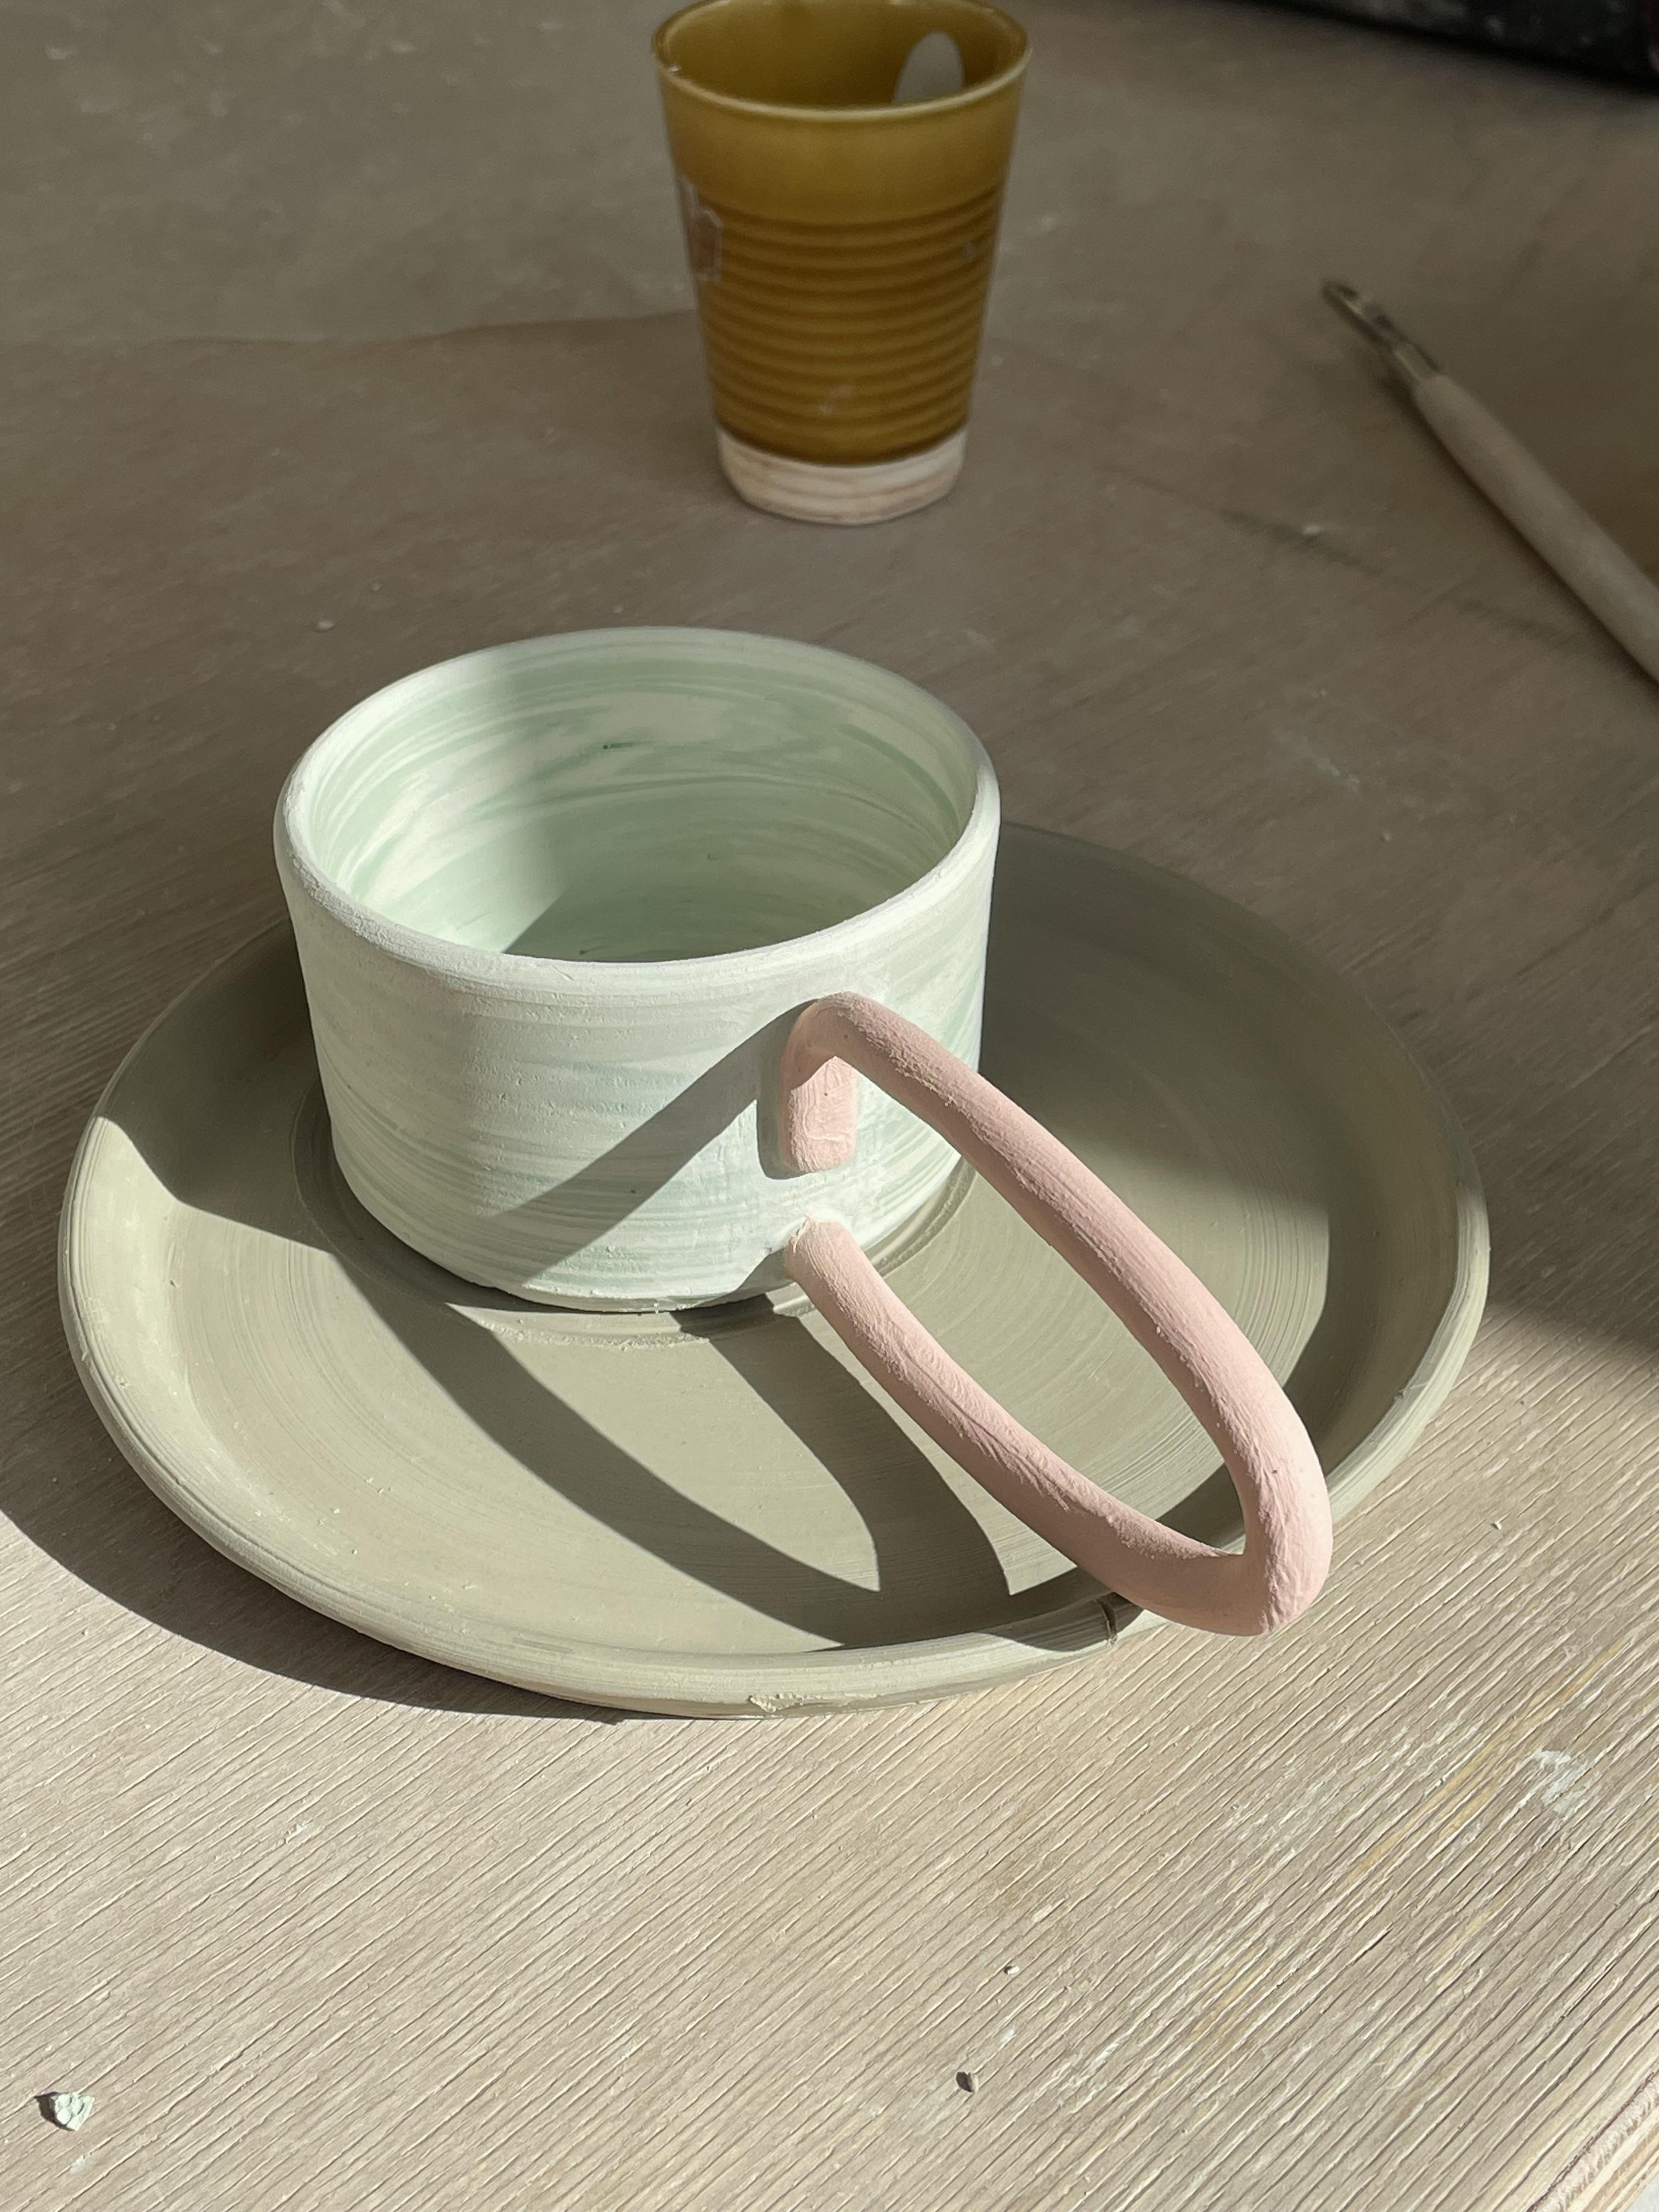
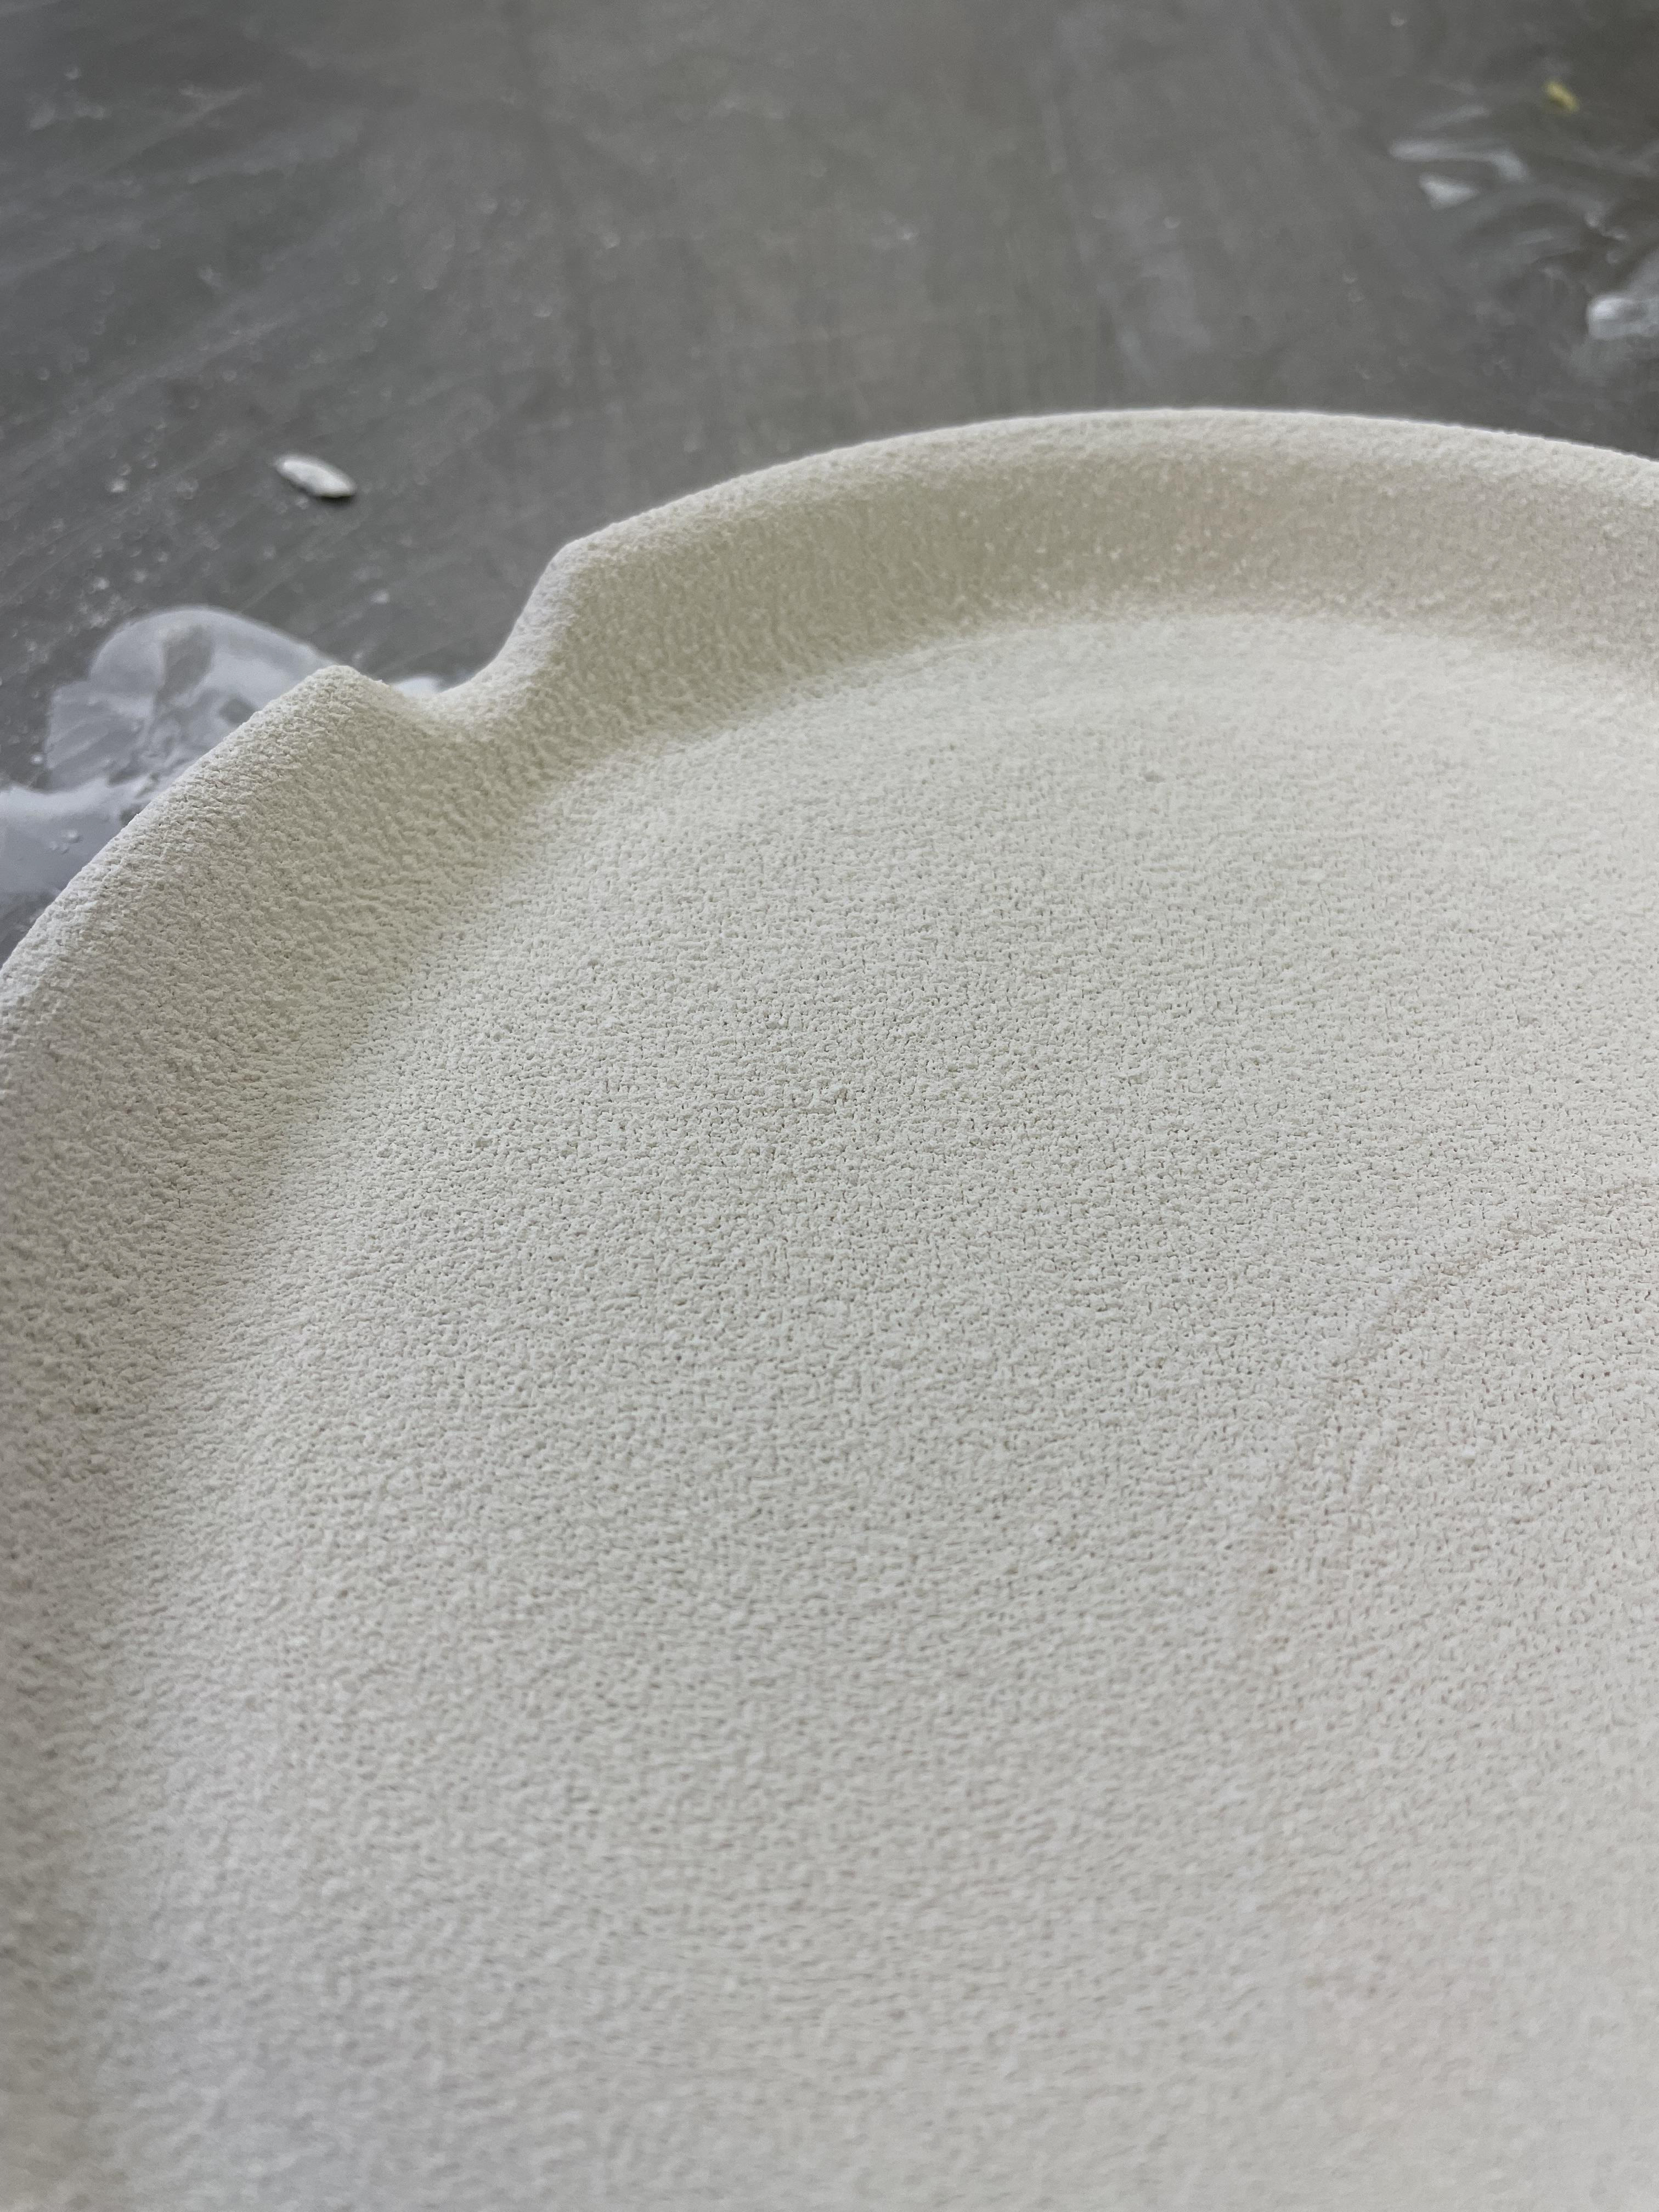
For the base of the mugs, I decided to leave them plain i didn't want to add a trim to the base of the mug as I wanted it to have a nice smooth base, allowing it to sit smoothly on the saucers, it also allowed the mugs to be more unitised.
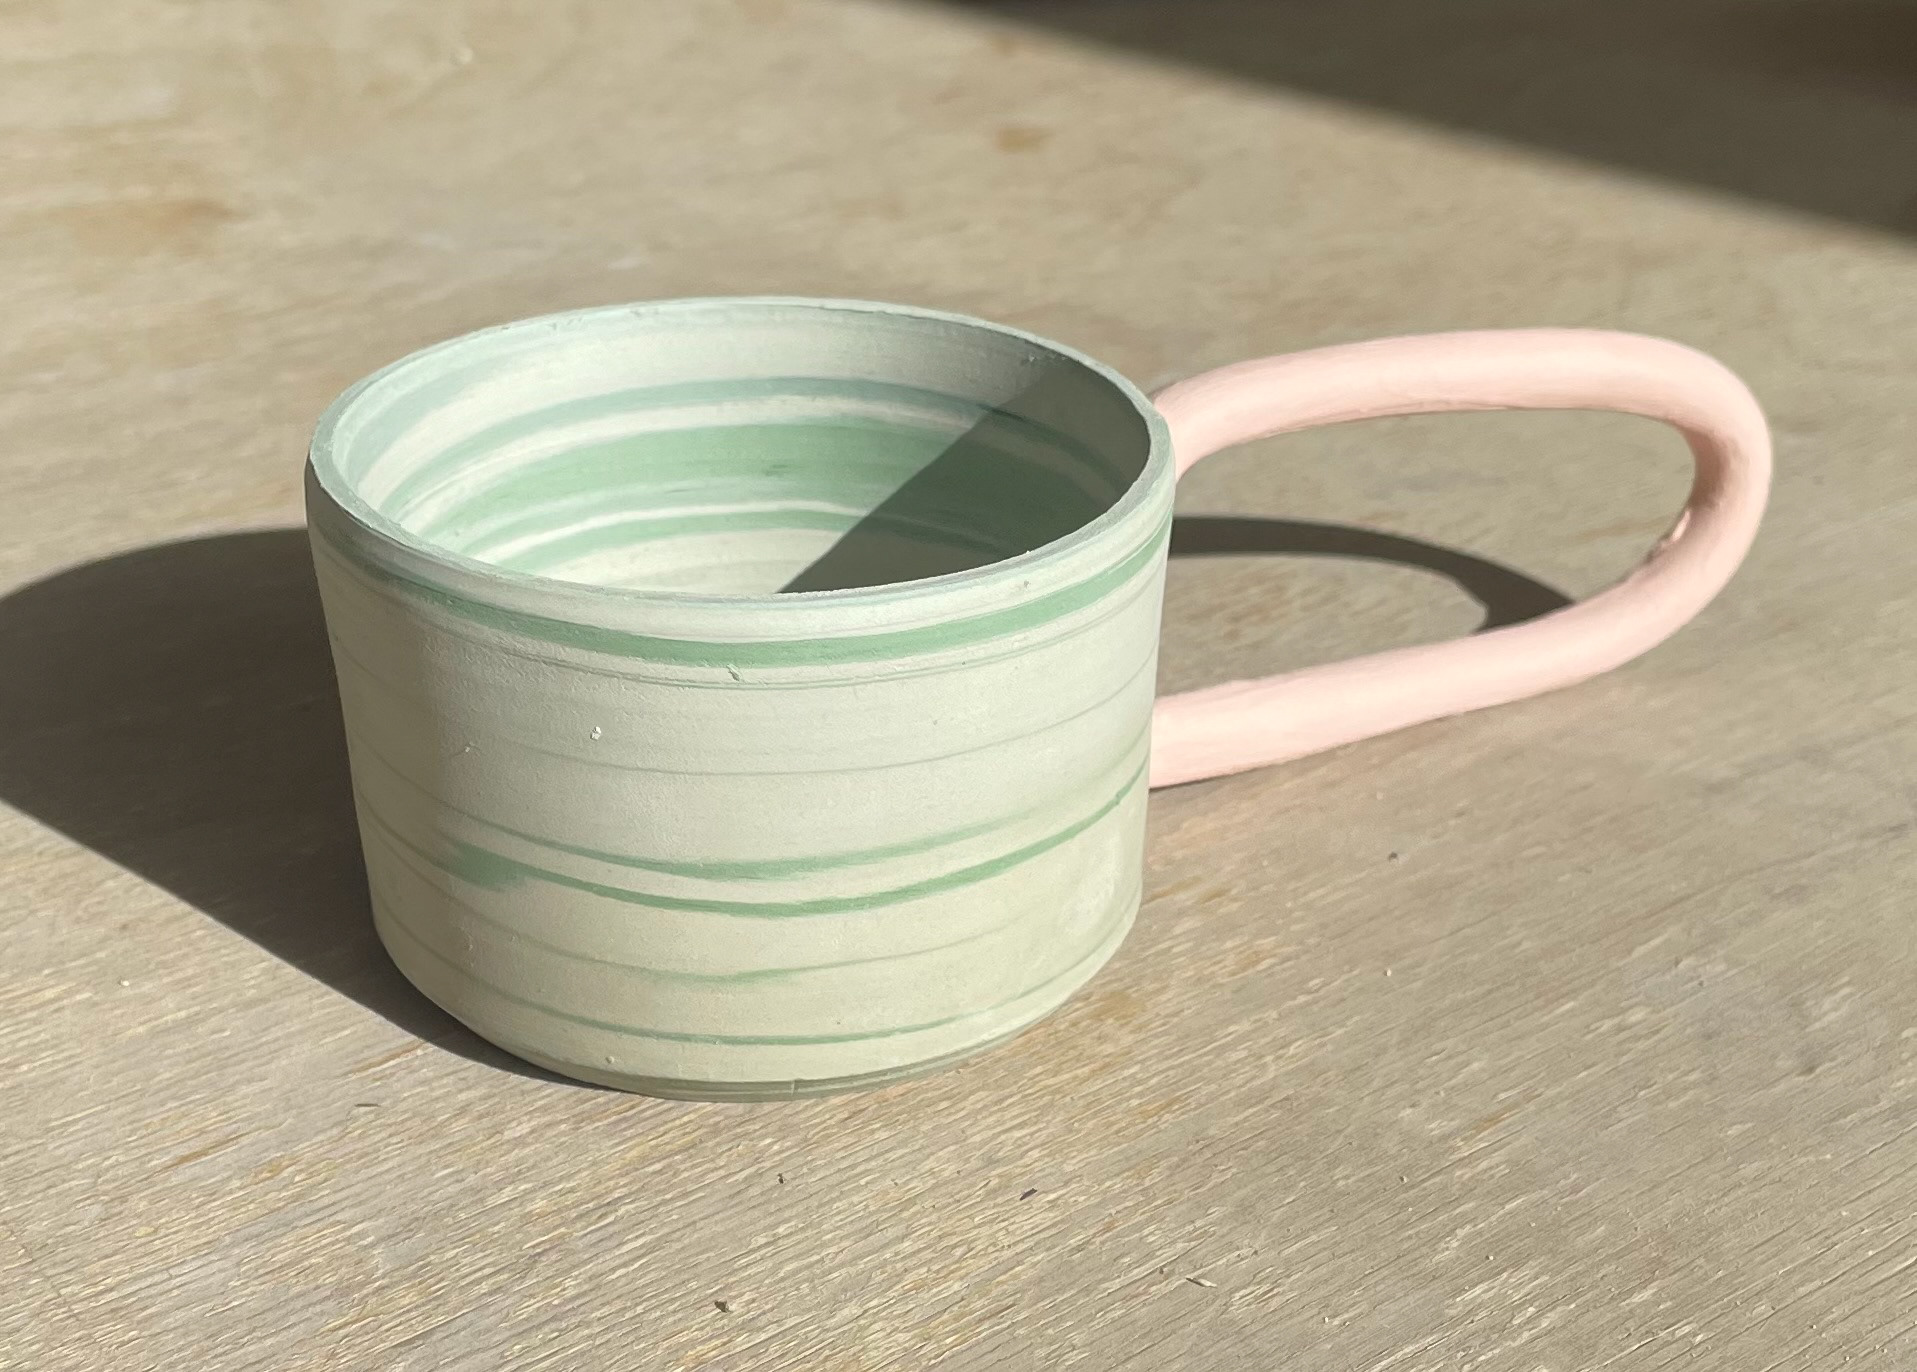
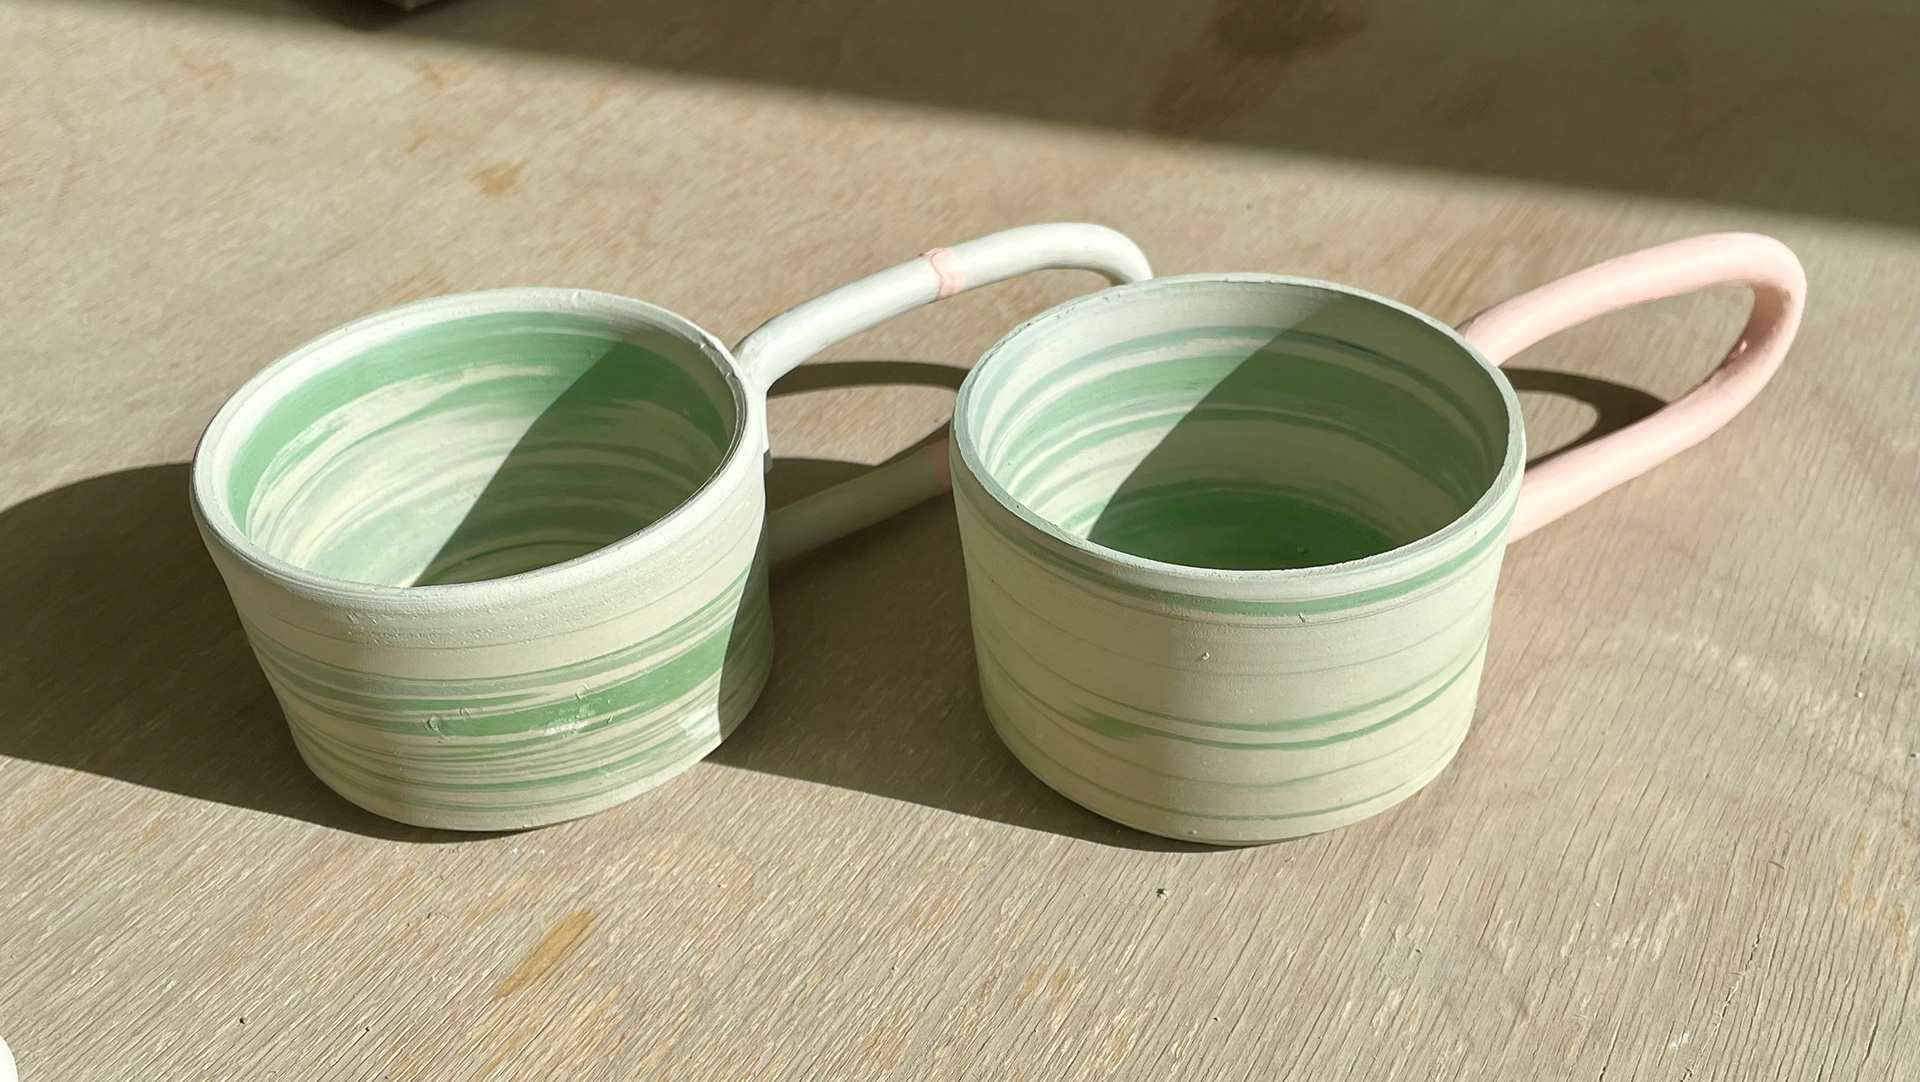
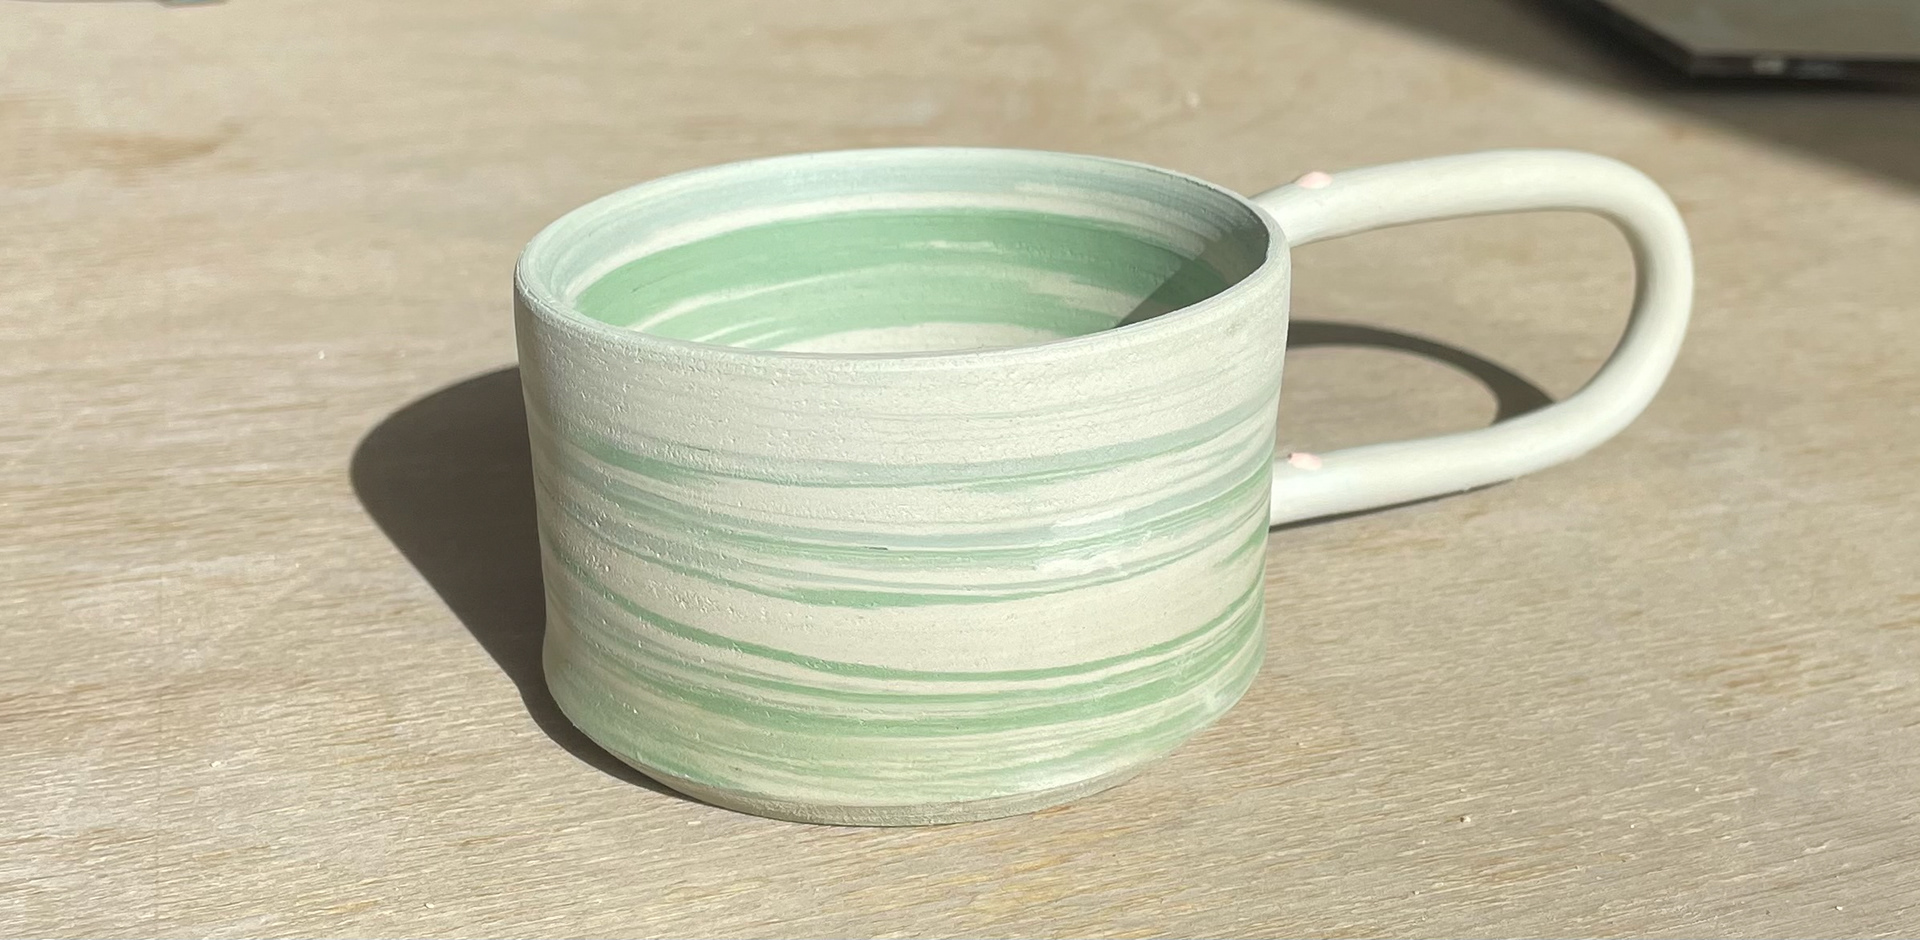
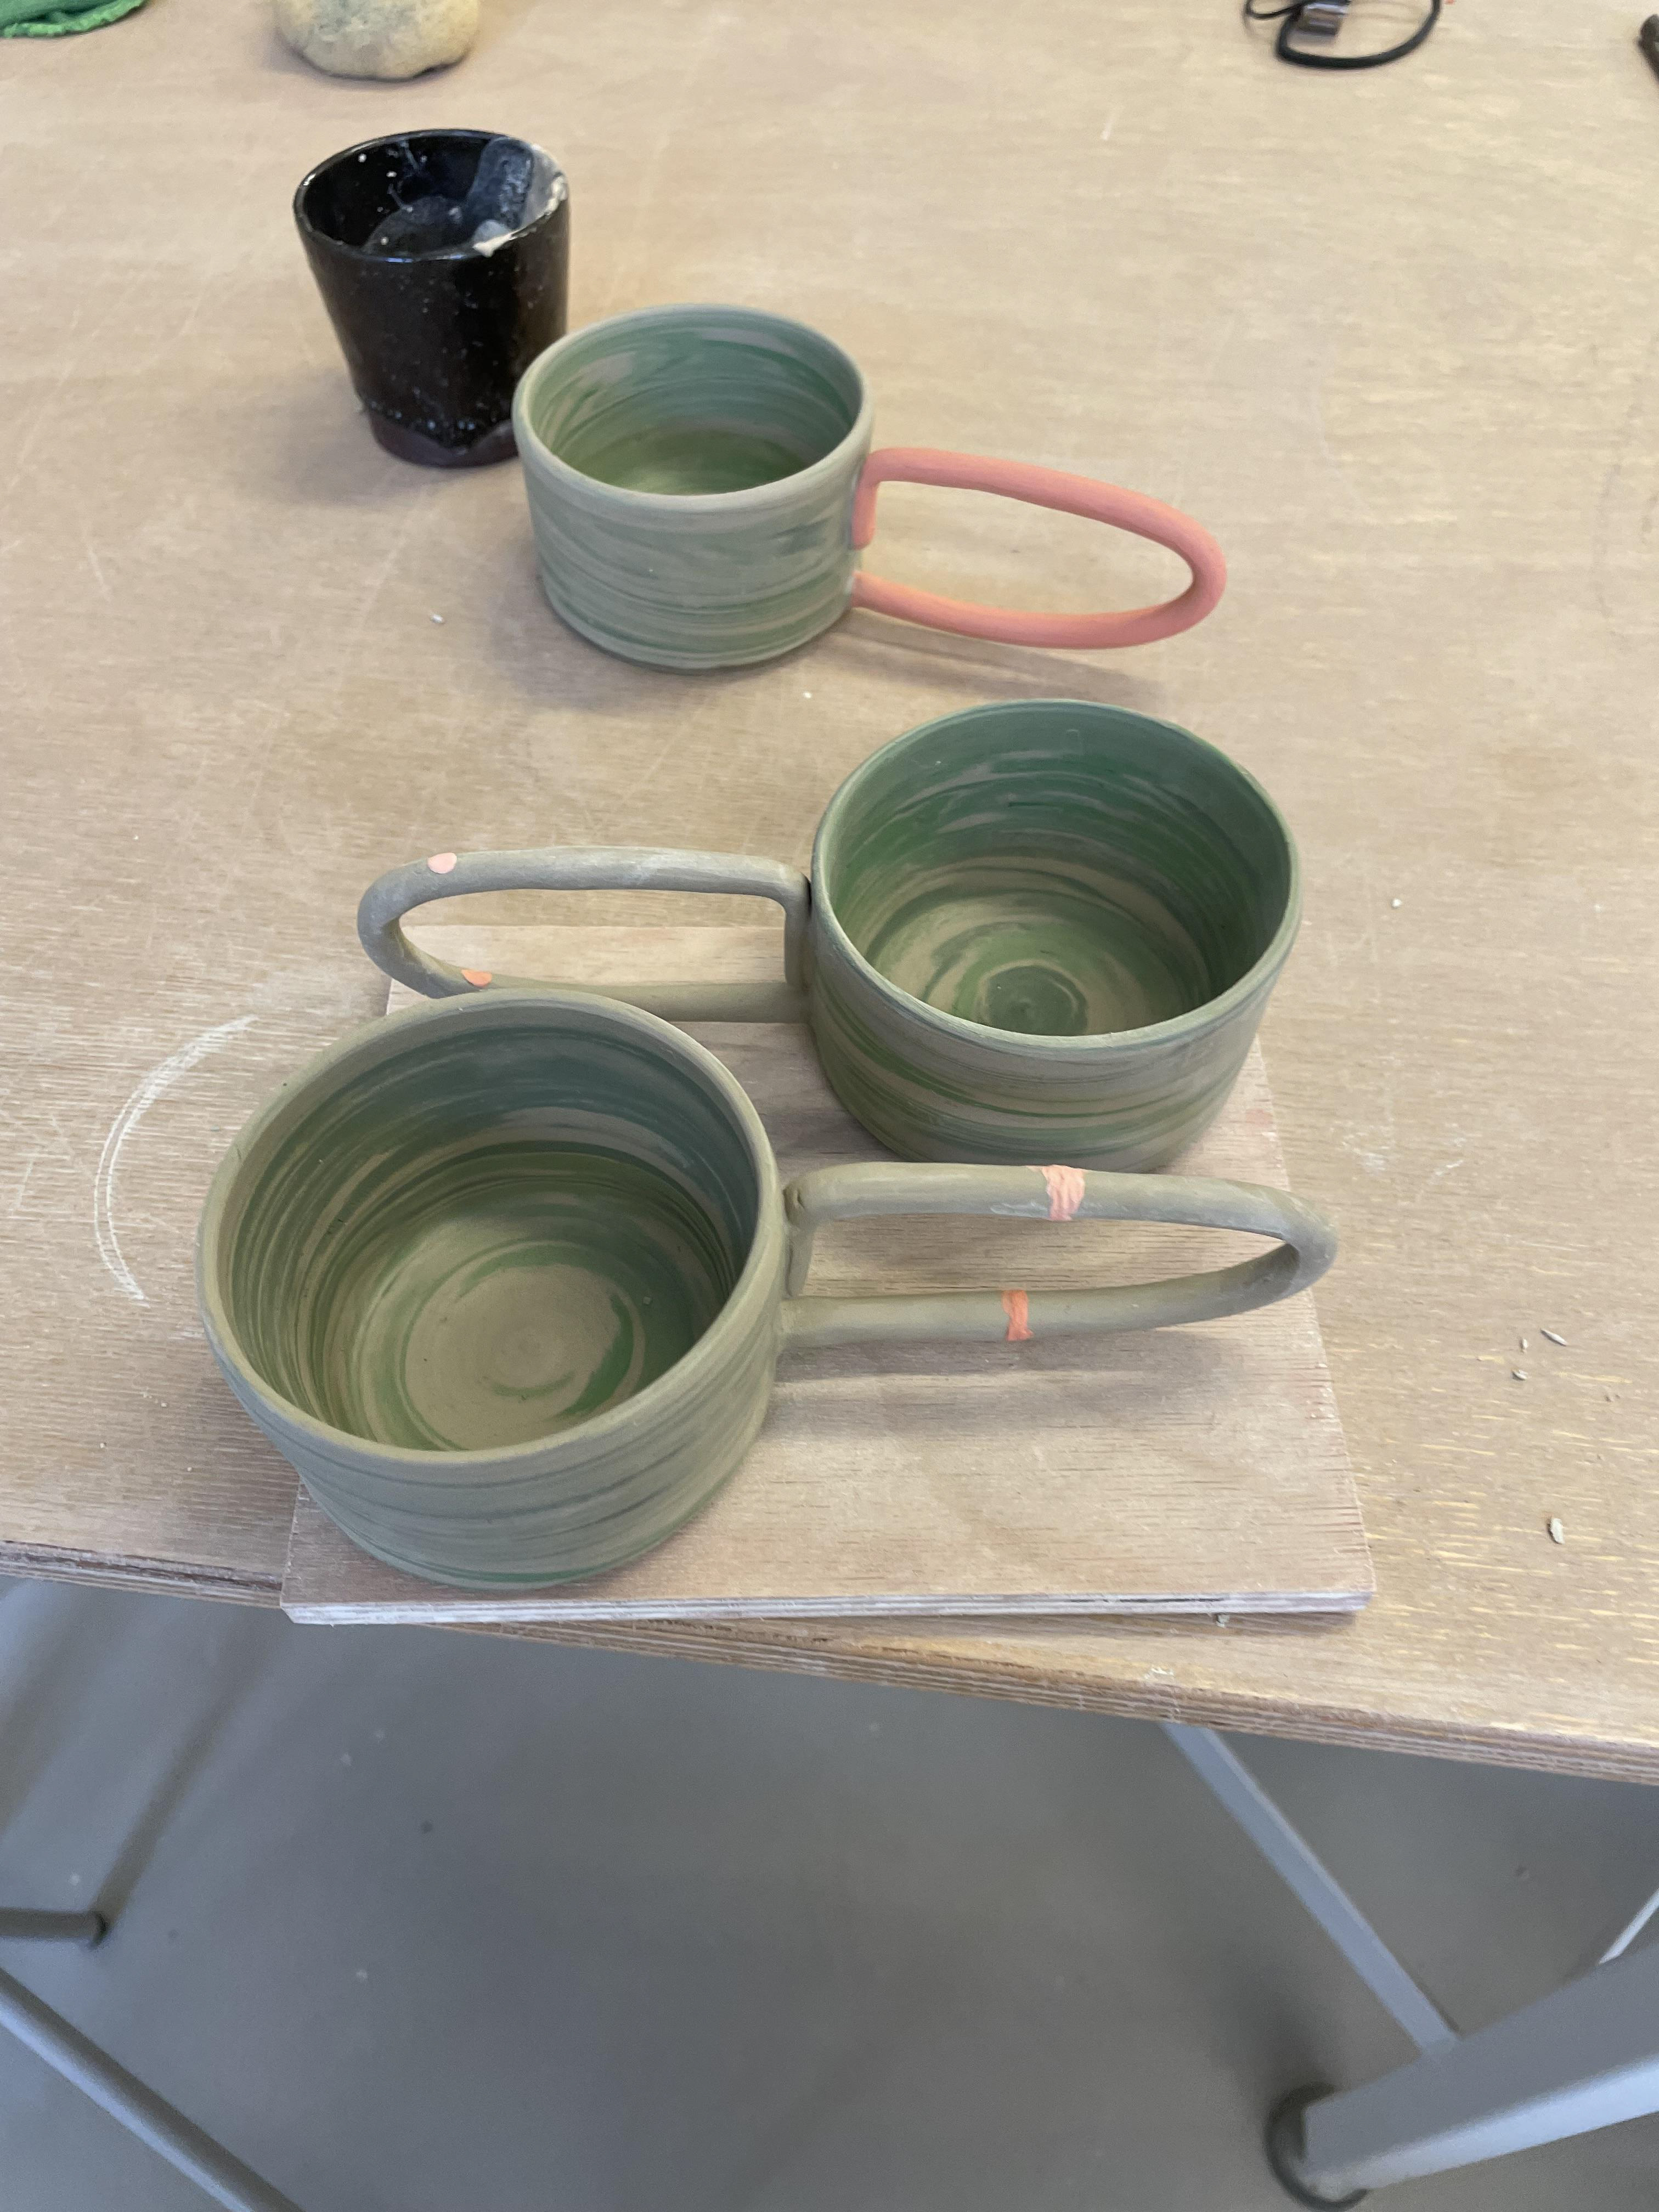
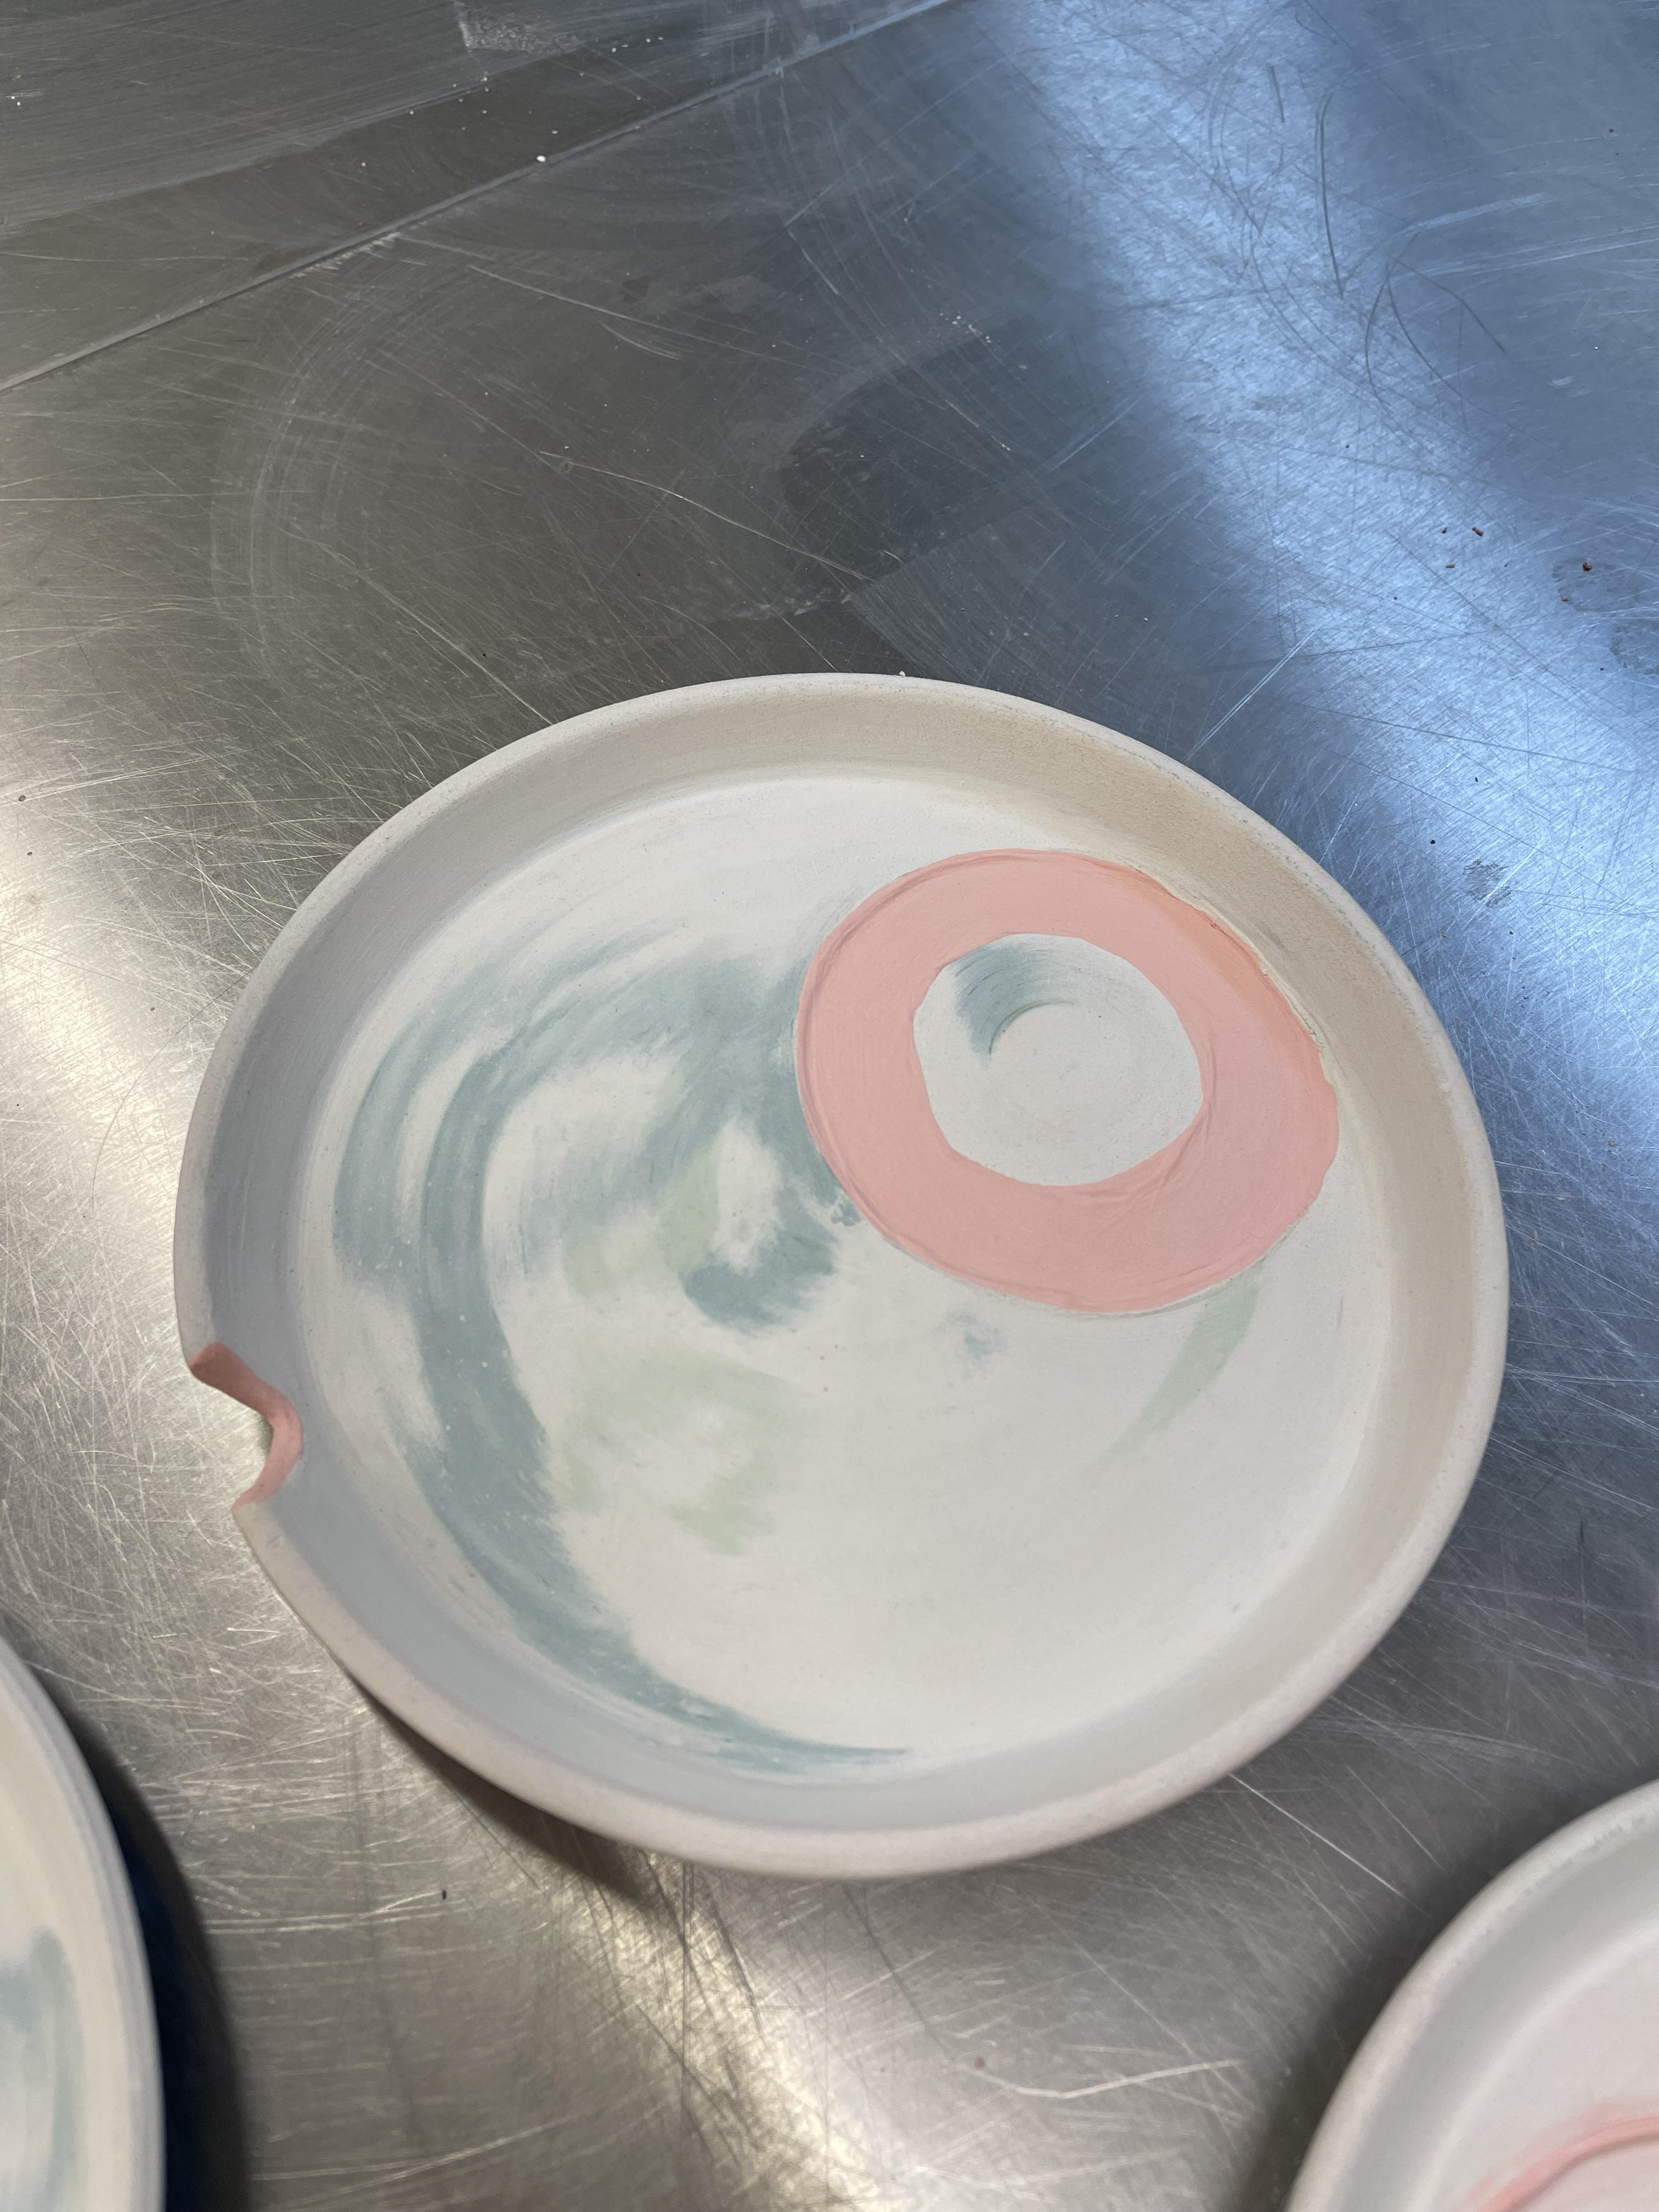
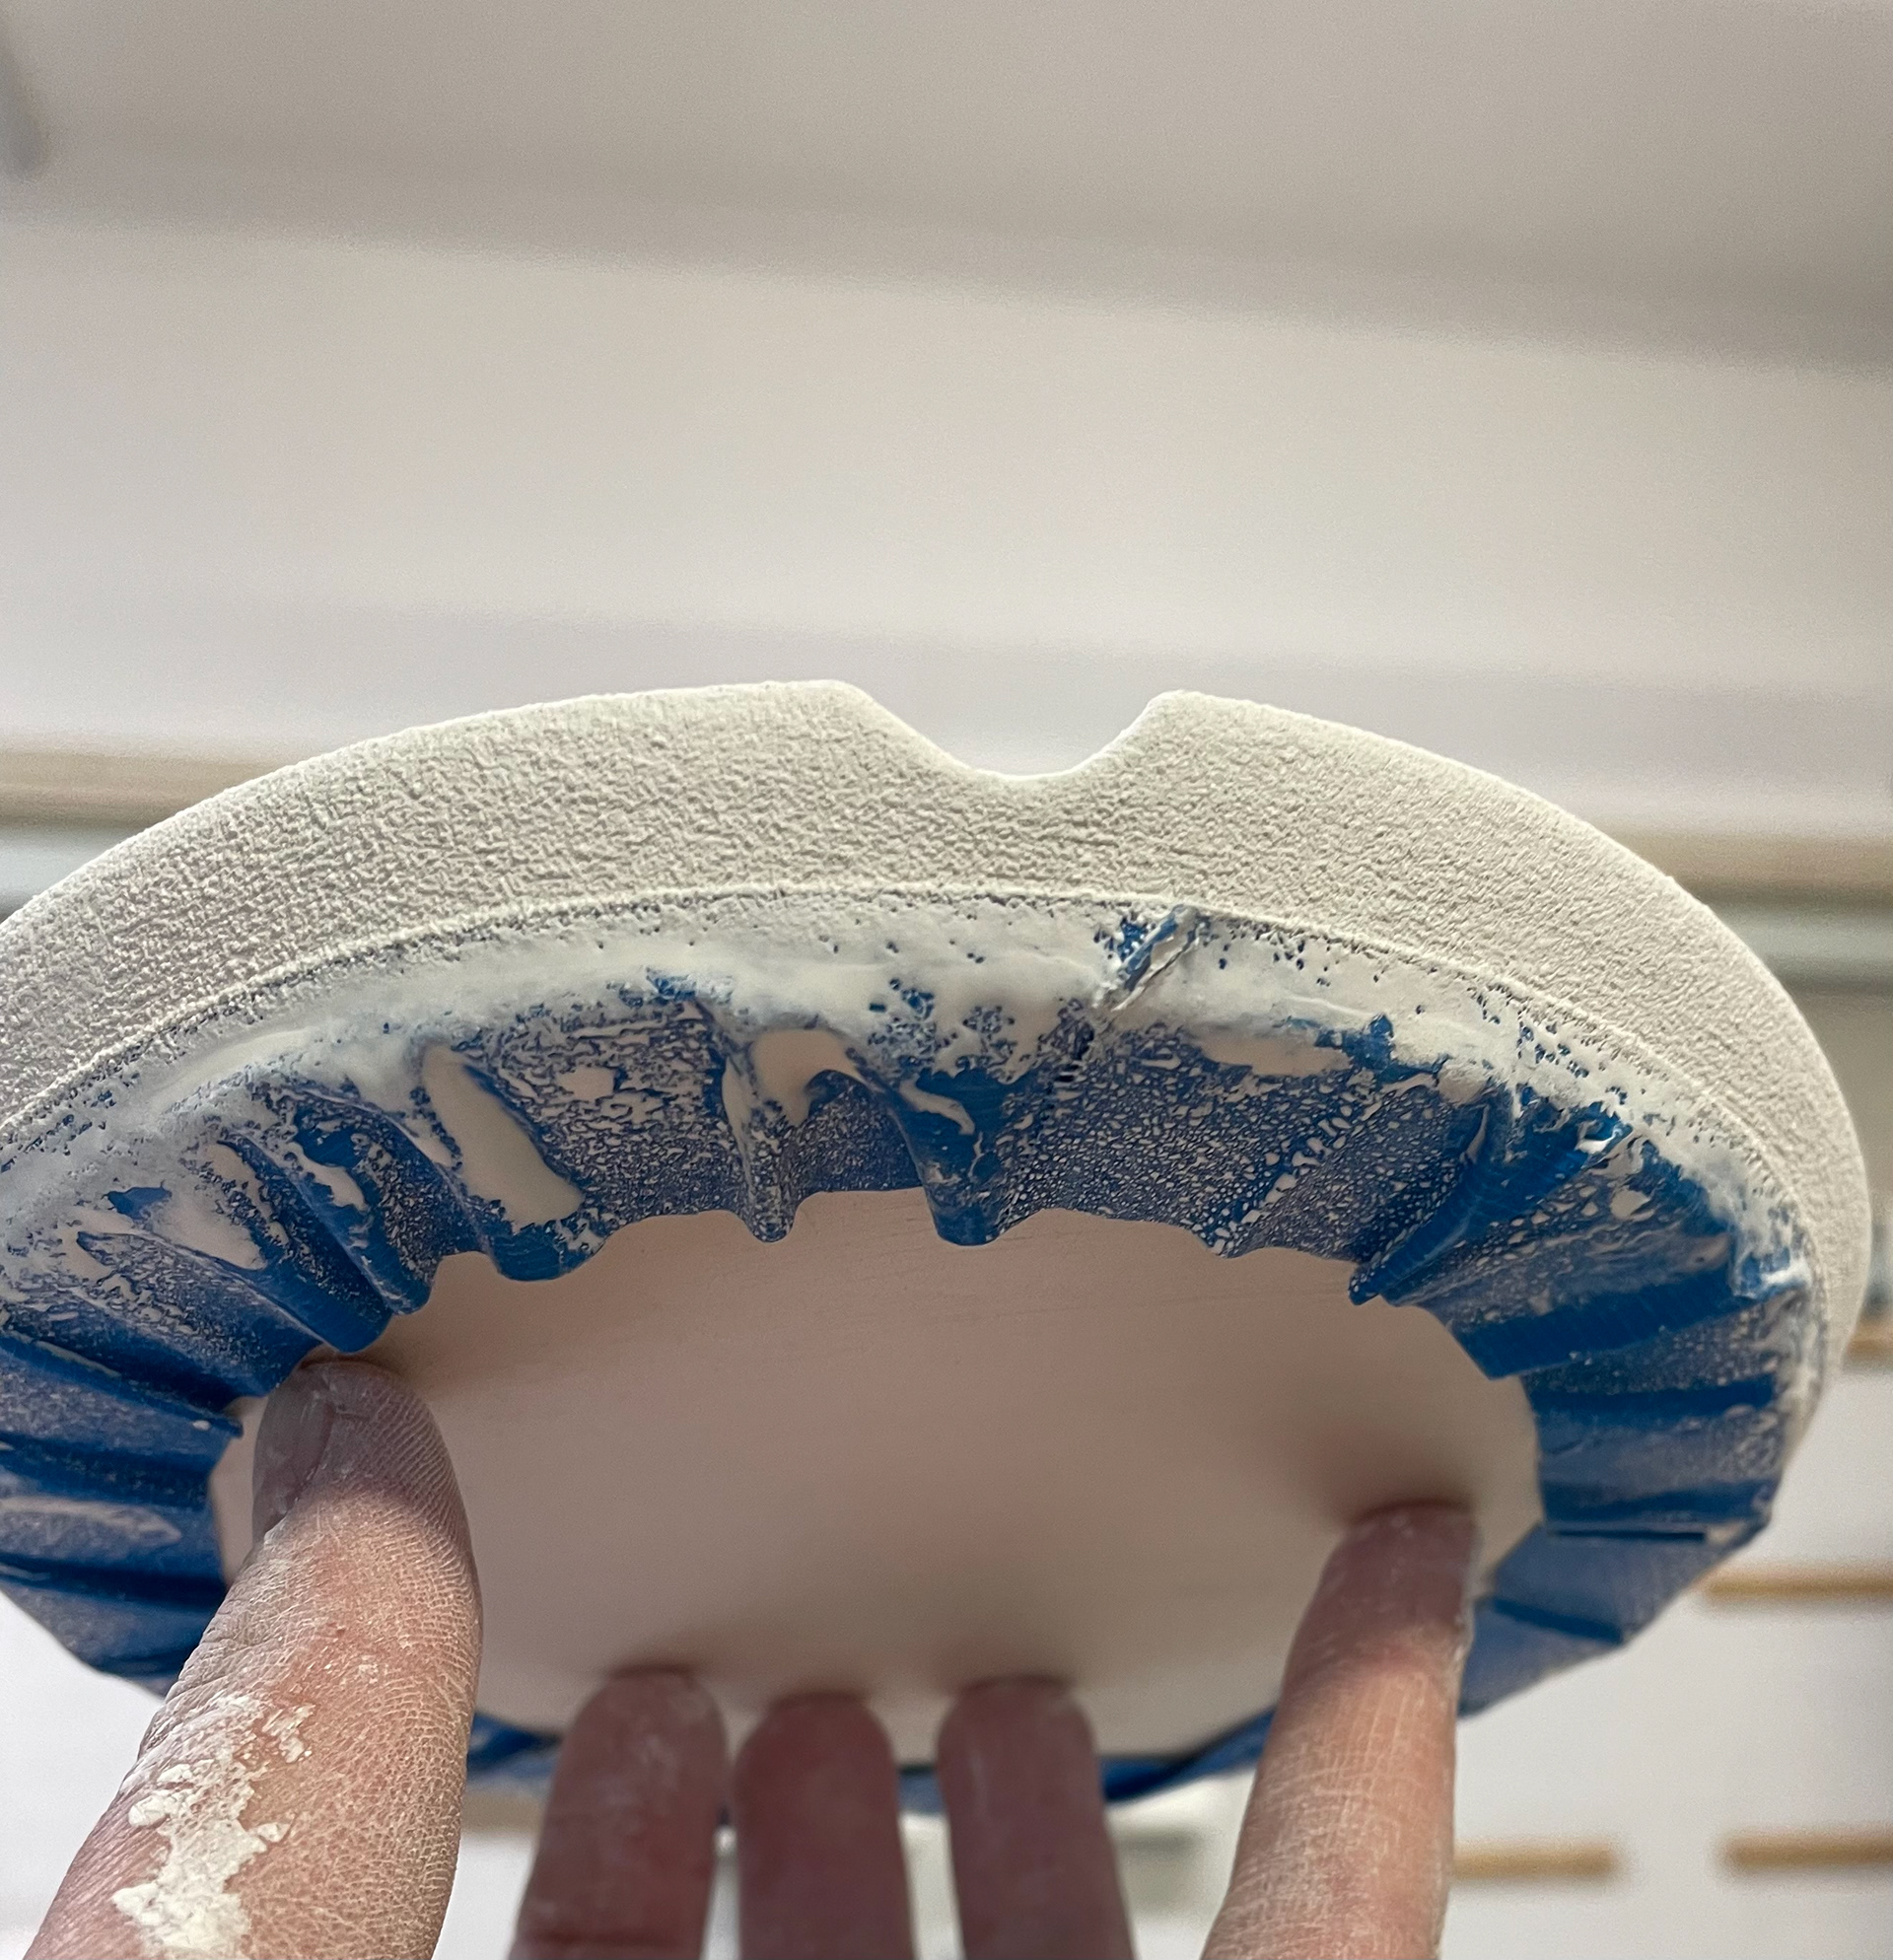
In my designs, I wanted all my mugs to be individual but be part of a set. Therefore, I decided to add an orange slip and bold accents. I felt the orange added nicely to the colour pallet and gave a powerful, bold pop. I wanted the orange slip to be added differently, with the handles individually. Two handles were coloured, one with a whole orange slip, the other with a 50/50 coloured clay, and the other two had two stripes and two dots decorating the handle. Using this stain on the handles makes it challenging to have straight, clean lines when painting. Try to reduce the brush marks as much as possible, trying not to cause any patchiness. Once dried, I knew I could return and clean the orange. I like how they all have different accents of orange, similar to the coloured clay; they all have the same colours but all in various patterns, showing their part of a set but still strong individually. The orange slip is deceiving as it only shows its colour after being glazed and fired like the oxidies, so you worry a lot about the outcome. I also intend to add similar accents to the saucers, tying everything together nicely.
Throwing Saucers
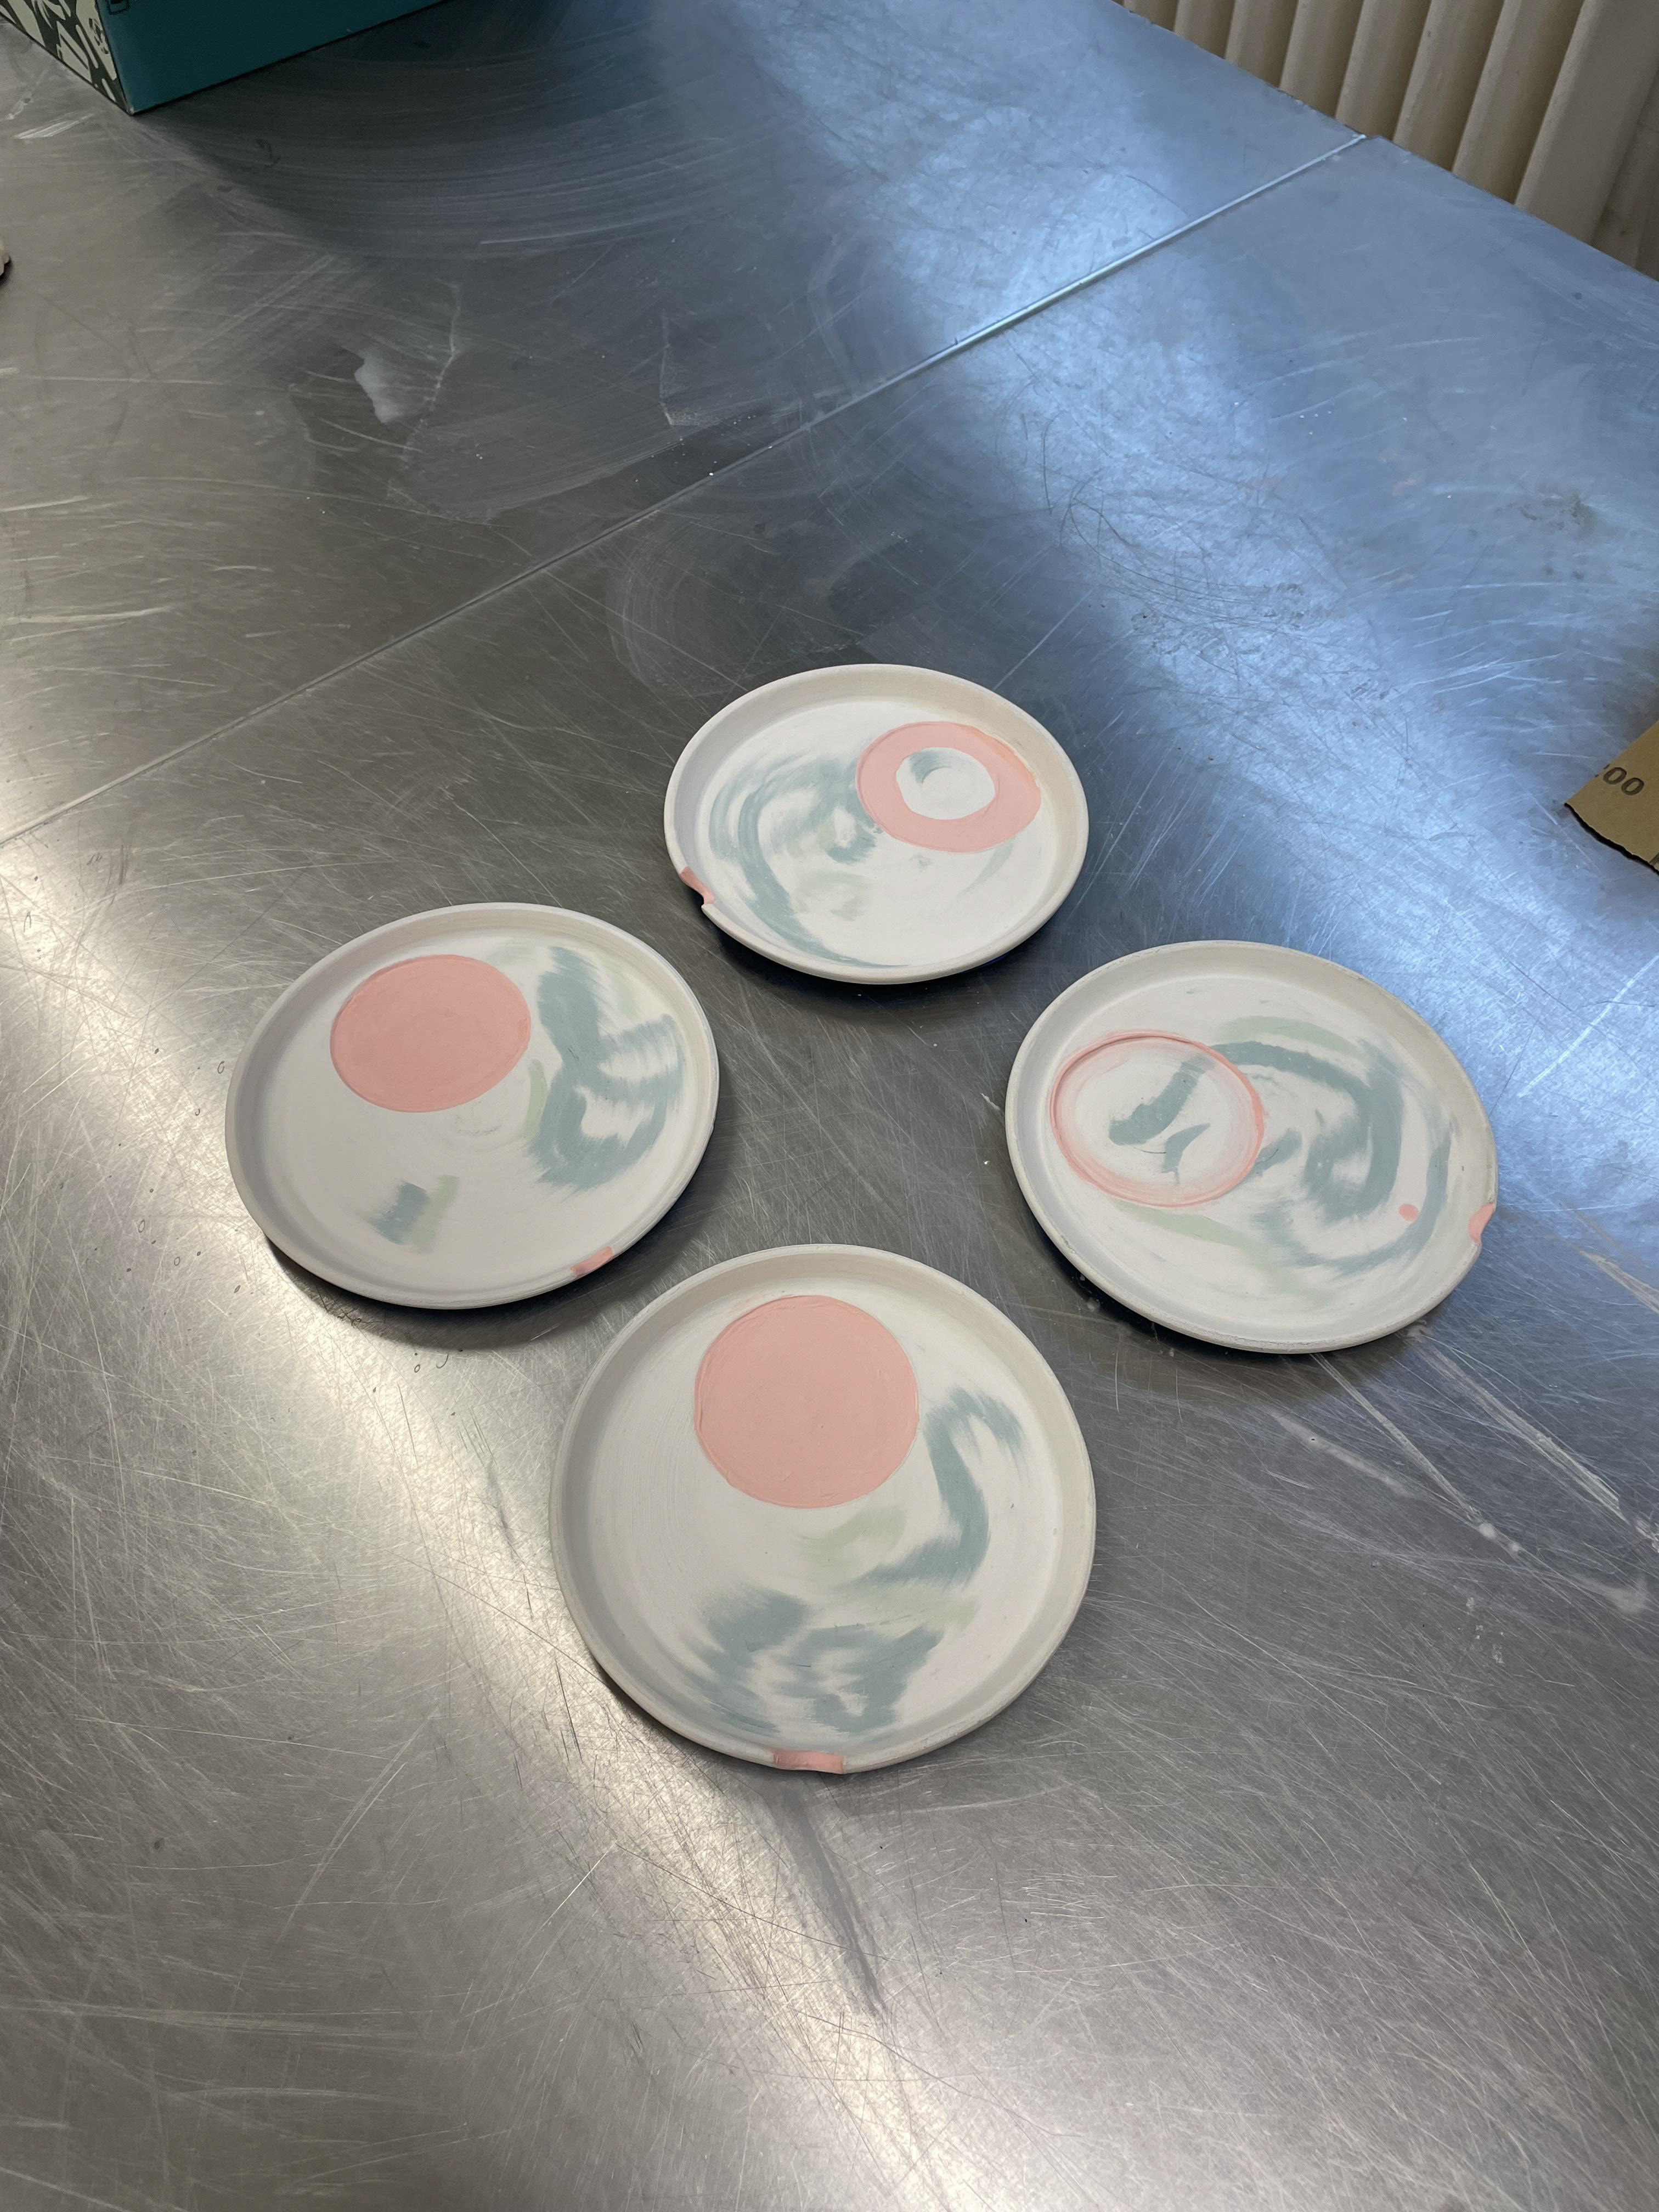
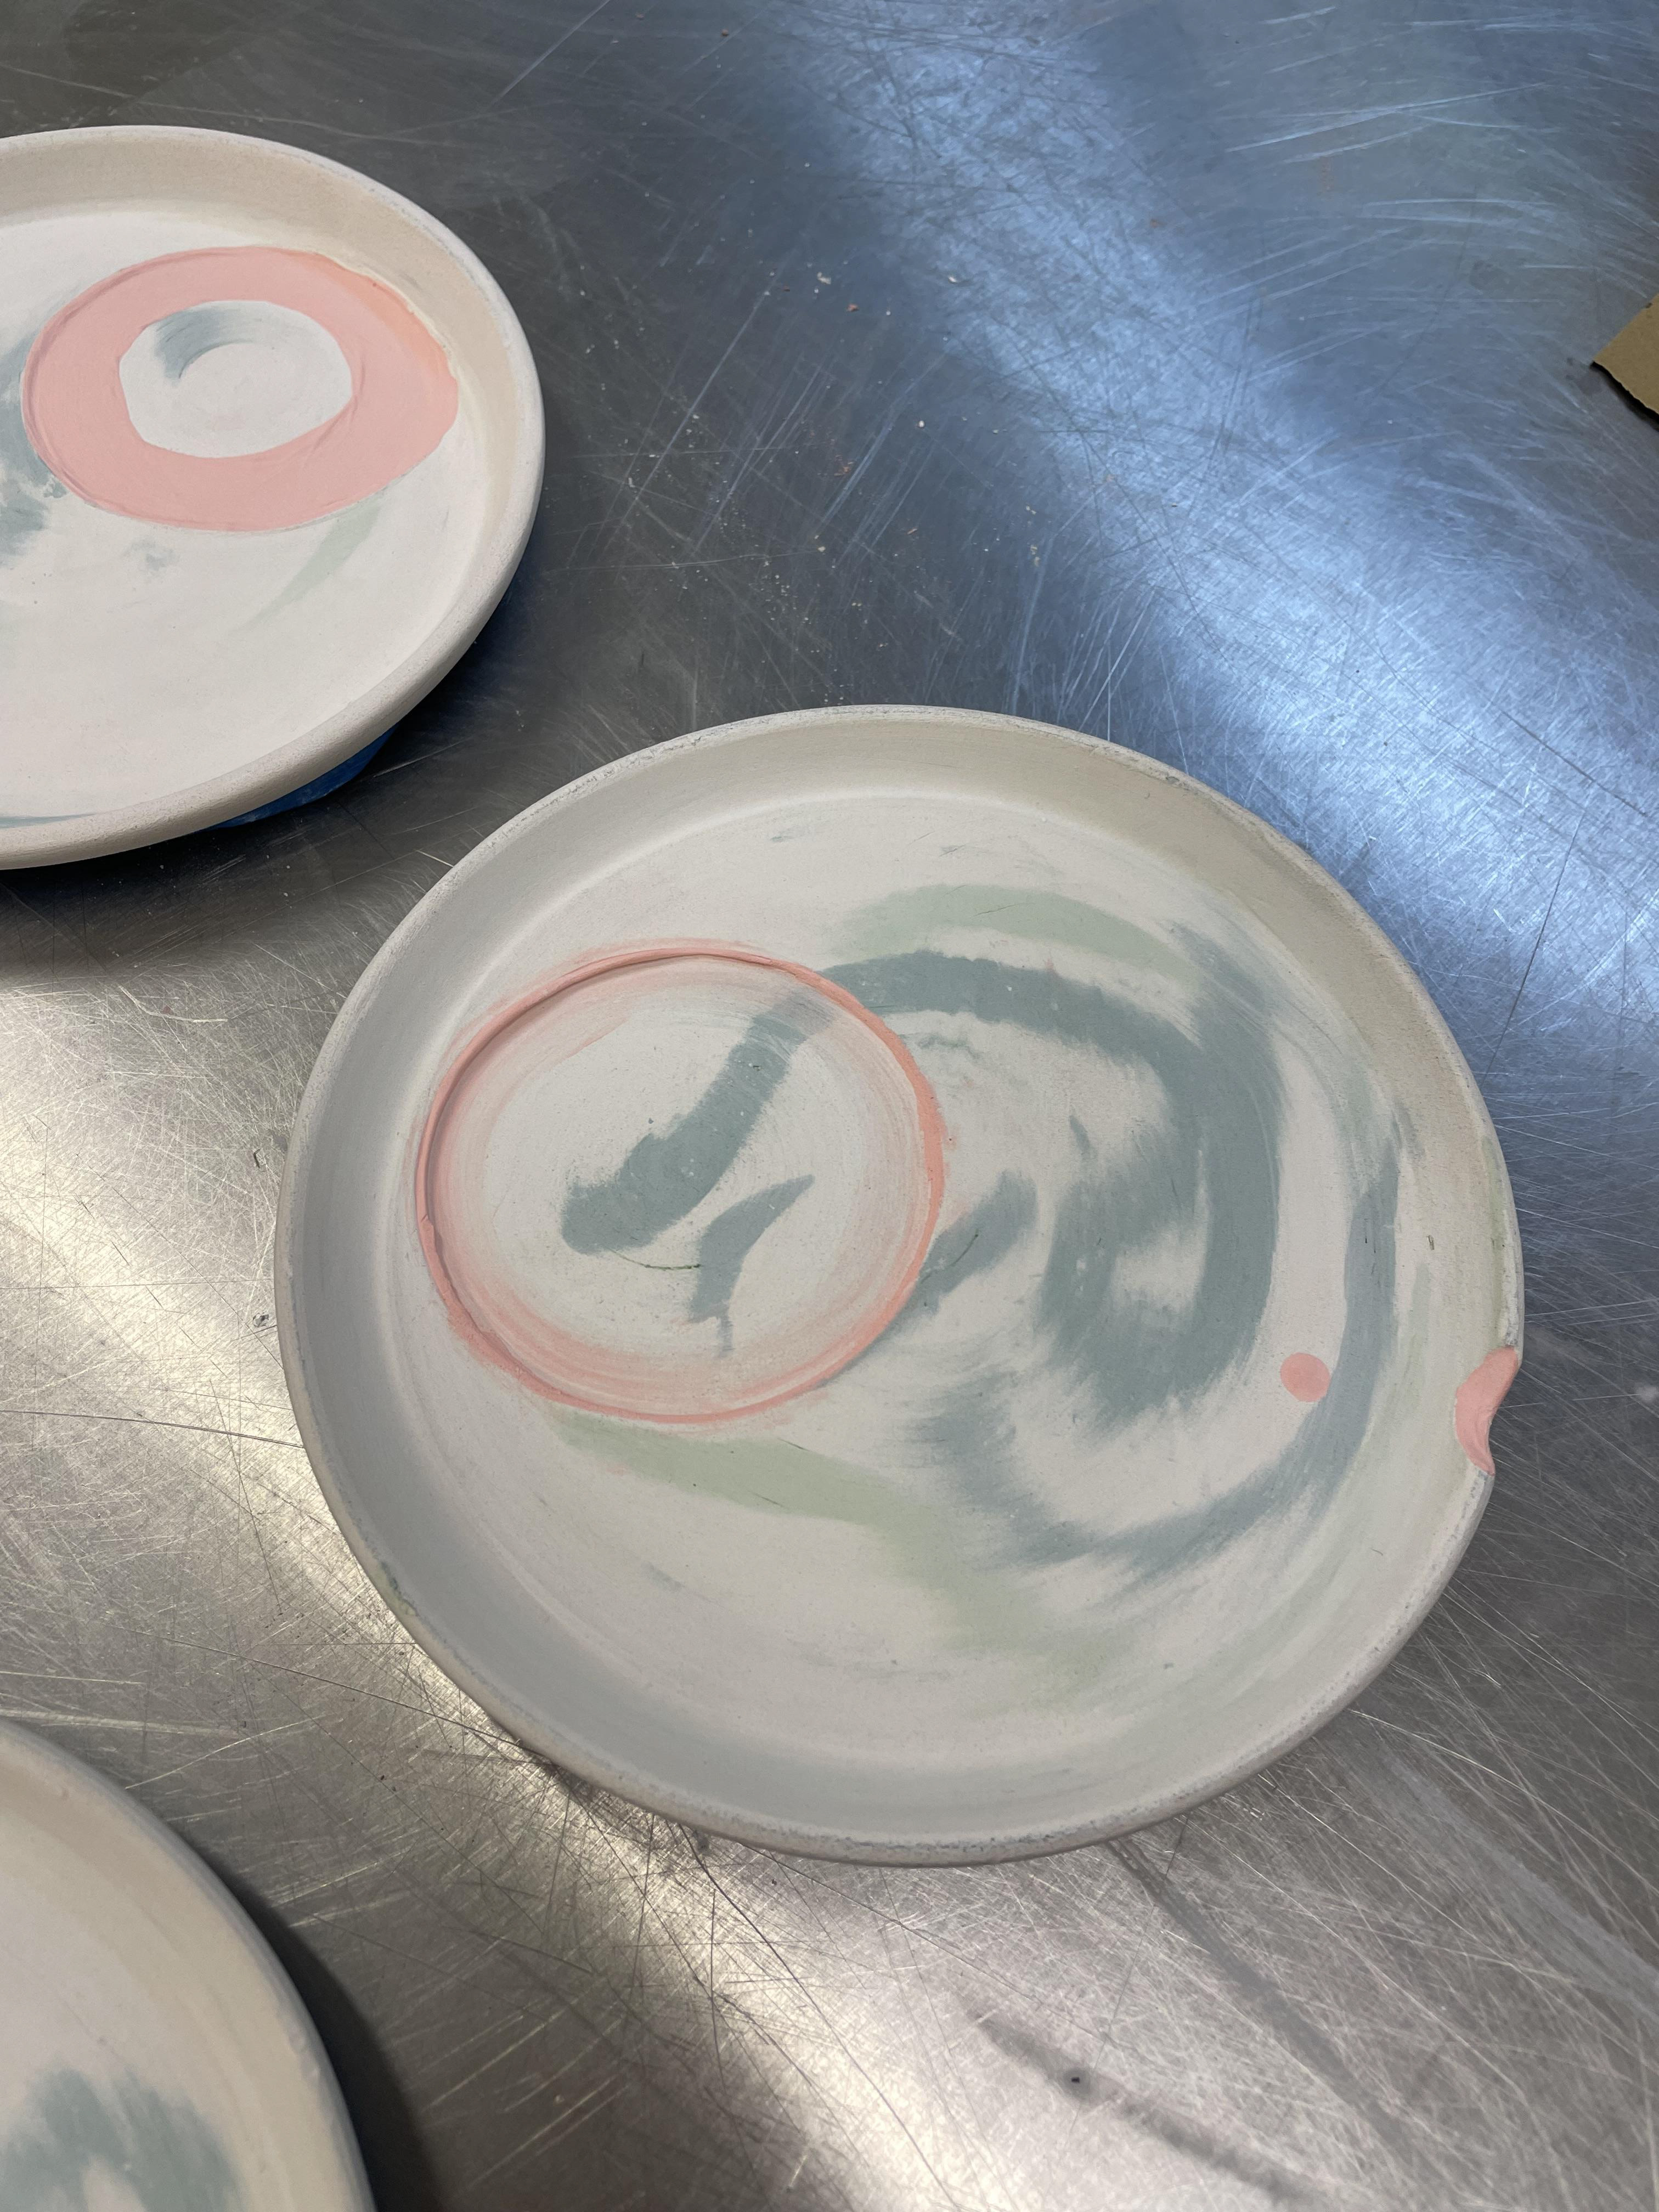
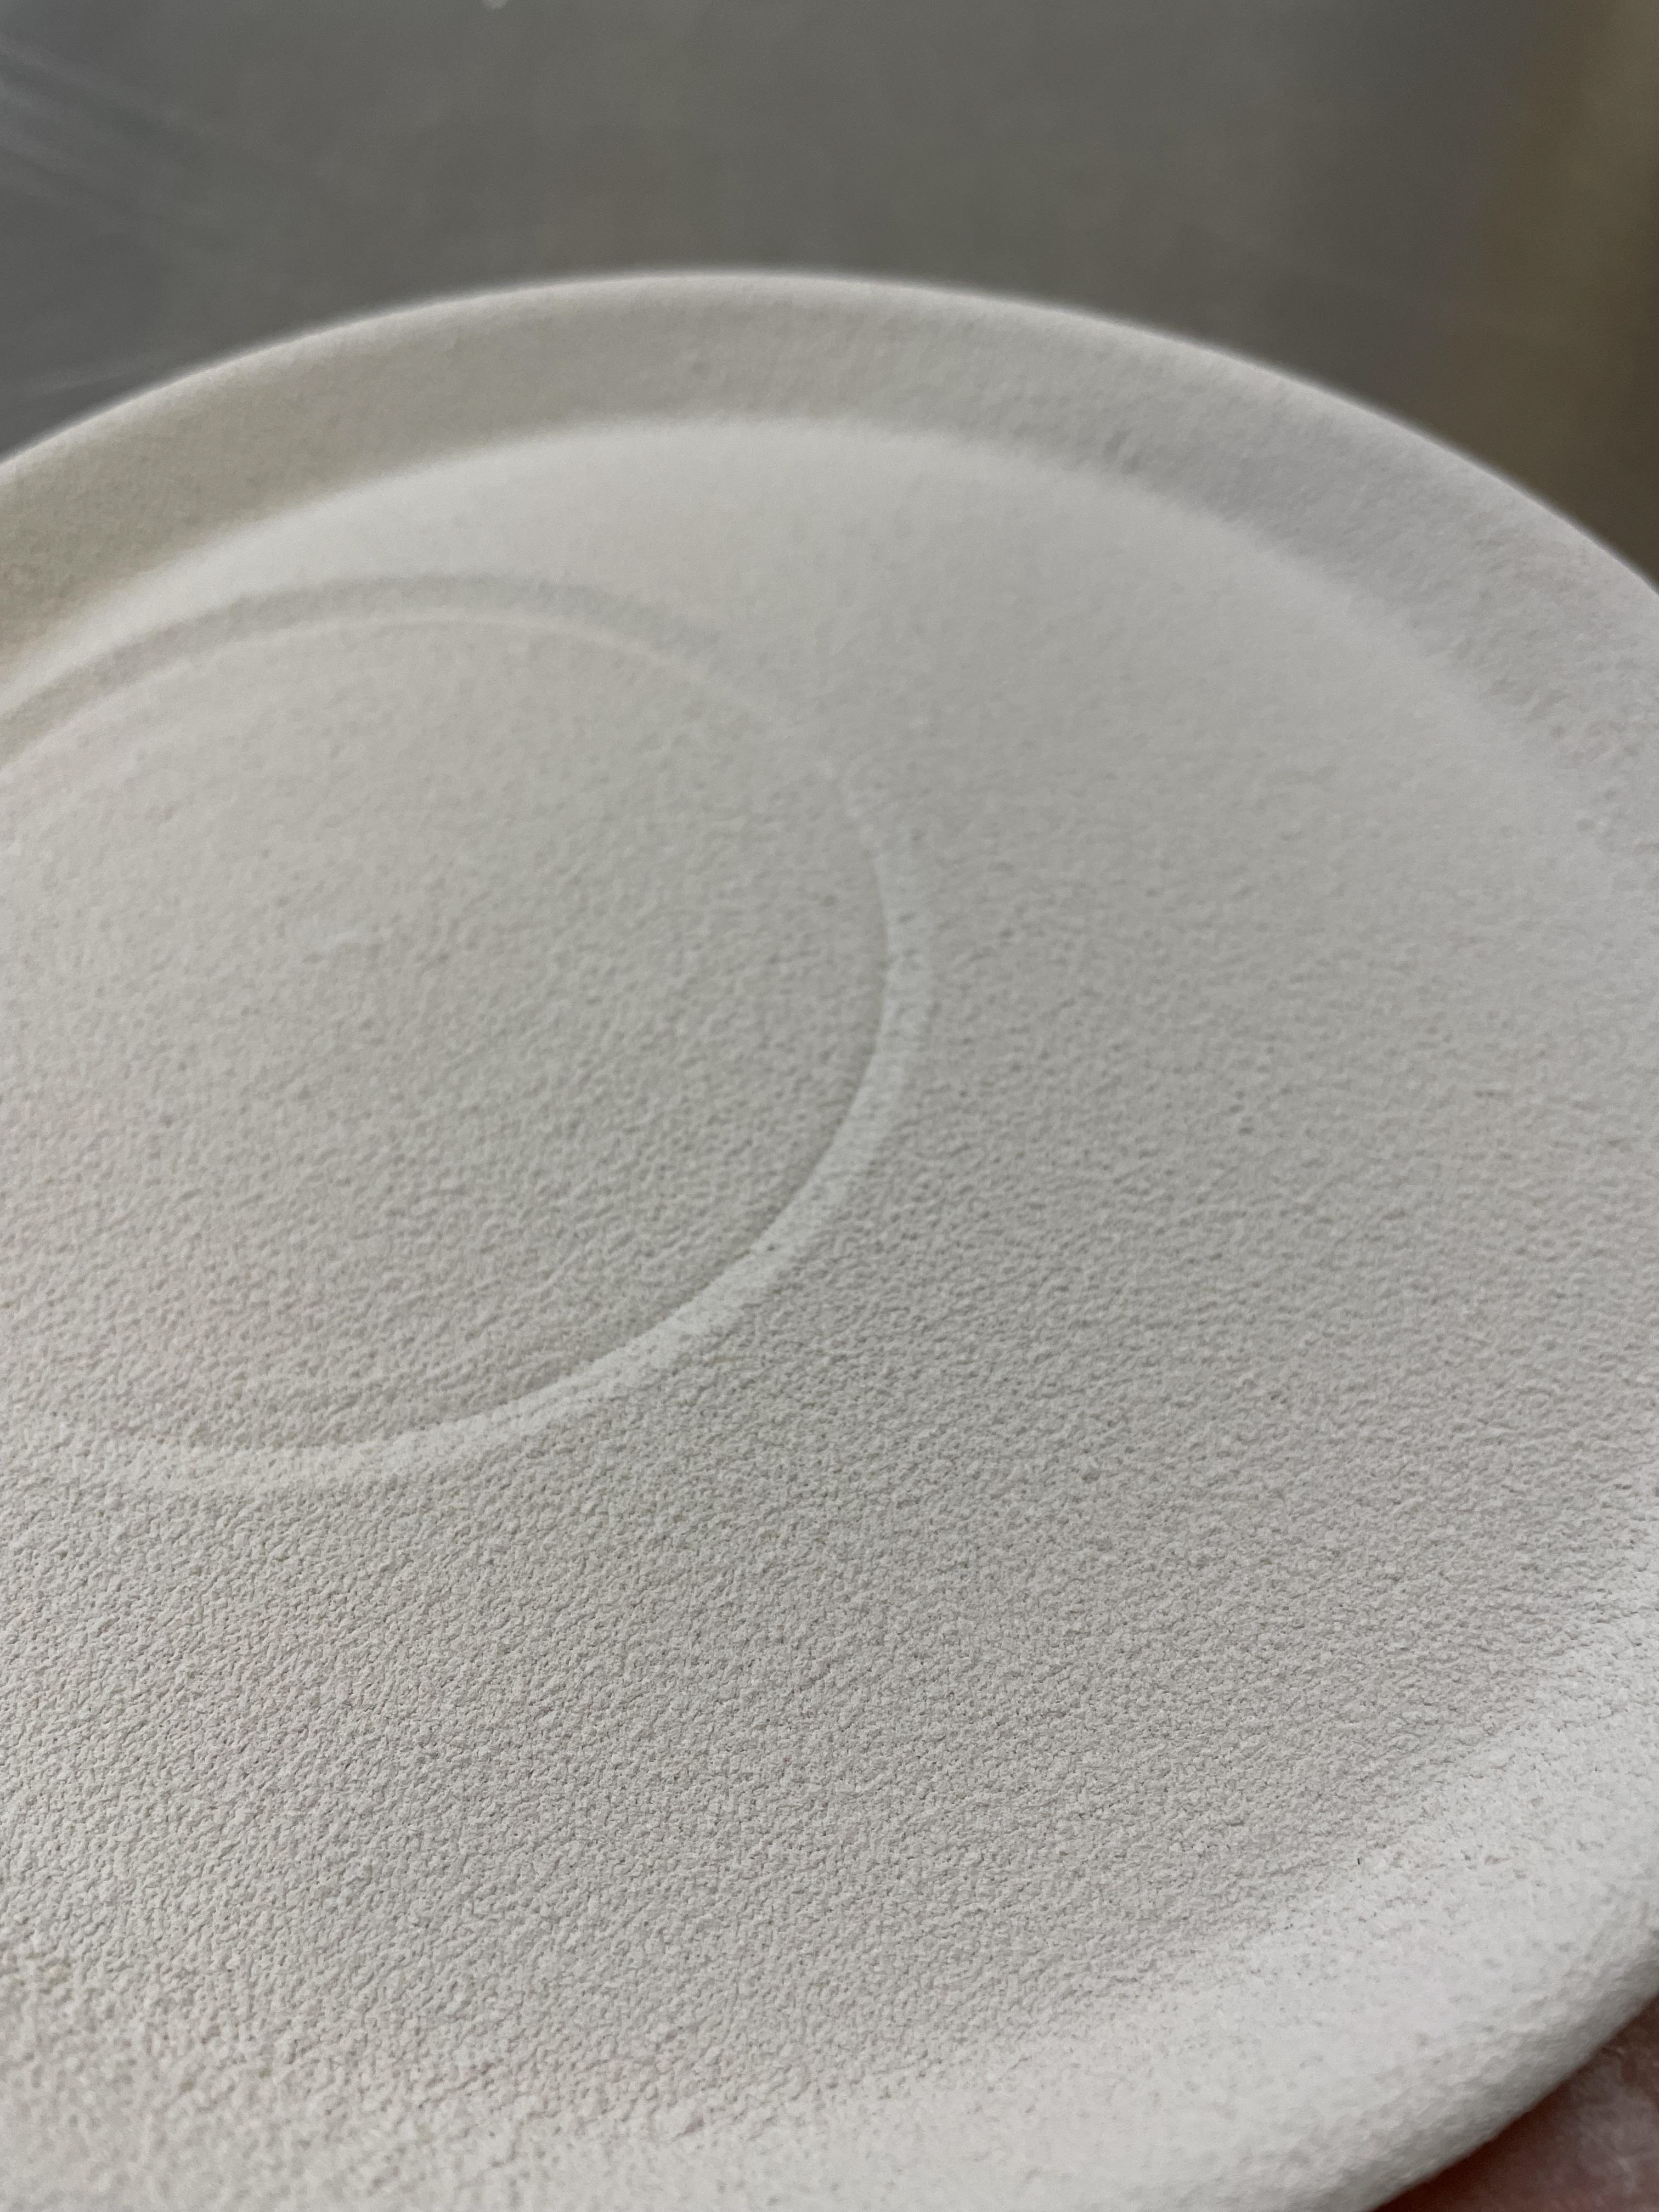
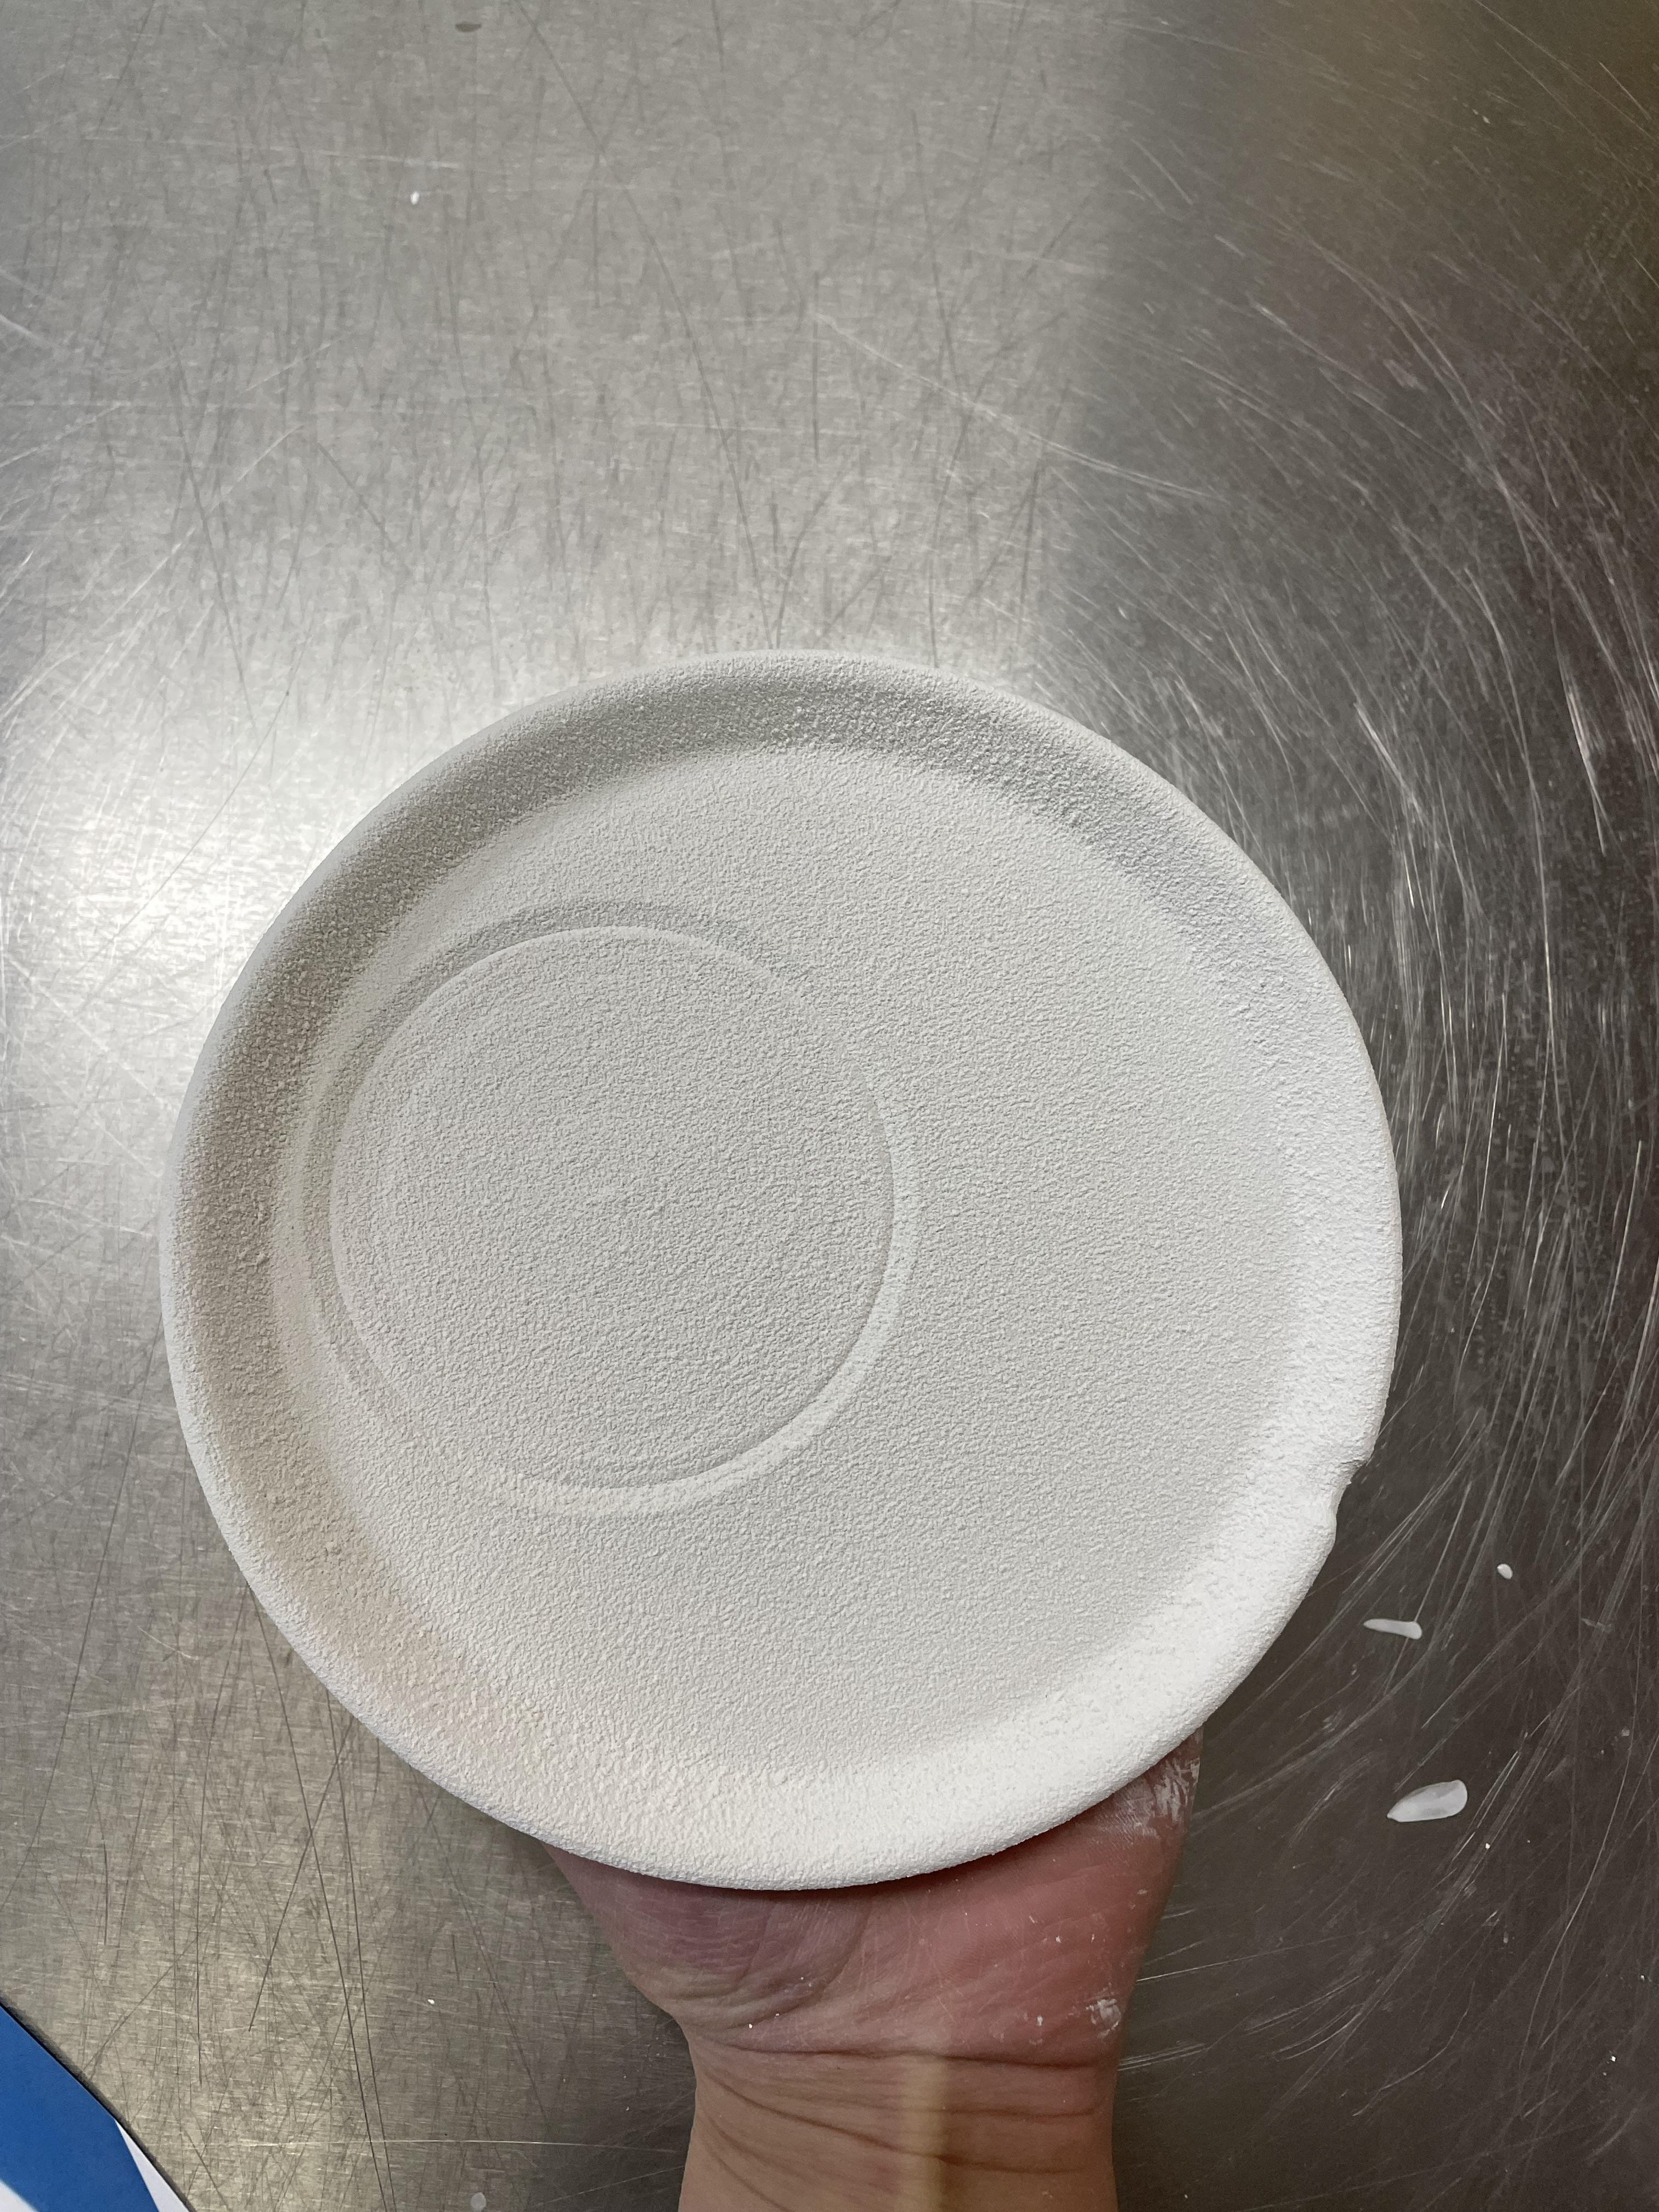
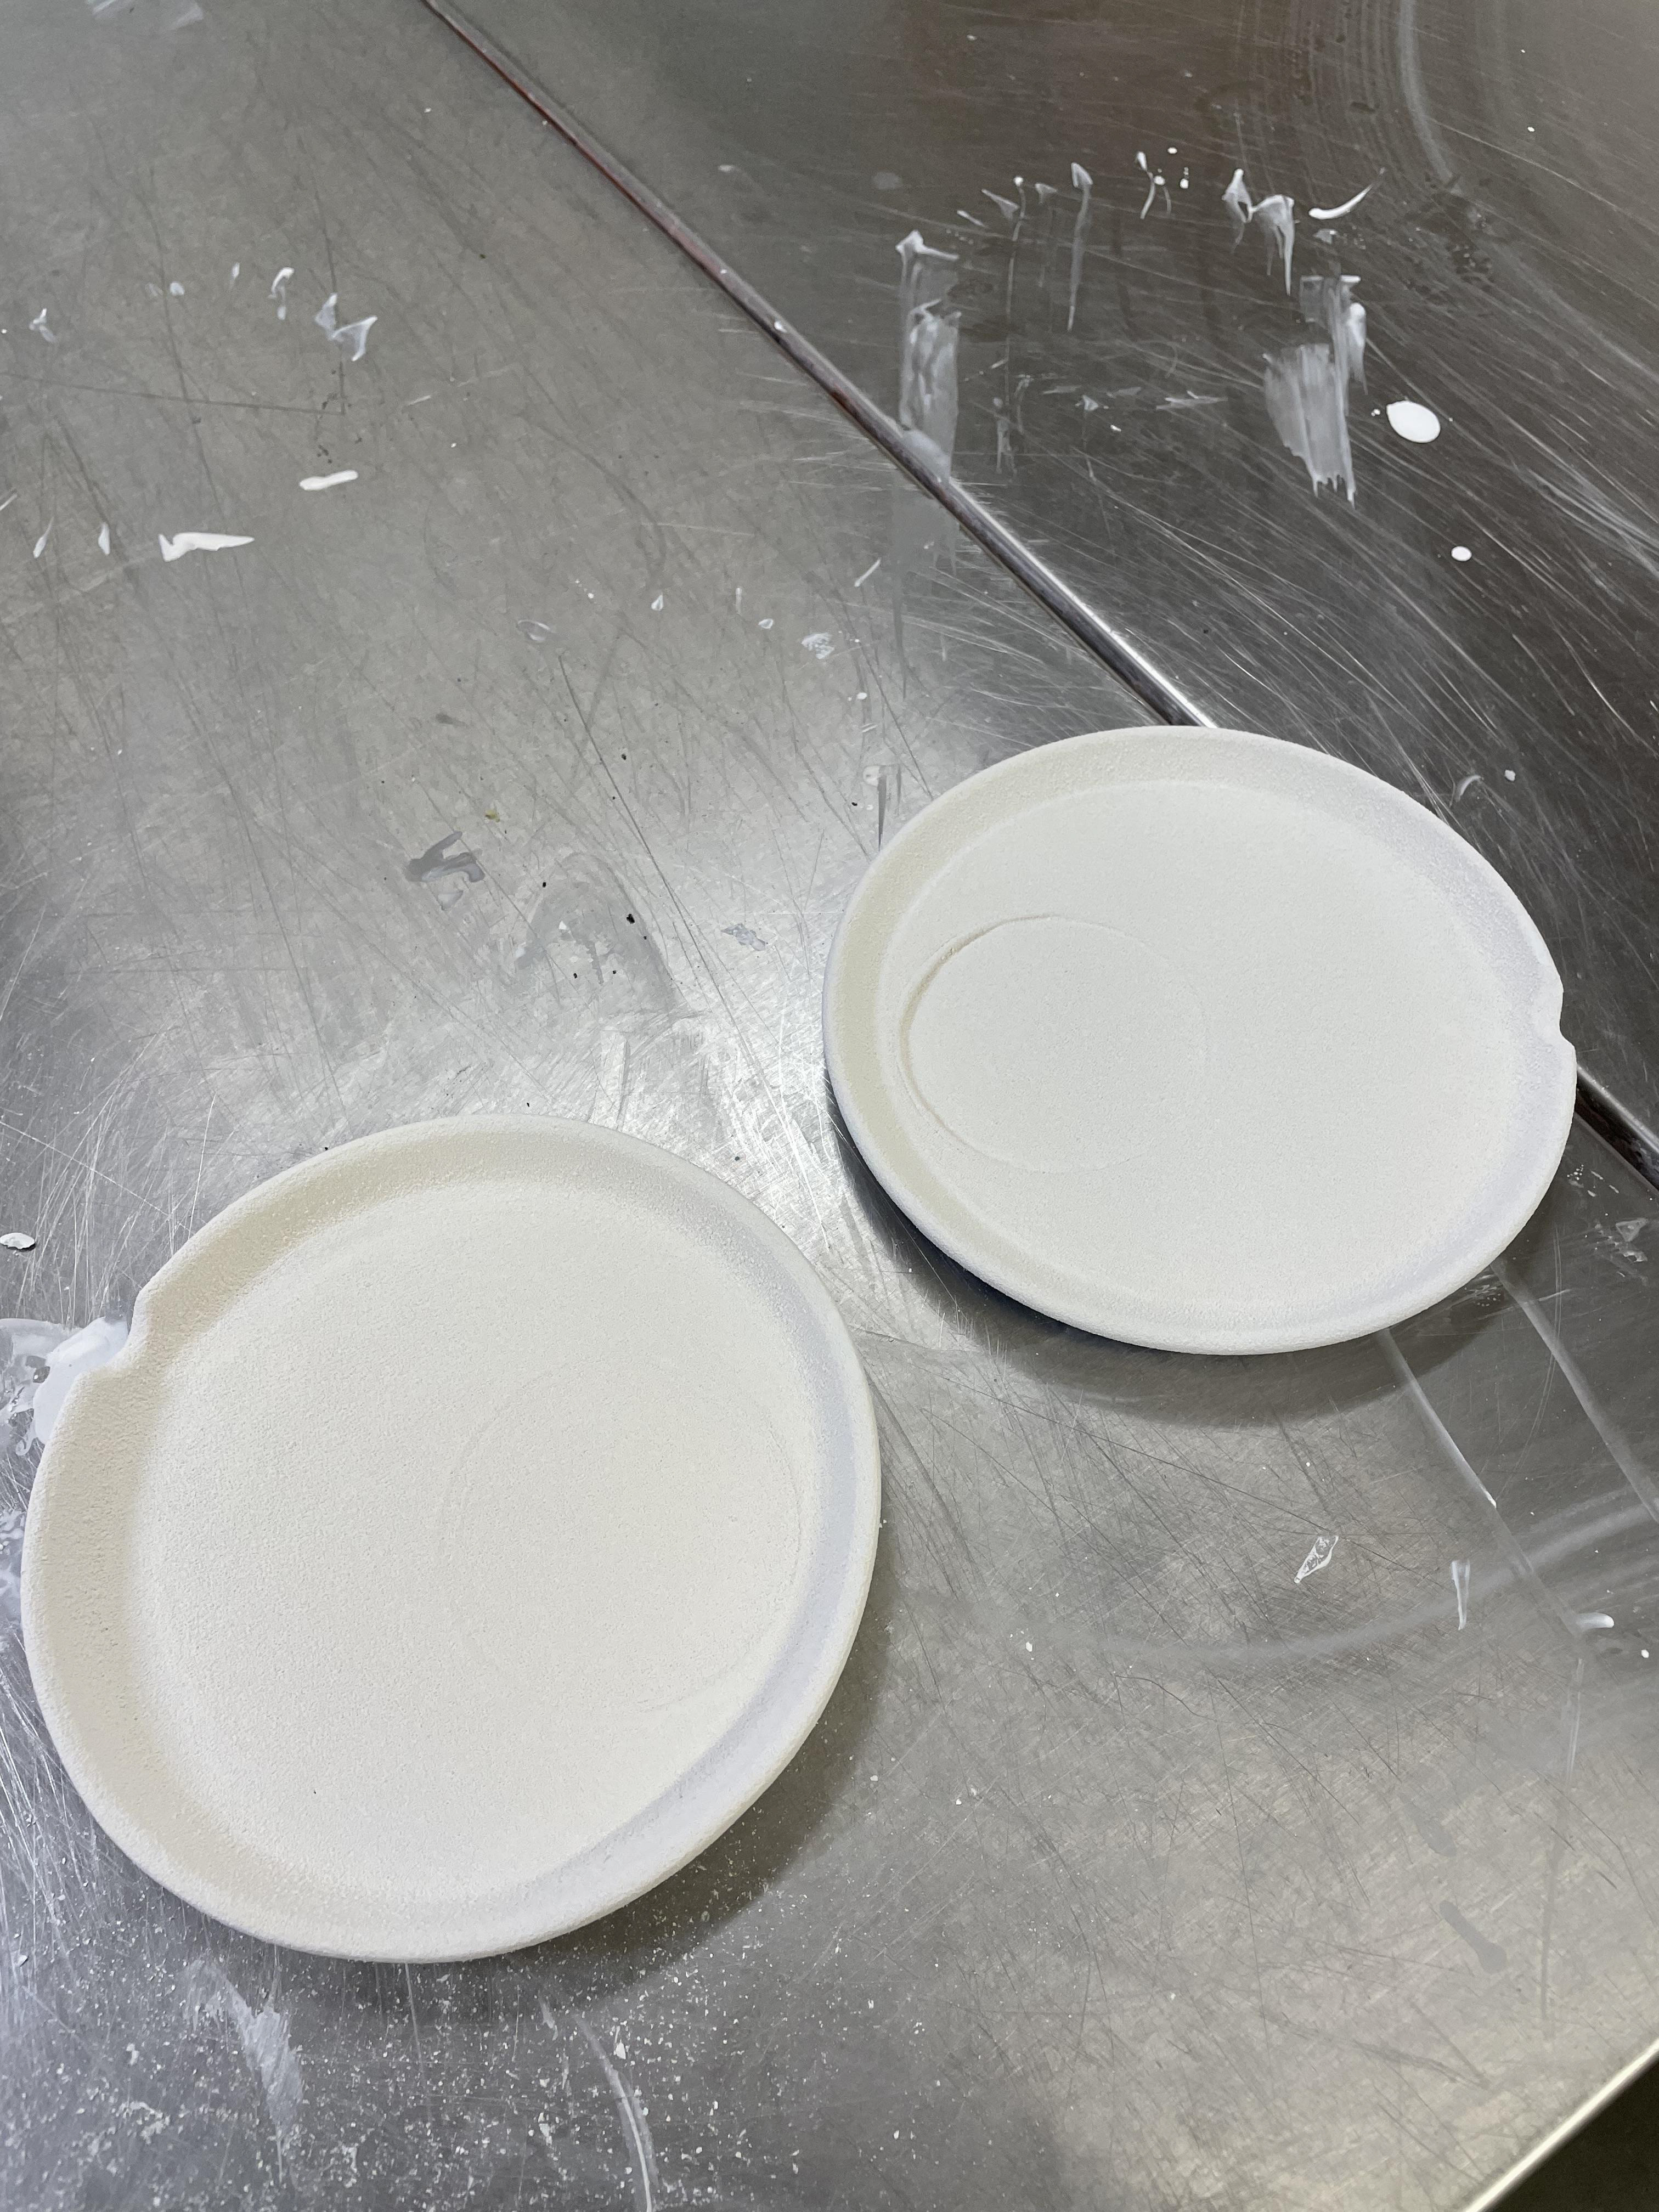
I found that I used the same technique of throwing my saucers in a rolling way. I then measured them to my mugs to 17cm, adding an extra 1cm for my rim to be turned up. Once the basic shape was created, I added lines of the coloured clay to the saucer base and rolled this out further. This time, I added more clay there so that my saucers had a ticker base, so when I removed them off the wheel, they weren't getting damaged.

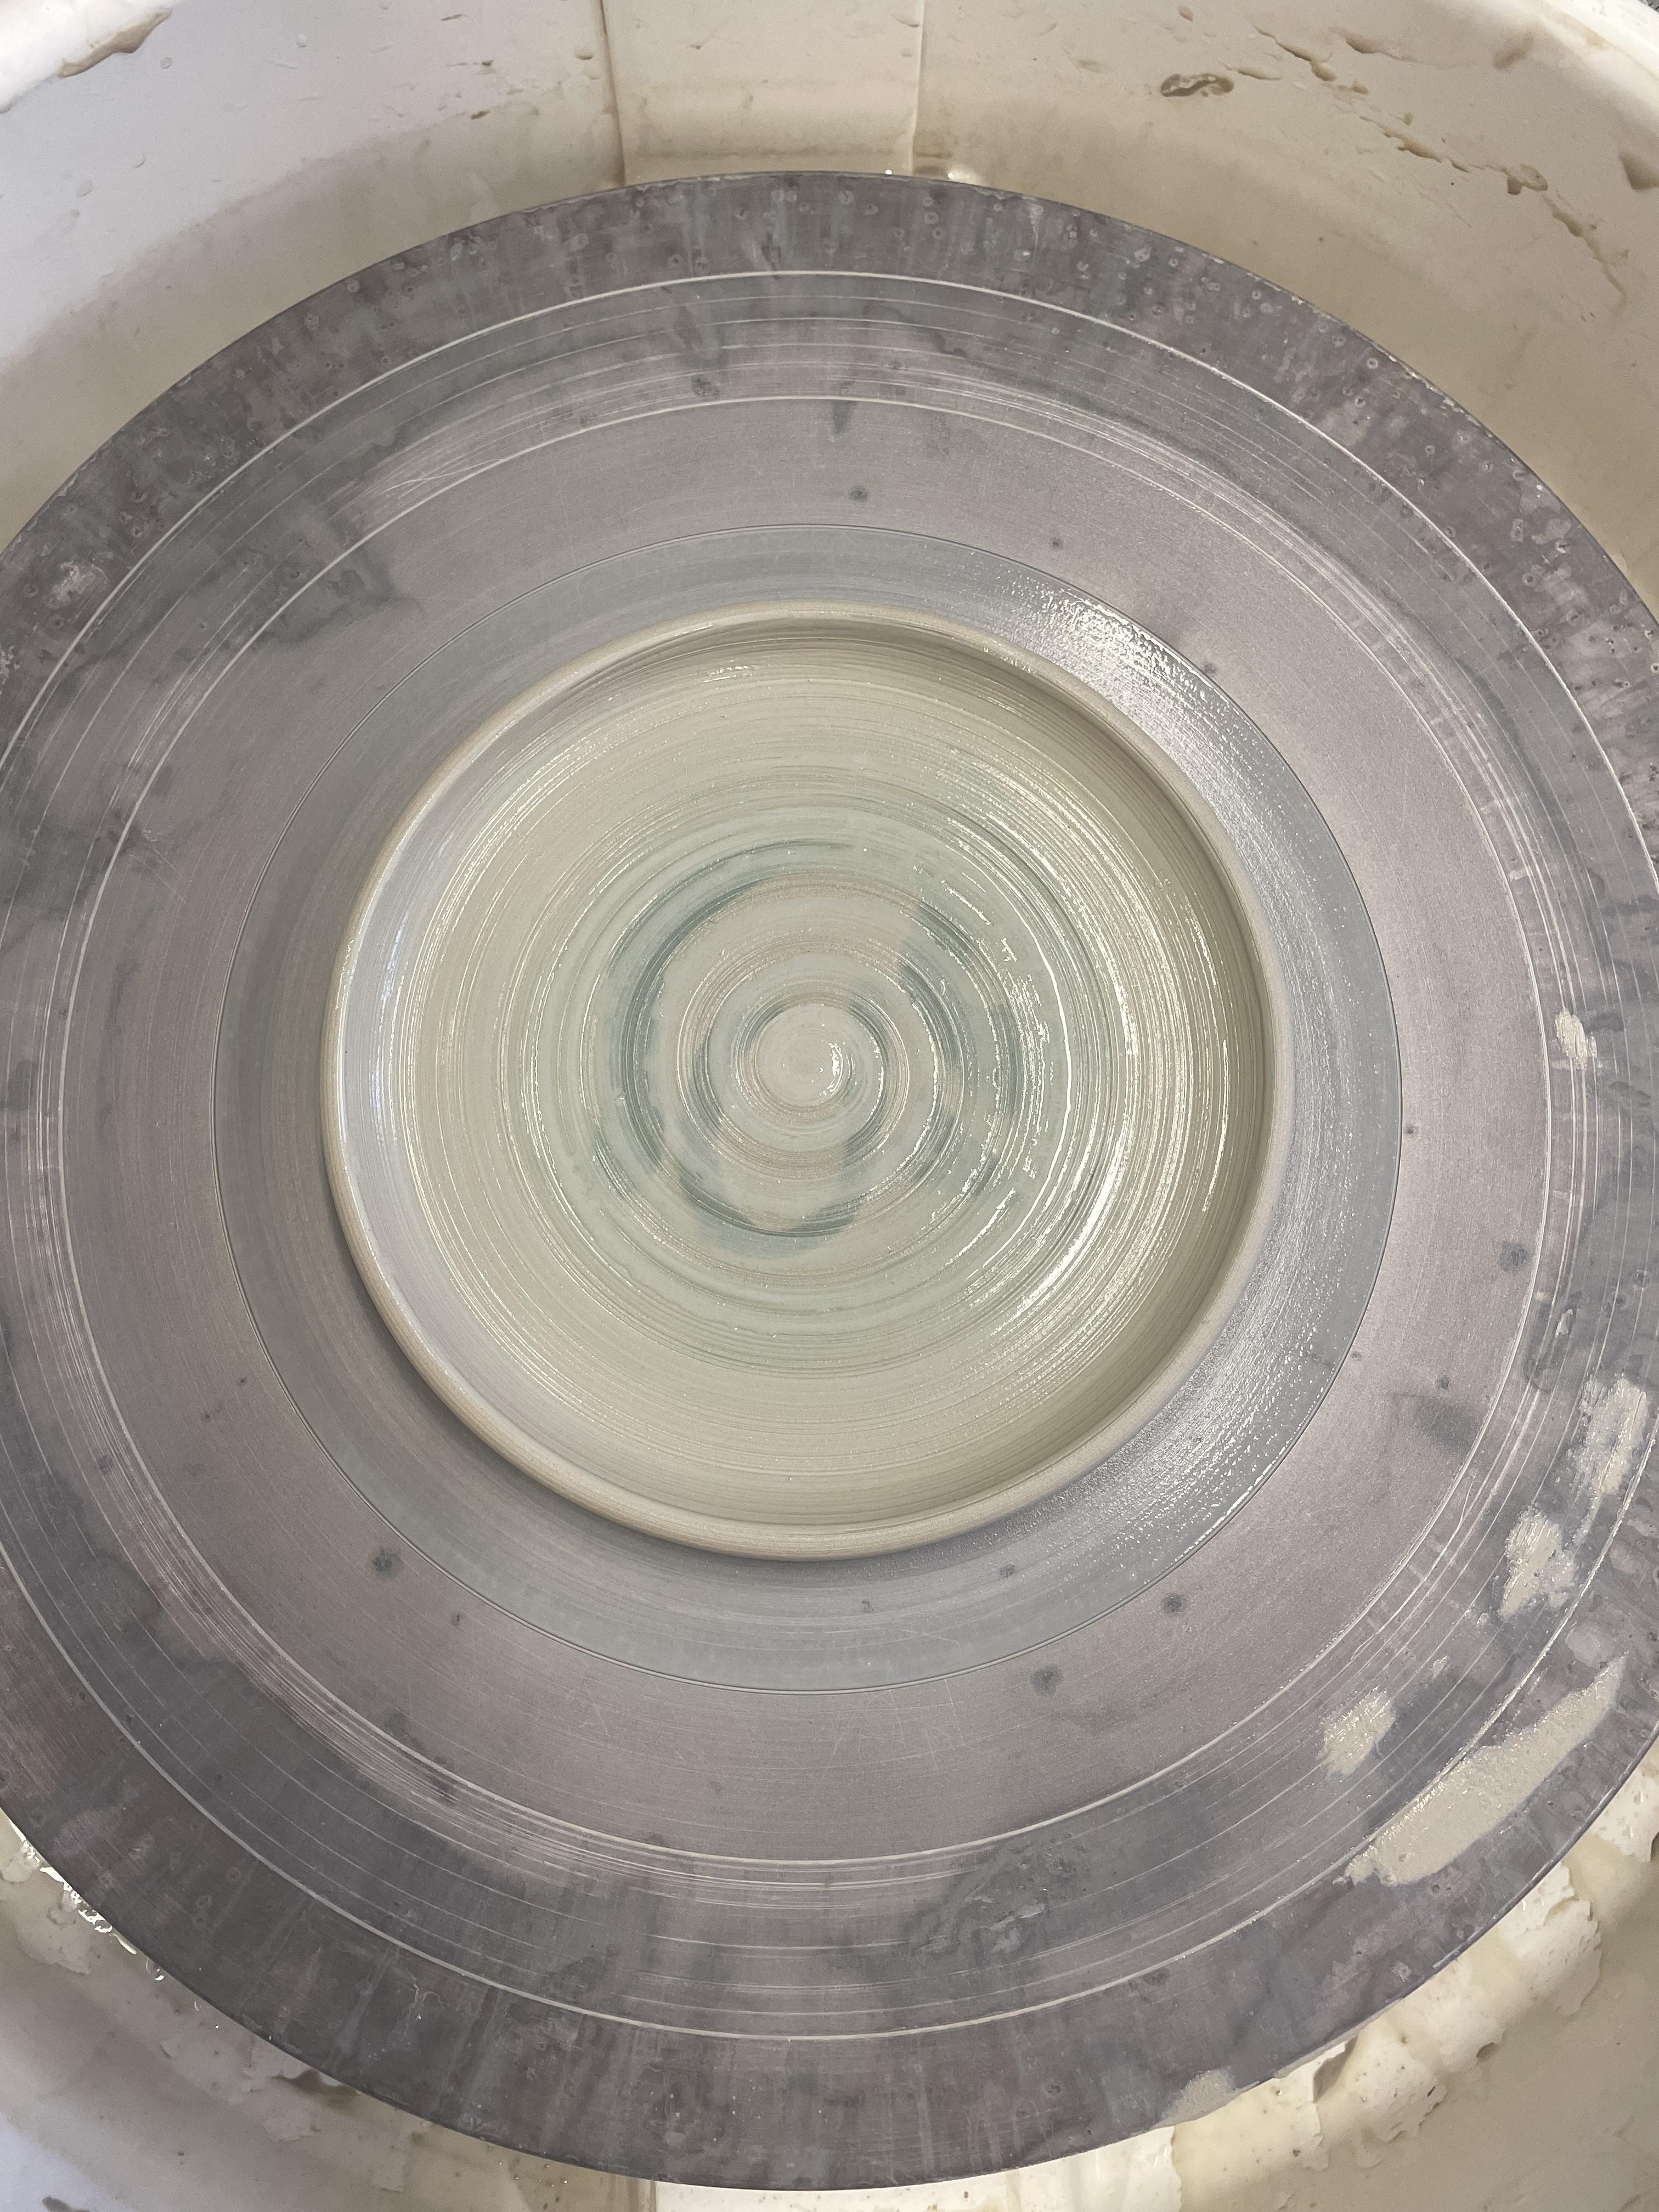
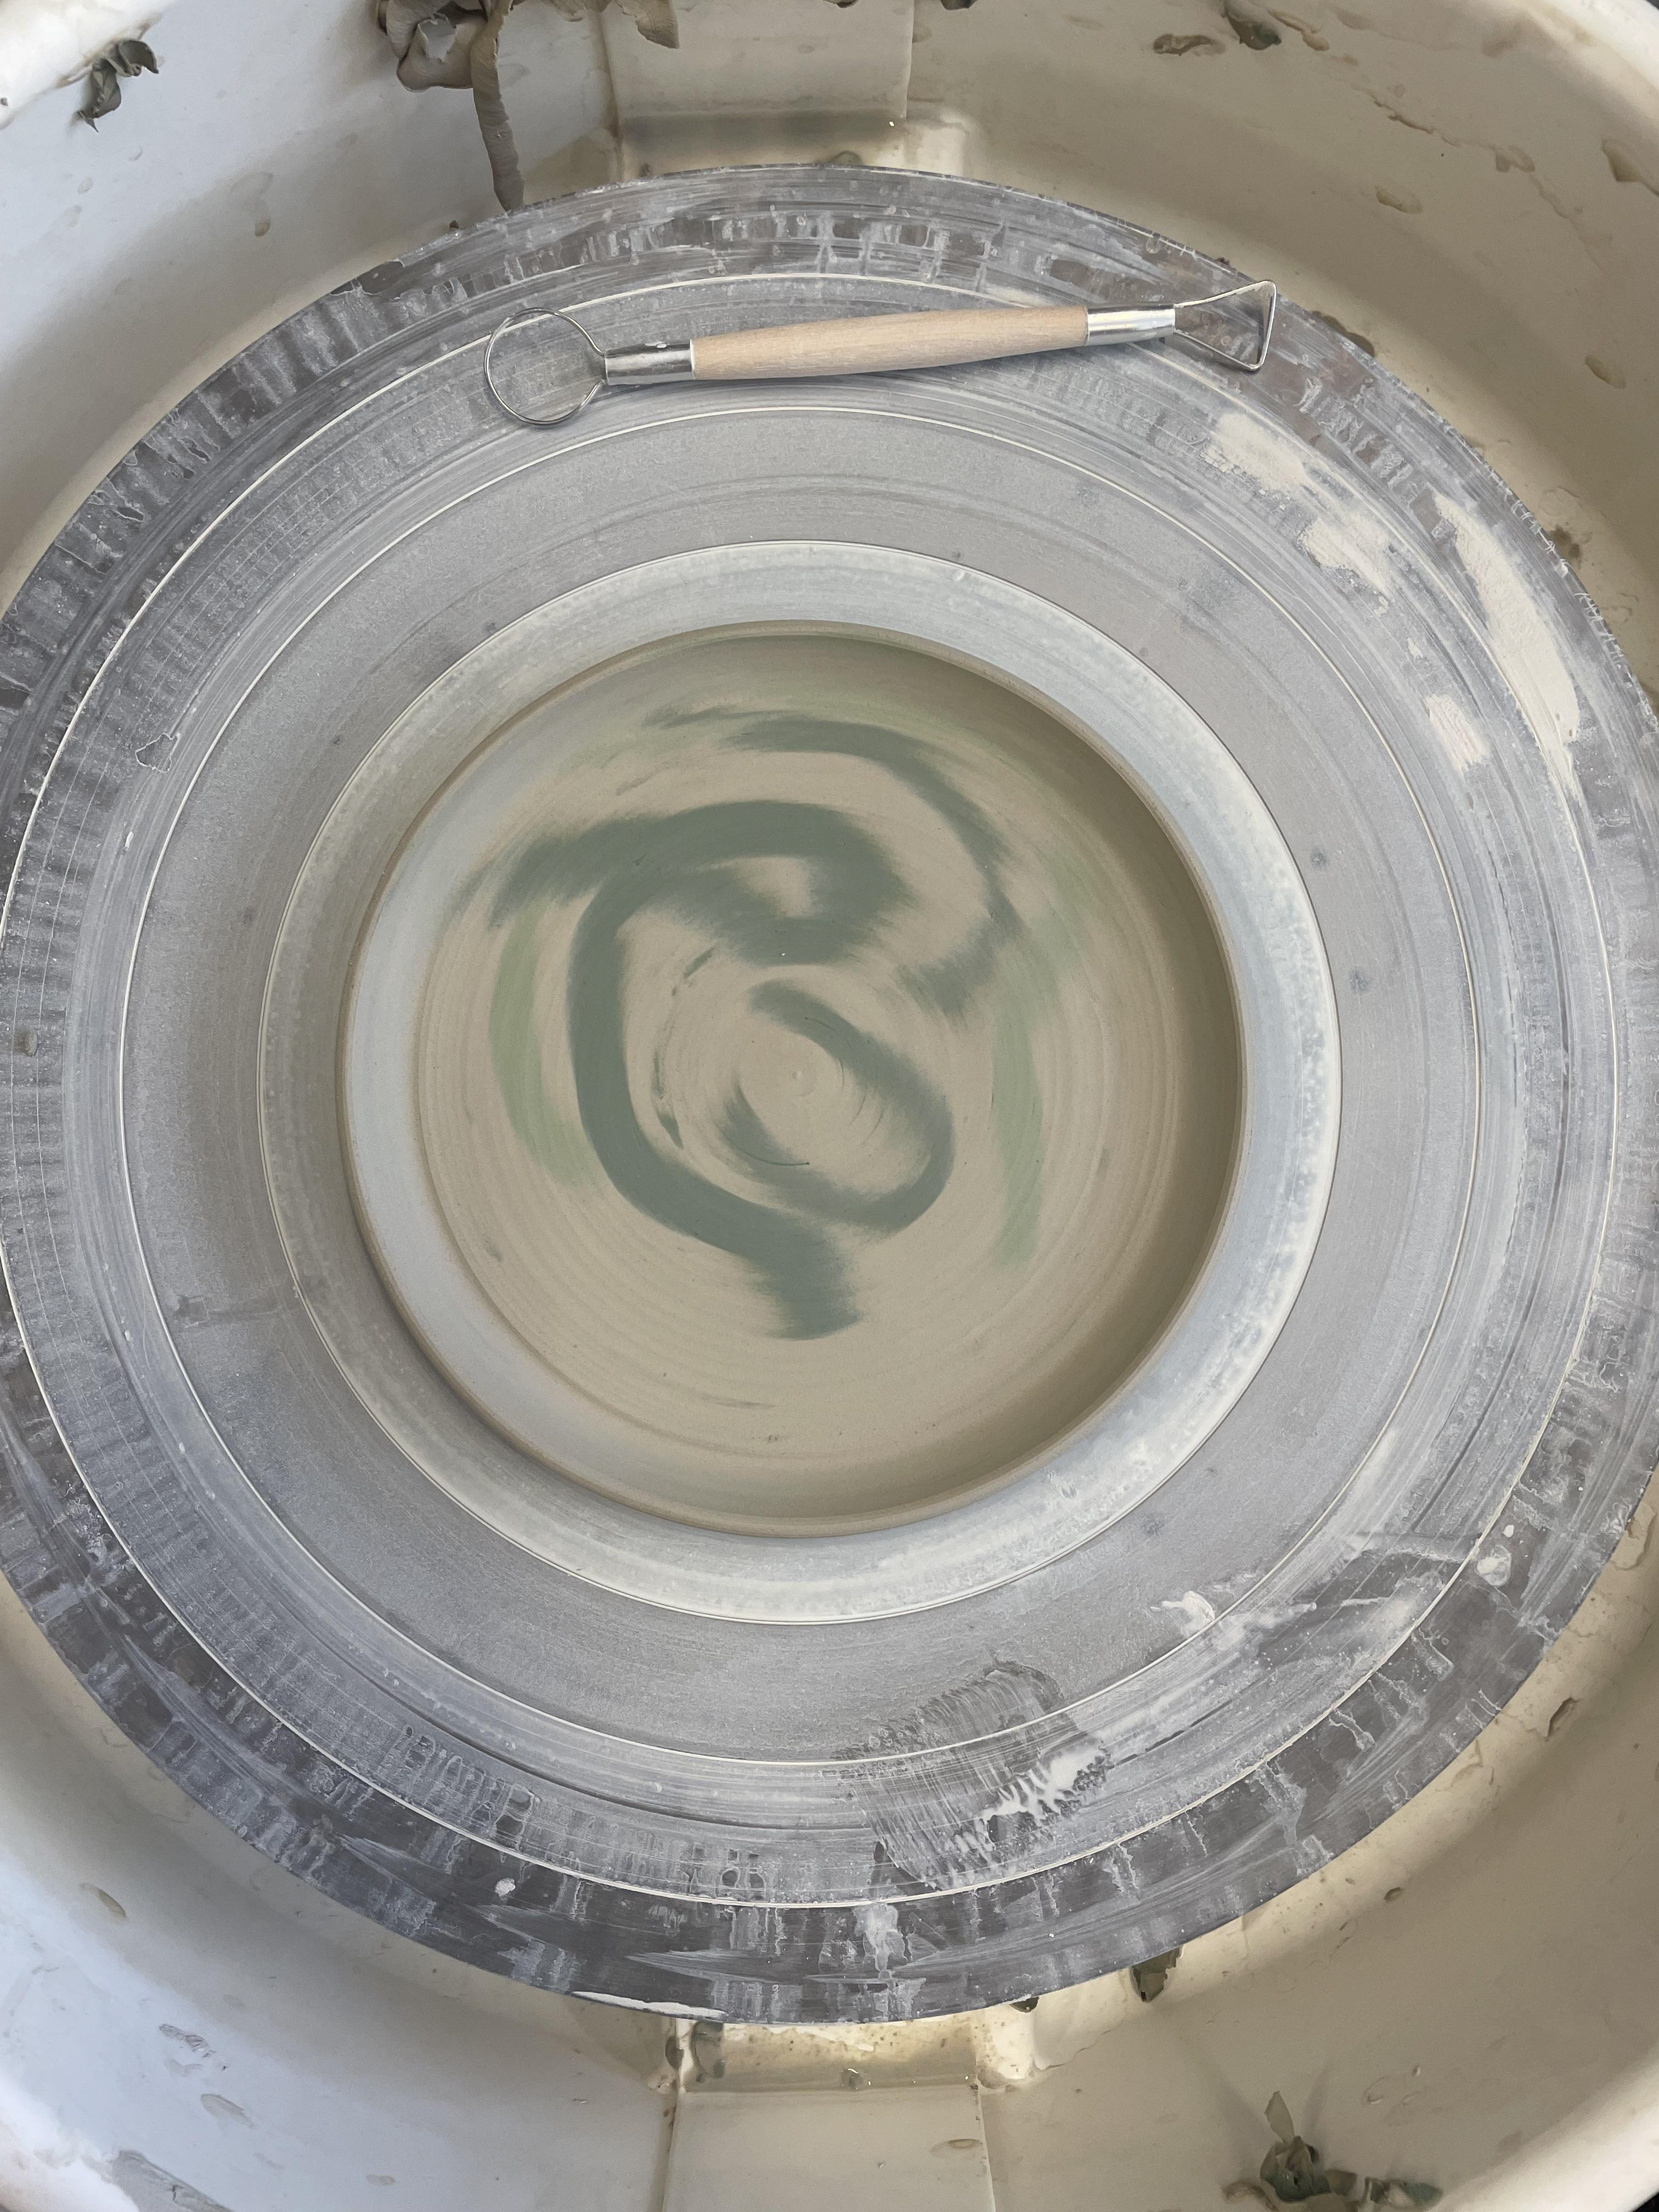
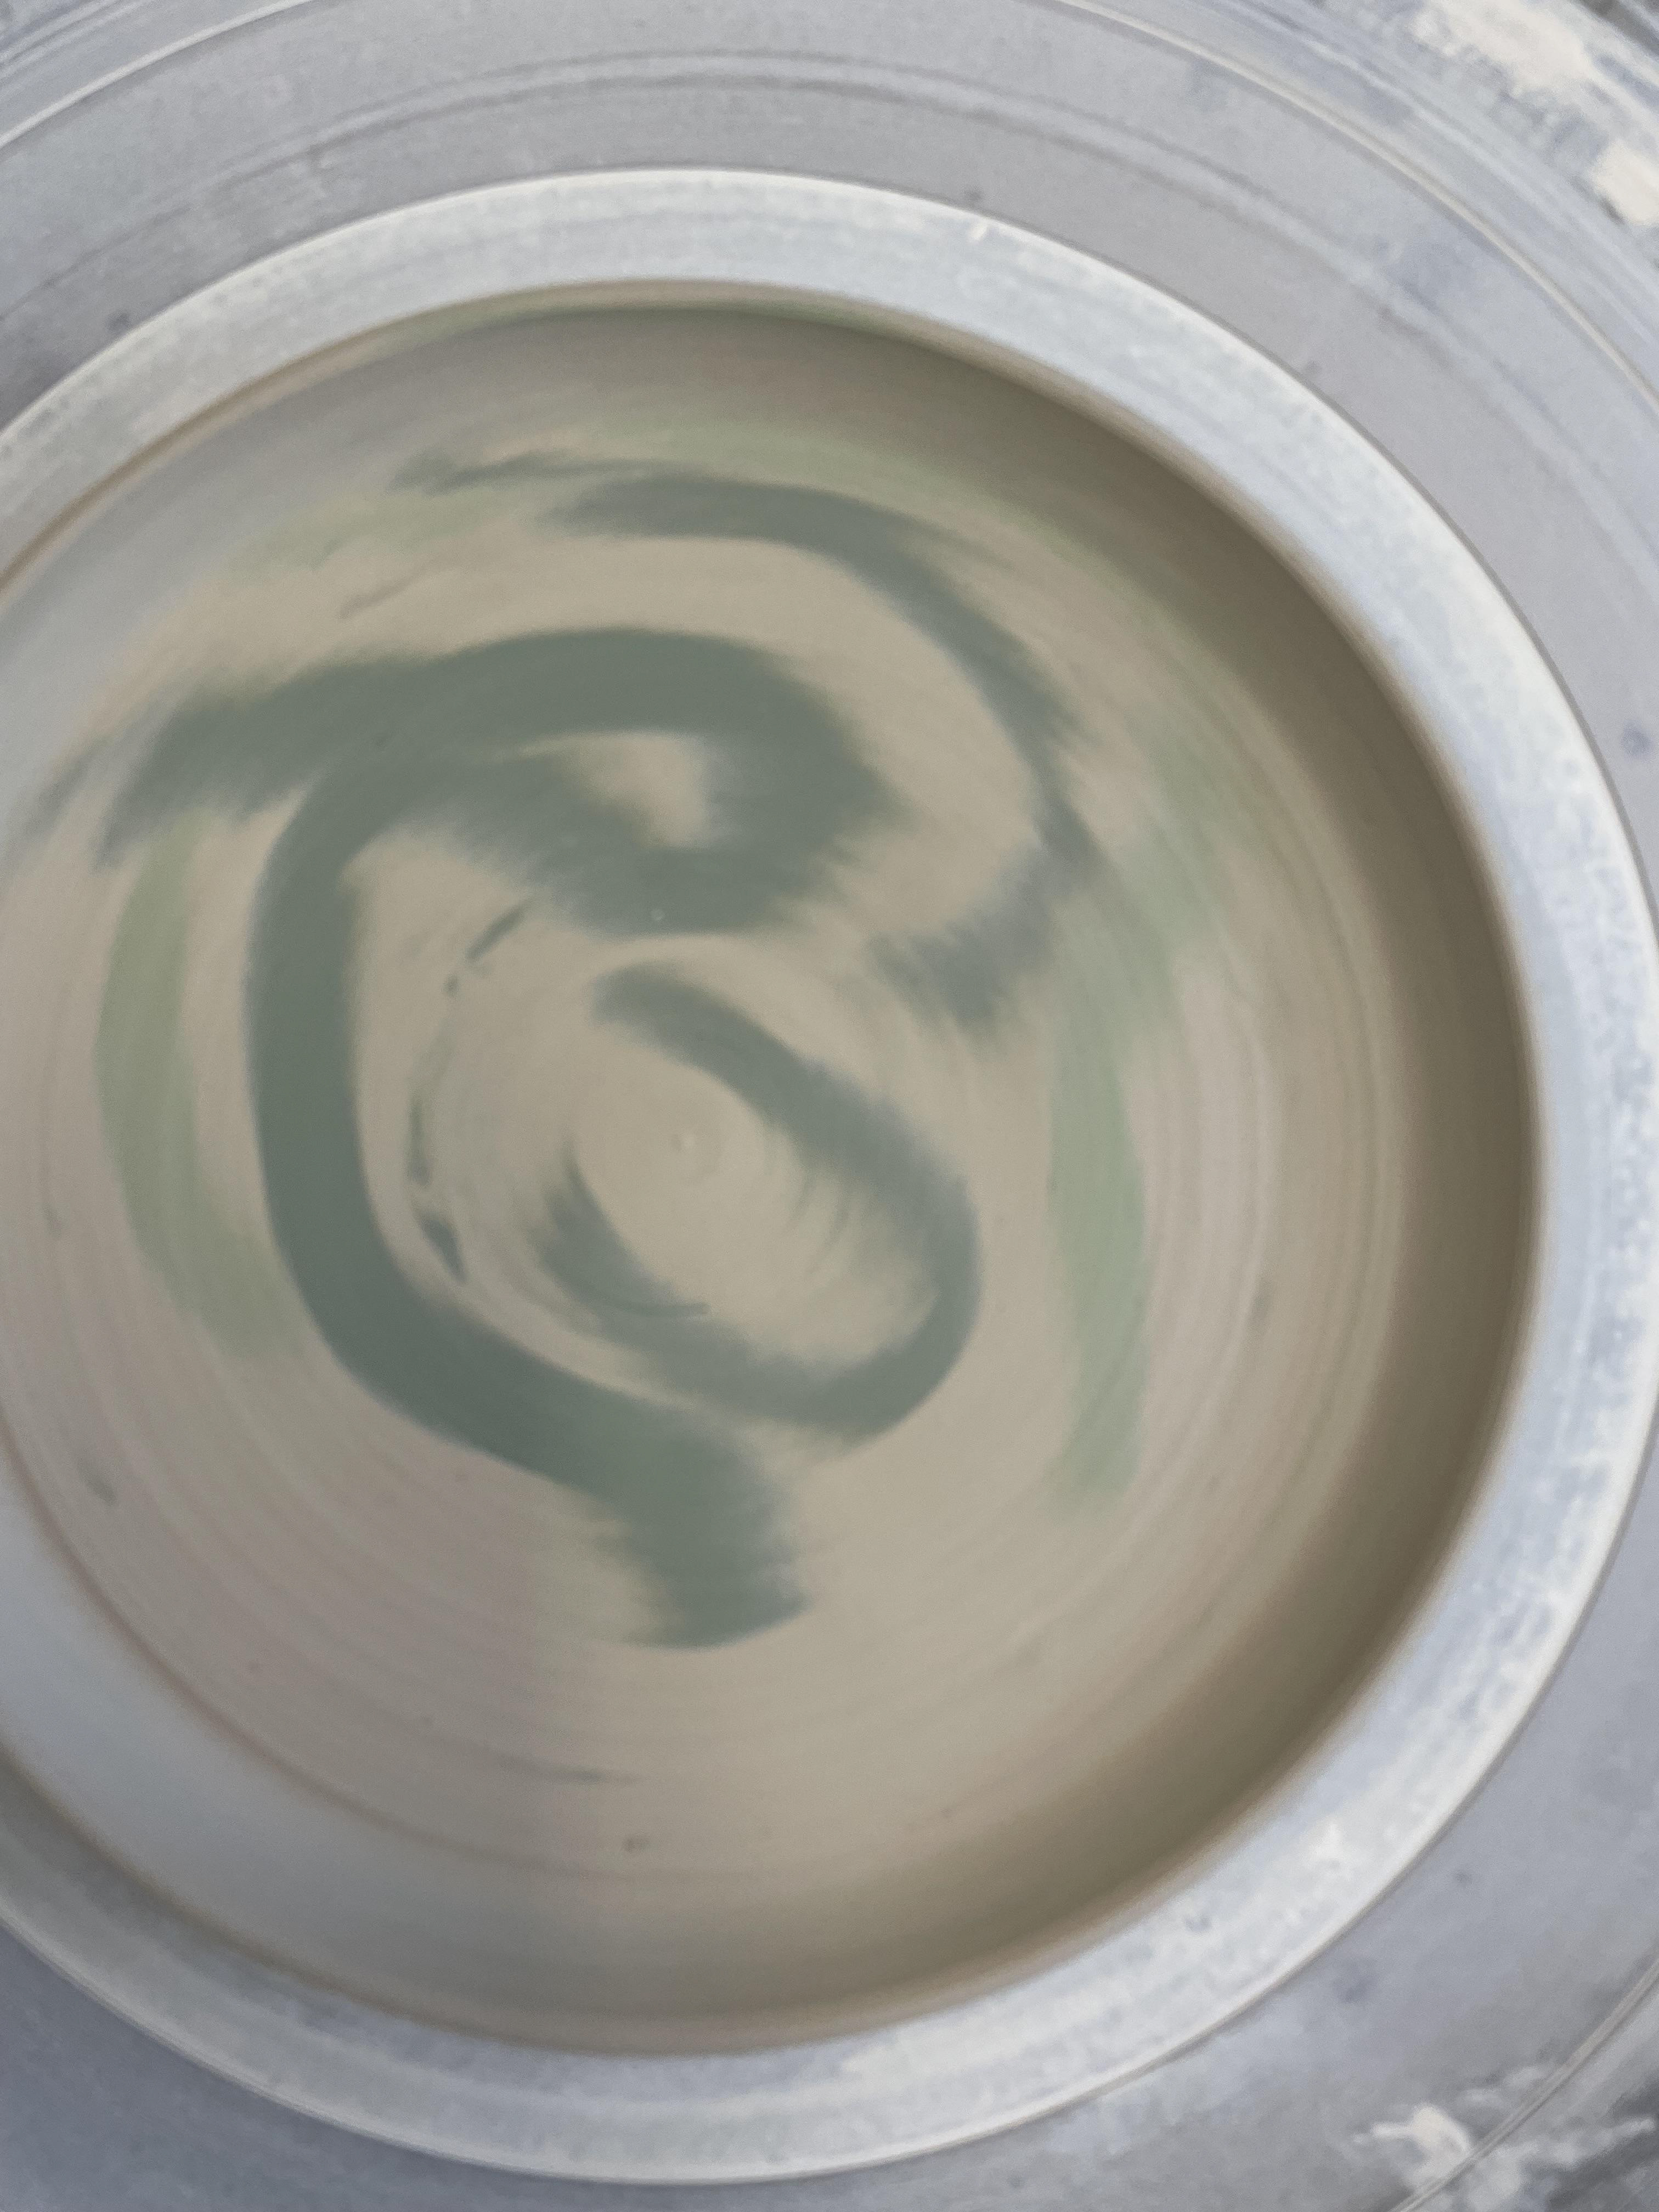
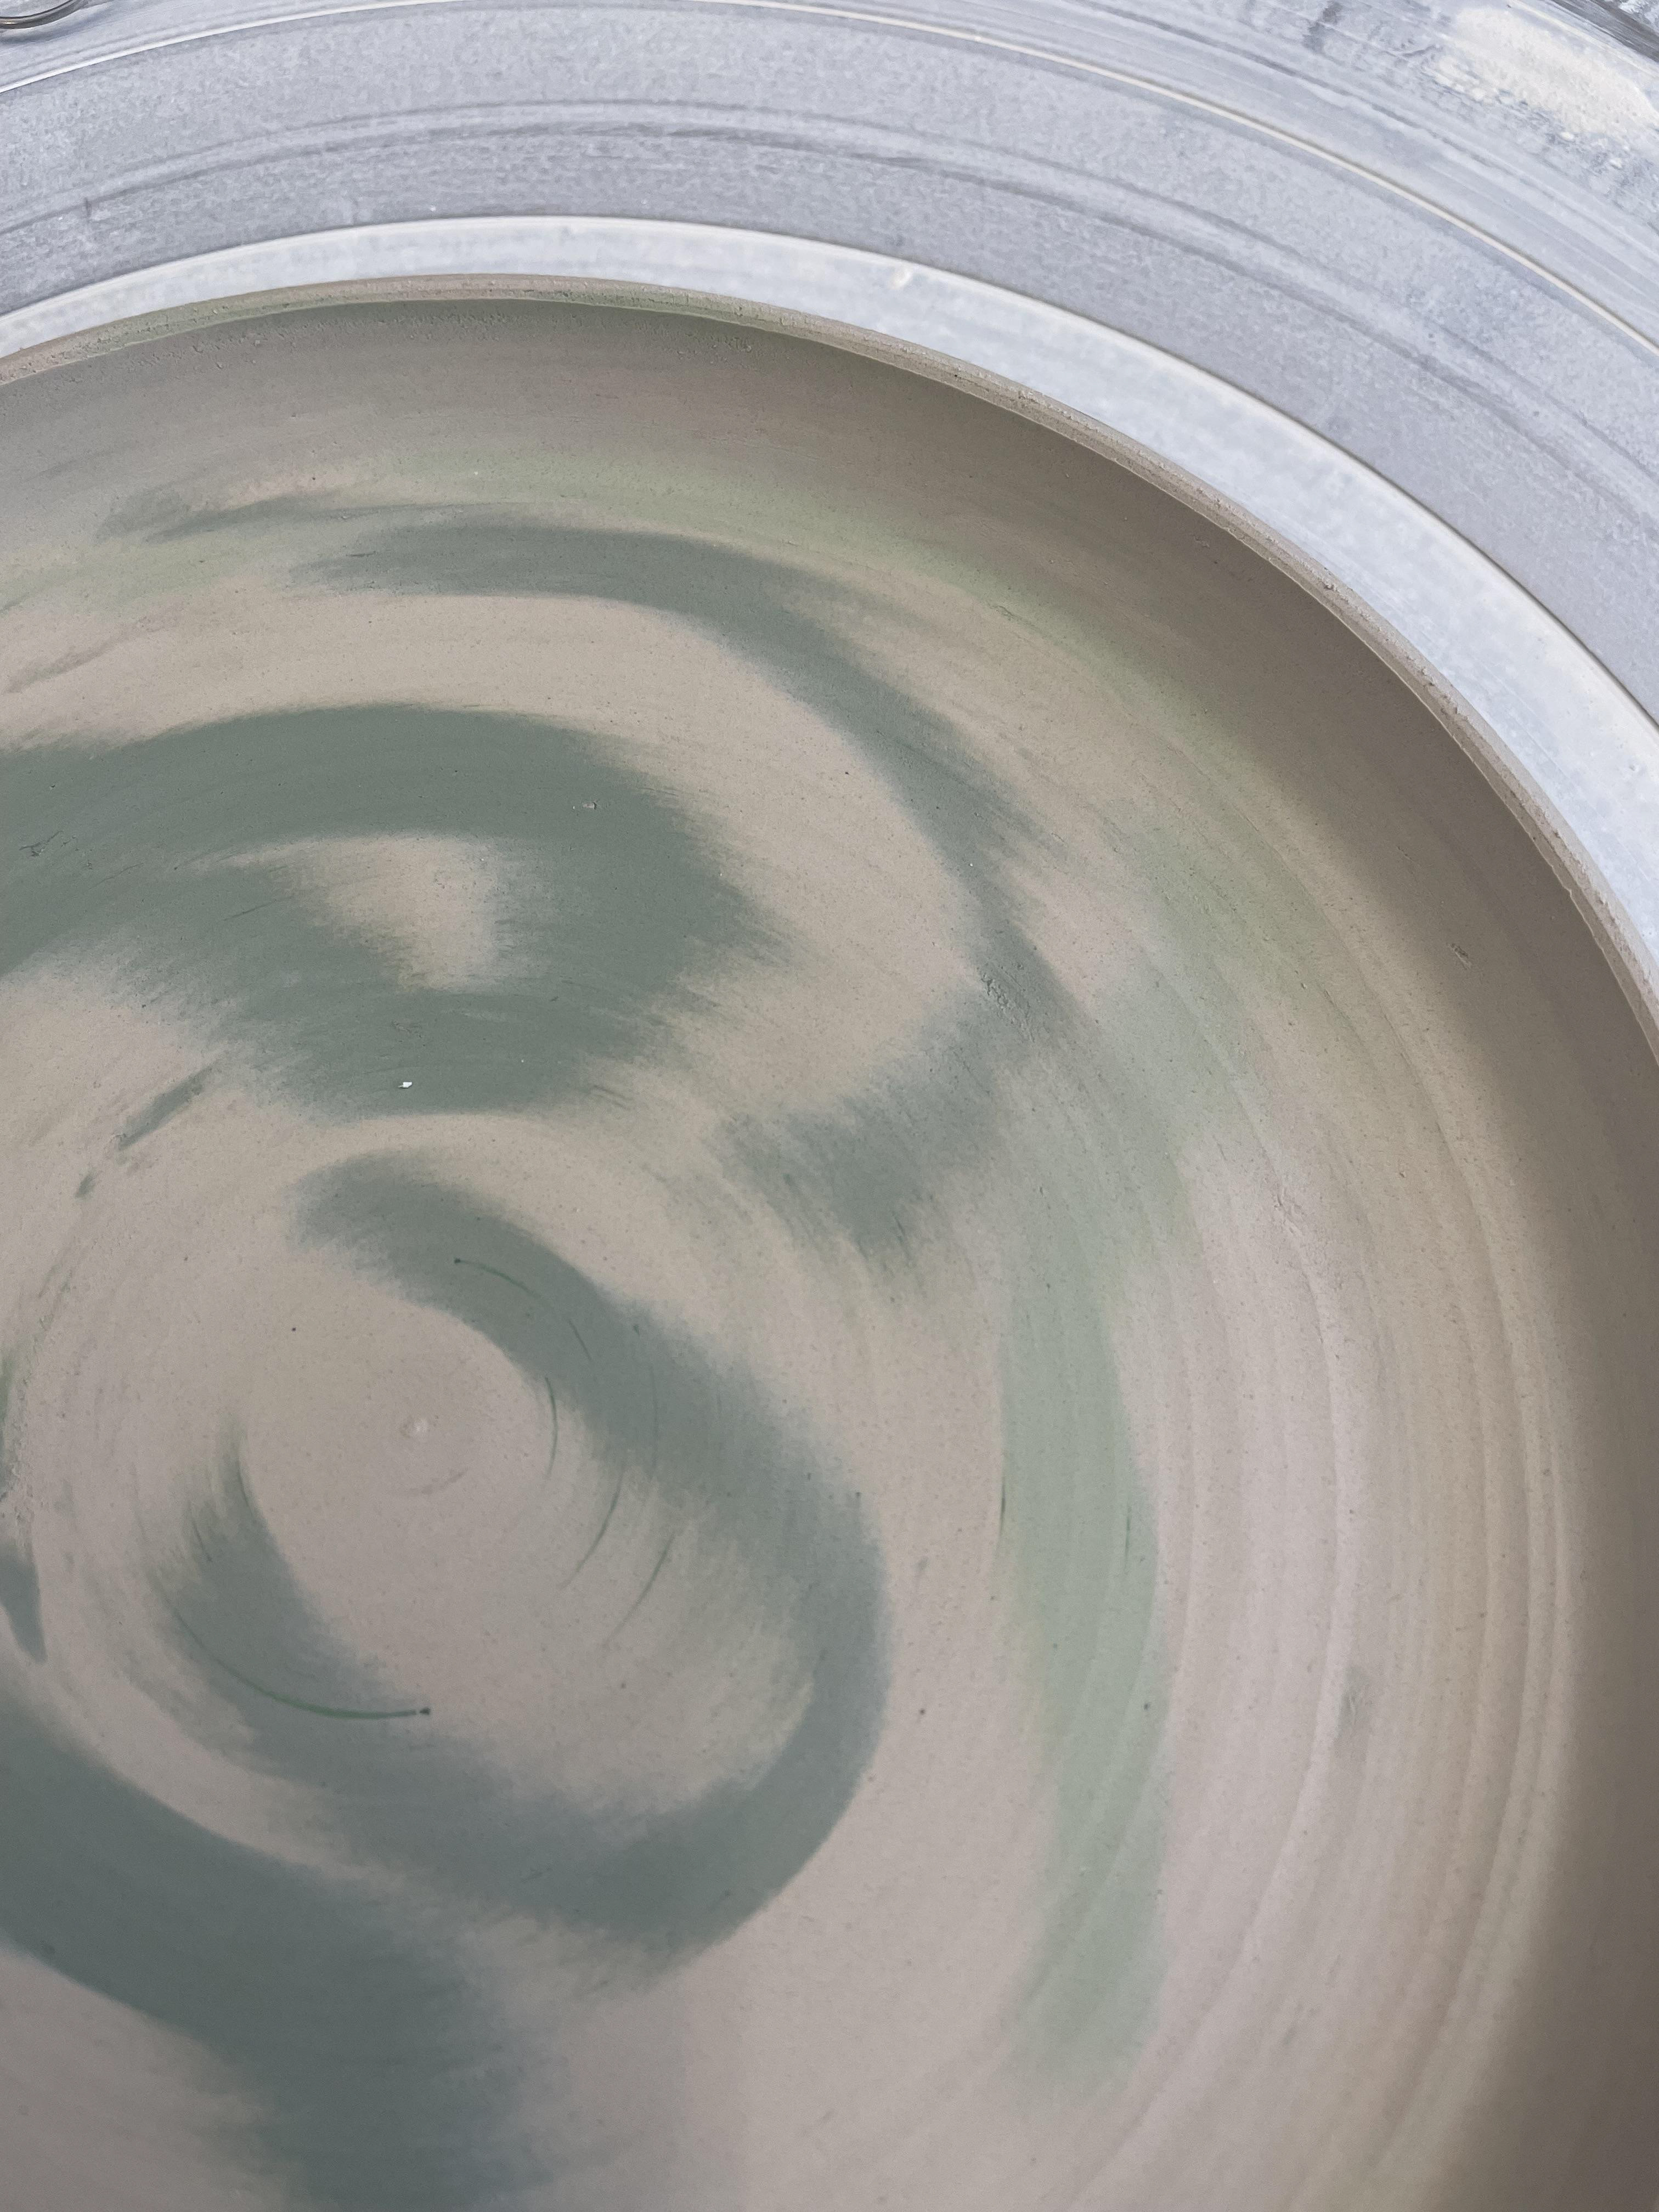
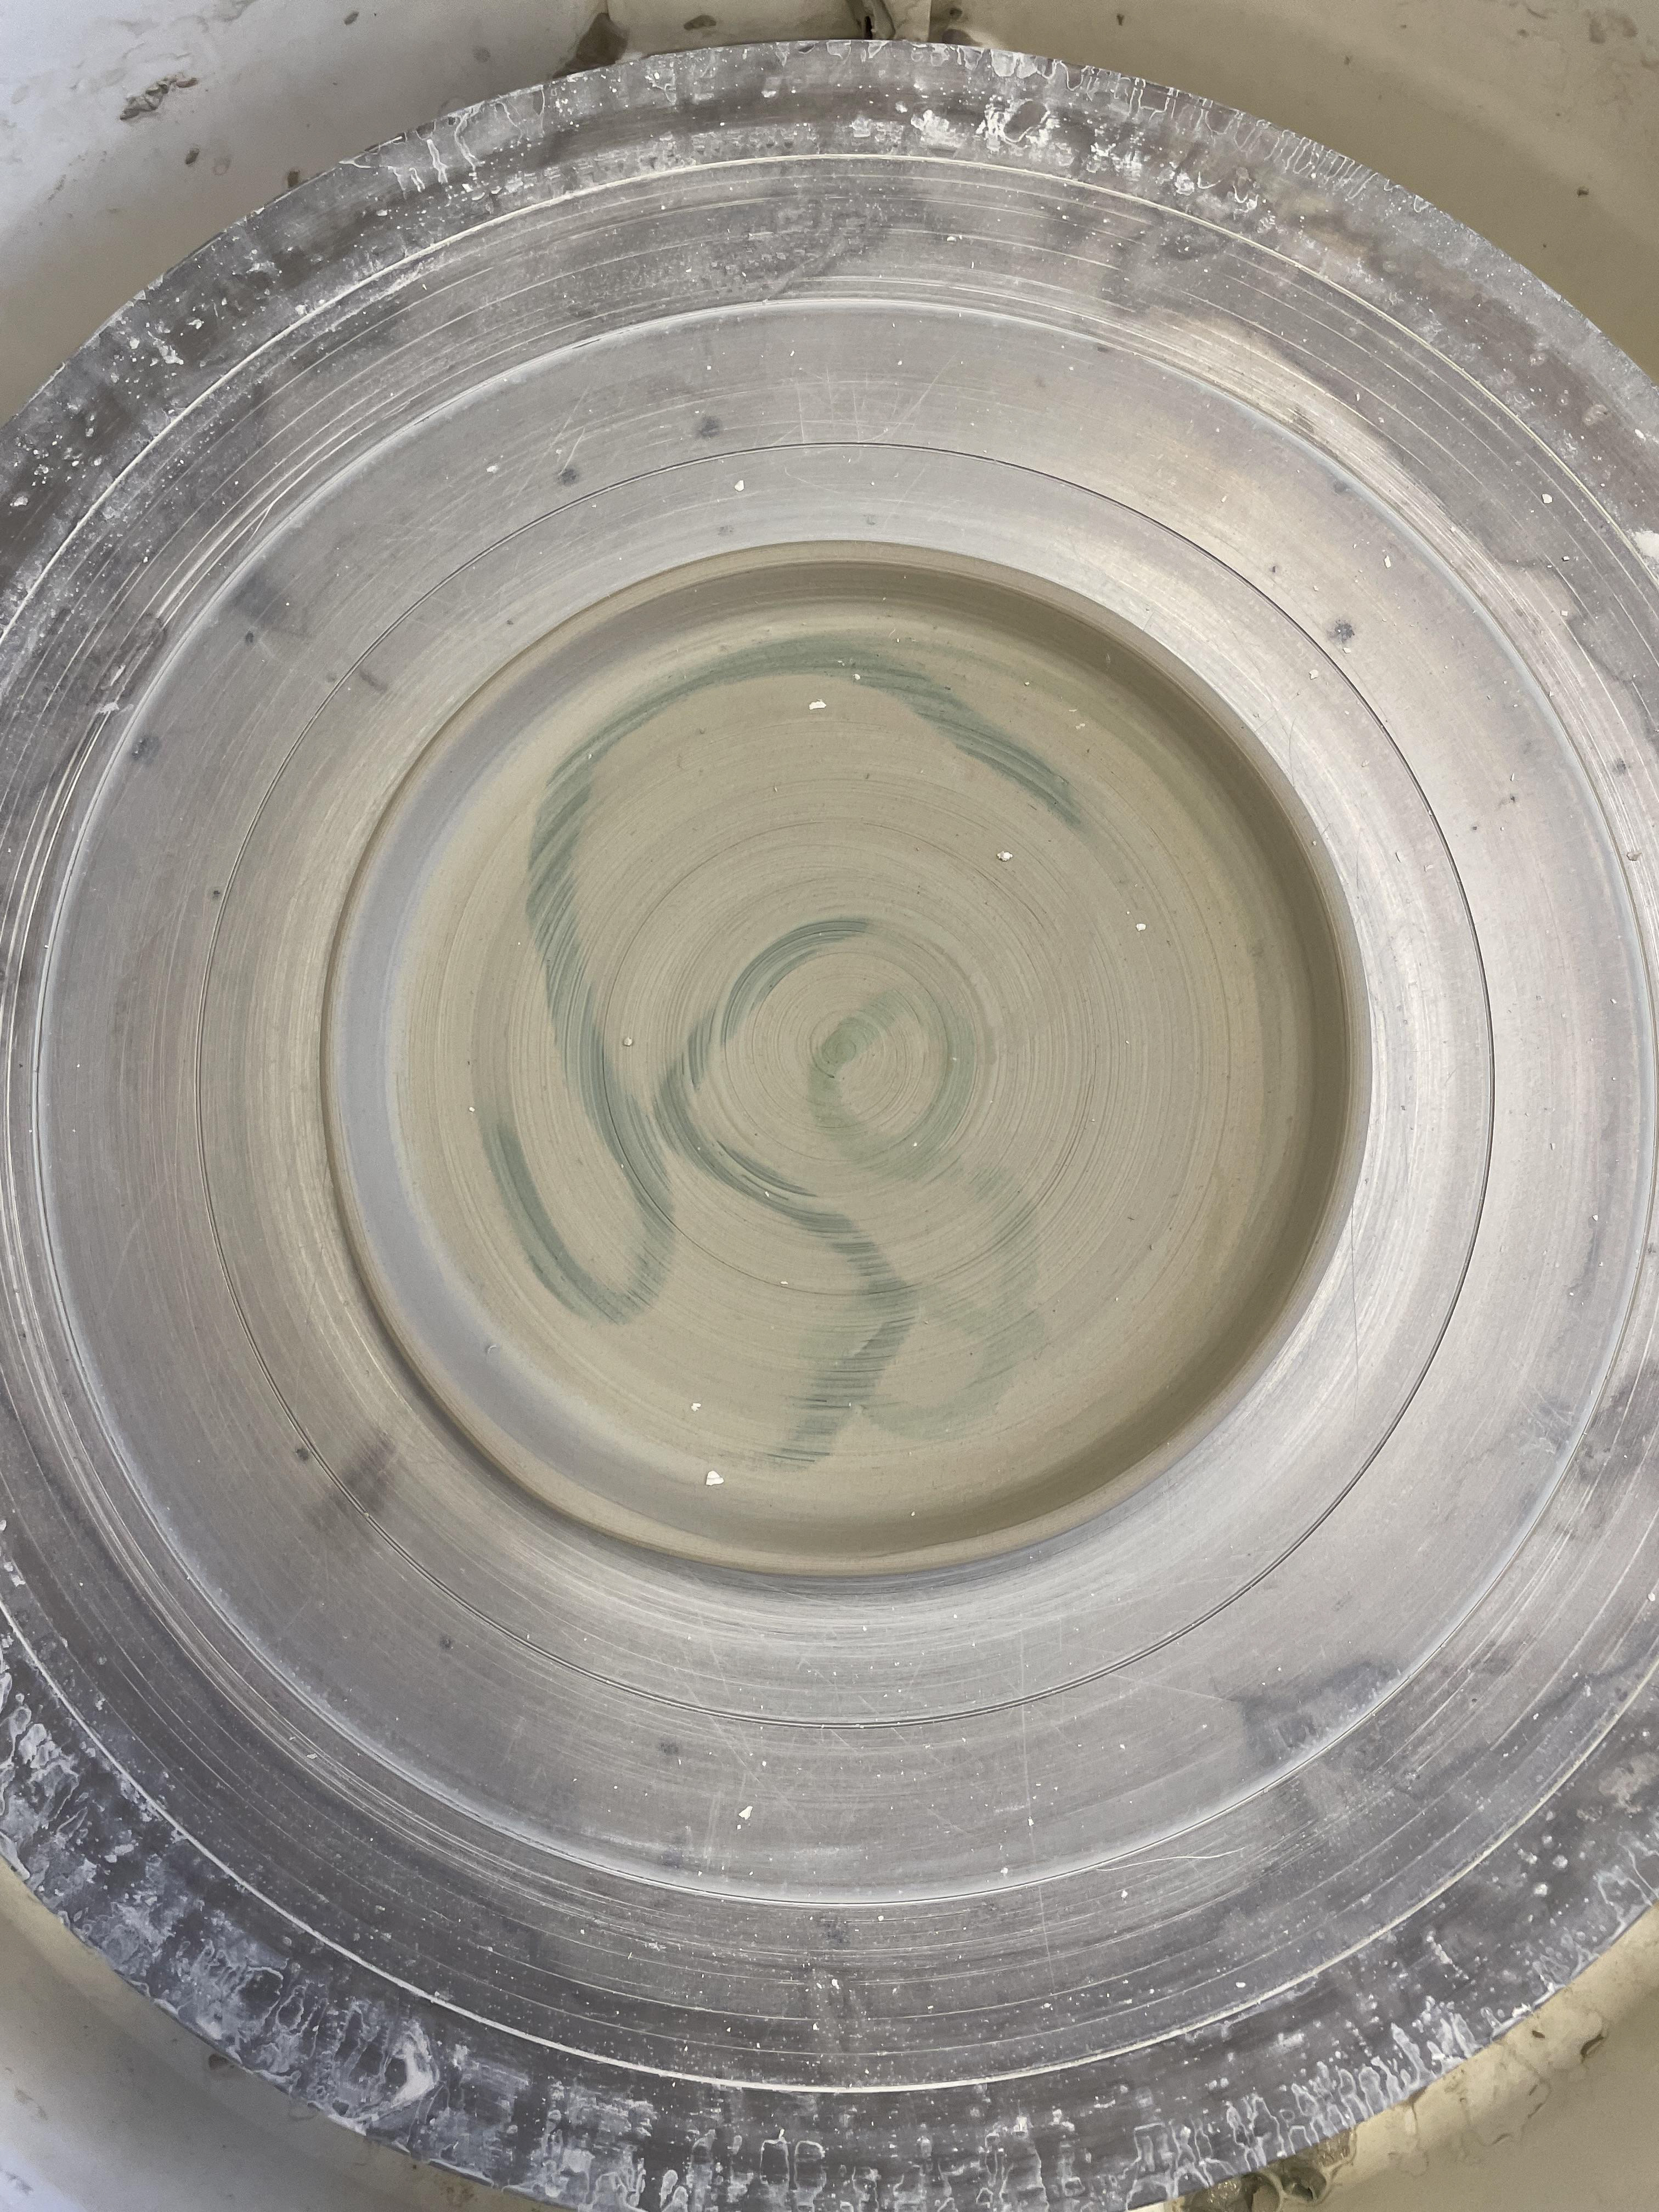

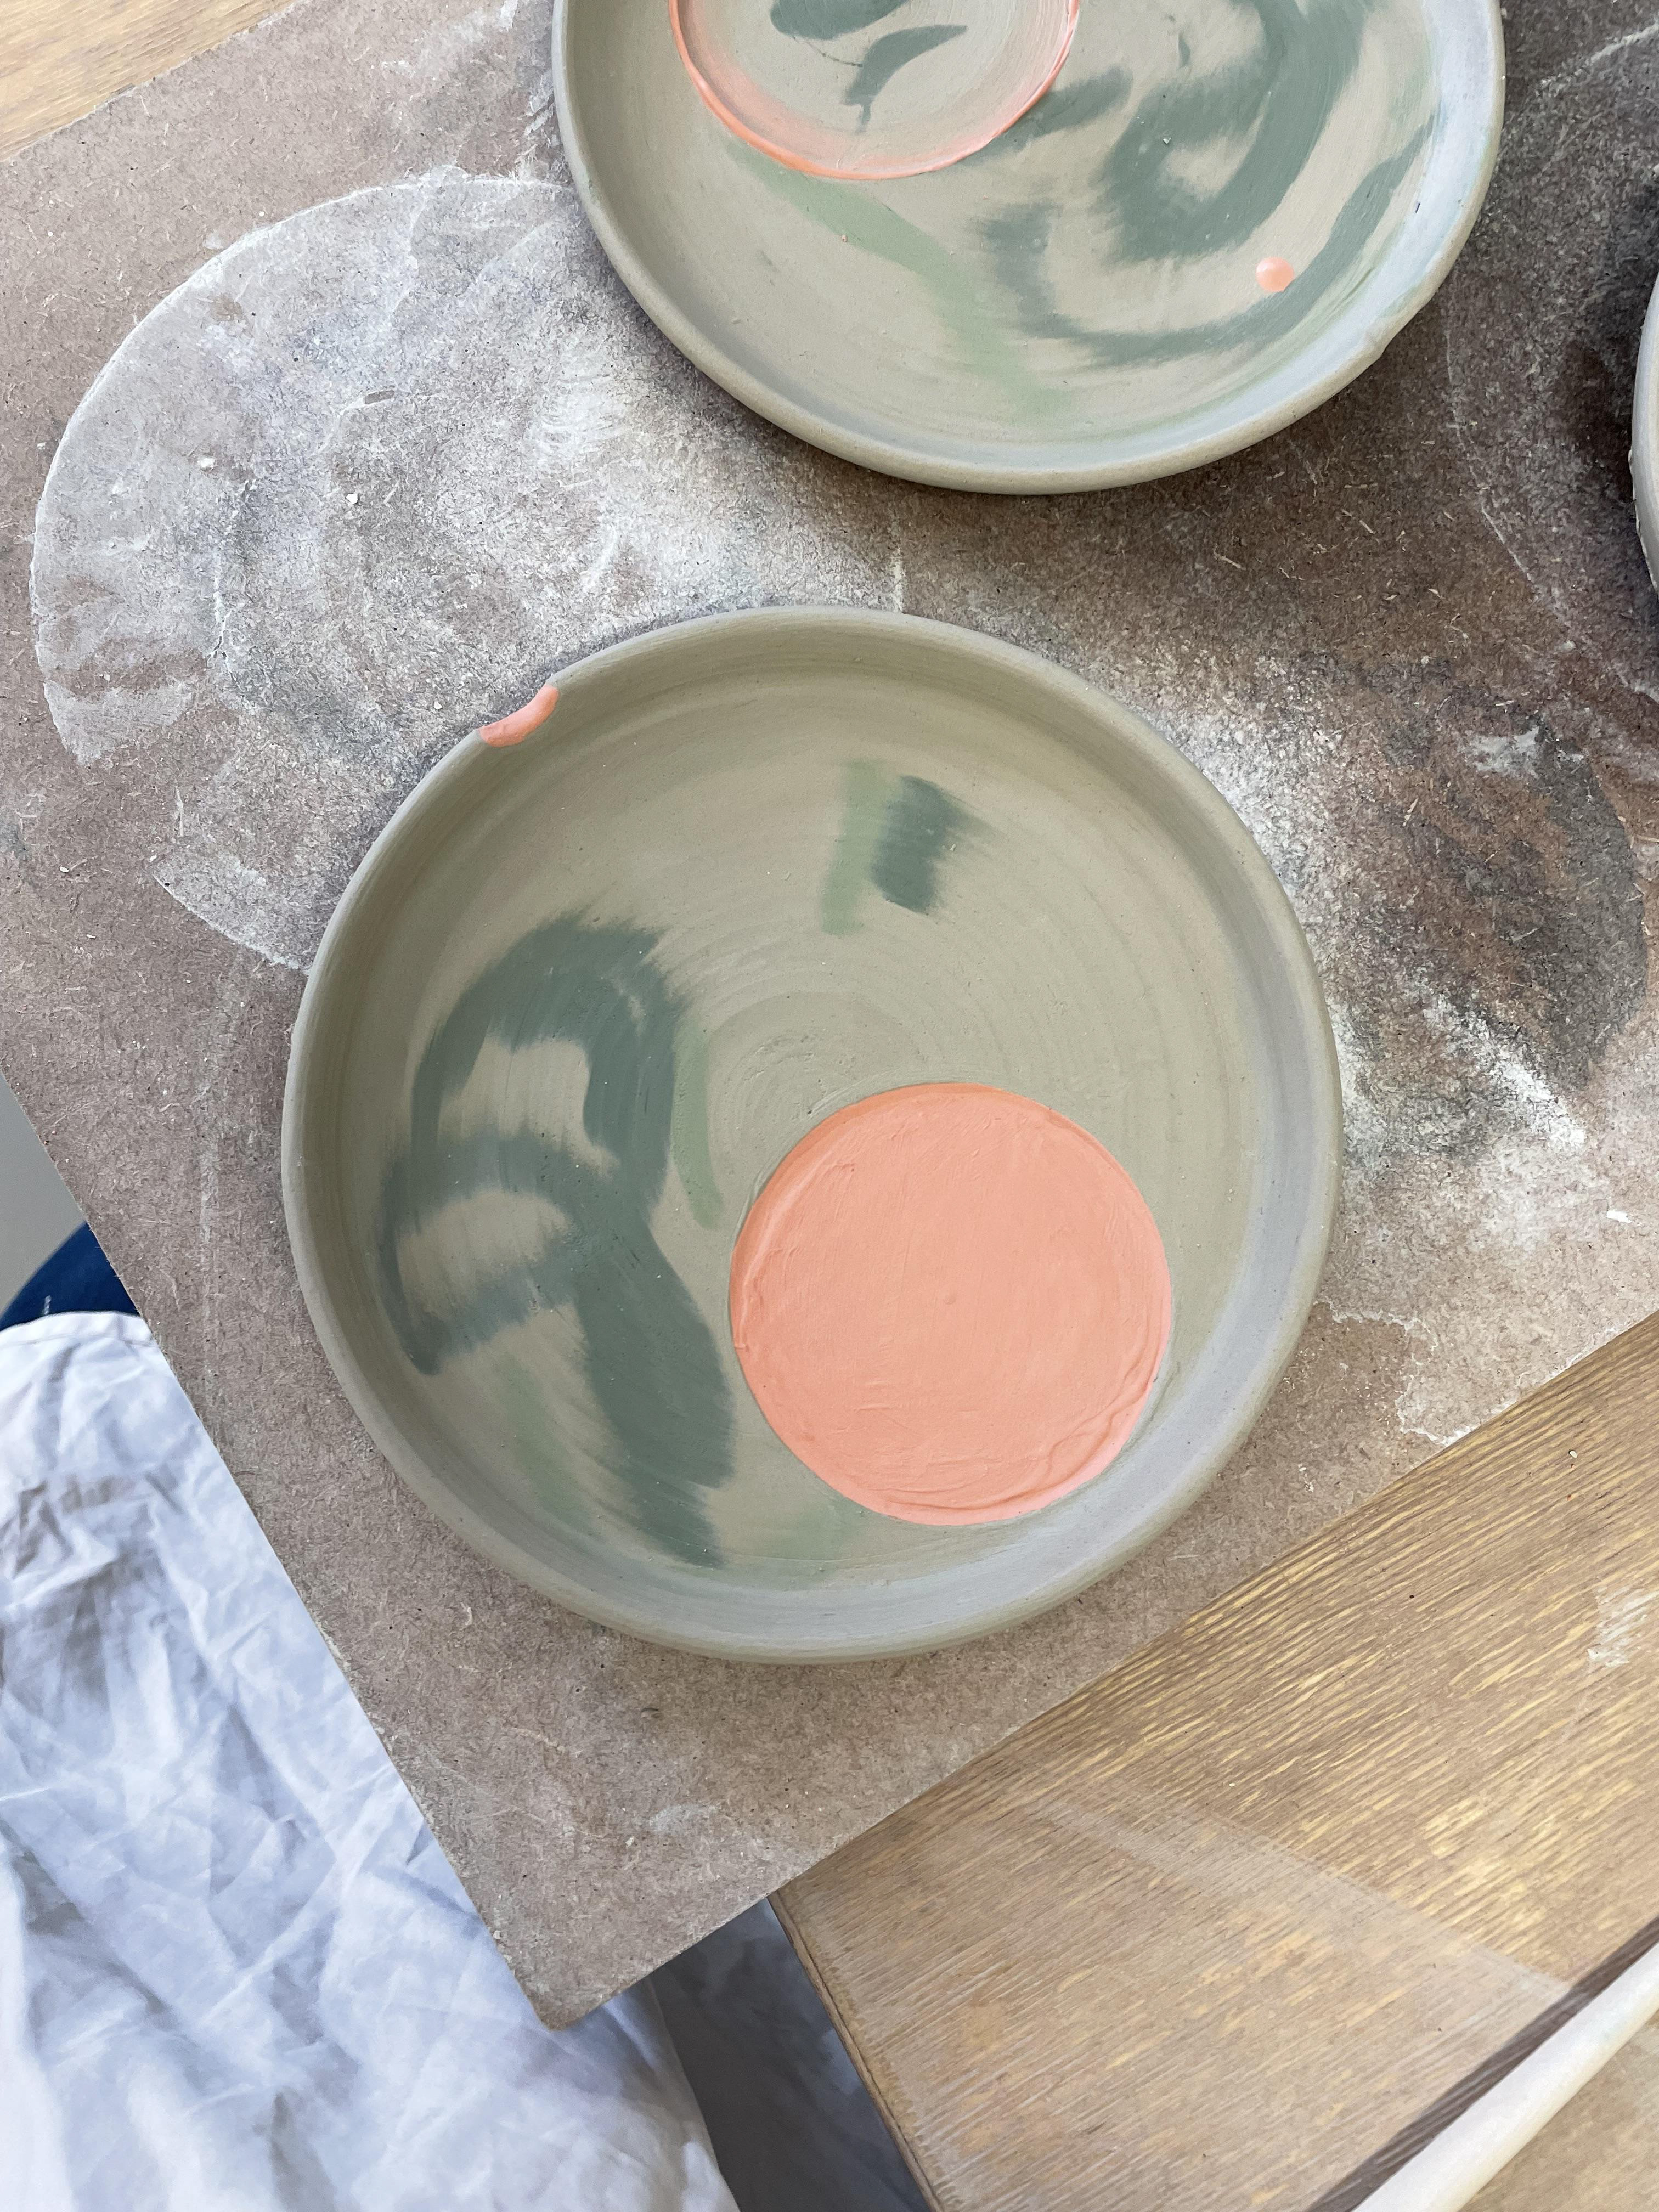
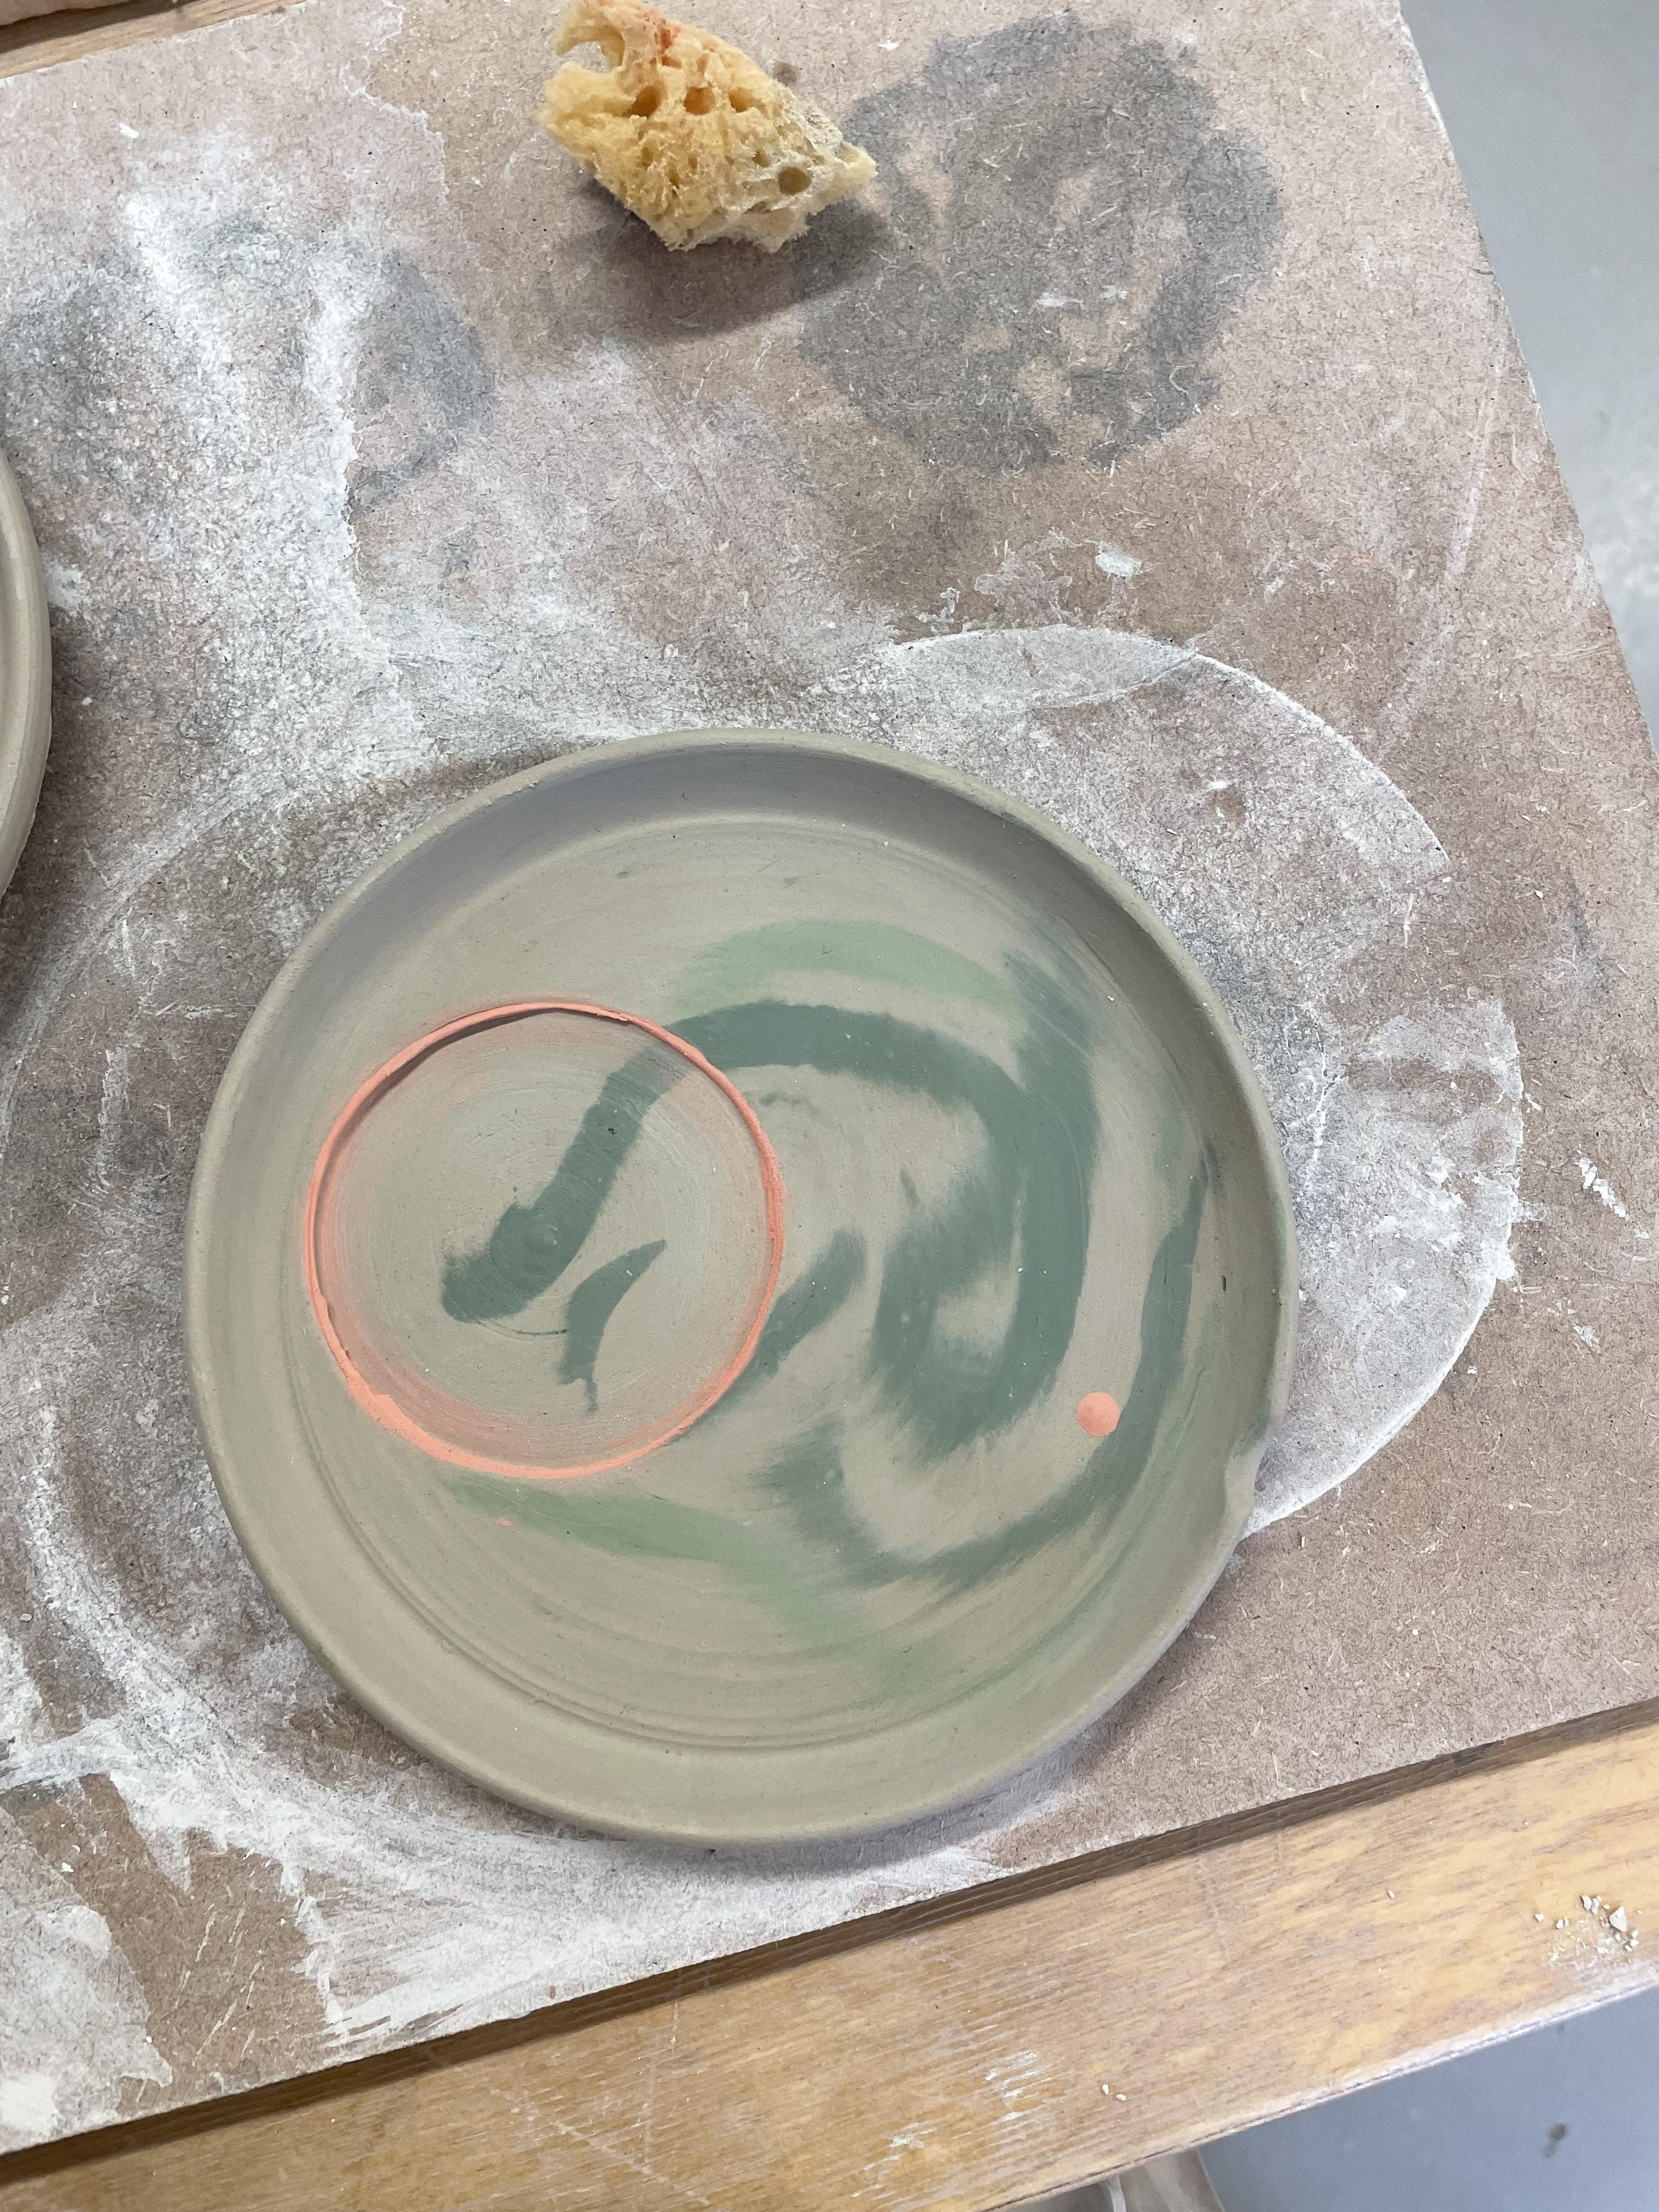
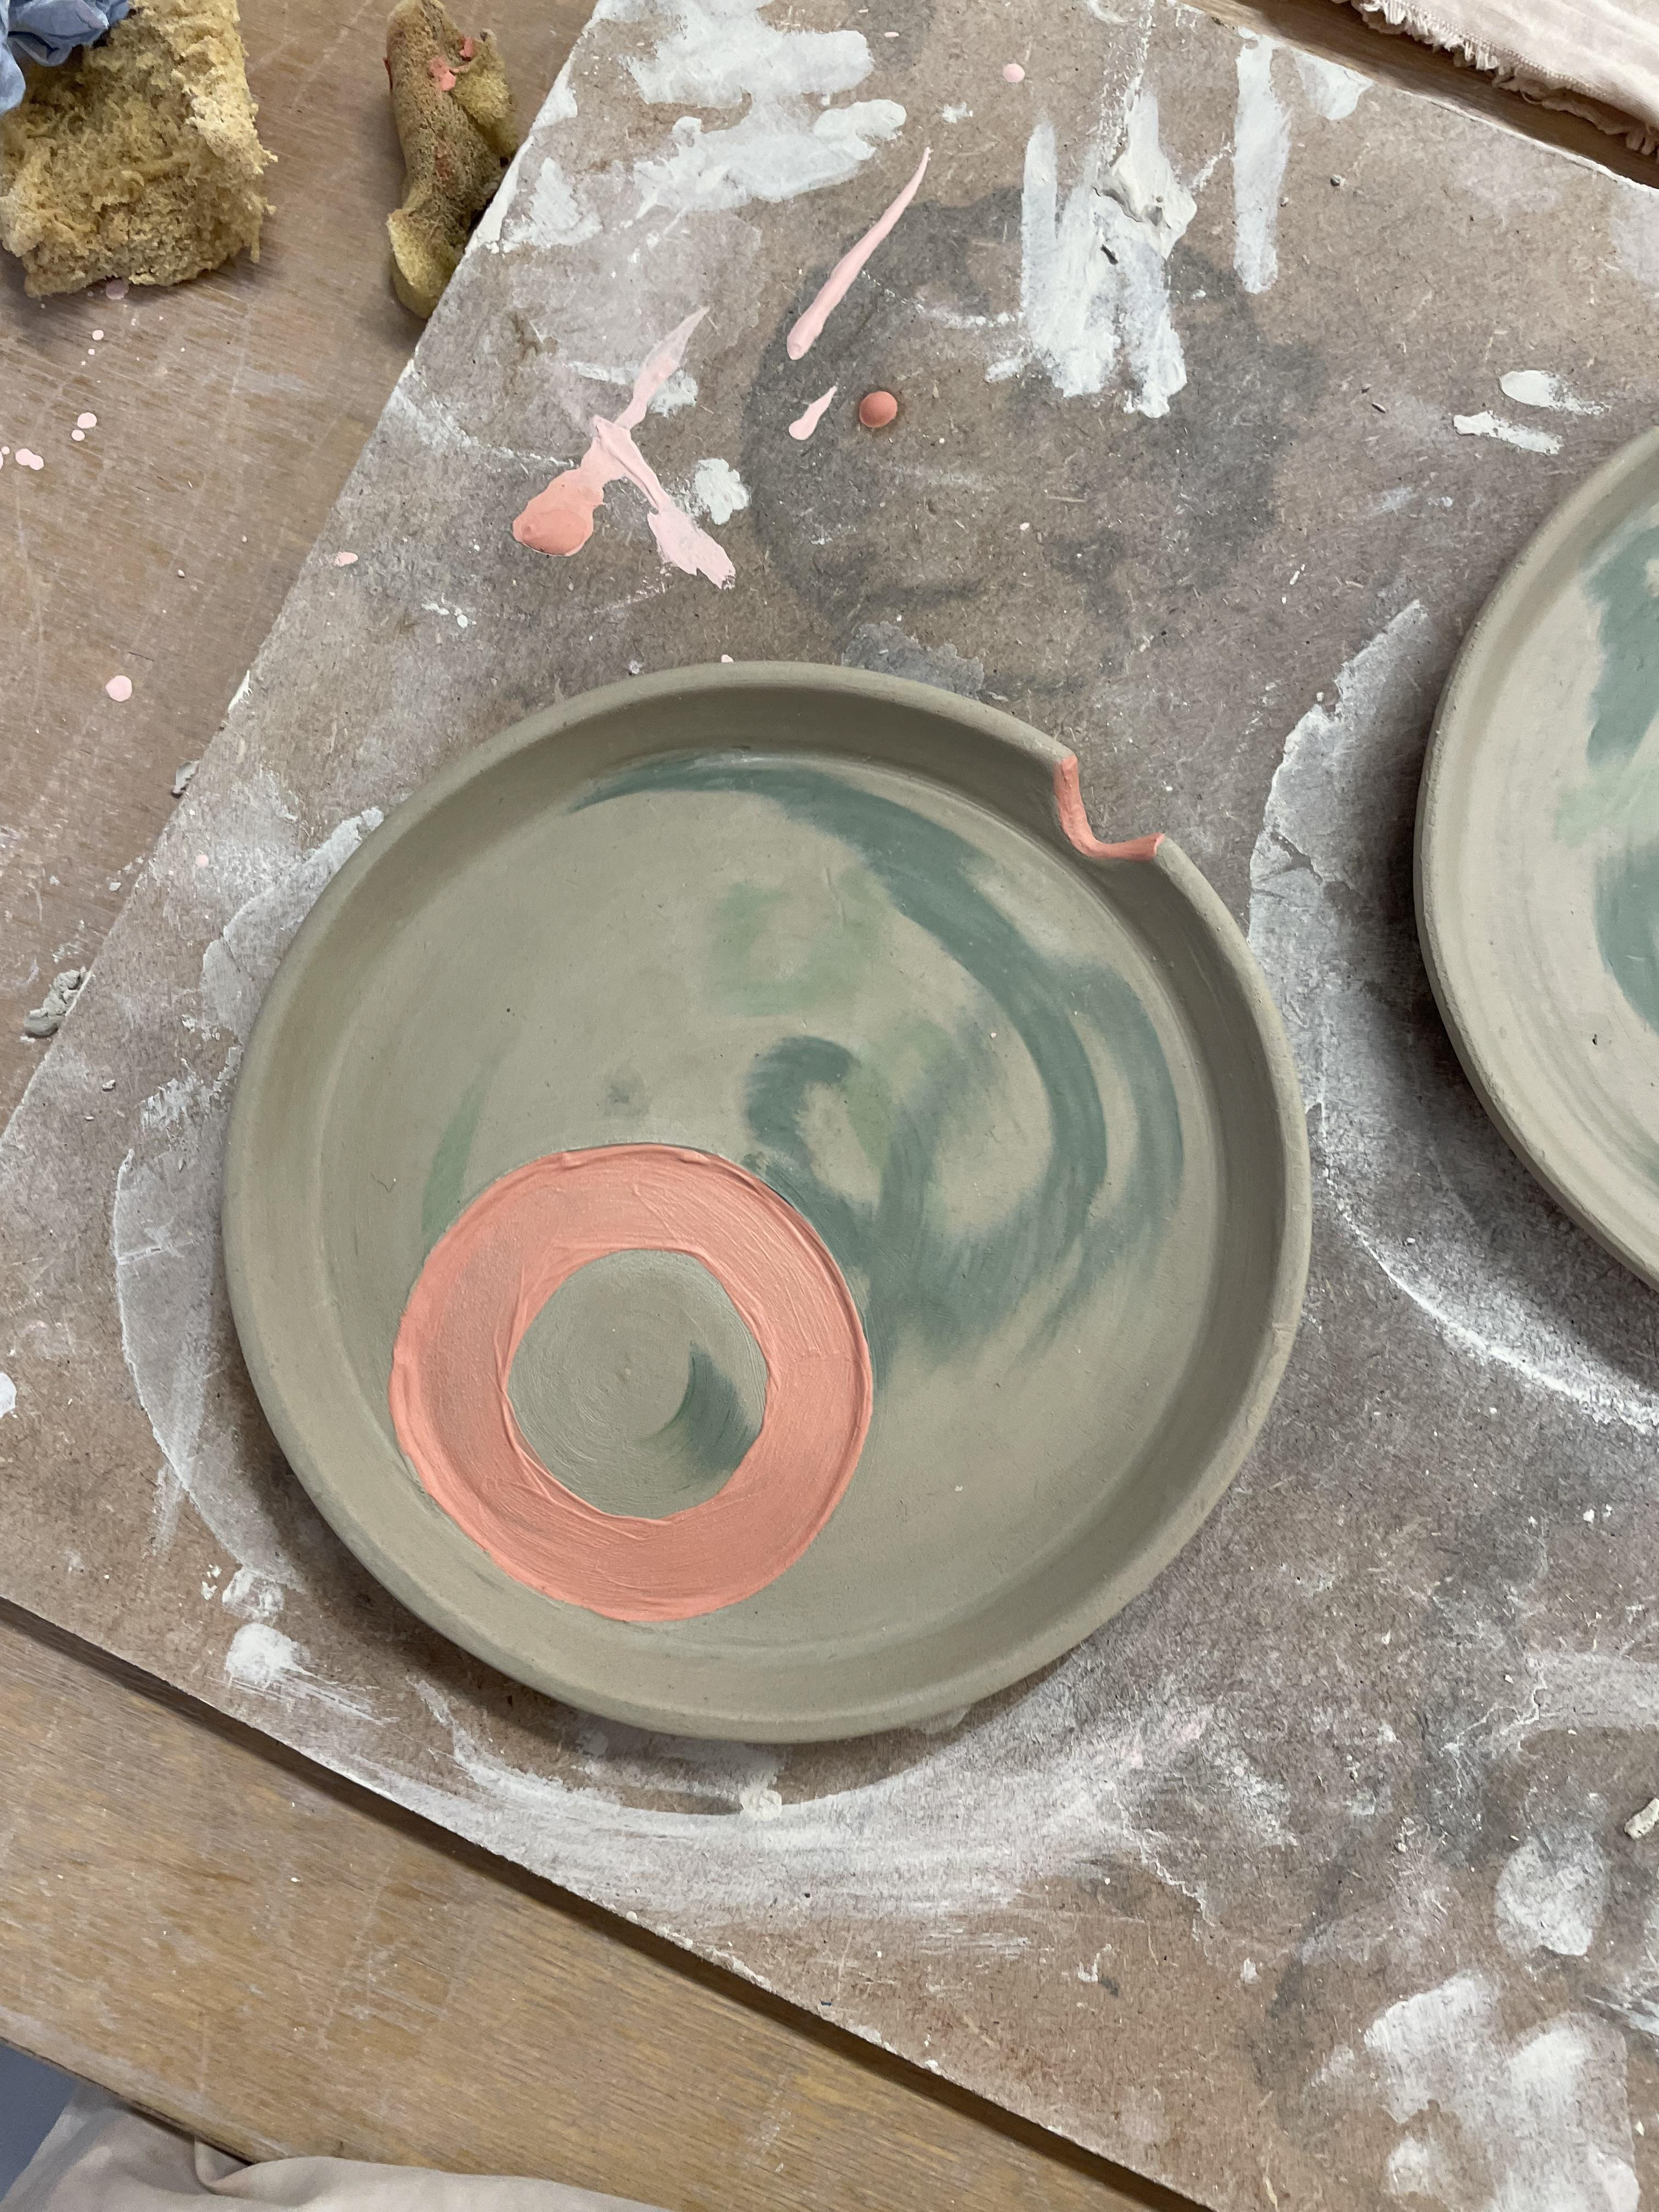
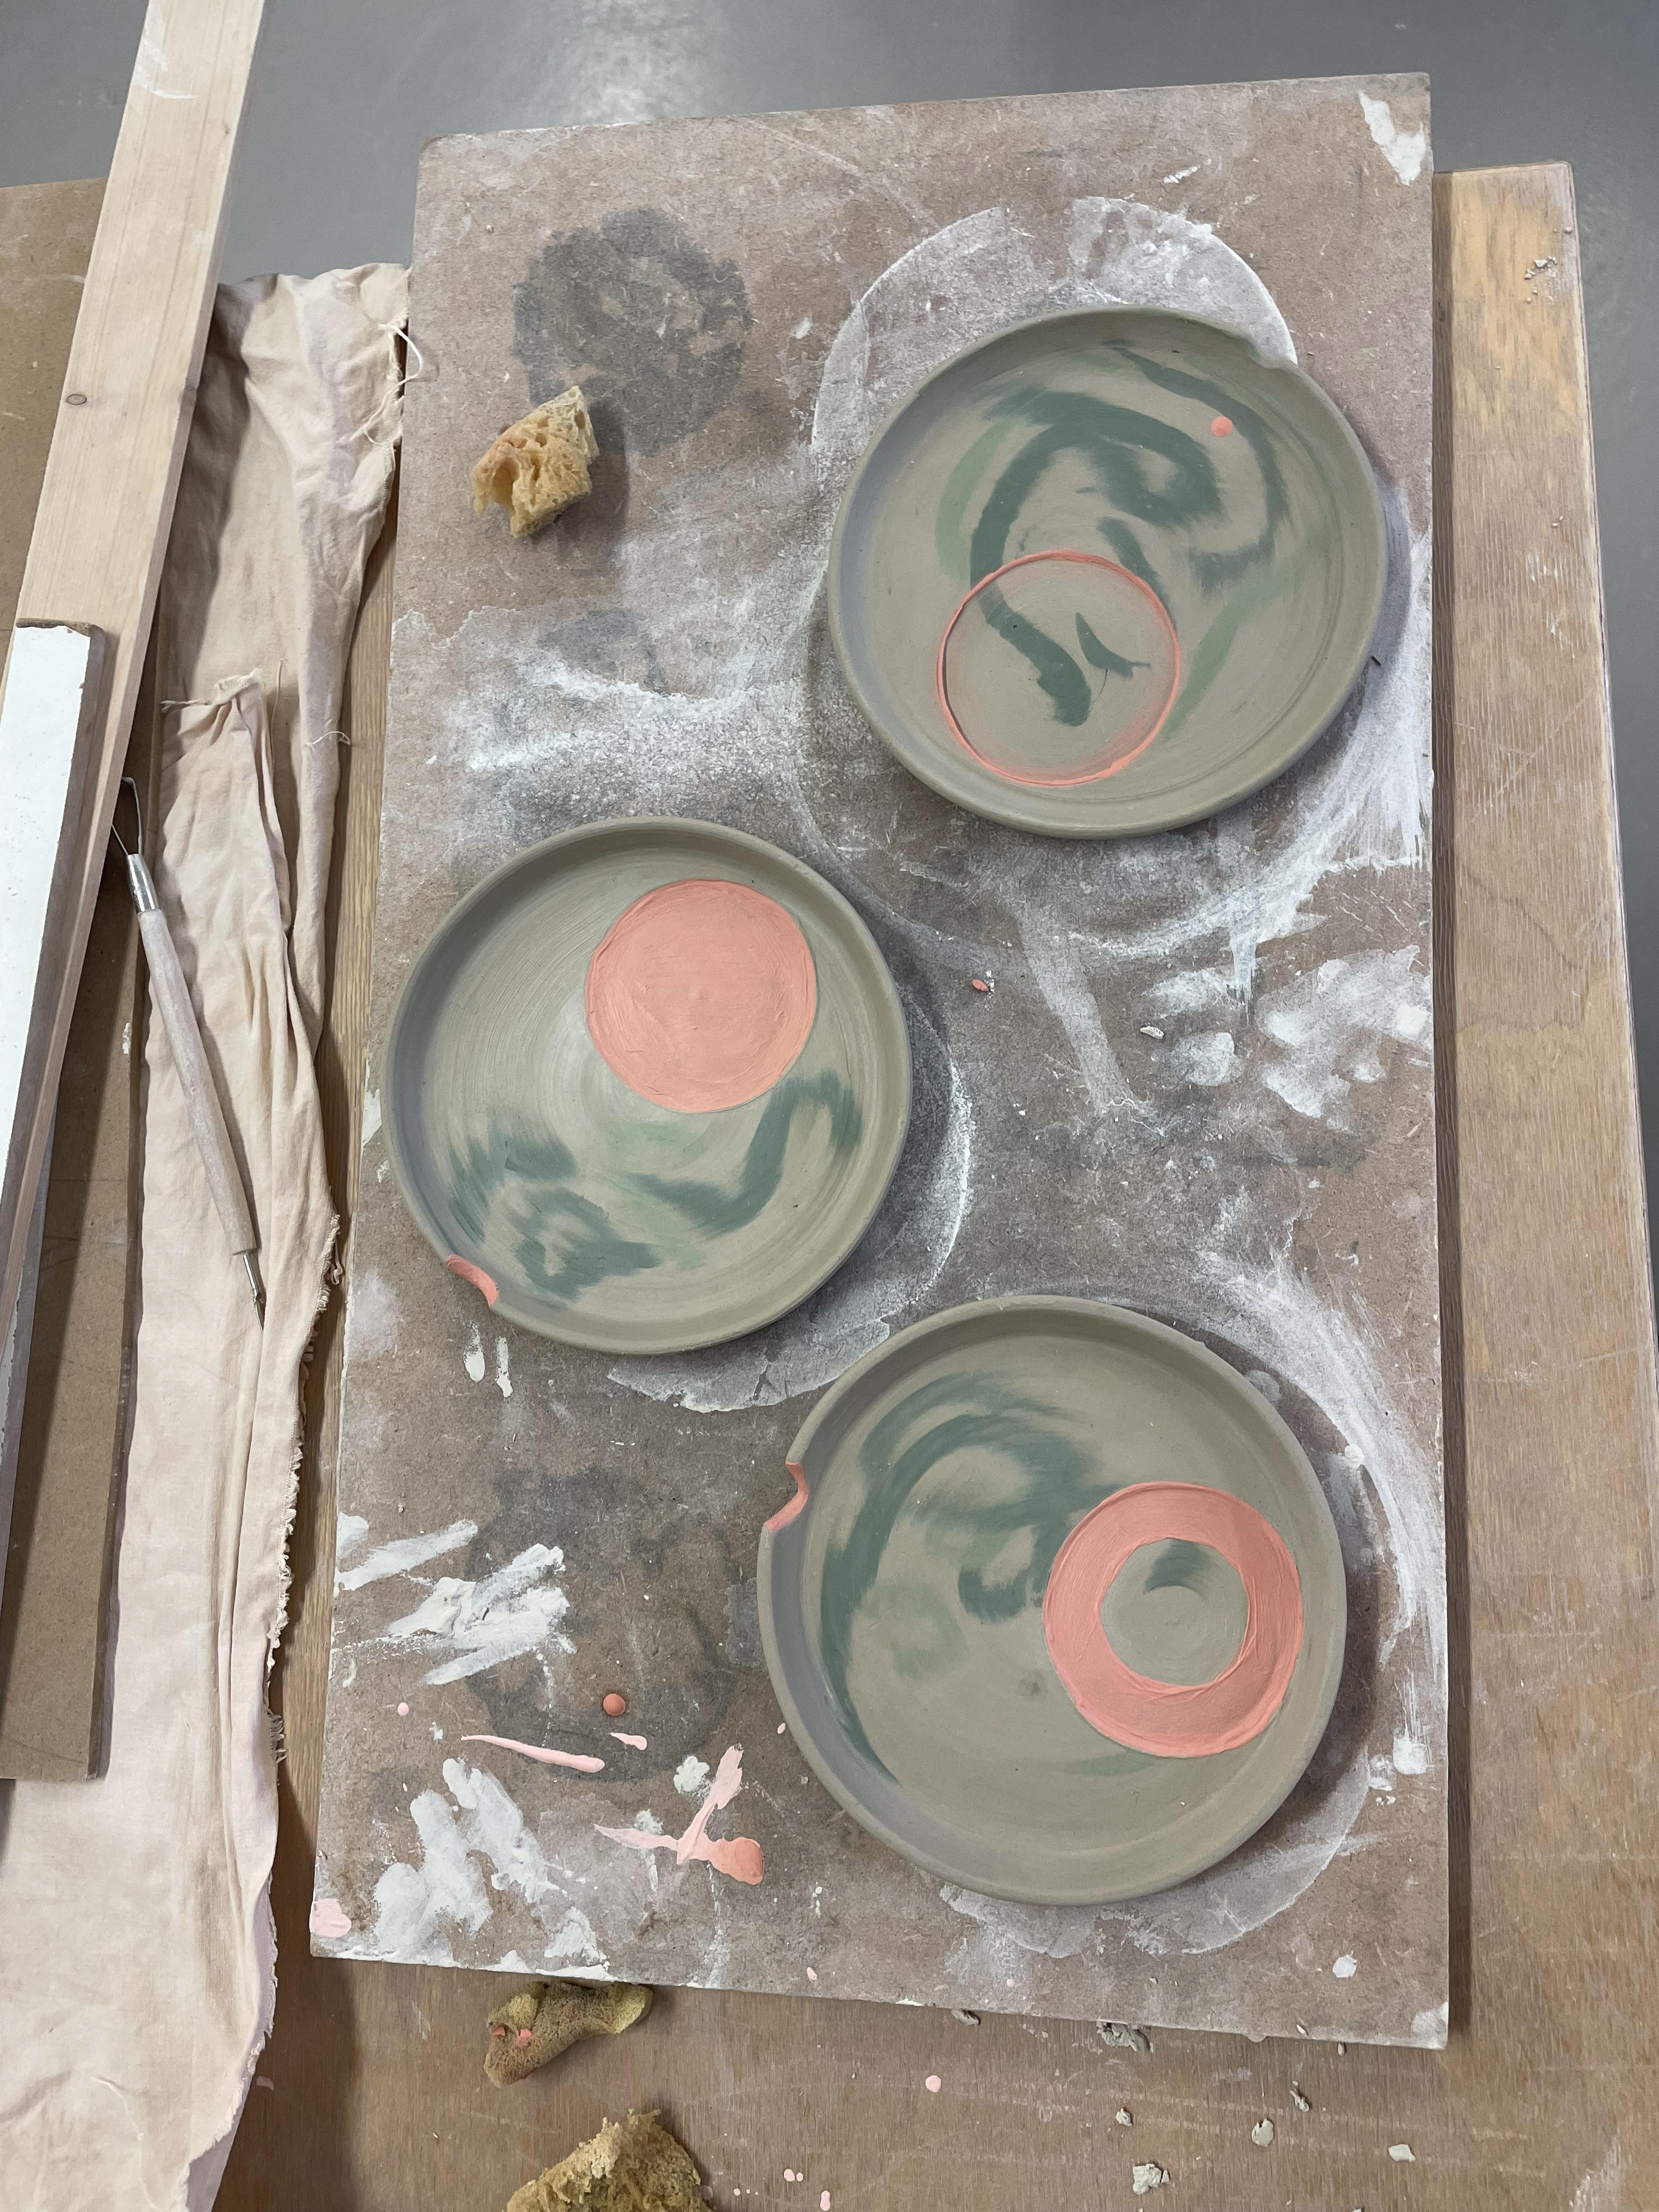
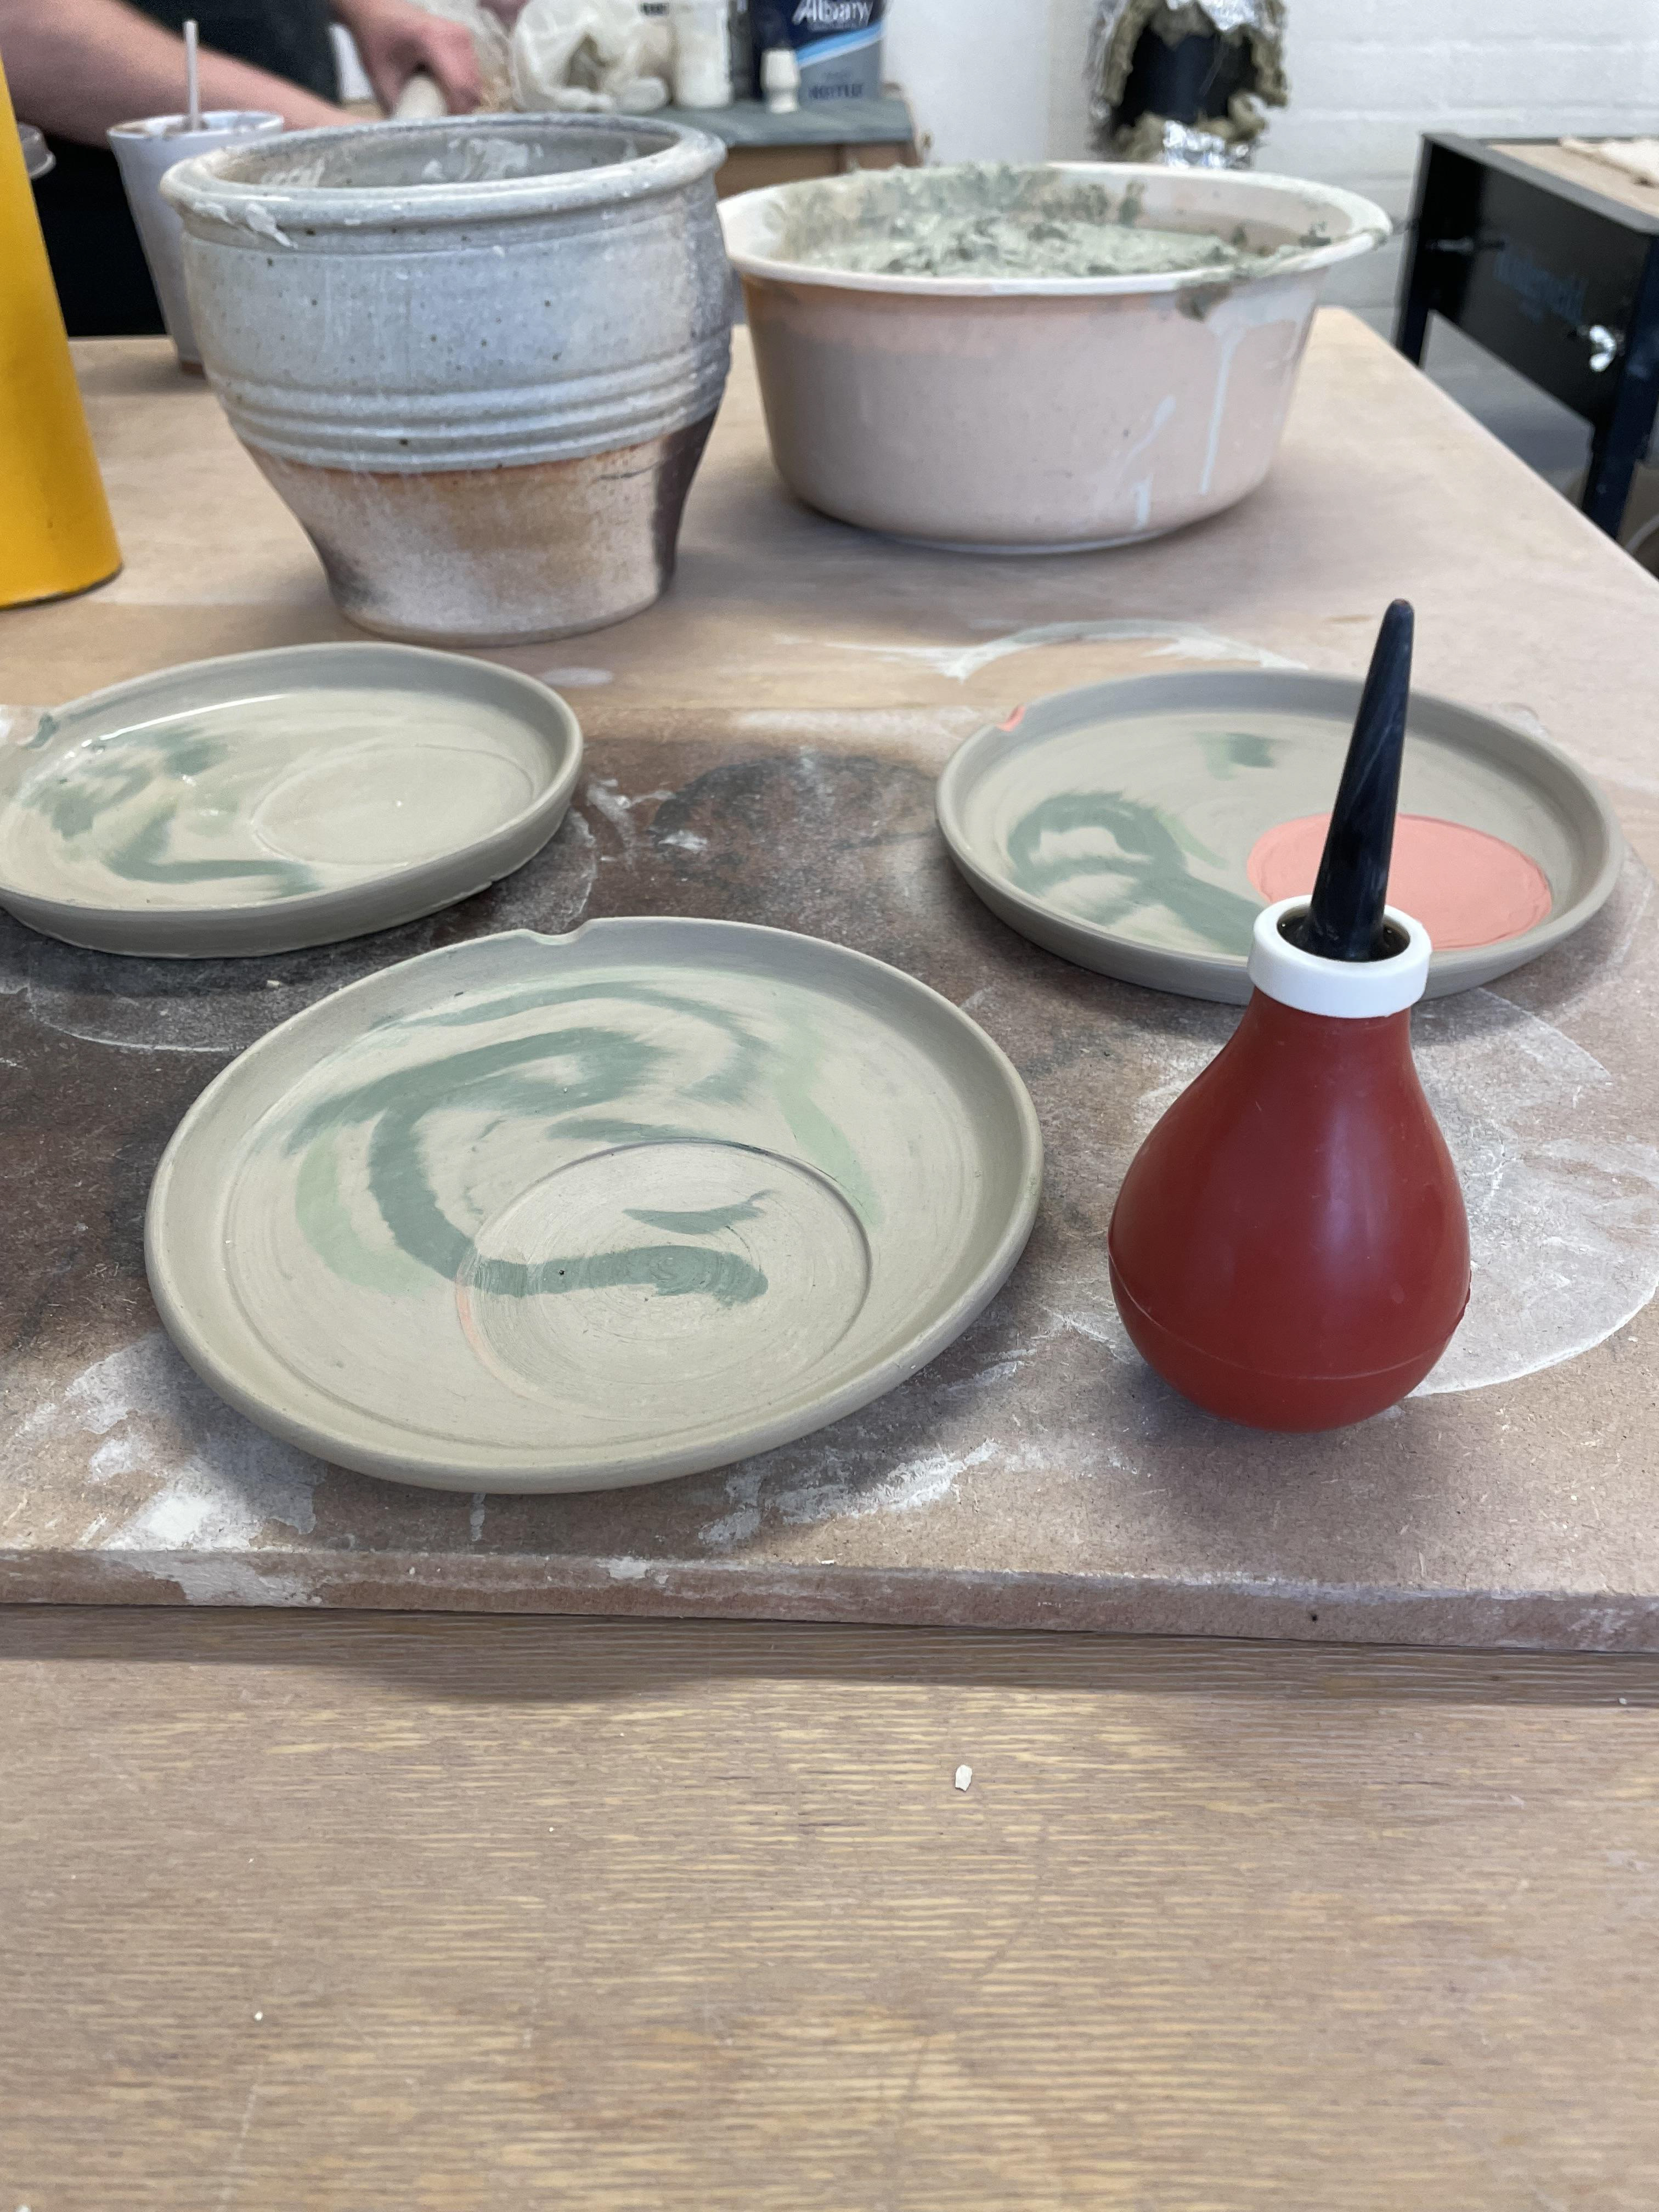
To create a grove for the mugs to sit, I had to de-centre them, allowing space for the handles; this trimming was challenging, getting the measurements right and trimming off centred. I measured the base of the mugs at 7cm; therefore, I measured 7cm off the rim and then had to find the right place on the wheel to begin trimming. It was much more manageable after trying a few times; however, trimming off the centre is disorientating. Once trimmed, I added cutouts to the rims of the saucers, allowing a smooth fit with the mug handles. I then added my accents of orange slip to the plates. I wanted them to all be different but still hold the accents painting the groves. Painting with slip was intricate as I'm not very good at painting precisely, and some saucer designs needed more detailed painting.
After Bisque Fire
Glazing With a Spray Gun
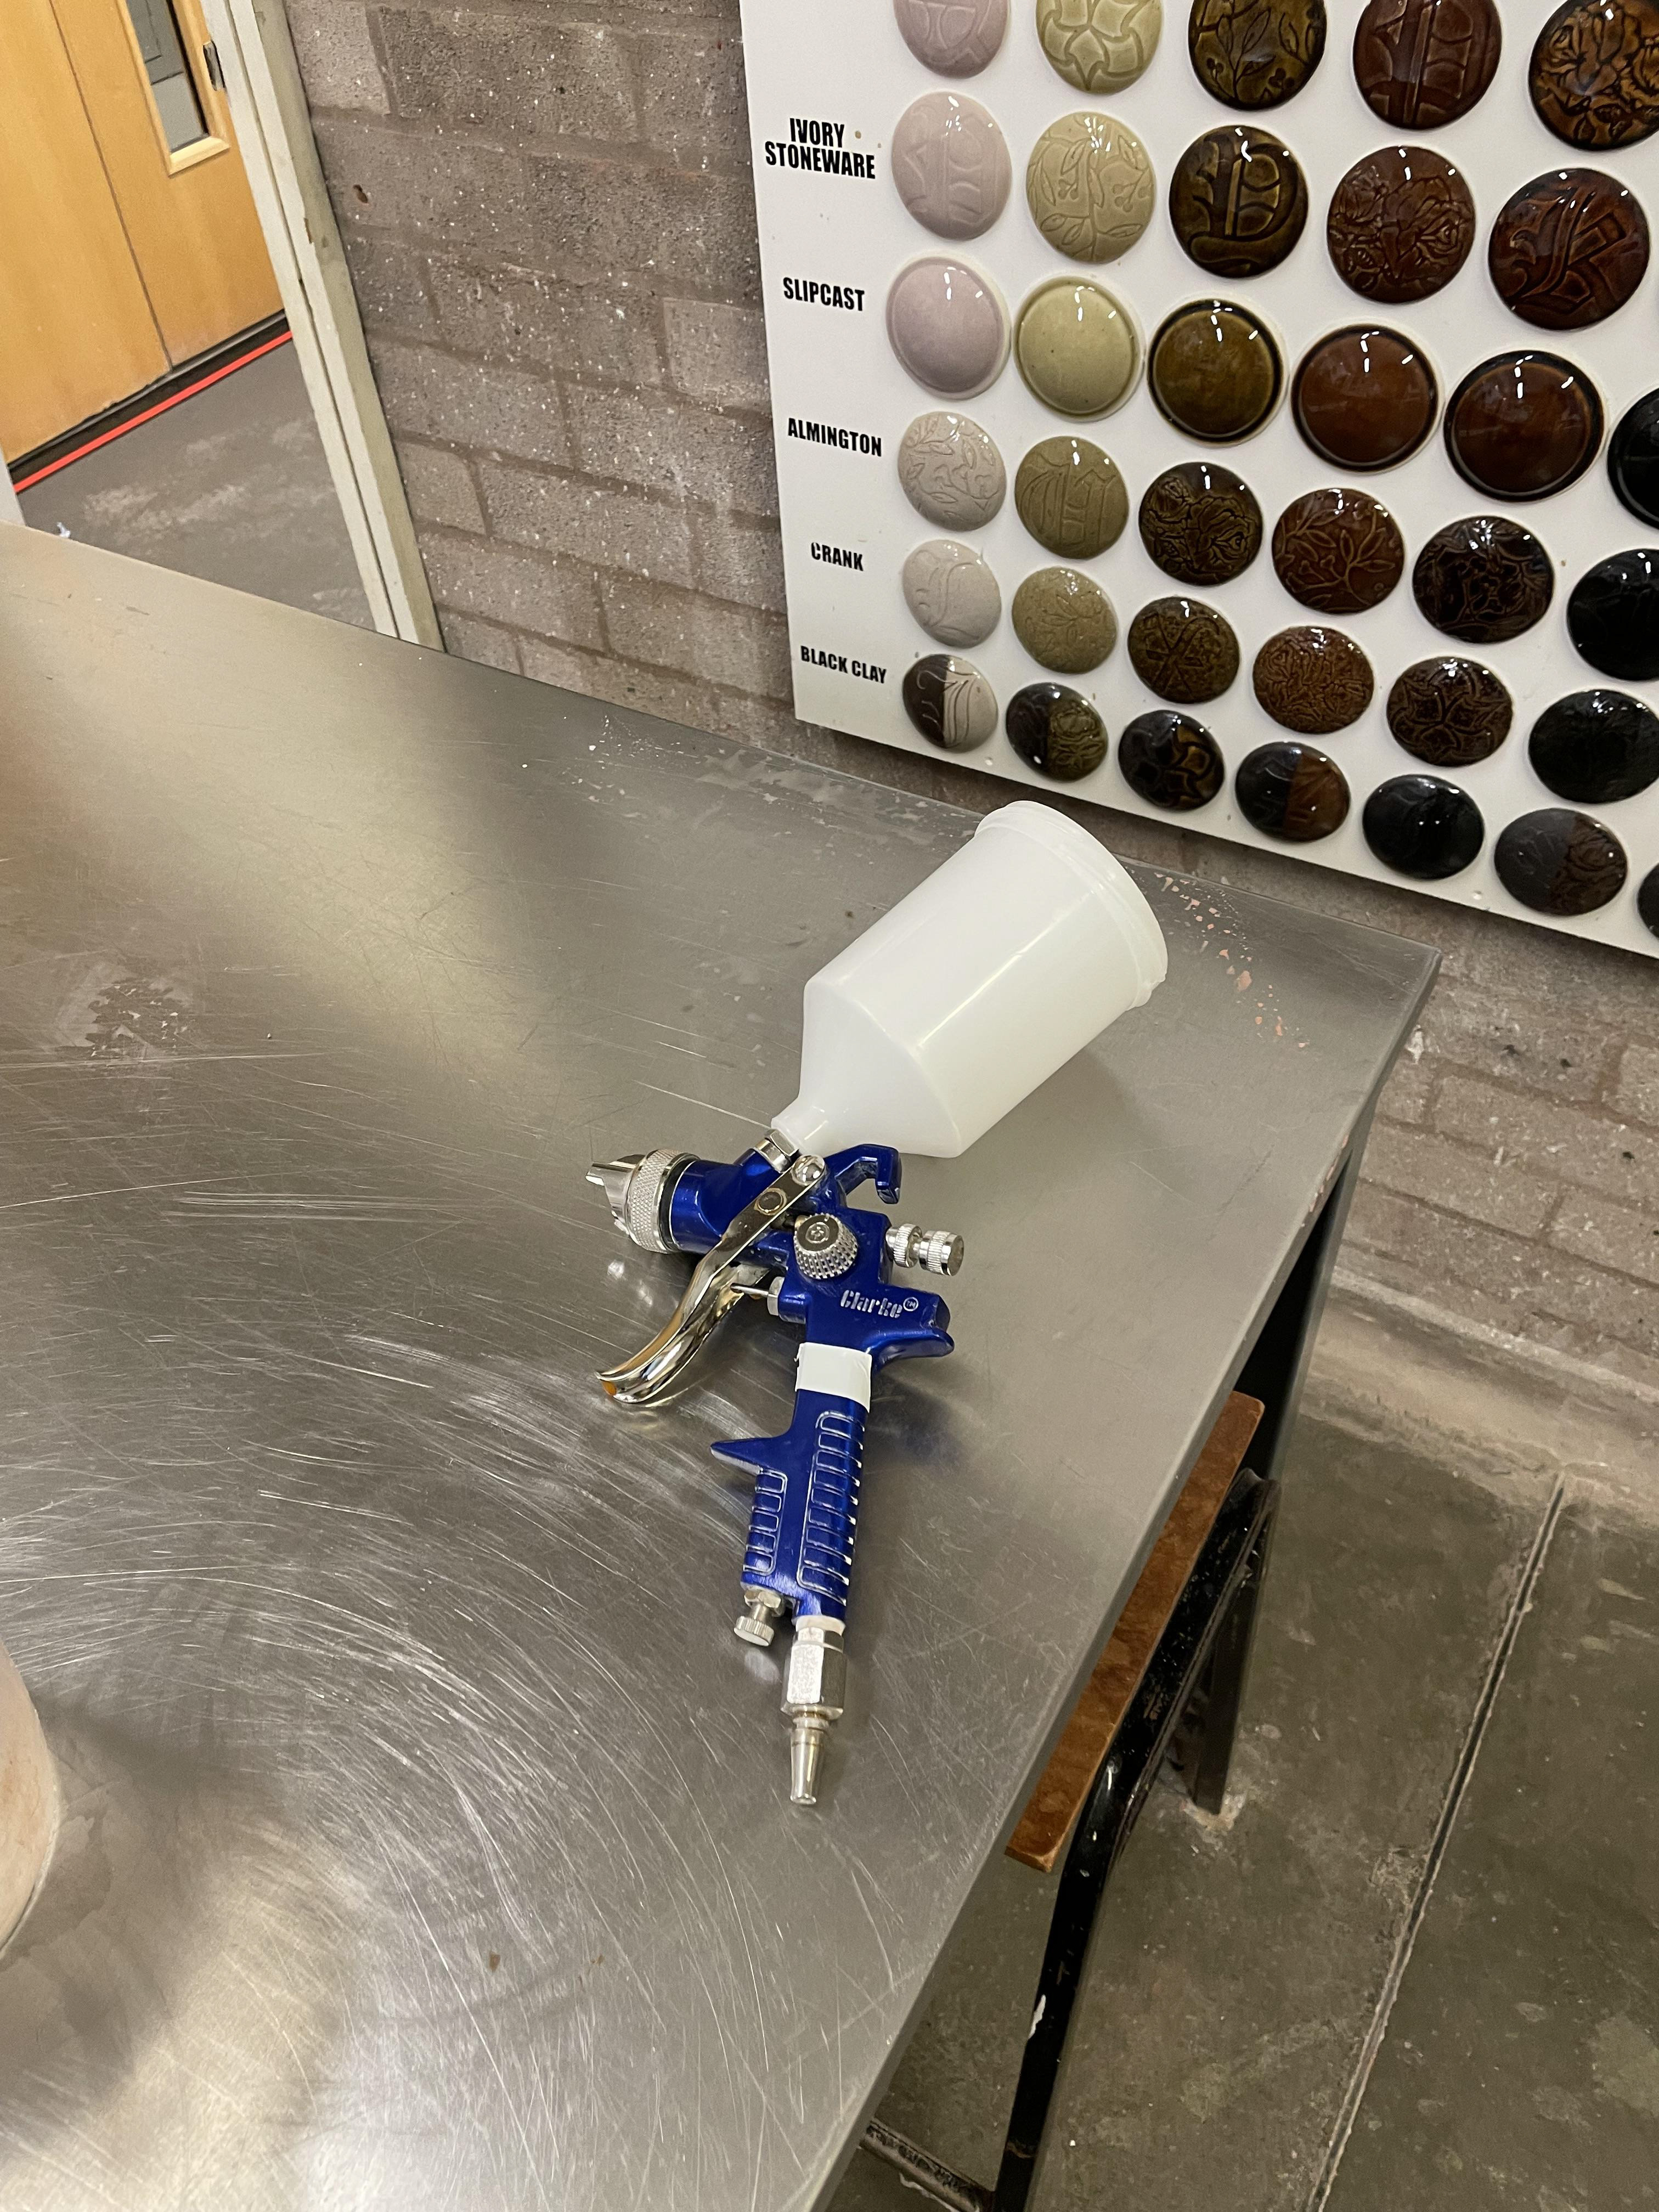
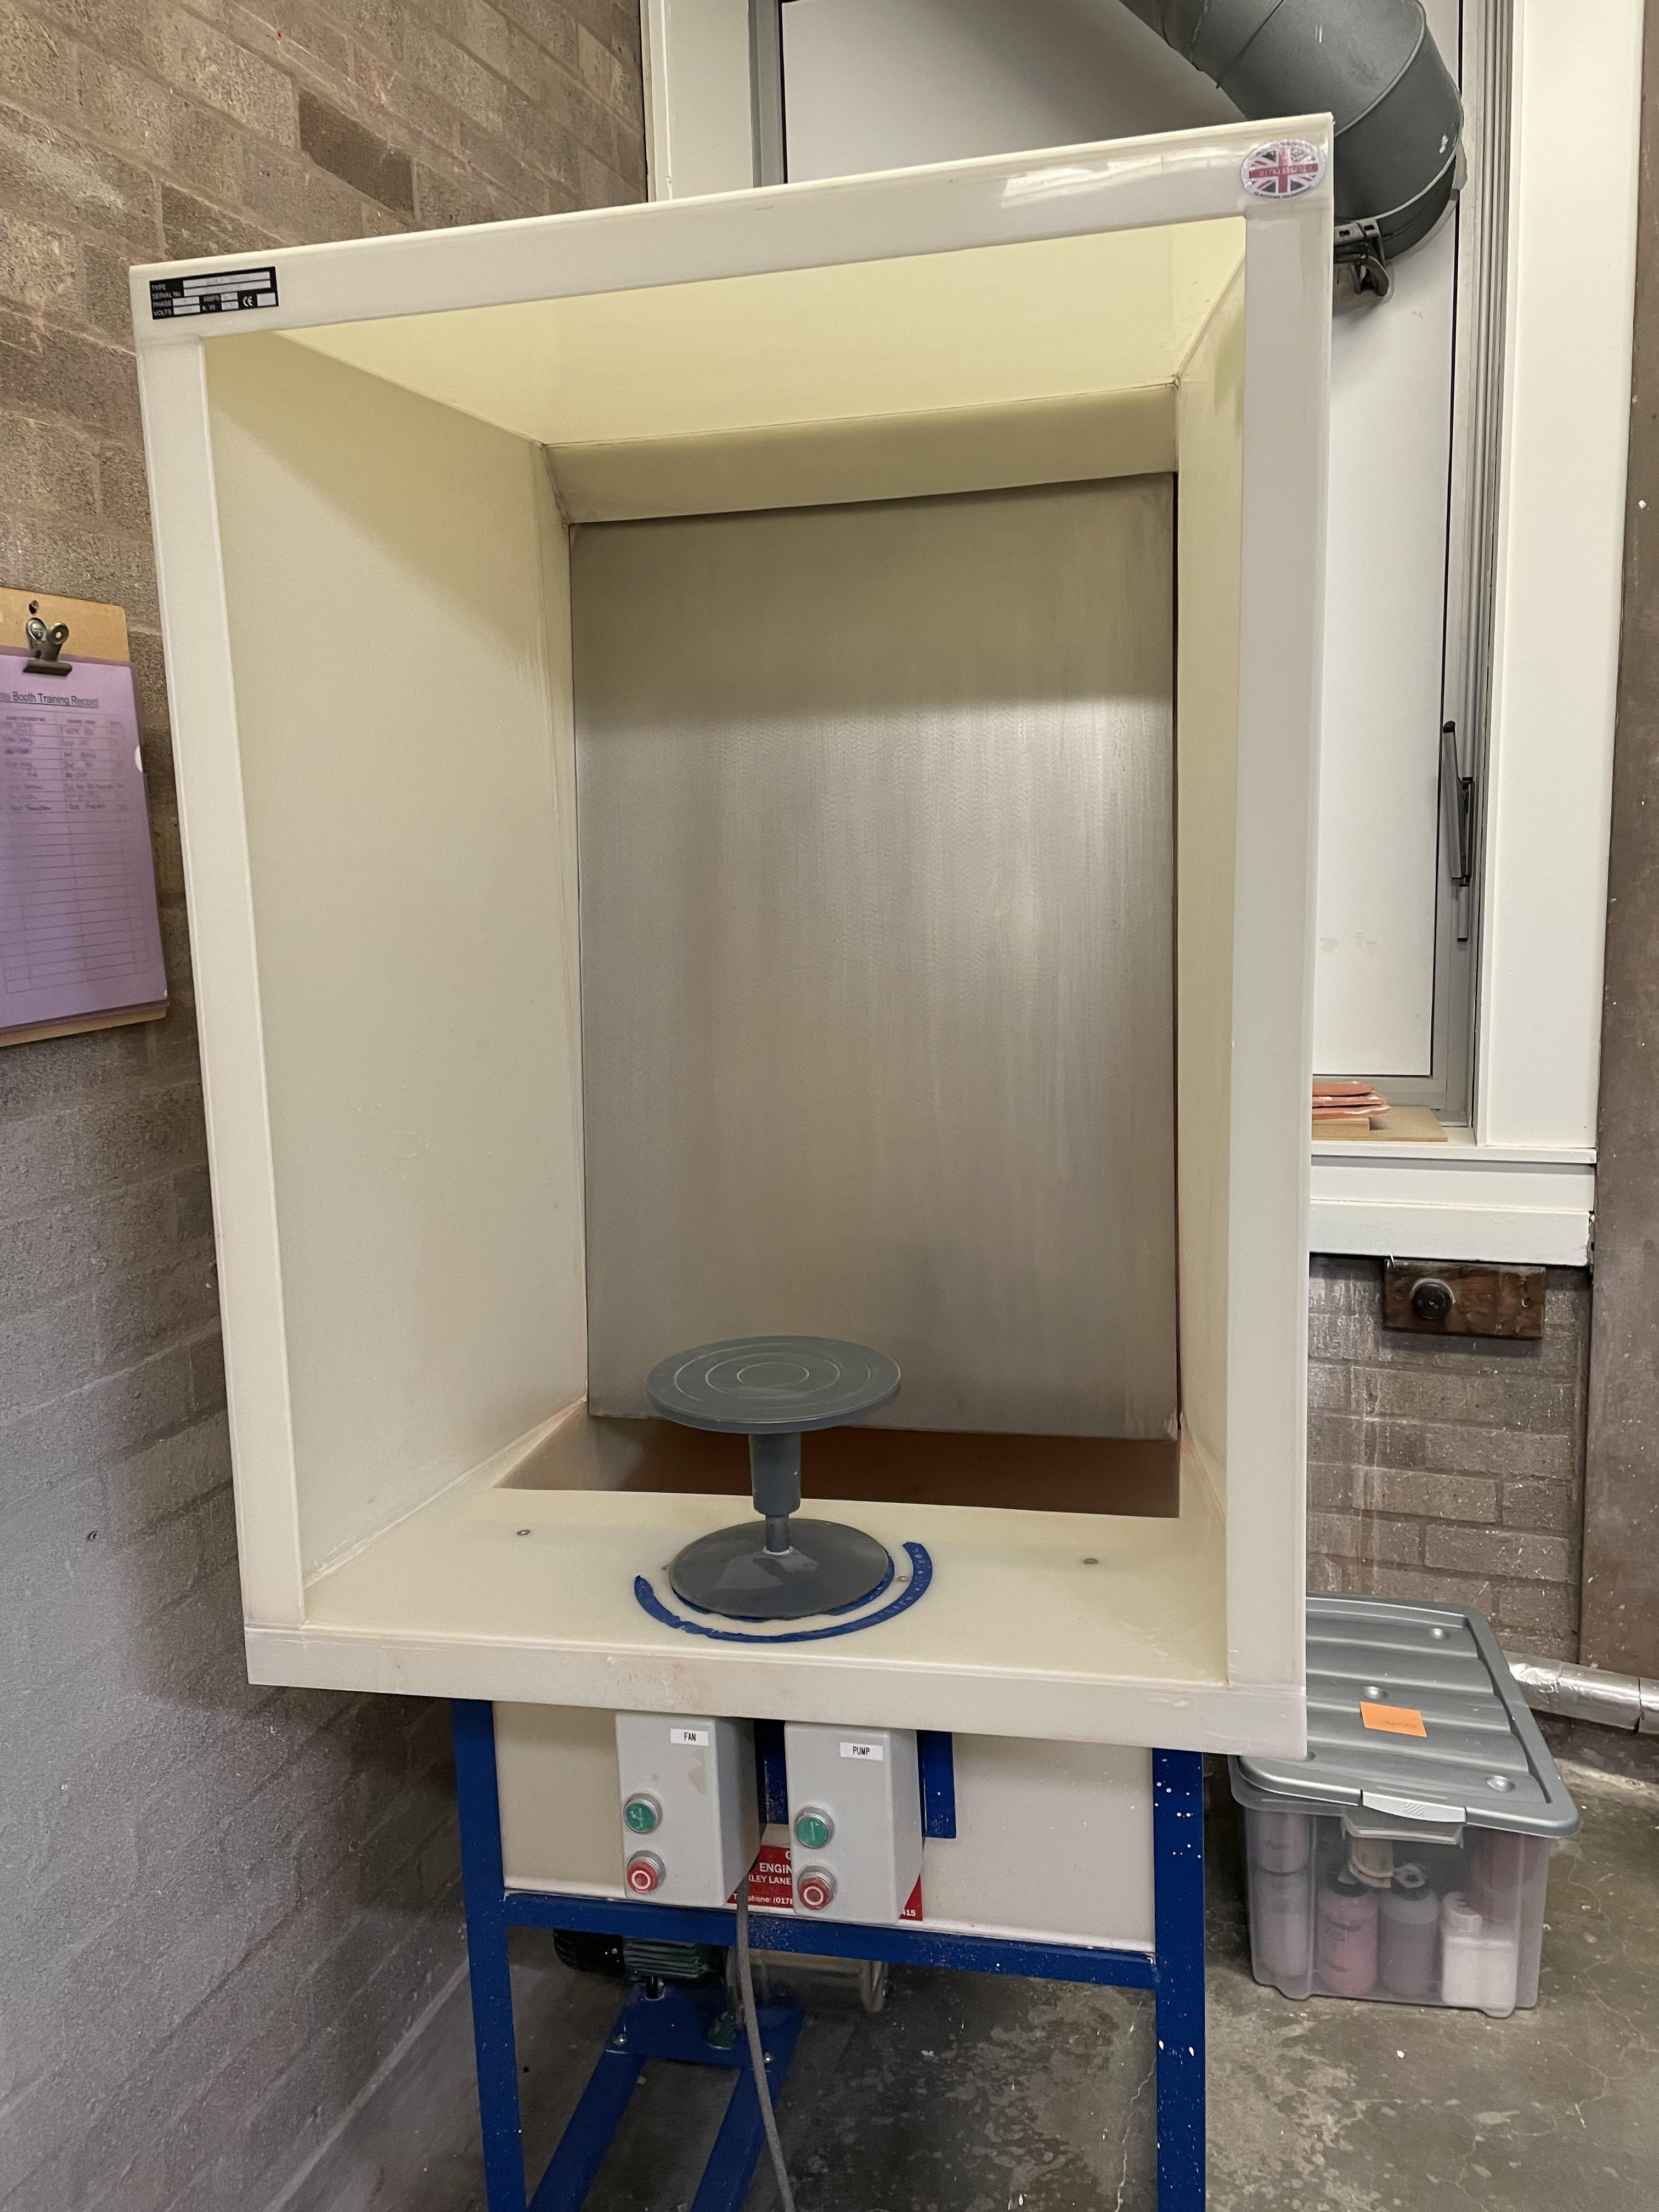
I decided to use a spray gun to glaze my pieces this is due to it having better application, more accurate, and equal throughout. Spray guns are used with air pressure, filling the paint cup connected with your glaze. This process I found was much more effective and effect however, lots of prep has to be completed before- spraying the gun with water, unblocking any leftover glaze and preparing your glaze bowls as you cannot let the glaze sit for too long as he glaze will sink so stirring it is needed after every rest of the glaze
For preparation of my mugs, I taped the rims off with strong masking tape, keeping all the unwanted glaze areas clean and having nice sharp edges. For my first attempt, I sprayed consistently, spinning the turn table, hoping this would give me a uniform glaze, however, this technique proved inadequate as I sprayed the glaze too thick. An excellent indicator to see when your glaze's perfect thickness is if it starts to run doesn't dry instantly or doesn't have a powdered texture on the surface. I then scratched the surface to see how thick my glaze was, and it proved way too thick, meaning I had to wash and start the process again.
Spraying for the second time and reading more into spray guns, I realised I needed to use a spray stop turn technique, running the gun the length of the mugs; I sprayed in four sections, doing a back and forth motion on each section, then turning and spraying the next section. Remember to keep the proper distance, around 30cm from the mug. This technique proved most effective, giving uniform layers on my mugs and covering the whole mug surface. I found that three rotations of the mugs spraying each section were most effective, giving me a powdered texture on the surface of the mugs. The handles of the mugs proved a little more tricky; however, I kept to the same technique, holding the mugs out at arm's length, spraying the bottom and the two angles at which the spray gun couldn't reach.

Removing the tape from my glazed items allowed me to have immaculate, straight lines of glaze, which I liked. I enjoyed using the glaze gun. I think it was effective and gave me smooth, equal-glaze walls. Compared to my previous glaze, which wasn't very consistent, and I applied glaze too thick with the glaze gun, I was happy with the outcome of my glaze and the technique I learned, giving me the best application.
Displaying My Mugs
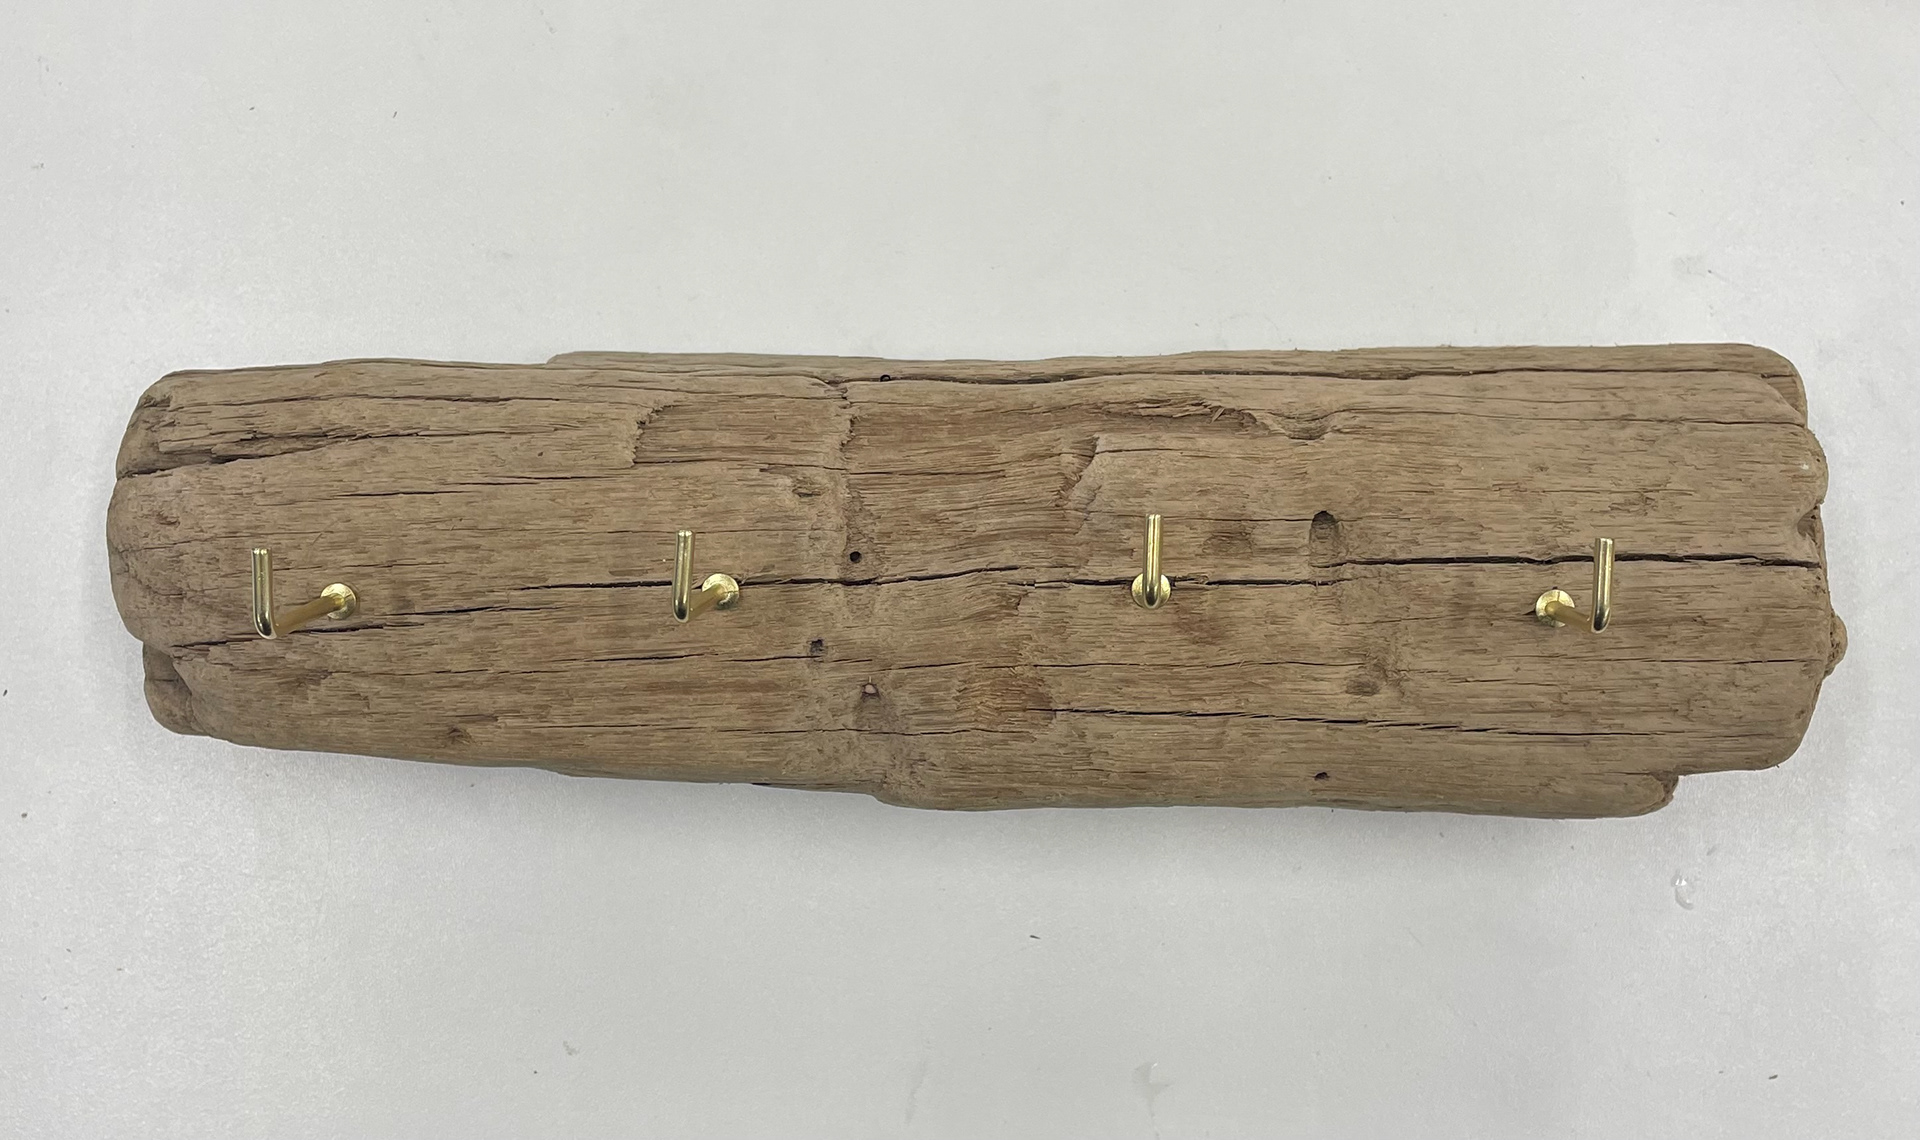
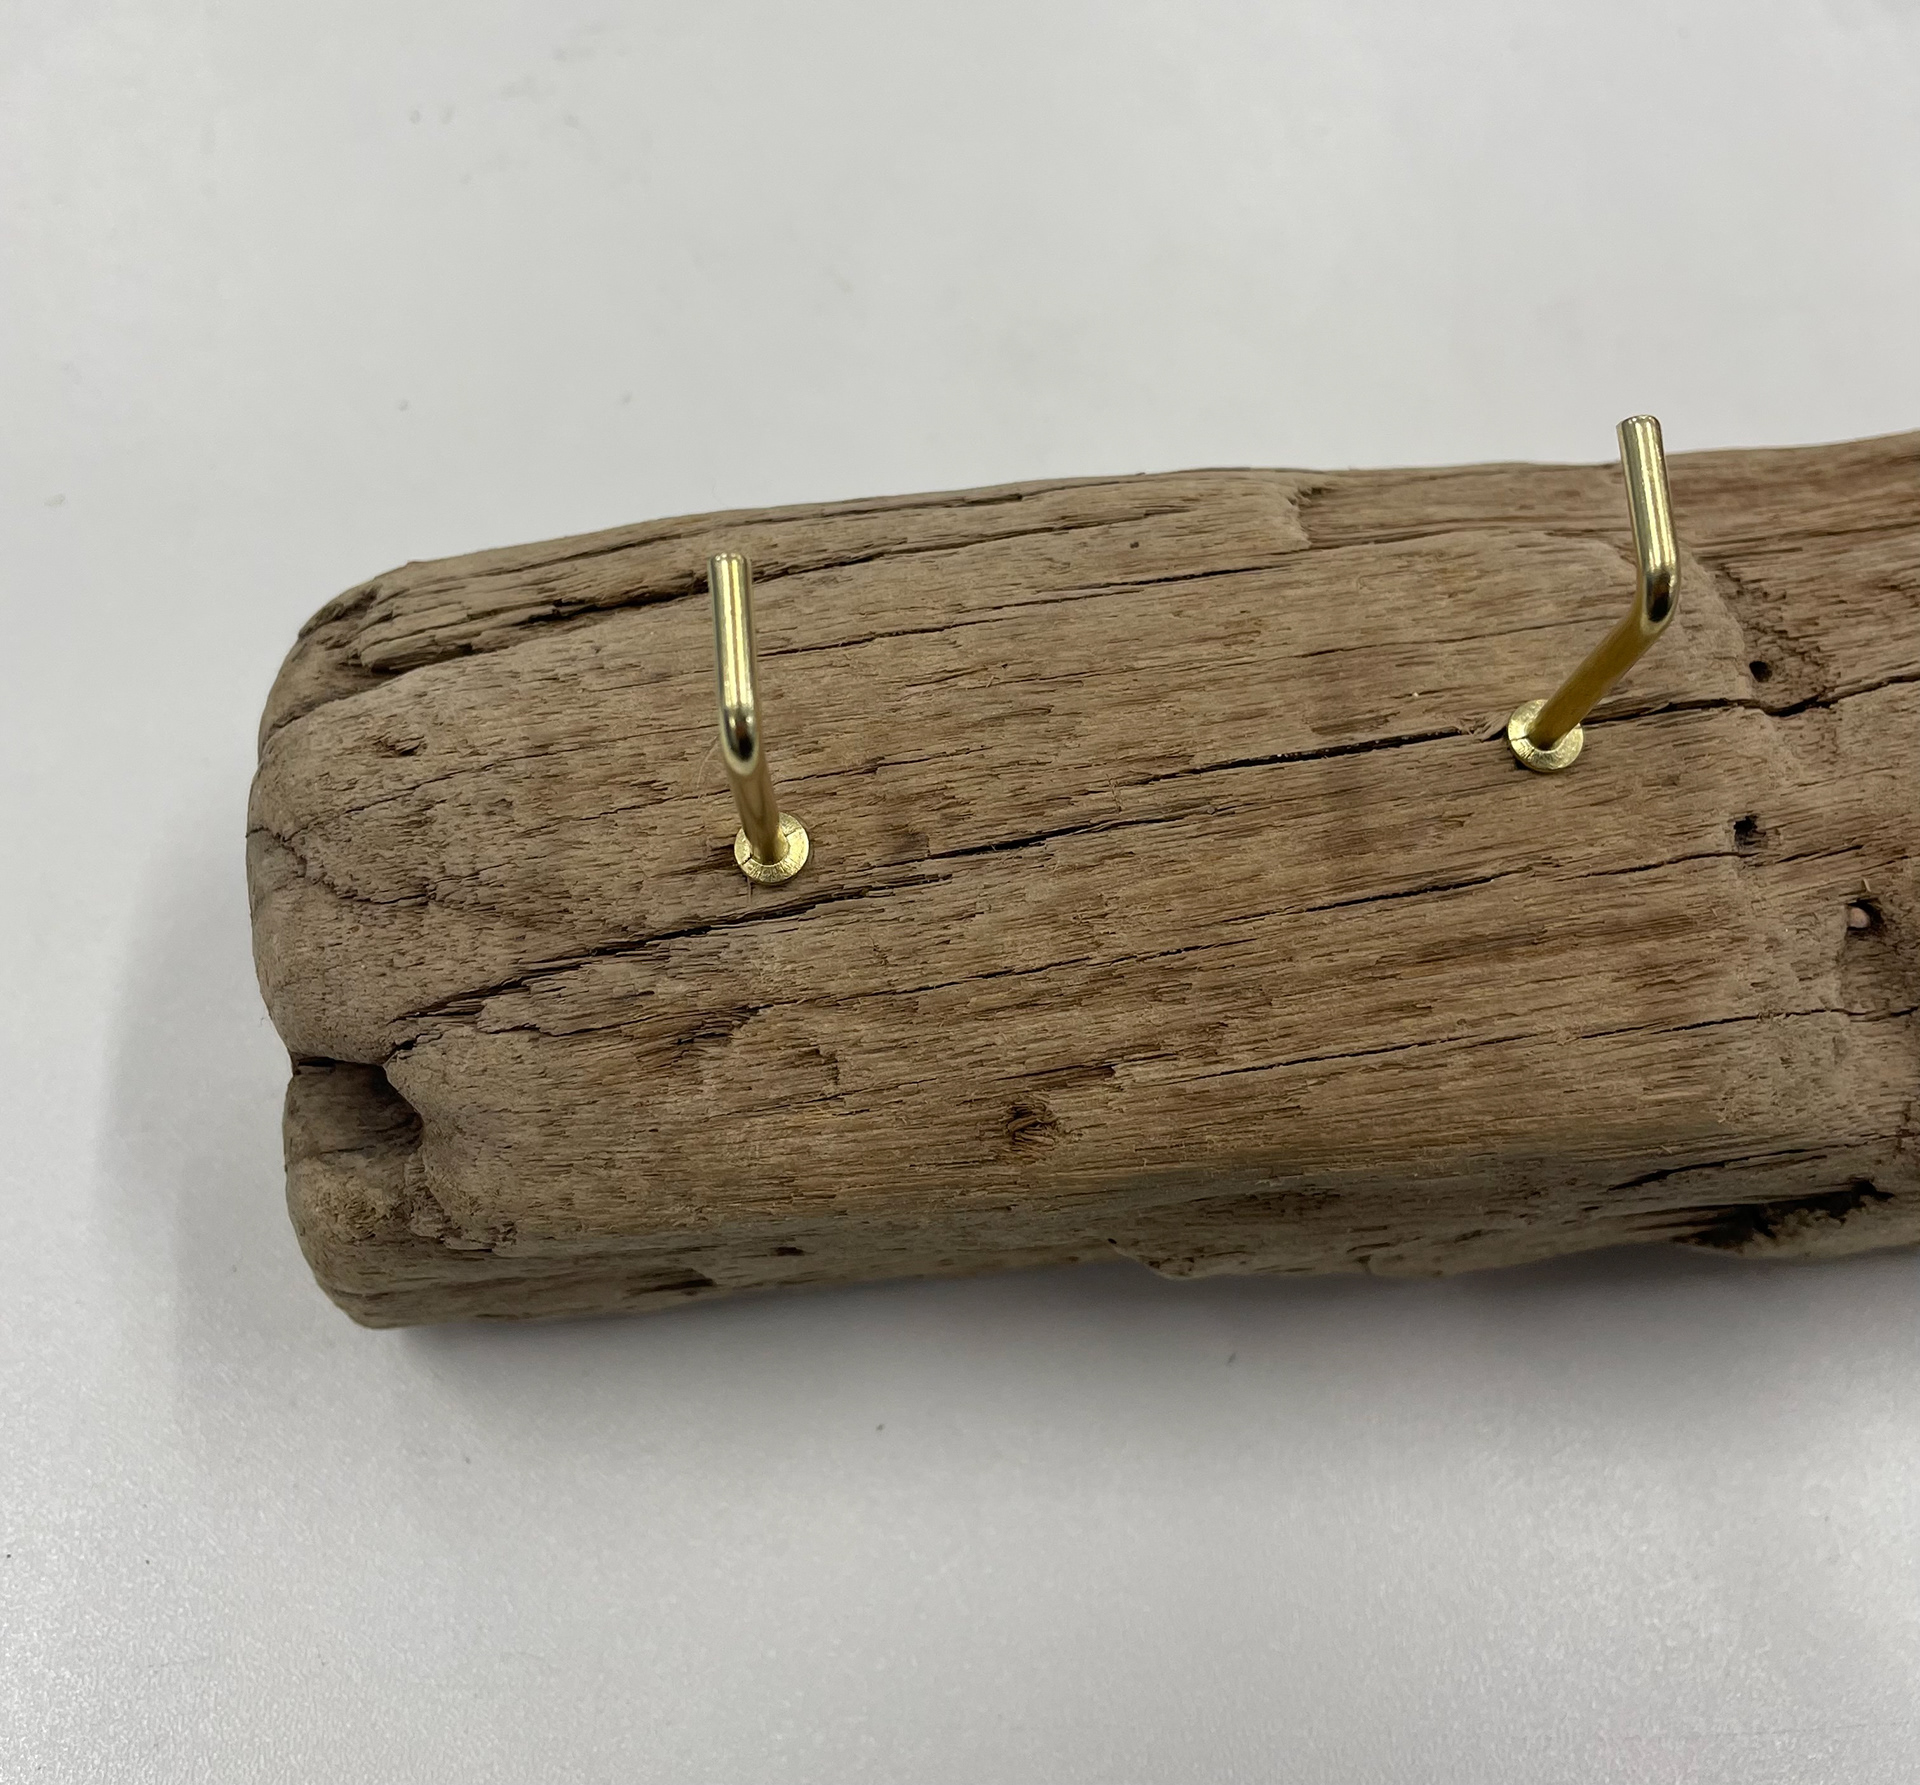
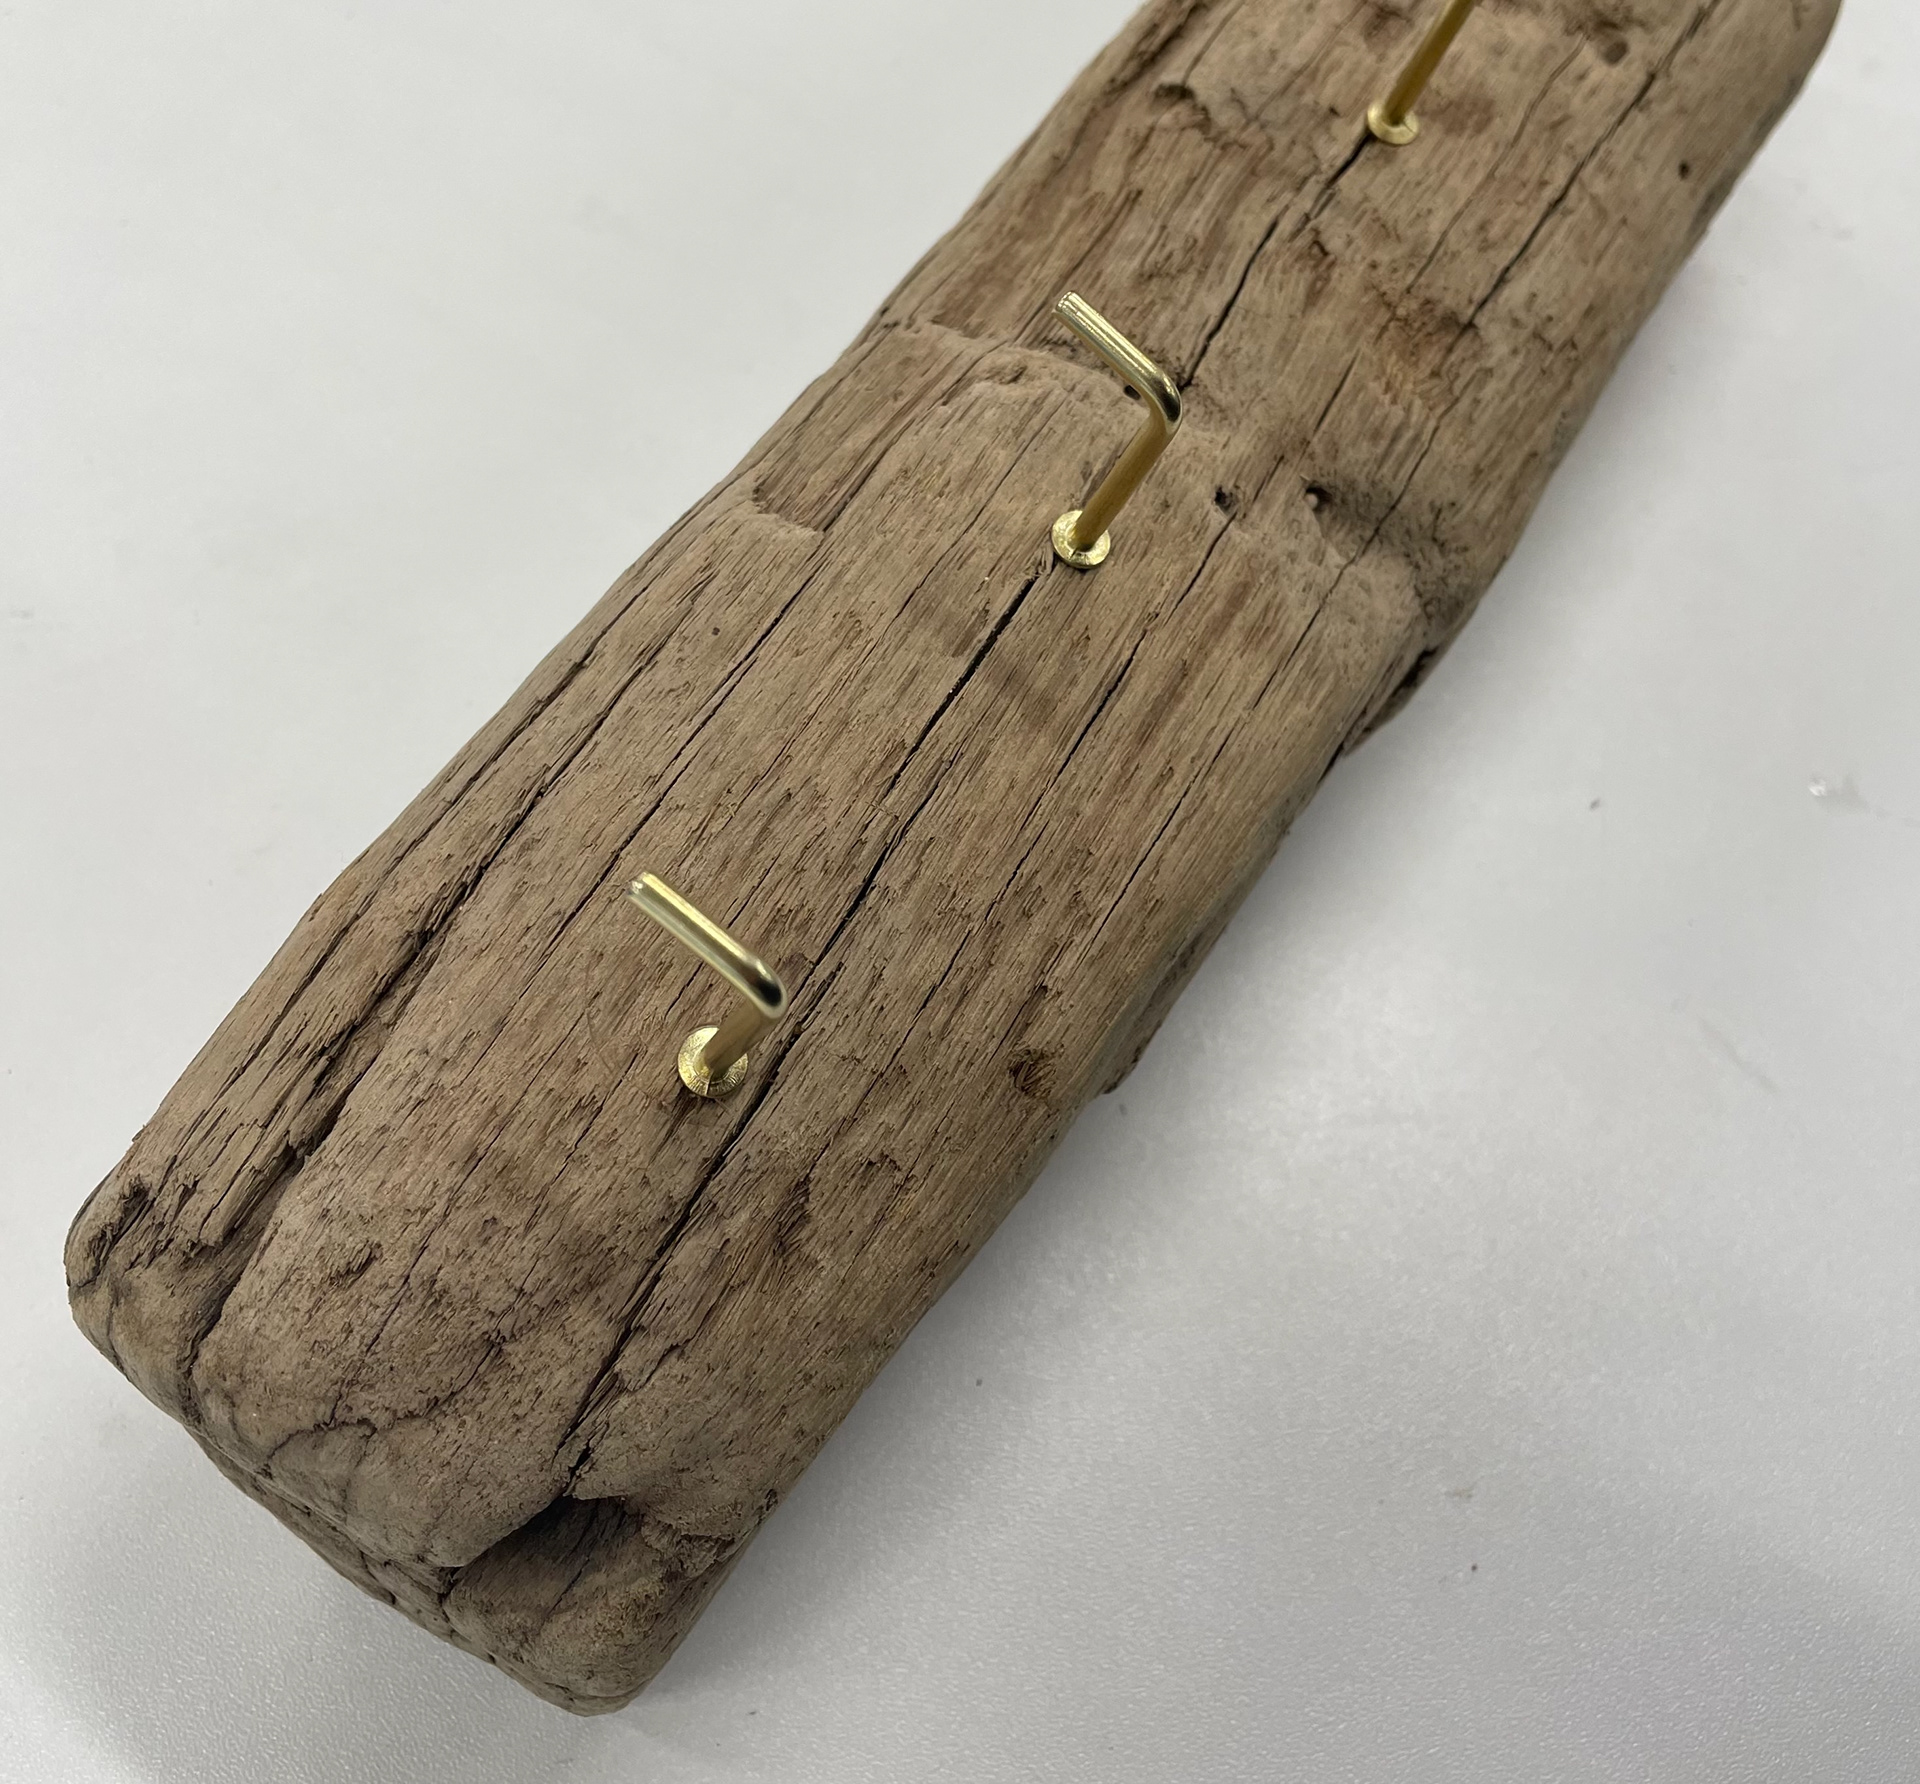
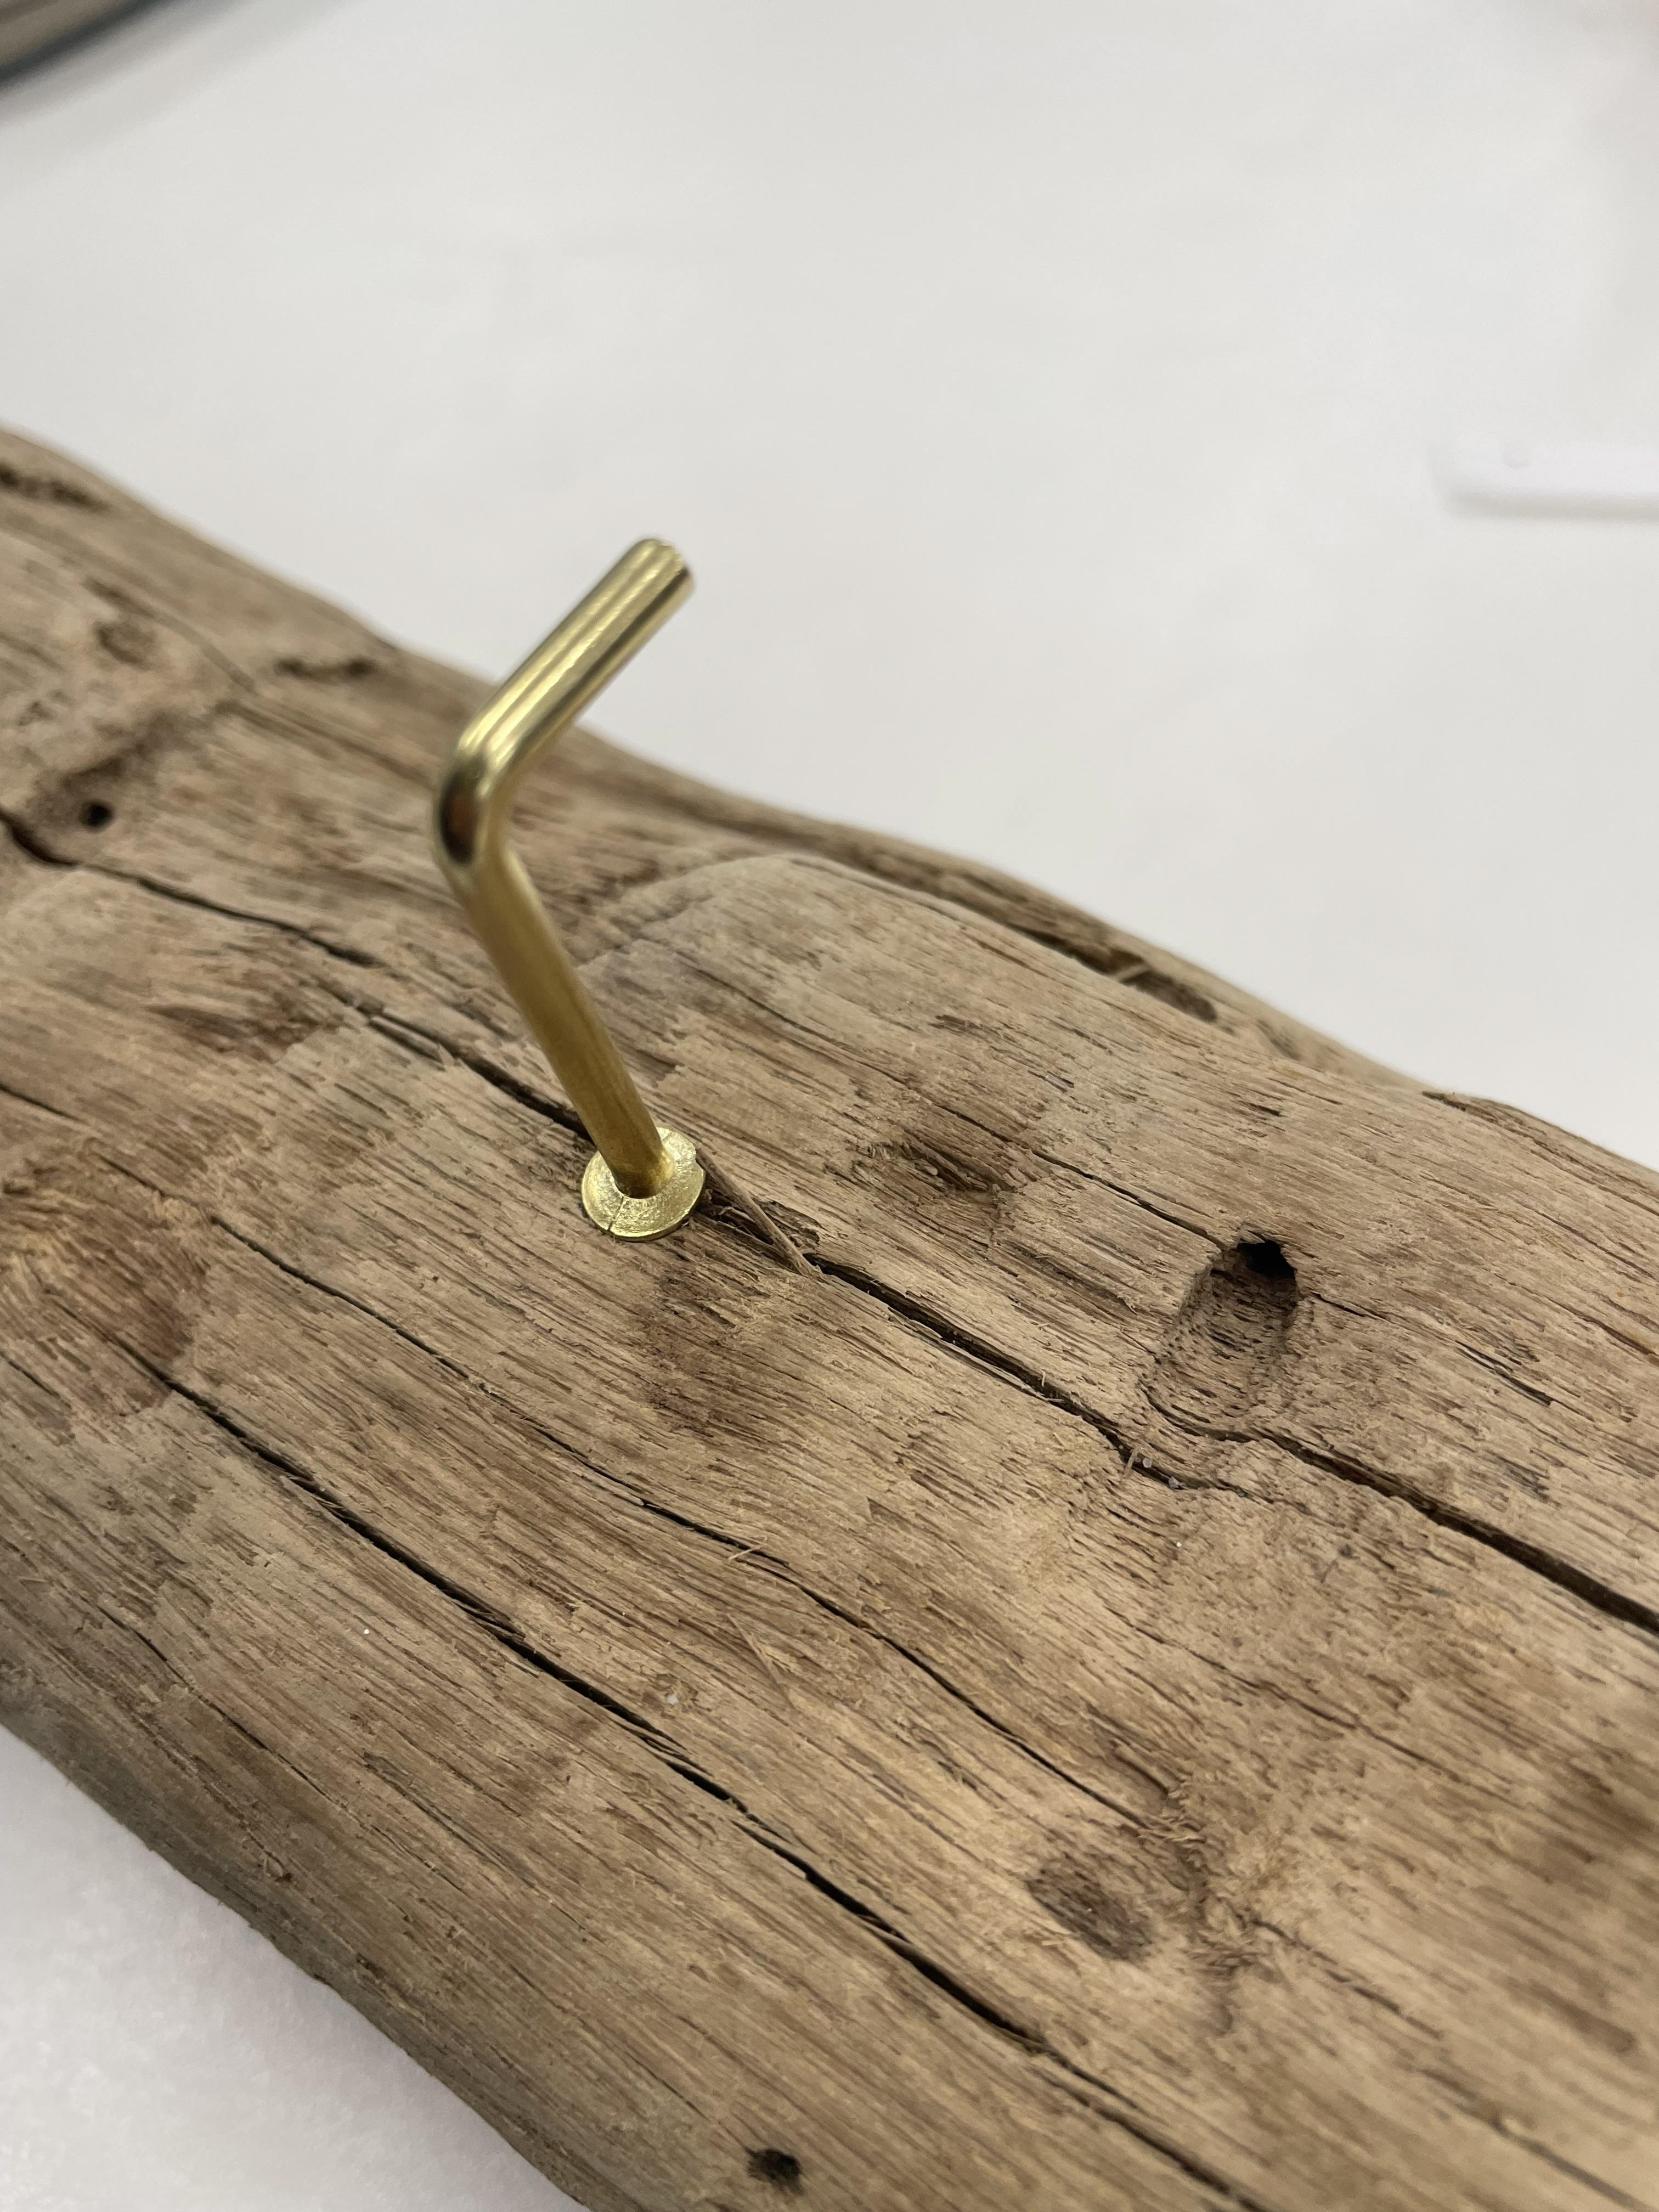
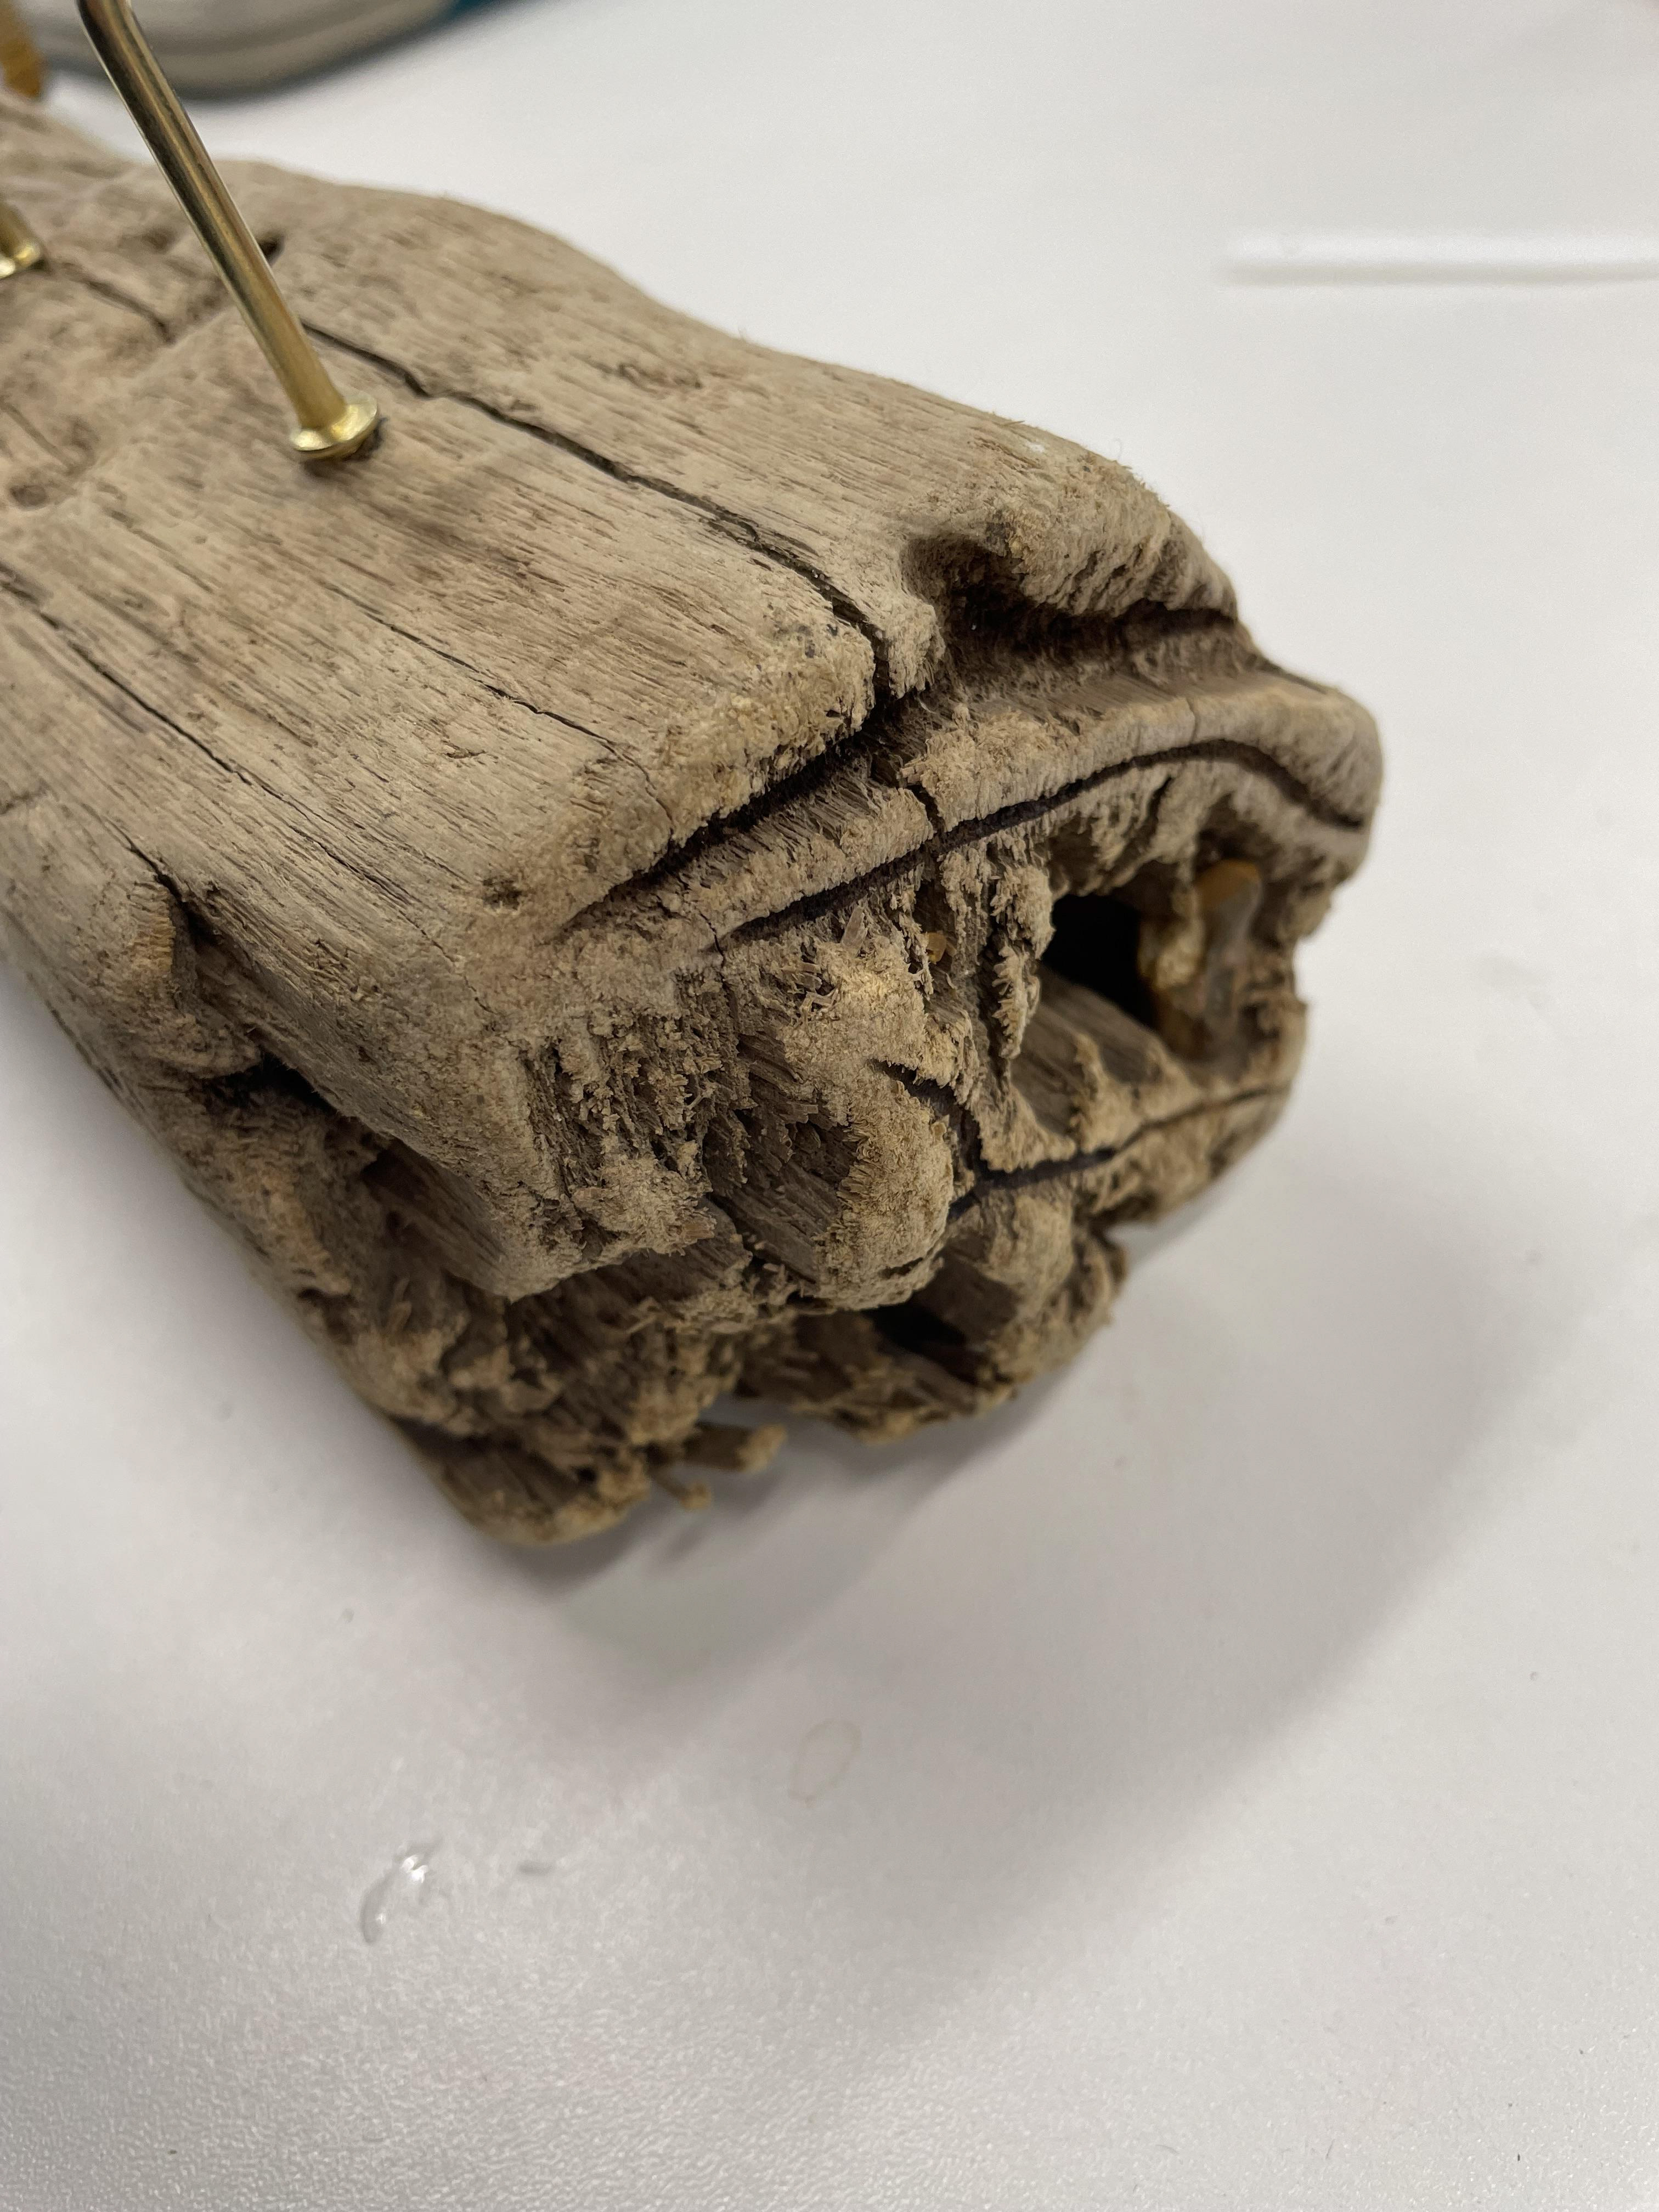
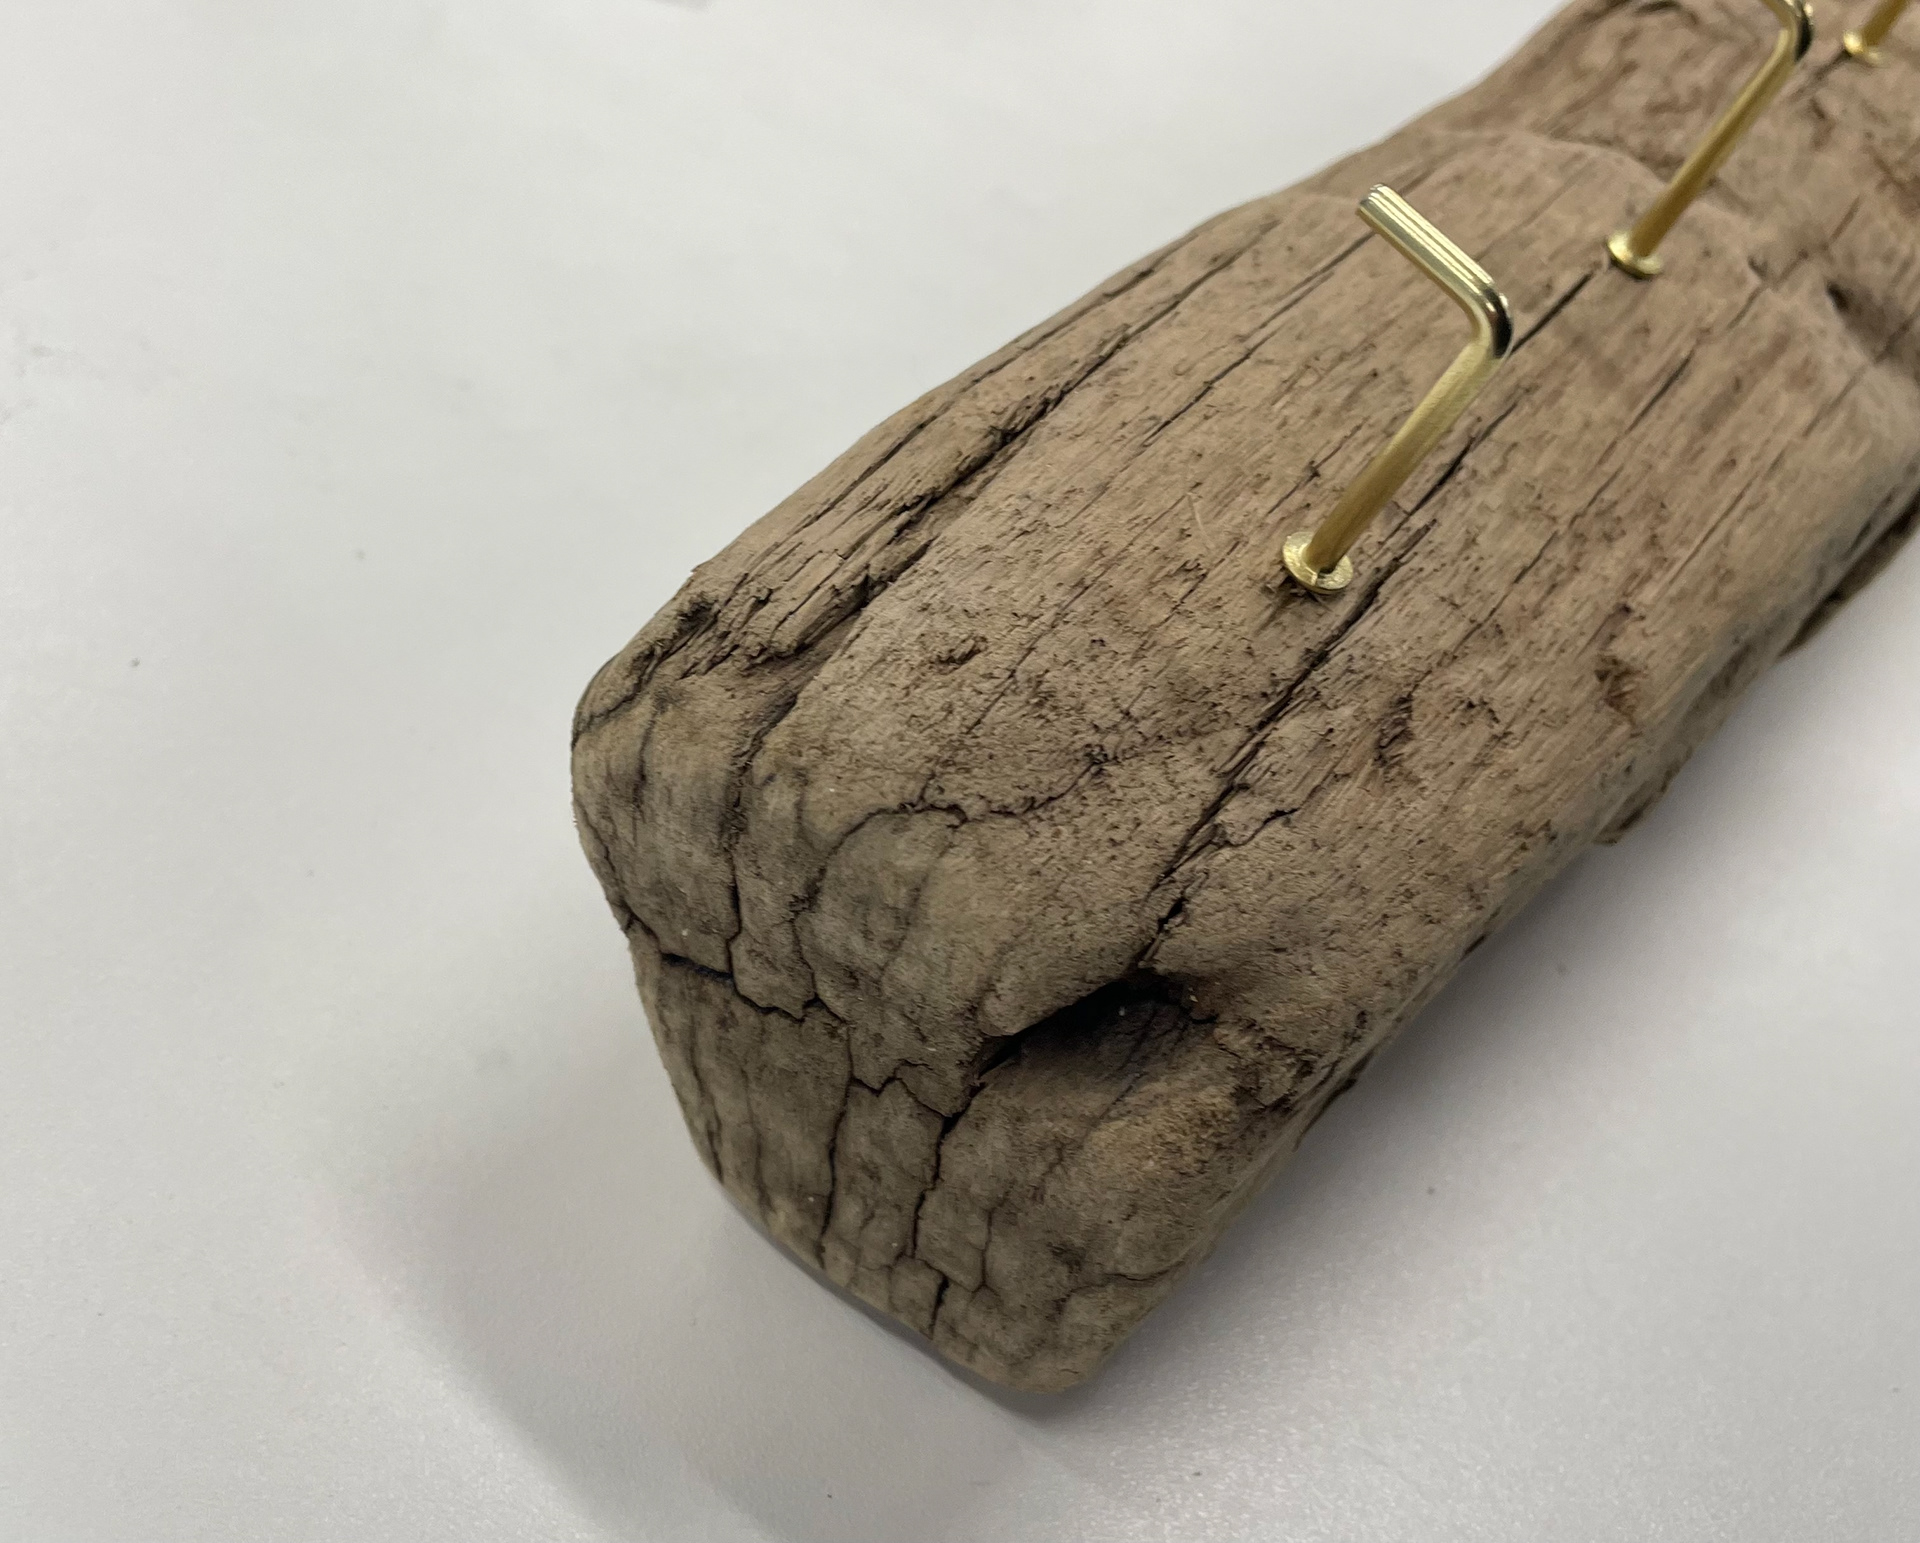
As my mugs were all inspired by nature, I wanted to take photos in the context surrounding nature. While in Brighton, my home city, I searched the beach to find driftwood, which would link to my mugs very well. I wanted to create something for them to hang on to emphasise the handles' length, the variety of handle mugs, and the bright colours they have against the mutual wood. It stood out perfectly. I brought home gold straight mug hooks that screw into the wood; gold I thought was the better colouring for the set I wanted to create, linking in well with the colour pallet rather than silver which I thought would be too harsh conflict of a mental with these mugs and wood. I drilled four deep holes into the wood, smaller than the hooks, as they could still grip onto the wood. This proved a little tricky as the wood was damaged from being found on the beach, so it had natural split down it; when drilling, you had to be careful, making sure not to split the splinters further as this would mean it wouldn't be able to support the weight of the mugs. Taking these photos, I was thrilled with the photo outcomes. Compared to my sketches and research of displaying mugs, this outcome was what I intended them to look like, which I was delighted about. Finding natural driftwood worked perfectly, compared to having brought treated wood, which would be too clean and artificial, not linking in with my natural mugs and exaggerating the mug's colours and handles.